Pumpkin Fritters and South African Style Cooked Pumpkin

March 21st, 2017

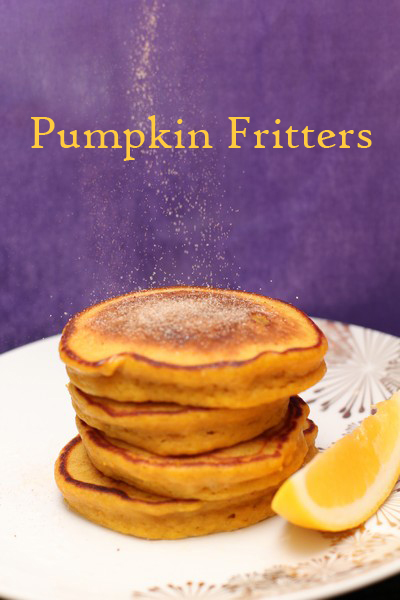
Pumpkin Fritters

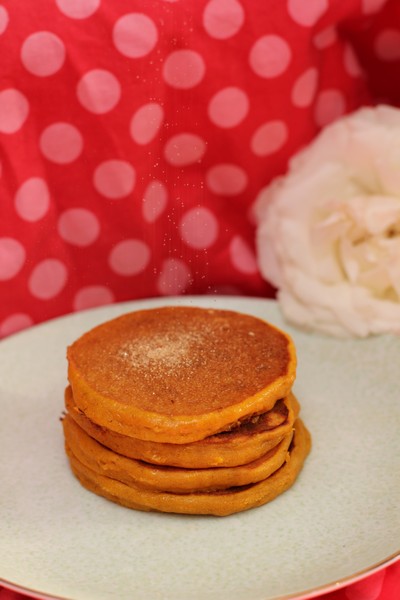
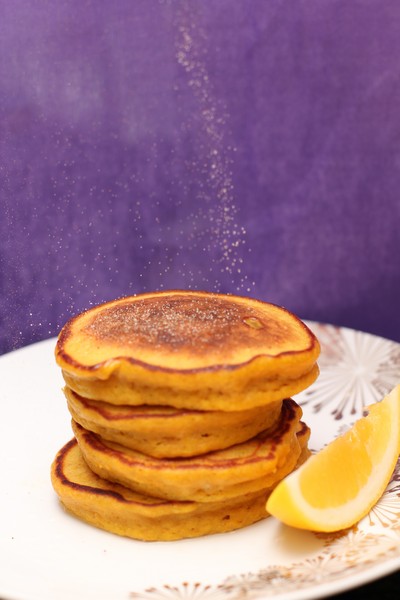
These sweet pumpkin fritters have been a real hit with my daughter and I. Growing up in South Africa, Nick was used to these delights as a breakfast, using up leftover South African style cooked pumpkin which they would have eaten the day prior with boerewors and putu pap with corn and tomato salsa. It’s taken a long time to introduce them to us though, and it makes for a great alternative to pikelets for breakfast.

Pumpkin Fritters

The combination of the sweet pumpkin and cinnamon is really lovely. The recipe is quite simple, I think the hardest thing about the fritters is making sure they are cooked through and don’t burn. We have recently just been making the cooked pumpkin solely for breakfast the next morning. As there is no stirring involved, it is easy to just set a timer for every 15 minutes to check it isn’t burning (it takes about an hour to cook the pumpkin, and you can always make less or more depending on how much pumpkin you have).

Pumpkin Fritters

Pumpkin Fritters

Makes: 18 pikelet sized fritters
Serves: 2-4

450-500g South African Style cooked pumpkin (recipe below)
1/2 cup self raising flour
1/2 cup plain flour
pinch salt
1/2 teaspoon cinnamon
2 eggs
butter, for pan
lemon juice and cinnamon sugar, to serve

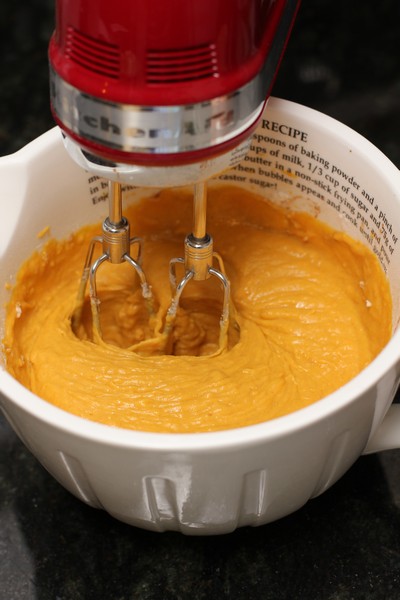
Mix the pumpkin, flours, salt, cinnamon and eggs in a medium bowl using an electric mixer until combined.

PumpkinFritters06

PumpkinFritters07

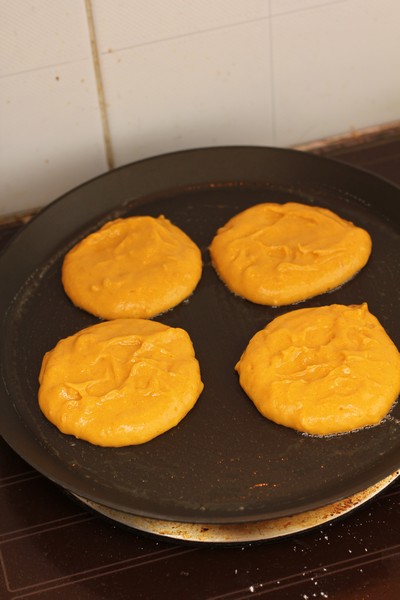
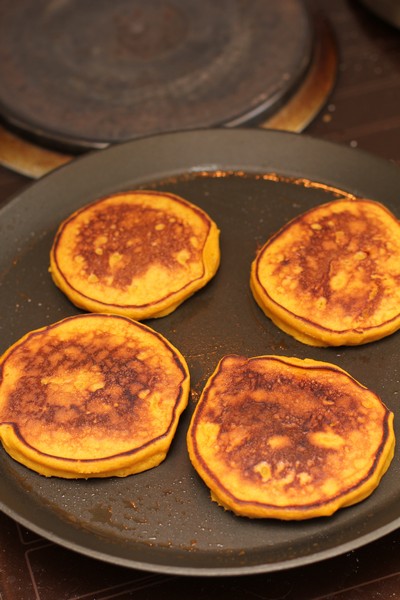
Heat a non stick crepe pan over medium heat. Place a small amount of butter in the pan and wipe with a paper towel. Place heaped spoonfuls of mixture onto the pan, cooking for a few minutes each side until cooked through. (The mixture is thicker than normal pikelets, so they take a bit longer to cook. Be careful not to burn the fritters, removing from heat or turning it down as necessary).

PumpkinFrittas08

PumpkinFrittas09

PumpkinFrittas11

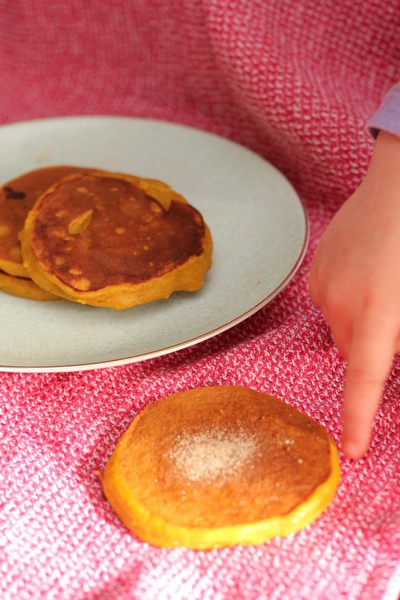
You may wish to keep the earlier fritters warm in a low oven whilst you cook the remaining fritters. Serve with generous amounts of lemon juice and cinnamon sugar

South African Style Cooked Pumpkin

Recipe by Nick and Anita @ Leave Room for Dessert

Cooking Time: 1 hour
Makes approx 840g cooked pumpkin

1.1 kg jap pumpkin, cut into 2-3cm cubes
1/4 – 1/2 cup sugar
10g butter
pinch salt

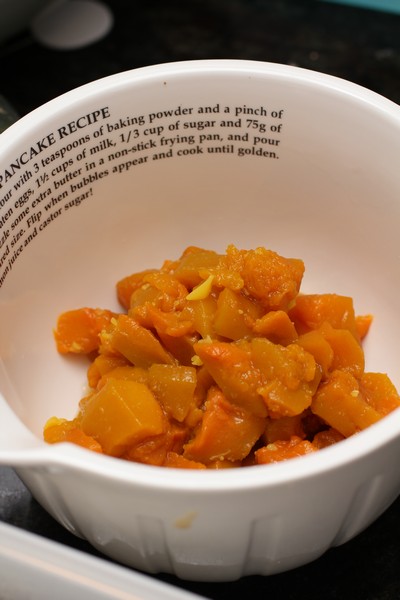
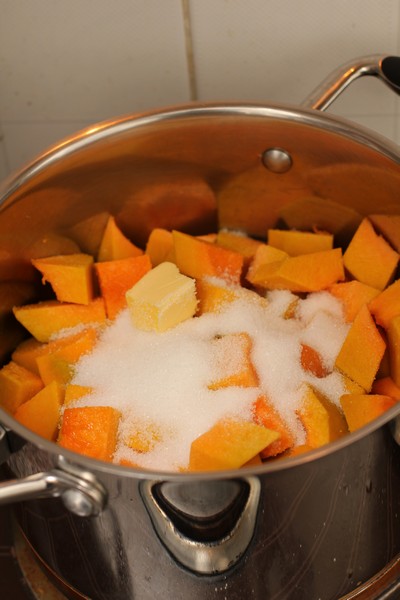
Place the pumpkin in a medium saucepan, followed by the sugar, butter and salt.
PumpkinFritters01

Cook over medium/high heat for approximately 15 minutes with the lid on. At this stage there should be liquid coming out of the pumpkin. Don’t stir.
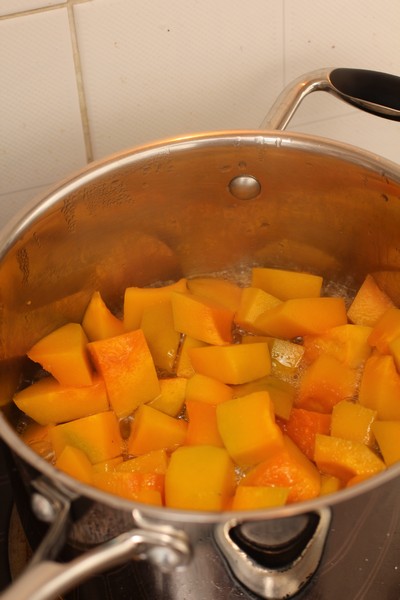
PumpkinFritters02

Turn down to just above low and cook for a further 15 minutes. Don’t stir.
The pumpkin should be soft at this stage.
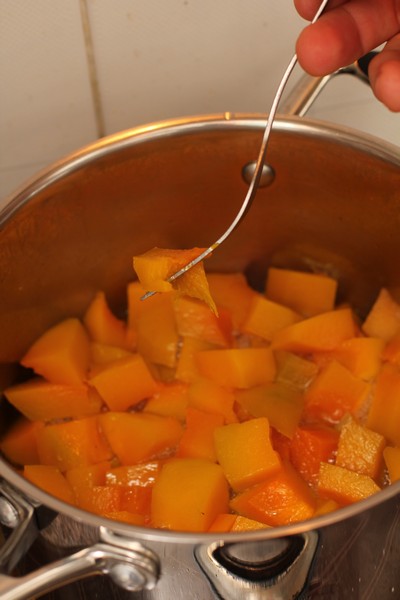
PumpkinFritters03

Take lid off and cook for a further 15 minutes. Check. Don’t stir.
Cook a further 15 minutes to try and get the liquid absorbed or evaporated.
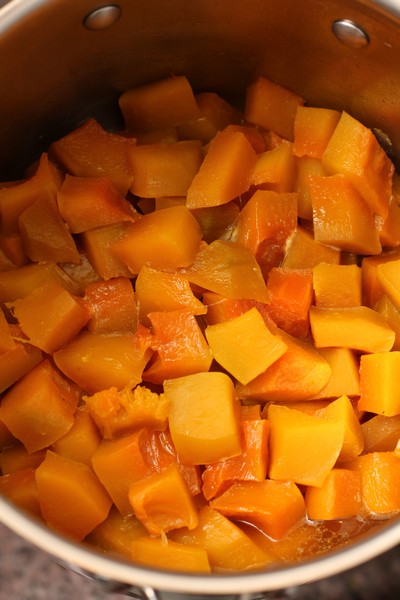
PumpkinFritters04

At this stage, most or all of the liquid should be gone.
Serve warm as a side dish, or cool and use for pumpkin fritters
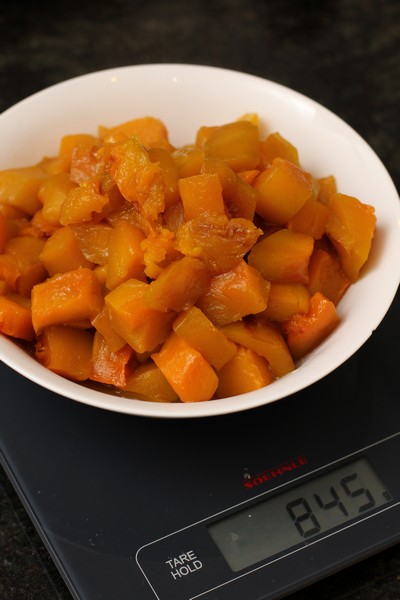
PumpkinFritters05


Mango and Yoghurt Ice Blocks

March 14th, 2017

Mango Ice Block

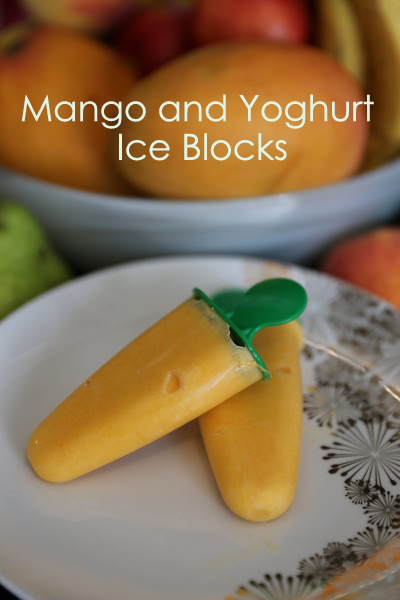
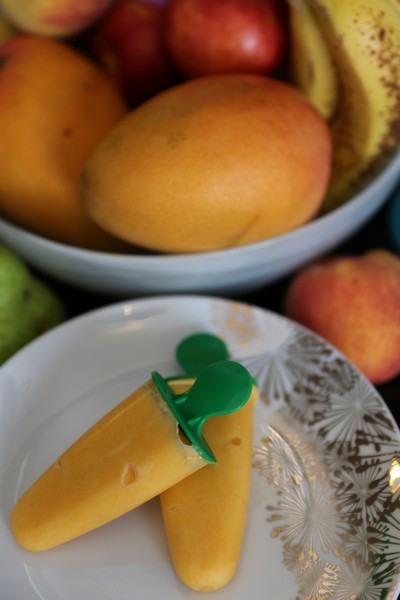
Mangoes have been beautiful this past summer. I’m not a big mango fan, but have been buying 2 a week for Nick and my daughter. I do love these ice blocks though! They may be a little bit icy, but they are a wonderful alternative to many of the bought varieties, and you know children (and adults) are eating a nice healthy snack.

MangoIceBlock2

Mango and Yoghurt Ice Blocks

Makes 10-12 small (1/4 cup) ice blocks

2 medium/large mangoes, flesh (~400g)
3/4 cup (180g) yoghurt (vanilla, coconut or natural)

Blend mango flesh in a food processor until well blended. Place pureed mango and yoghurt in a bowl and mix to combine. Spoon into ice block moulds and freeze until frozen, or overnight.


Nachos

March 7th, 2017

Nachos

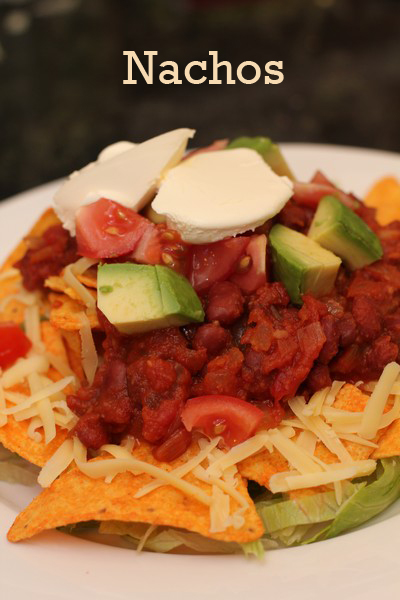
Nachos are a big hit with my family. Introduced to our family by Nick, they have become a regular favourite, so it’s great to put this recipe up on the site so everyone can enjoy it whenever they please.

It’s a very easy recipe to make, we often have most of the ingredients on hand. Don’t be turned off making it if you were after one with meat, as it’s so delicious, you won’t even notice its absence.

Nachos

Nachos

Recipe by Nick at Leave Room for Dessert
Serves 4-6

2 tablespoons olive oil
2 onions, finely chopped
2 x 400g cans diced tomatoes
2 x 400g cans red kidney beans, rinsed thoroughly
1 teaspoon salt
1 teaspoon sugar
2 teaspoons cumin powder
2 teaspoons coriander powder
2 teaspoons paprika
1/4 teaspoon chilli powder

shredded lettuce (approx 1 large leaf, or 40g per person)
corn chips (approx 40g per person)
grated cheese (approx 30g per person)
guacamole, avocado, tomato, sour cream and jalapenos, as desired

Combine salt, sugar and spices in a small bowl and set aside. Heat oil in a large saucepan over medium heat. Cook onions for 10-20 minutes (lowering temperature as needed), until soft and caramelized.

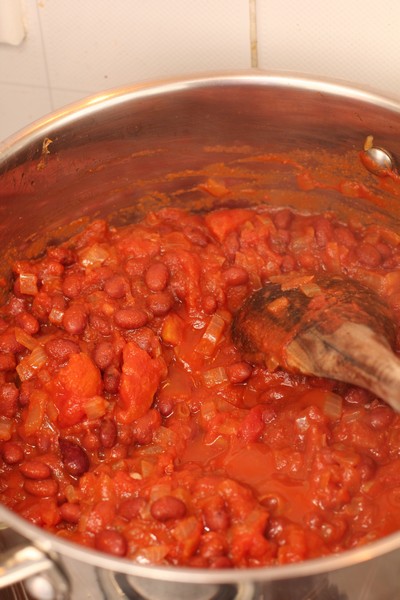
Add the tomatoes, kidney beans and spice mix to the onions and cook for 10-20 minutes on medium heat, until red kidney beans are softening. Roughly mash the mixture with potato masher.

Nachos

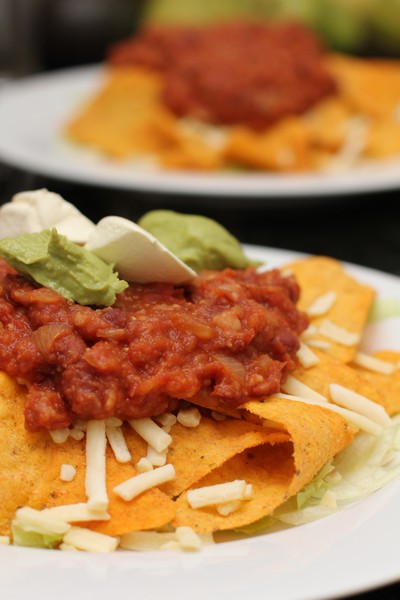
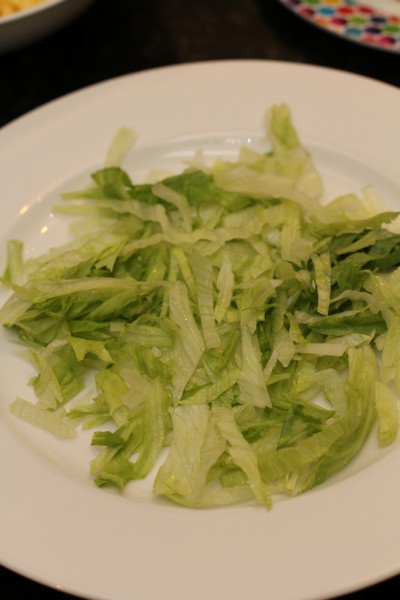
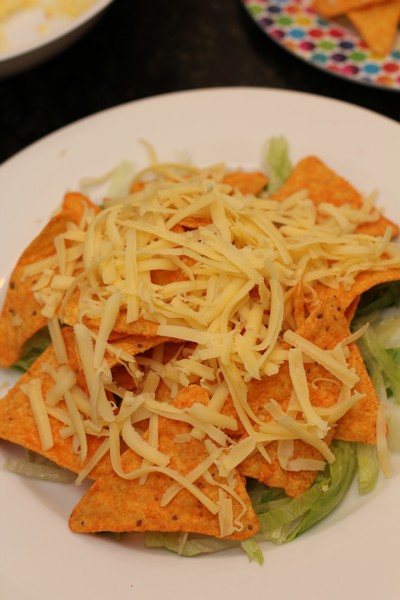
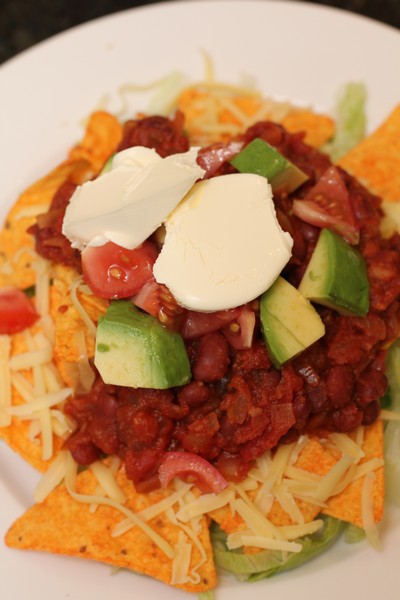
Place shredded lettuce on a plate, followed by corn chips and then cheese. Place nacho mix on top and serve with sour cream, guacamole, avocado, tomato and jalapenos as desired.

Nachos

Nachos

Nachos


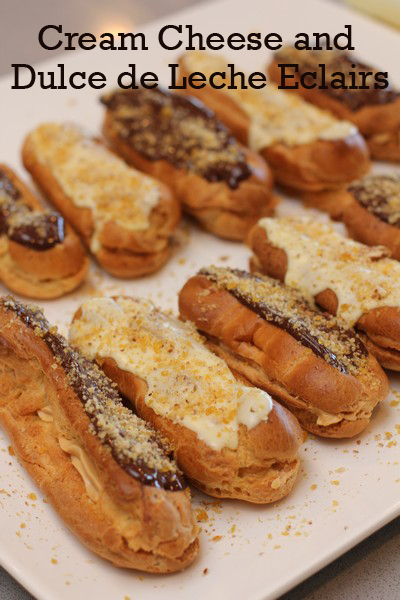
Cream Cheese and Dulce de Leche Eclairs – MasterChef 2016

March 3rd, 2017

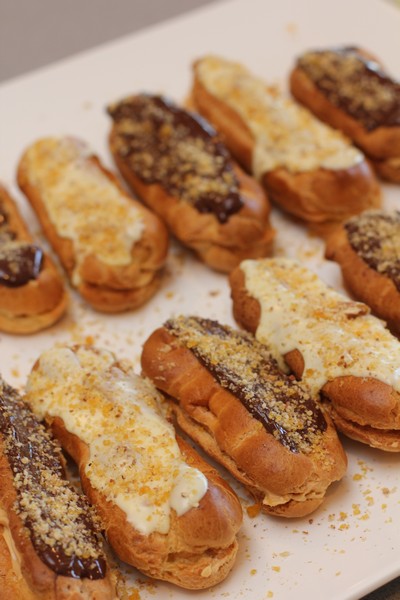
Cream Cheese Dulce de Leche Eclairs

I saw a lot of dishes I would love to eat on MasterChef Australia last year. So far I have only managed to make this one, due to busy times at home. In previous years I have made some creations that took a full day or two to prepare, which in itself didn’t bother me, as I love experimenting and I love a challenge, although it does get harder to justify using all that time when priorities have changed.

These eclairs were given great reviews from the judges, so much so that I questioned my go-to recipe for eclairs (a custard and cream eclair topped with dark chocolate, that I will need to post some day soon). After making the filling for these ecalirs, my instant reaction was how sweet it was, which may or may not have been contributed to by the bought caramel rather than dulche de leche (which I couldn’t source and didn’t want to make).

CreamCheeseCaramelEclairs06

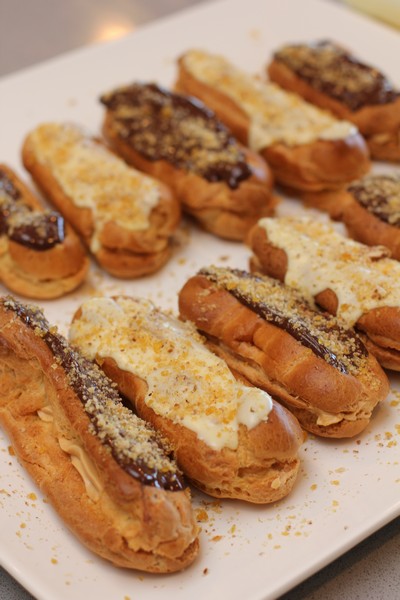
I decided to put dark chocolate on top of some, to cut some of the sweetness, and leave white chocolate on the other half, to try the original recipe and give an honest opinion on the recipe.
The result was as expected, the dark chocolate made the eclairs less sweet, but lost a lot of the subtle flavours in the filling, whereas the white chocolate was a bit too sweet for most people’s liking. (This didn’t stop all eclairs being eaten, they really were lovely). I’m just unsure whether I would make it again, as custard and cream filled eclairs are the perfect balance of everything (according to me and my family, that is 🙂 )

Cream Cheese and Dulce de Leche Eclairs

Recipe by Chloe Bowles on MasterChef

Eclairs:
1/2 cup milk
80g butter
1 cup flour
4 eggs

Cream Cheese Filling:
200g ready made dulce de leche (I used Nestle Top N Fill Caramel)
1/2 cup double cream
50g coverture white chocolate callets
200g cream cheese
1/2 cup icing sugar

Pecan Praline:
1/2 cup pecan nuts
120g sugar

White Chocolate Topping:
200g coverture white chocolate callets

Preheat oven to 210C.
For the Eclairs, line a baking tray with baking paper and set aside. Make a choux pastry by placing milk, butter and ½ cup water into a saucepan over medium heat until butter is completely melted. Add flour and mix vigorously with a wooden spoon until mixture forms a ball and pulls away from the sides of the saucepan.

Transfer dough to a stand mixer fitted with a paddle attachment. Beat until the dough has cooled to room temperature and is no longer steaming. Add eggs, one at a time, beating well after each addition, until mixture is smooth and glossy. Scrape sides of bowl occasionally if needed

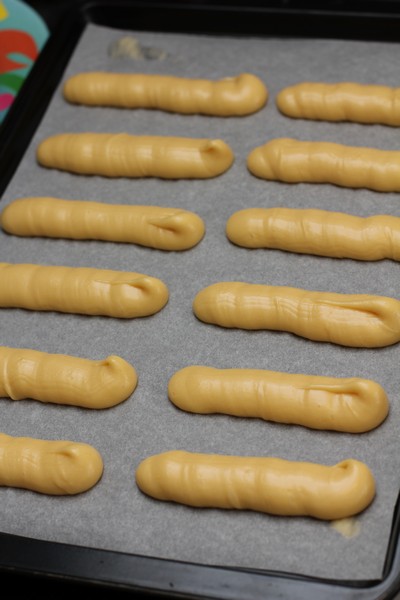
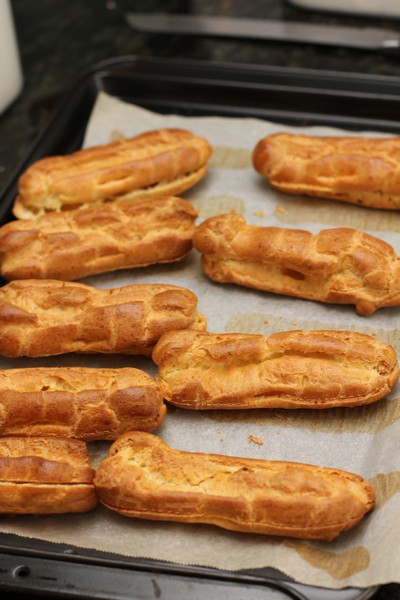
Transfer dough to a piping bag fitted with a wide tip and pipe onto the paper lined baking tray in 10 cm lengths. Use fingers to flick a little water over the choux to help create steam in the oven. Place the tray into the oven and bake for 10 minutes. Remove from oven and pierce the sides of the eclairs with the tip of a sharp knife. Reduce oven to 190C and bake until golden brown and cooked through, about 15 minutes.

CreamCheeseCaramelEclairs01

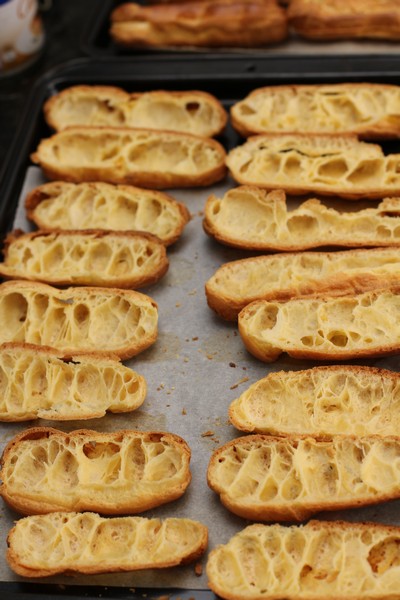
Remove from the oven and transfer eclairs to a cooling rack set over a baking tray and set aside to cool. Once cooled, use a serrated knife to cut eclairs in half lengthways. Turn top halves, cut side down, onto the cooling rack and set aside.

CreamCheeseCaramelEclairs04

CreamCheeseCaramelEclairs03

For the Cream Cheese Filling, combine dulce de leche and cream in a saucepan over a medium heat and bring to just under boiling point. Remove from heat and add white chocolate. Stir well until smooth.

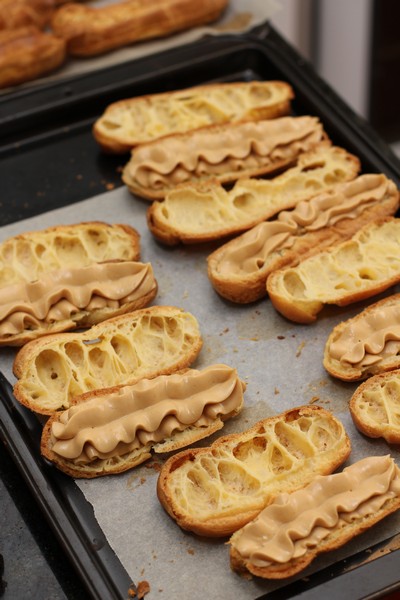
Place cream cheese and icing sugar in a stand mixer fitted with a whisk attachment and whisk until light and fluffy. Reduce speed to low, add cooled dulce de leche mixture and whisk until combined. Transfer to a piping bag and set aside in the fridge.

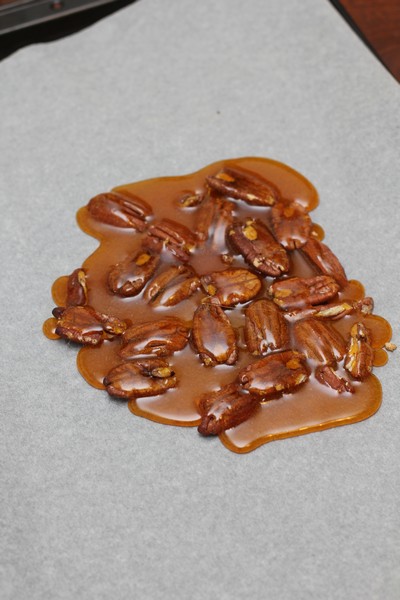
For the Pecan Praline, line a baking tray with baking paper. Spread pecans over the lined tray and roast in the oven until slightly golden, about 3-5 minutes. Remove from oven and set aside to cool.

Meanwhile, melt sugar in a small frypan over low heat until amber in colour then pour immediately over roasted pecans and set aside to cool and completely set. Once set, break into chunks then transfer to a food processor and blitz to a fine crumb. Set aside.

CreamCheeseCaramelEclairs02

For the White Chocolate Topping, place white chocolate into a bowl and set over a saucepan of simmering water. Stir until completely melted, then spread over the top halves of the reserved Eclairs. Tap the wire rack so that excess chocolate drips away.

To serve, pipe some Cream Cheese Filling onto the bottom halves of the Eclairs. Top with the white chocolate coated top halves and sprinkle with Pecan Praline.

CreamCheeseCaramelEclairs05

CreamCheeseCaramelEclairs07


Bircher Muesli

February 28th, 2017

Bircher Muesli

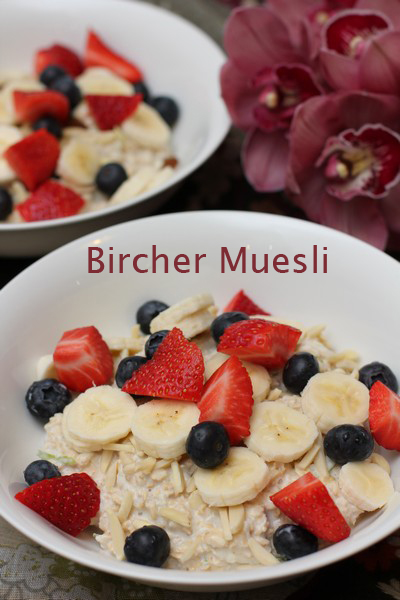
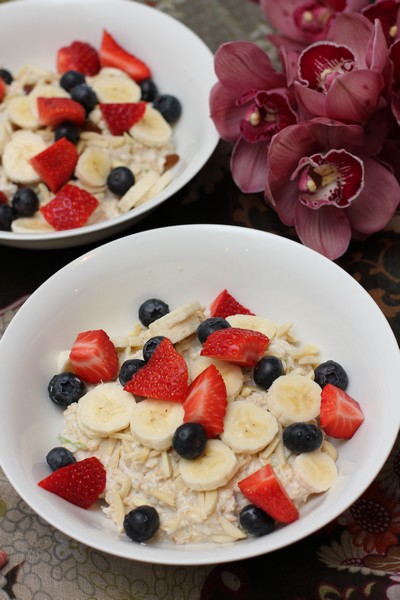
I’ve never been a huge fan of muesli or porridge, I think partly due to not liking dried fruits, which would add a lot of flavour. On a recent holiday I tried some bircher muesli that was being served at breakfast, and it was quite nice. So when I arrived home, I tried to find a recipe that tasted similar.

Bircher Muesli

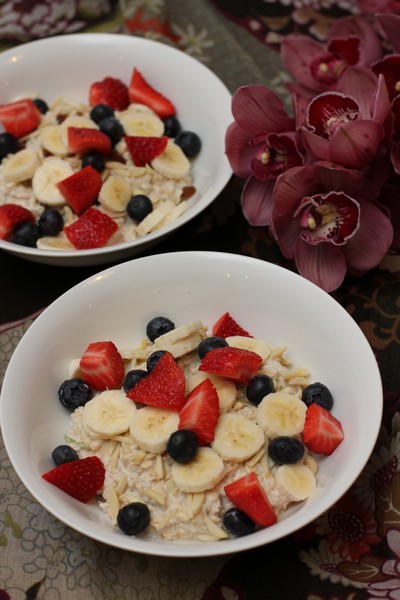
Most recipes contained some sort of juice, which wasn’t practical for me as I don’t have juice in the fridge much, but I do have milk, so this recipe worked well. I think the combination of banana and blueberries on top works wonderfully for making this a bit more interesting. Granola, poached fruit, stewed rhubarb or a berry sauce would also pair lovely with this healthy start to the day.

Bircher Muesli

Recipe adapted from Sanitarium

Serves: 3-4

1 1/2 cups rolled oats
1 green apple, grated
1 cup milk
2 tablespoons maple syrup
1 cup vanilla yoghurt (or yoghurt of your choosing)

Toppings to serve, as desired.
e.g. blueberries, banana, strawberries, almonds, raisins

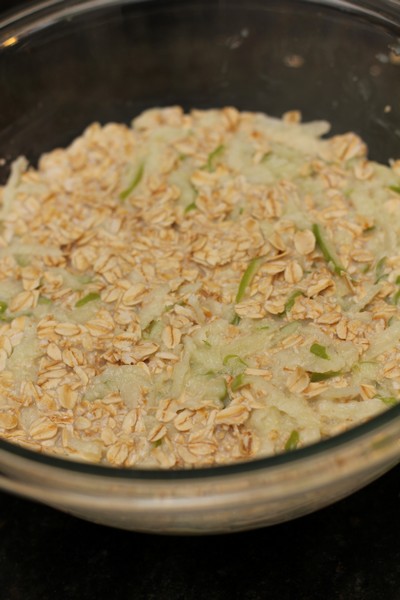
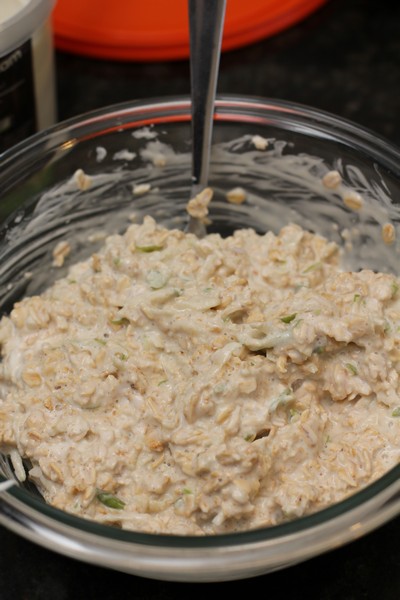
Combine oats, apple, milk and maple syrup. Refrigerate overnight. Stir in the yoghurt and serve with your choice of toppings.

BircherMuesli01

BircherMuesli02

BircherMuesli03


Elsa Cake (Buttercream tutorial) and an Ice-themed Birthday Party

December 13th, 2016

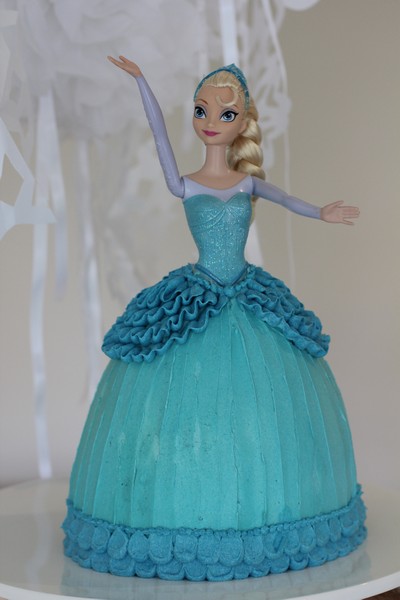
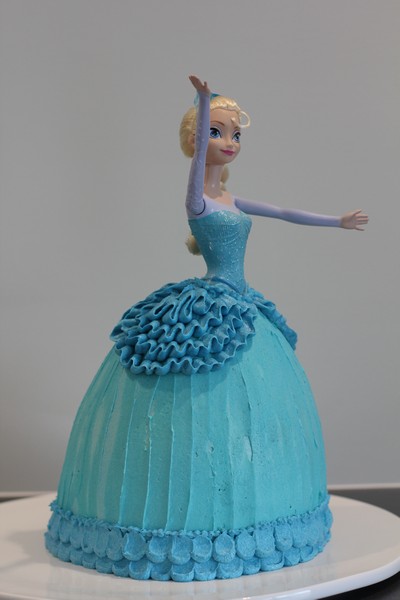
Elsa Cake Buttercream tutorial

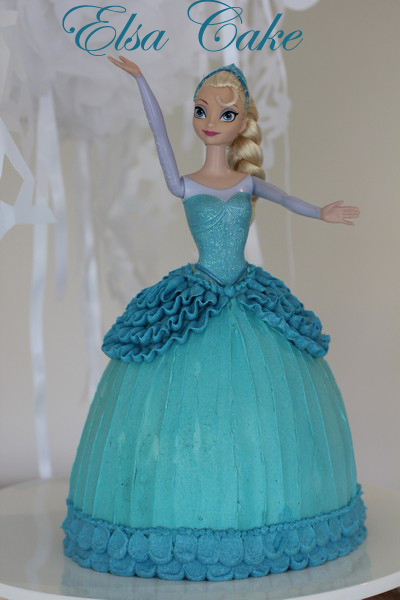
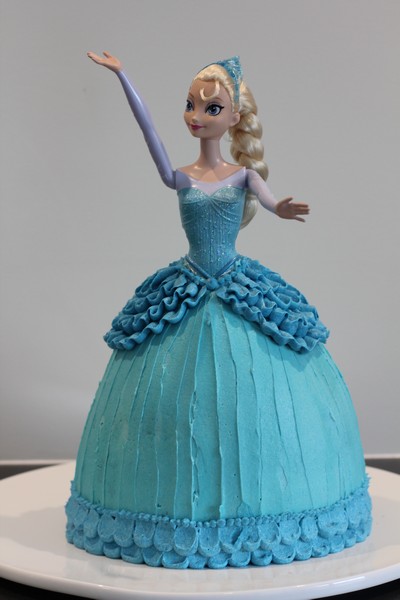
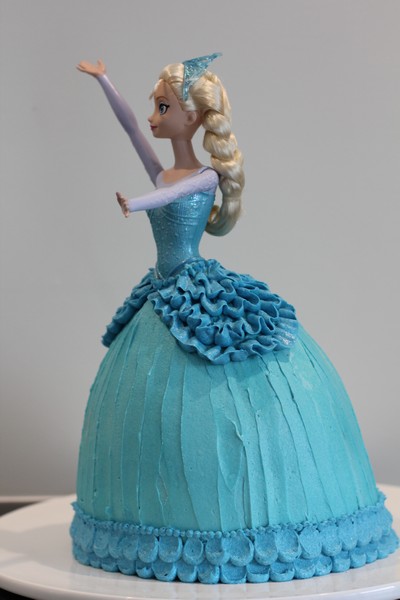
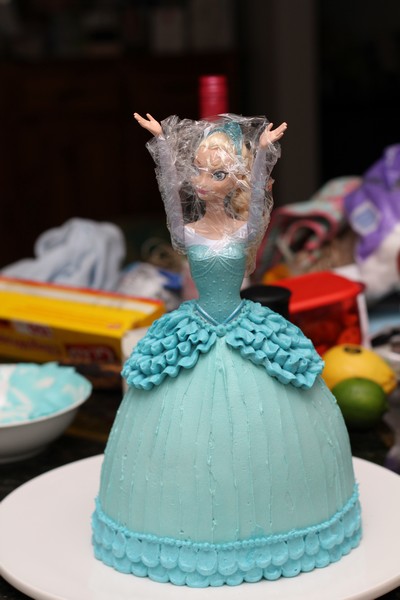
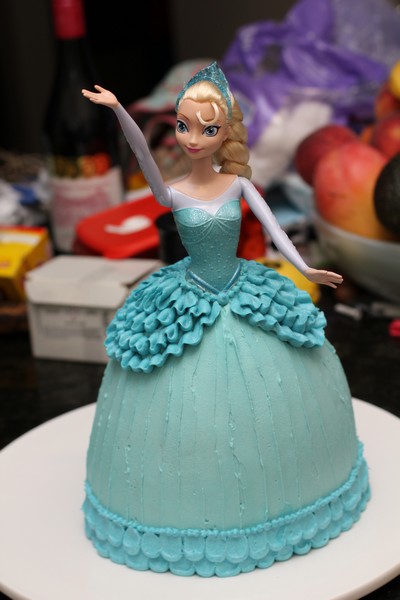
I had a request for a very special birthday this year. An Elsa cake. I’m sure many parents out there have had the same request after the much loved Frozen movie was released back in December 2013.

Elsa Cake

There are some amazing tutorials out there for both buttercream and fondant for Elsa cakes. Although, as my family are not huge fondant fans (and I am not hugely confident with fondant), our cakes are always decorated in Vienna/Buttercream icing. It does limit some of the effects you are able to create, but I (almost) always love a challenge and a bit of problem-solving.

Elsa Cake

Elsa Cake

Elsa Cake

Elsa Cake

To start with, I needed an Elsa whose clothes could come off, and even better – the one I chose had a printed on bodice. I bought mine online here – you may find something similar by searching Elsa sparkle doll. I found the ones in store didn’t look as pretty as the one I ordered.

Elsa doll

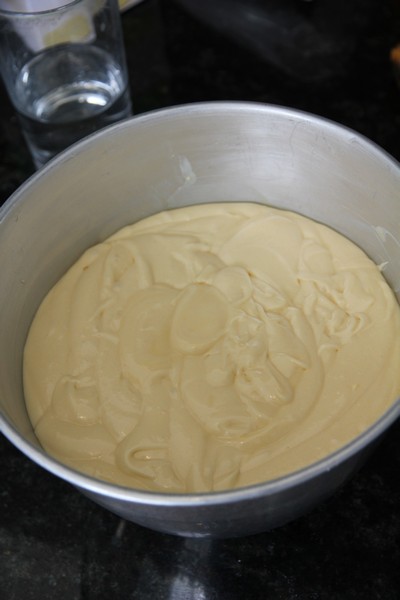
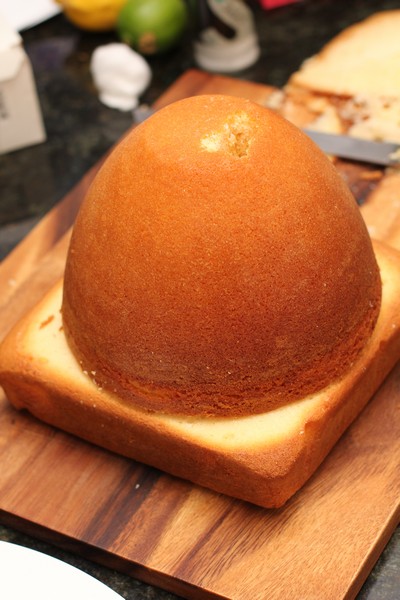
To make the cake, I used a combination of my mum’s Dolly Varden tin as well as a square 20cm tin (you could probably use a round 20 or 22cm tin). For the Dolly Varden tin I used 2 x packet cake mixes (I used Green’s Golden Butter Cake, with a dash of vanilla added to it). This took about 1 hour 20 minutes at 170C (check every 20 minutes, and 10 minutes toward the end). I wrapped the tin in foil/damp newspaper wrap to try and make the cooking a bit more even. Here is a good tutorial to make one. I also made another 2 x packet cake mixes for the square tin + 18 patty cakes. I made the additional cake, as didn’t want to take the legs off a doll I had bought as a present.

Elsa Cake

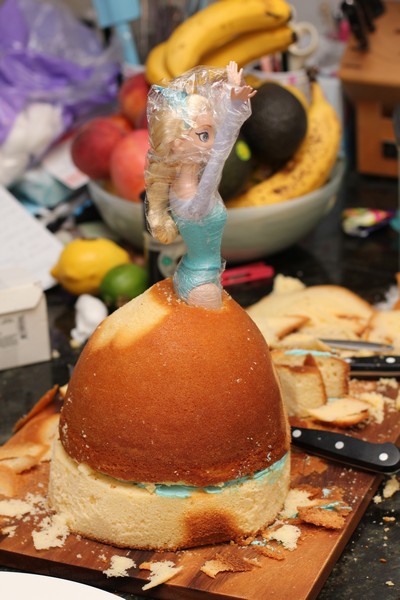
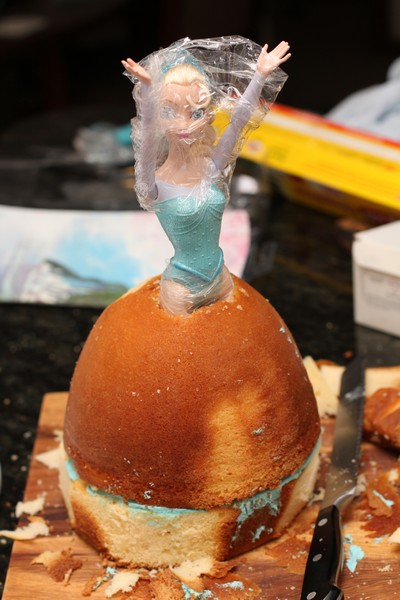
Once the cakes were cooled, I cut out a rectangle toward the front of the dolly Varden cake big enough for Elsa to fit in, scooping out the cake with a fork. I then placed her into the cake, making sure her bottom half was covered with plastic wrap. Here is a good fondant tutorial for an Elsa cake, which i based some of the carving from. Once the rectangle was cut out (and both cakes reasonably flattened), I froze both the cakes – to make carving easier and less messy later – and it’s much easier not having to make the cakes the day before the party.

The day before the party I decorated the cake, using 3 x quantity Vienna cream. (There was more than enough for the cake and some of the patty cakes as well).
375g butter, room temperature
4 1/2 cups icing sugar (I used icing mixutre)
3-6 Tablespoons milk
Beat butter until fluffy and very light in colour. Gradually add the icing sugar and milk alternatively until nice and fluffy. Add colour pastes as required, mix well.

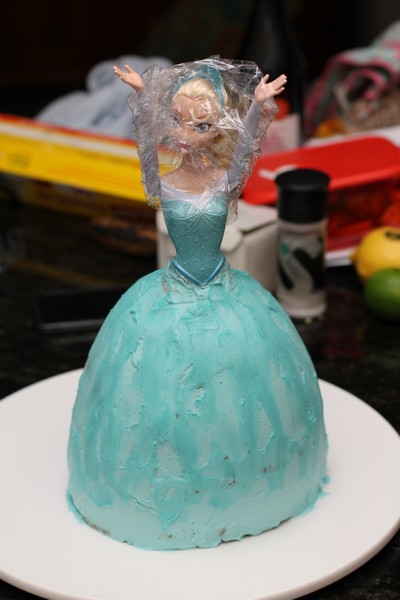
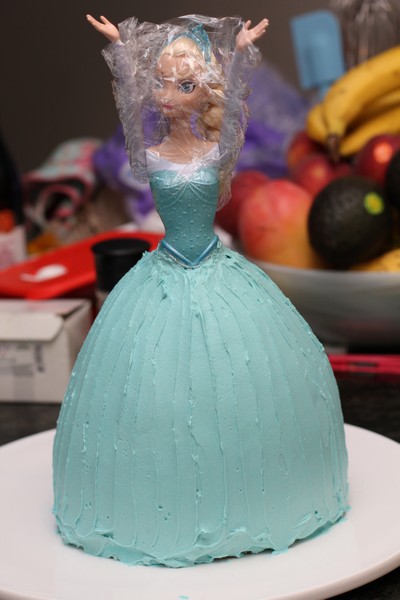
To get the right colour I kept adding a combination of Wilton Icing colours (pastes) – Sky Blue and Royal Blue, until I was happy with the colour of the main part of the dress.

Remove the cakes from the freezer, add some icing between the two layers (you may need to add more icing here, depending how high your cakes rose and where they come up to on Elsa’s legs) and start to carve. The main carving is needed from the square cake, although i made the front of the skirt a little flatter, and took a little off the back as well.

Elsa Cake carving

Elsa Cake carving

Elsa Cake carving

Elsa Cake carving

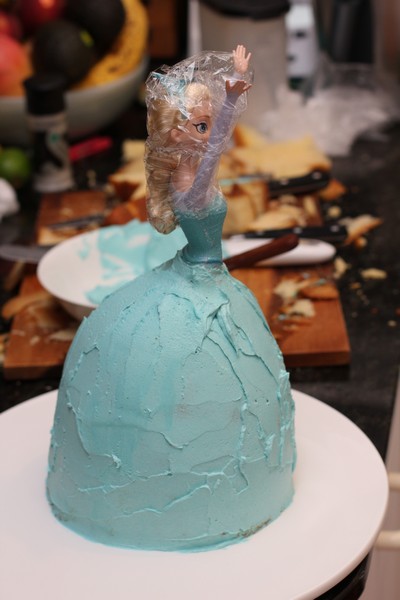
I iced the skirt with a crumb coat (place some icing in a bowl and coat – this way you don’t need to worry about crumbs getting into the small bit of icing in the bowl). Smooth the skirt and place in the fridge for 5-10 minutes. Remove from the fridge and smooth well with a slightly warmed palate knife. Next ice on top of the skirt with another layer of icing. To get the striped look, use the small offset palate knife to stroke down evenly along the skirt.

Elsa Cake Crumb Coat

Elsa Cake smoothed

elsacake10

Elsa Cake smoothed

Here is a Wilton tutorial of the cake I was basing my one off.

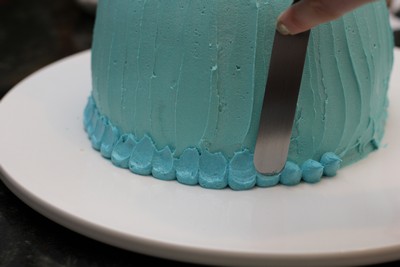
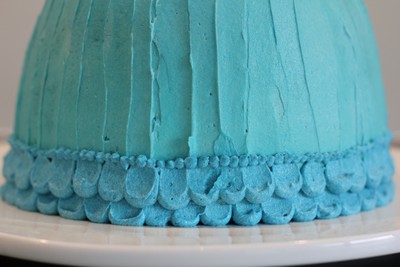
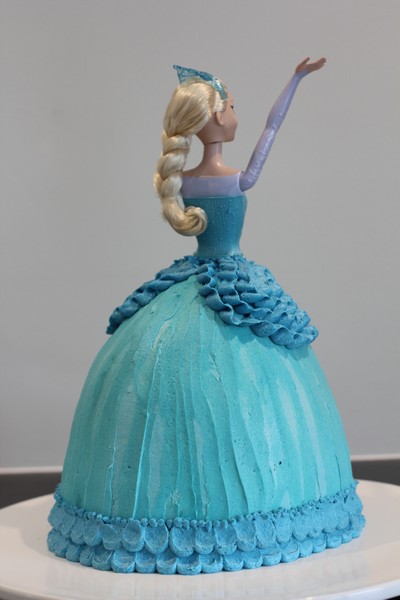
Once you are happy with the main part of the skirt, you can add more of those two coloured pastes until you have a darker and nicely contrasted blue. This is then used for the base decorations and the ruffles. For the base I used 1cm nozzle in a piping bag and piped 5 rounds of icing, then use the small offset palate knife to pull some of the icing upwards (not too far though). Continue around the skirt until it is complete. Do the same pattern offset above this pattern.

Elsa Cake

Elsa Cake Skirt base

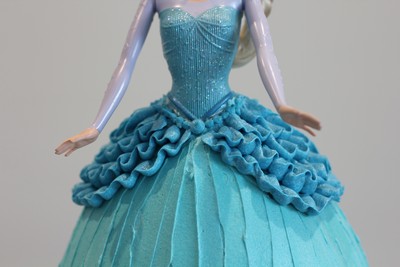
For the ruffles at the top, I used my Wilton tip 104. There are many tutorials on how to use these tips to make beautiful ruffles. My suggestion would be to do a rough outline (either using a template or freehand) to mark where to do the ruffles. My original ones were too small and looked silly, so I had to wipe them off and start again. I’m also not sure whether they were totally even.

Elsa Cake Ruffles

For the piping at the top and bottom, I used a size 4 Bakers Secret nozzle. I just used what I had on hand and what I thought would suit this size skirt – as the cake ended up being quite big (without looking out of proportion).

Elsa Cake

Elsa Cake

I hope this tutorial has helped anyone planning to make a lovely cake for a special someone in their life.

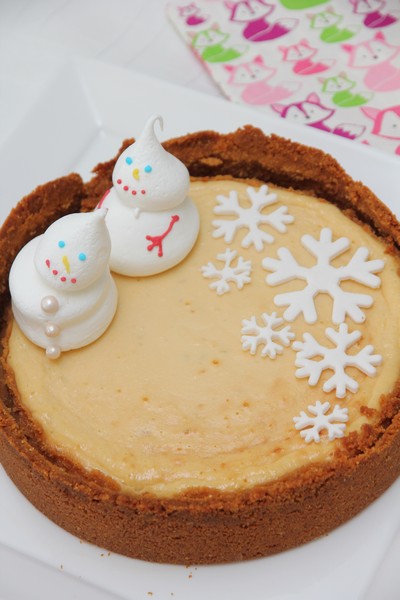
Some of the other things I made for the party included meringue snowmen and a lime pie (topped with snowflake icing decorations). These snowflake decorations were just made using some flower paste and using cutters that are available on ebay.
Elsa Cake Lime Pie

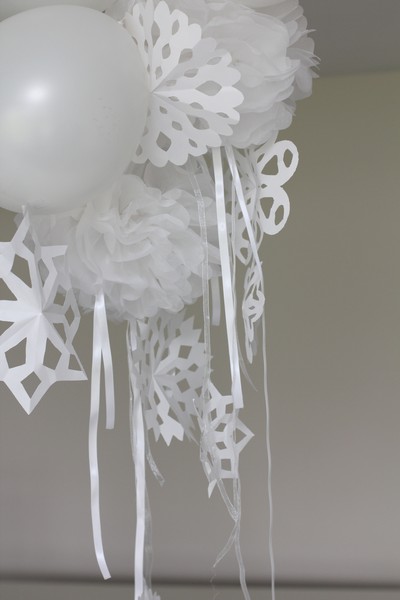
The decorations in the centre of the room were a combination of balloons, tissue paper pom poms and hand made snowflakes – always a fun craft to do!

Decorations

Elsa Cake


Five-hour Roast Lamb with Beans and Olives

September 10th, 2016

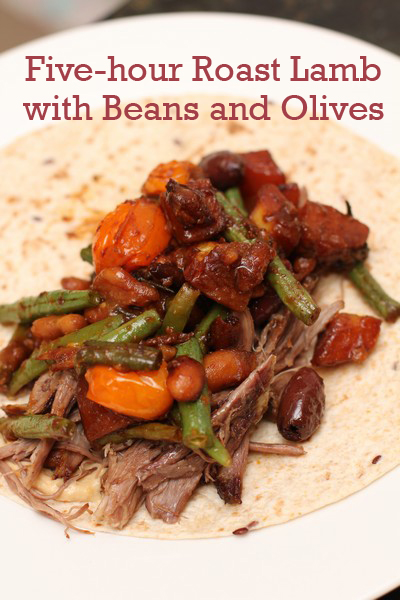
Five Hour Roast Lamb with Beans and Olives

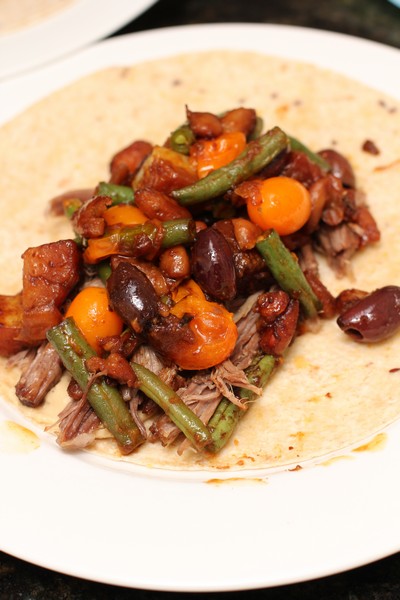
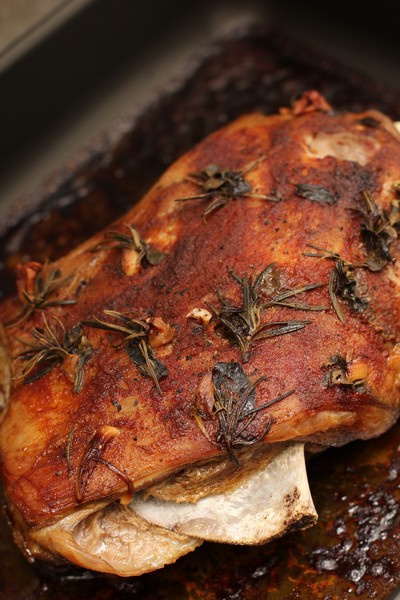
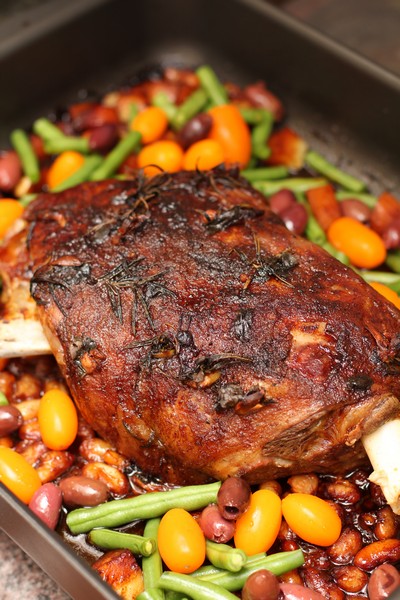
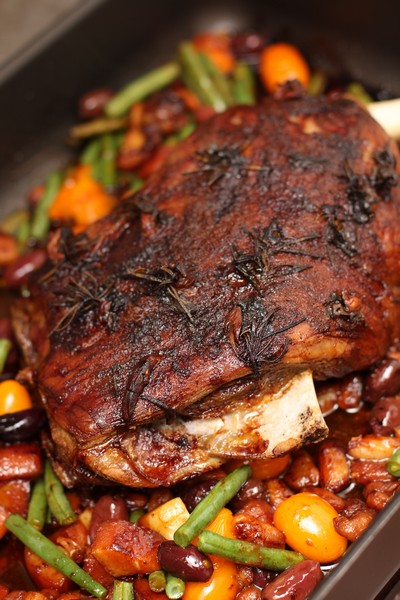
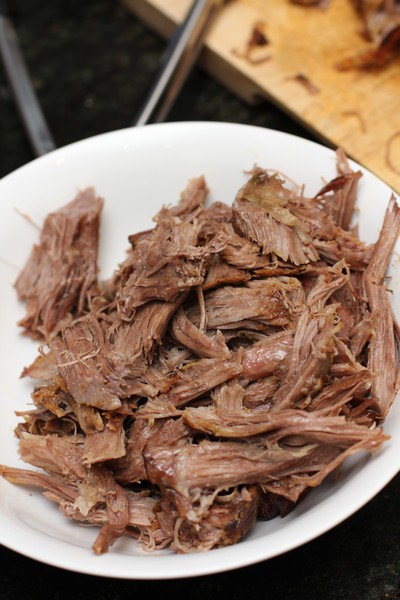
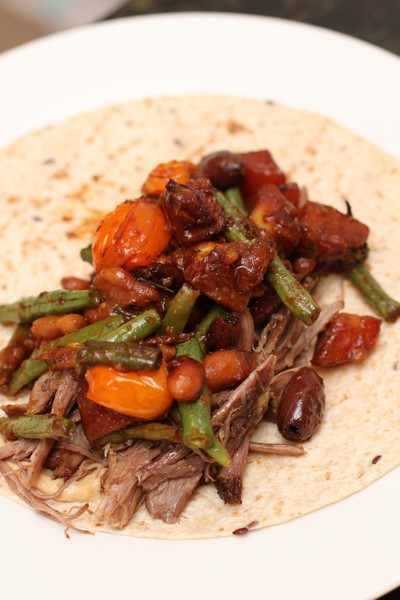
Wow! This was amazing. A wonderful aroma filled the house as this cooked, the meat fell apart and all the lovely juices soaked into the veggies.

Five Hour Roasted Lamb with Beans and Olives

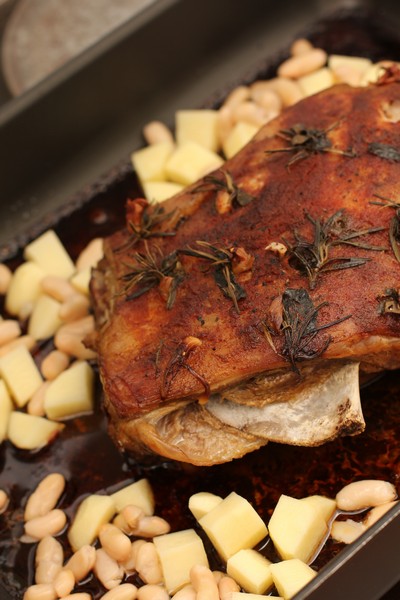
The original recipe contained dried white beans which were cooked in with the lamb the whole time, although I found the liquid evaporated too quickly and the beans stayed dried and started burning. I think the roasting tray used in the original recipe was a bit smaller than what I used, so I decided to use canned beans the second time I made it, to make sure they weren’t crunchy, and they absorbed all the lovely flavours.

Five-hour roast Lamb with Beans and Olives

Recipe adapted from Taste (first found in Coles mag)
Serves: approx 6-8

1.8kg-2kg Lamb Shoulder (with the bone left in)
2 teaspoons smoked paprika
2-4 garlic cloves, thickly sliced
12 small oregano sprigs
12 small rosemary sprigs
2 cups (500ml) chicken stock
400g can white beans / cannellini beans, drained and rinsed
2-4 large potatoes, peeled and chopped (approx 1.5-2cm cubes)
200g green beans, ends trimmed, and chopped in half
200g cherry tomatoes
1/2 cup (80g) kalamata olives
Oregano leaves, extra, to serve
6-8 wholemeal or wholegrain wraps, to serve
Hummus, yoghurt or tatziki, to serve
(Alternatively serve with roasted or steamed veggies)

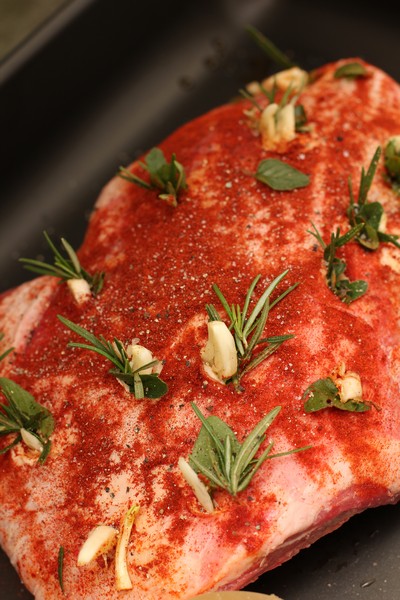
Preheat oven to 140C. Place the lamb on a clean work surface (or in the roasting pan you are using). Sprinkle with paprika. Use a small sharp knife to cut twelve 2cm-deep slits in the surface. Push a garlic slice, oregano sprig and rosemary sprig into each cut. Season well.

Five Hour Roasted Lamb with Beans and Olives

Place lamb in a large deep roasting pan, add chicken stock around the lamb. Tightly cover with foil. Roast for 4½ hours or until lamb is very tender. Depending on the size of your roasting pan, you may need to add some water around the 3-4.5 hour mark to make sure the base doesn’t burn, as the veggies will be cooking in the base. (check after 2 hours, if there is no or little liquid left, add a cup or two of water and check in another hour).

Five Hour Roasted Lamb with Beans and Olives

Increase oven to 200C. Uncover, add the potatoes and cannellini beans and roast for 20 mins or until lamb is golden brown (the potatoes should be almost cooked). Arrange the green beans, tomatoes and olives around the lamb. Roast for a further 10 mins or until beans are tender and tomatoes begin to collapse. Set aside for 10 mins to rest. Sprinkle with extra oregano, if desired. Pull apart the lamb using two forks or tongs and serve with veggies, or serve on wraps with your choice of toppings.

Five Hour Roasted Lamb with Beans and Olives

Five Hour Roasted Lamb with Beans and Olives

Five Hour Roasted Lamb with Beans and Olives

Five Hour Roasted Lamb with Beans and Olives

Five Hour Roasted Lamb with Beans and Olives


Sugar Flowers and An Amazing Birthday

July 15th, 2015

Sugar Flowers

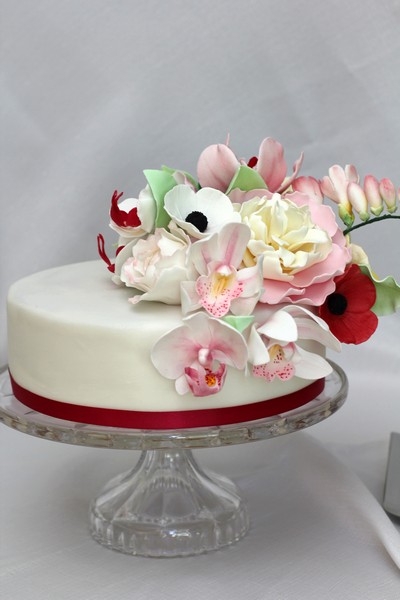
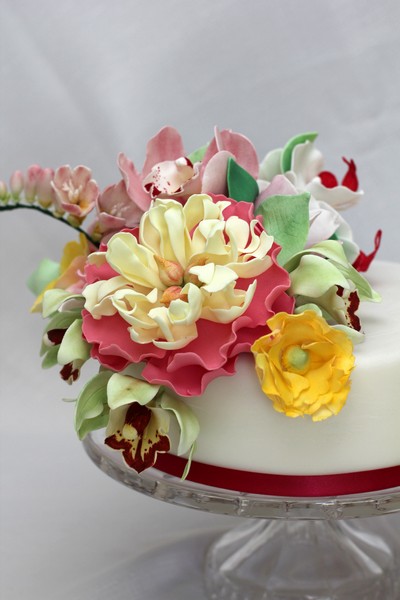
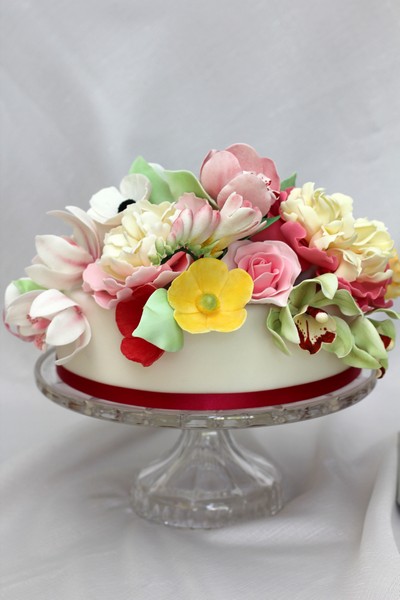
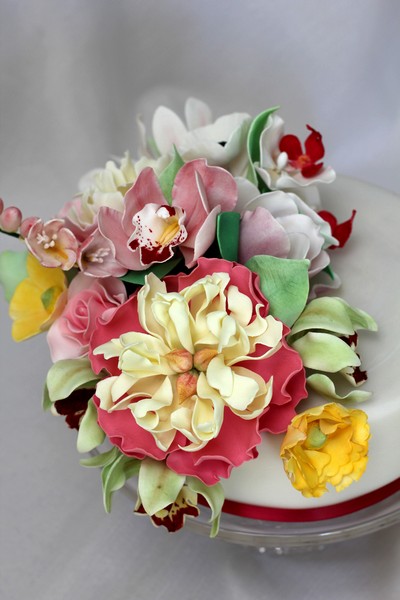
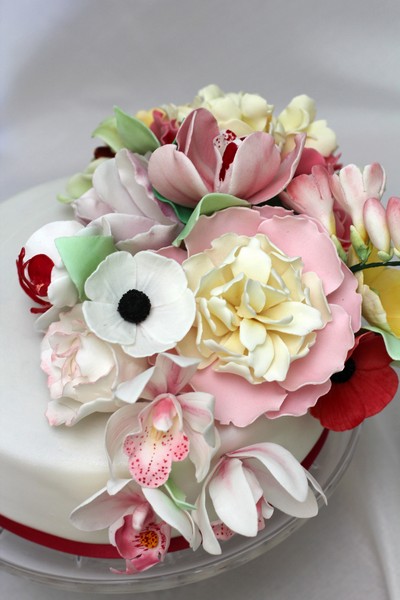
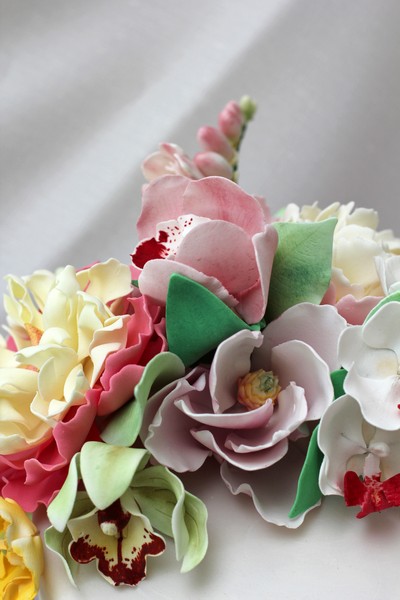
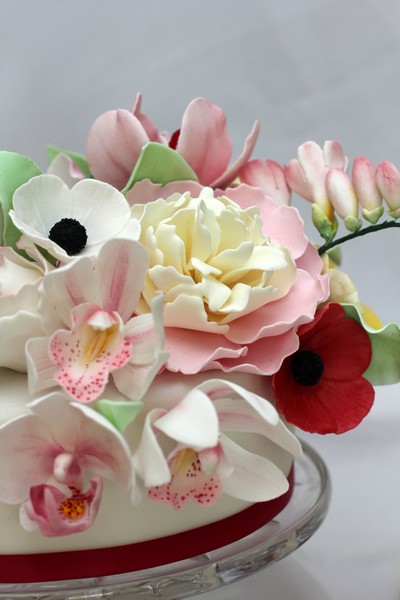
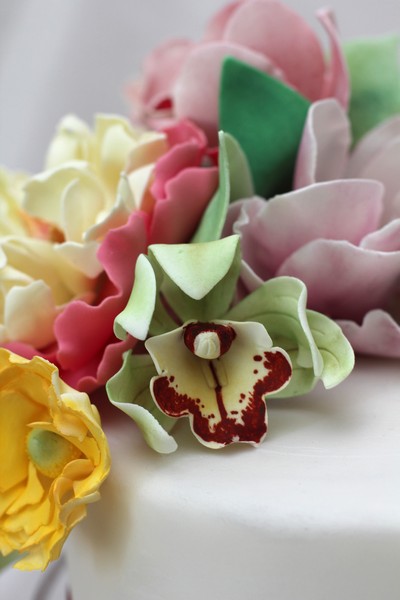
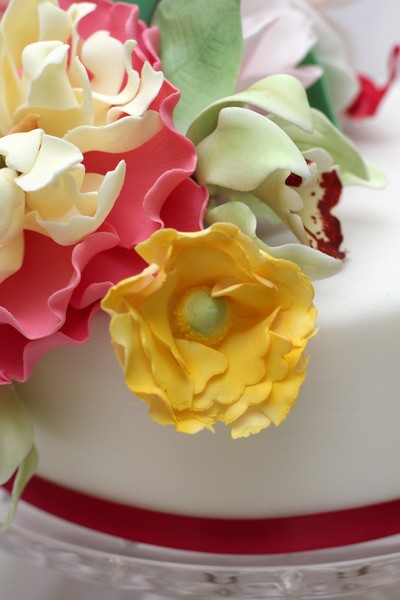
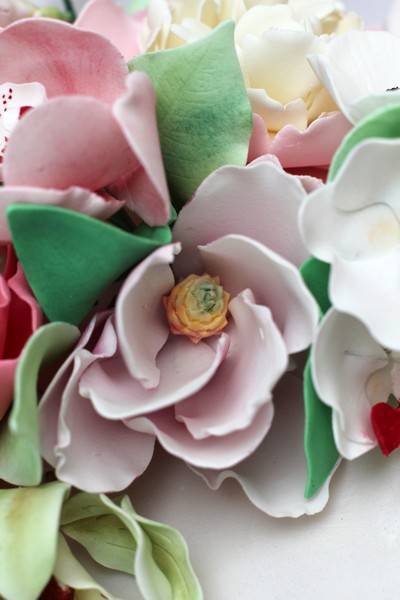
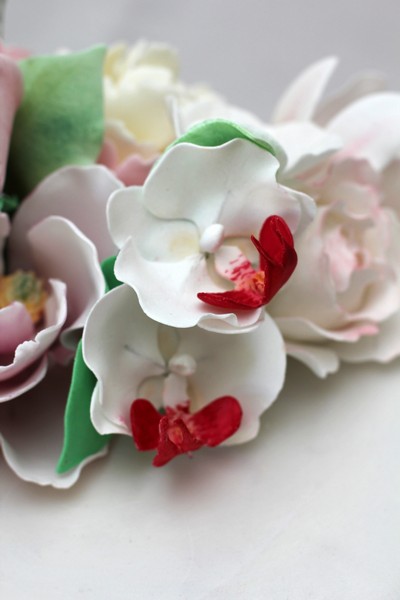
Last year I decided to make my birthday cake. I was inspired by a beautiful cake by Sharon Wee, which had an amazing number and variety of sugar flowers on multiple levels of the cake. I had bought a number of new flower and petal cutters and watched videos, pinned websites and read books and tutorials on making sugar flowers. It took me a number of months to make them all. Each time my child went down for a nap, I would make some petals or assemble a flower, or colour flower paste.
Sugar Flowers

I tried a number of flower paste recipes, and I found I couldn’t quite get the right consistency. They would either dry too quickly and crack whilst I was using it, or take forever to dry and I couldn’t assemble a flower over a short period of time. Some also had issues with tearing whilst trying to thin edges. I am still on a look out for the perfect recipe.

Sugar Flowers
I haven’t had much experience with making cakes that are scrumptious – and can be made a couple of days in advance, and covered with ganache and fondant, and still taste great. So I decided to try a new white chocolate mud cake recipe and a new white chocolate ganache recipe (I bought some fondant). I tried very hard to make the edges on the ganache nice and sharp – it was extremely hot weather, and I just didn’t manage this. I also tried to get the edges of the fondant sharp, again with no success, and I tried to do a luster effect on the outside of the cake, which also didn’t turn out how I would have liked – perhaps I used the wrong brush, wrong ingredients or too small an amount.
Sugar Flowers

I also didn’t have the patience to make up some royal icing, and place the flowers into straws before inserting into the cake. The flowers weren’t in the cake very long, so we just ate around them 🙂

Sugar Flowers

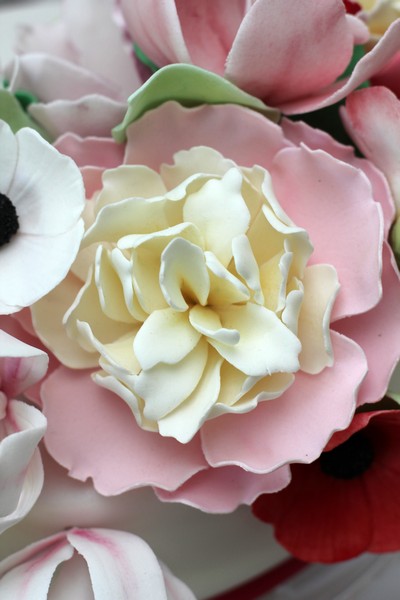
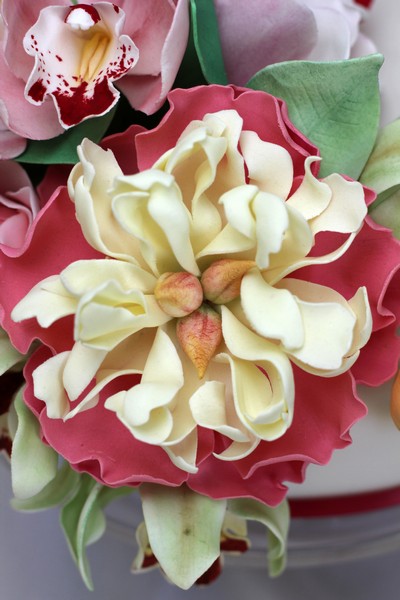
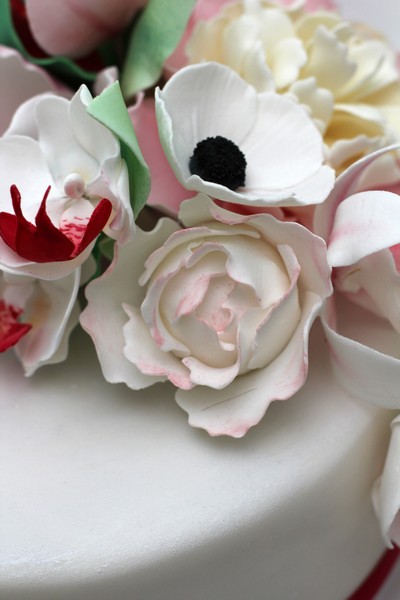
Amongst the flowers I made were peonies, roses, freesia, Phalaenopsis orchids, cymbidium orchids, a magnolia and anemones.

Sugar Flowers

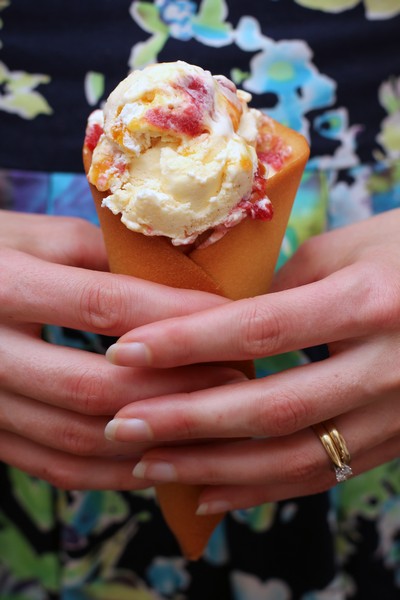
Apart from stressing myself out making the cake for my birthday, I had also made some Pavlova Ice cream, and also asked for help making our own waffle cones – not the best decision, due to the number of people eating ice cream, and the heat of the day. The main meal for lunch was slow cooked pulled pork and coleslaw rolls. All in all a wonderful day. My birthday cake for this year is unlikely going to have the same amount of time and effort put in 🙂

Sugar Flowers

Peony

Peony

Peony

Orchid

Orchid

Sugar Flowers

Orchid

Magnolia

Orchid

Poppy

Pavlova Ice Cream


Iced Vovo Pavlova

June 15th, 2015

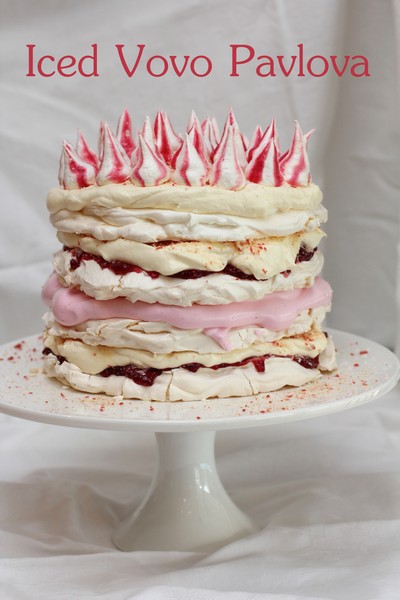
Iced Vovo Pavlova

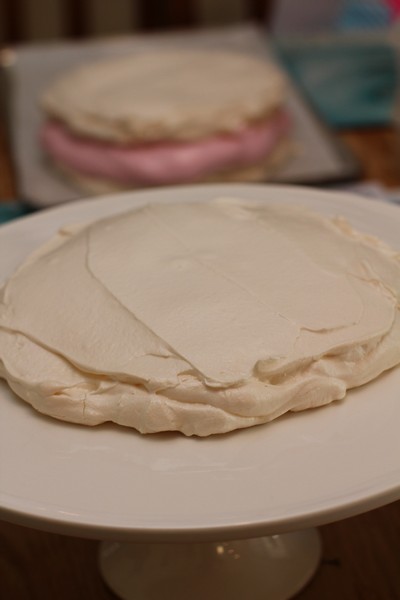
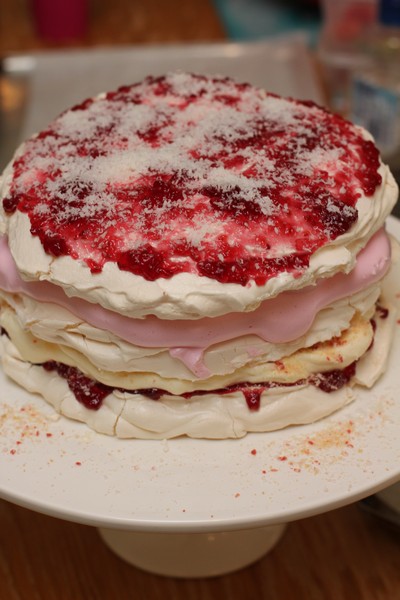
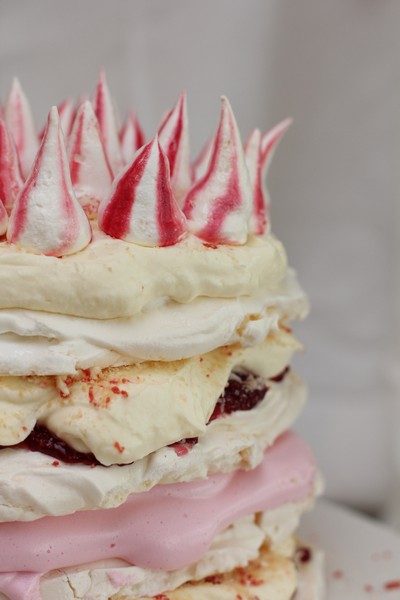
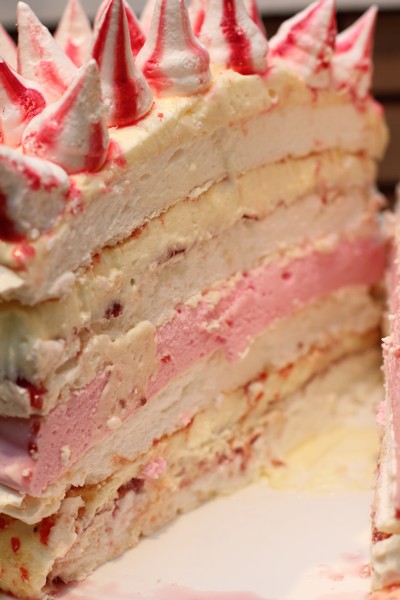
I saw the January Taste Magazine’s Cover whilst looking over a number of my food-related emails – it was an Iced Vovo Pavlova – it looked amazing! I made sure I bought the magazine as I thought this would be lovely to make for Australia Day celebrations.

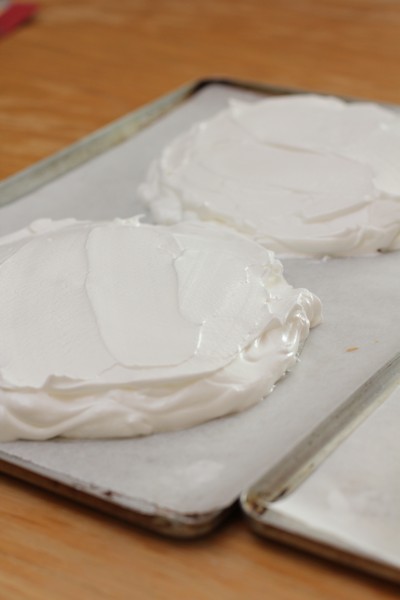
I didn’t choose the best day to make meringue though, a hot and steamy 30C+ day in Sydney. So sweating in the kitchen I persevered and managed to get it all done. Luckily I took the photos straight away, as it starting weeping and melting in the heat (as it was a lot taller than I expected, and didn’t fit in the fridge).

Iced Vovo Pavlova

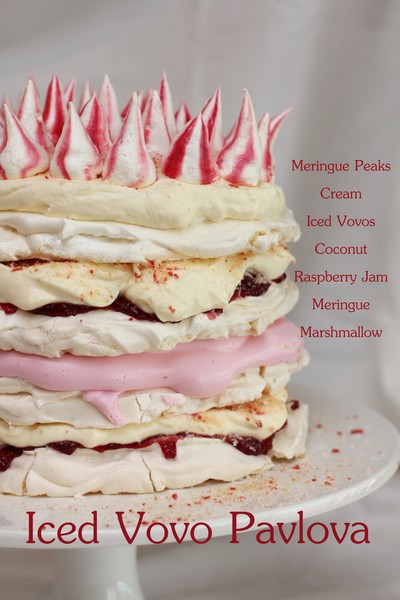
As for taste, I was surprised at how similar to the Iced Vovo biscuit it tasted – due to the combination of coconut, raspberry jam and marshmallow, with lovely cream layers and crunchy pavlova. My only issue, I found it a bit too sweet. I would have liked a cake/sponge/biscuit layer and less meringue, but that’s just me – maybe something to create in the future.

You can find the recipe on Taste if you wish to try it yourself 🙂

Iced Vovo Pavlova

Iced Vovo Pavlova

Iced Vovo Pavlova

Iced Vovo Pavlova

Iced Vovo Pavlova

Iced Vovo Pavlova

Iced Vovo Pavlova

Iced Vovo Pavlova

Iced Vovo Pavlova

Iced Vovo Pavlova

Iced Vovo Pavlova


Spinach, Bacon and Rice Pie

June 12th, 2015

Nick’s veggie beds have really taken off, he has built 5 lovely raised garden beds (quite a while ago now) for his vegetable beds, and we have already had loads of onions, beans, tomatoes, peas, beetroot, pumpkin and even corn!

One of the easy veggies to grow is silverbeet, and we were very happy when ours lasted two seasons! After previously using it in Spanikopita, we decided this time around we would try out some new recipes.

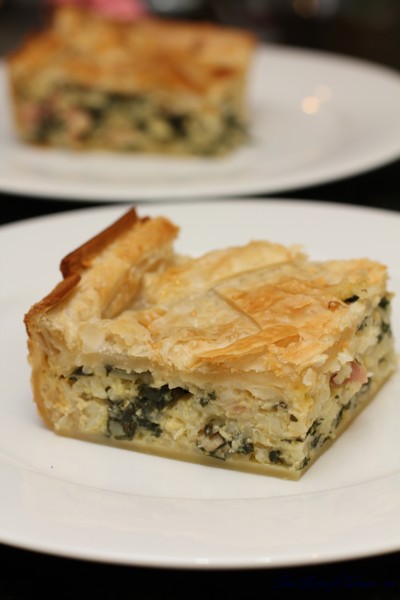
I searched the web and found a very interesting one that had spinach and rice in the pie. To me that sounded a little odd – although I am certainly glad I tried it! It was a lovely pie, the bottom pastry didn’t go soggy, as the mix was not too runny, and all the flavours worked beautifully together. We have already made this pie a couple of times now and it’s great when you have extra silverbeet growing.

Spinach, Bacon and Rice Pie

Recipe adapted from Taste

Serves: 8

1 cup rice
2 cups water
2 sheets frozen, ready-rolled puff pastry, thawed
2 sheets frozen, shortcrust pastry, thawed (you can use extra puff pastry if you prefer)
1 bunch English spinach or silver beet, washed and shredded
1/4 cup peanut oil
2 small onions, finely chopped
2 cups tasty grated cheese
4 rashers bacon, chopped
4 eggs, lightly beaten
2 tablespoons milk, for glazing

Place rice and water in a small saucepan over high heat. Bring to the boil then simmer, covered, for 10-12 minutes (rice should be almost cooked). Rinse under cold water. Drain.

While the rice is cooking, heat 1 tablespoon oil in a medium saucepan over medium heat, cook the onion for 5-10 minutes, until soft (and caramelised if you like), add the bacon and cook another 2-5 minutes. Set aside to cool slightly. (Cooling is not that important if you are rushed on time).

Preheat oven to 220°C. Line a lasagna dish with 2 sheets of shortcrust pastry.

Combine rice, spinach, oil, onion, cheese, bacon and eggs. Mix well. Season with salt and pepper.

Spoon mixture into lasagna dish. Brush edges of pastry lightly with water. Top with remaining puff pastry. Press edges of pastry together (Use any left over puff pastry to decide a criss-cross pattern on top). Brush pastry top with milk. Bake for 18 to 20 minutes or until pastry is golden and crisp. Serve hot or cold.