Archive for January, 2010

Gluten-Free Graham Wafers and Nanaimo Bars – Daring Bakers Challenge January 2010

Wednesday, January 27th, 2010

GrahamWafers&NanaimoBars12

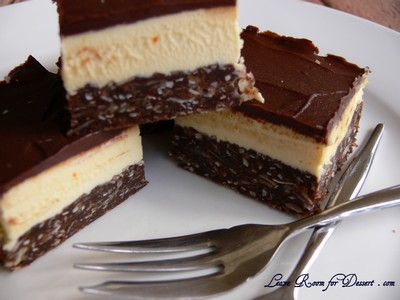
The January 2010 Daring Bakers’ challenge was hosted by Lauren of Celiac Teen. Lauren chose Gluten-Free Graham Wafers and Nanaimo Bars as the challenge for the month. The sources she based her recipe on are 101 Cookbooks and www.nanaimo.ca.
GrahamWafers&NanaimoBars13

I always get excited seeing the new Daring Bakers challenge. I think I start most of my posts with something along those lines…
GrahamWafers&NanaimoBars18

This was a different challenge for two reasons. It was gluten free and we were making a classic Canadian dessert – one which I had never heard of.
GrahamWafers&NanaimoBars23

I’ve always tried to convince myself to make more gluten free products, as I would like to have a few recipes that are suitable for any friends or family who may be celiac or have a gluten intolerance. This is why I was really looking forward to this recipe.
GrahamWafers&NanaimoBars16

Starting with the Graham Wafers – I found the dough was quite sticky, and very difficult to even get into plastic and into the fridge (it probably didn’t help with our humidity and heat). It rolled out very nicely, although I had to work quickly as it started melting very quickly. The aroma from the oven was just lovely, a combination of honey, vanilla and brown sugar. All in all the wafers/biscuits were ok, I probably wouldn’t make them again, unless to make the nanaimo bars.
GrahamWafers&NanaimoBars15

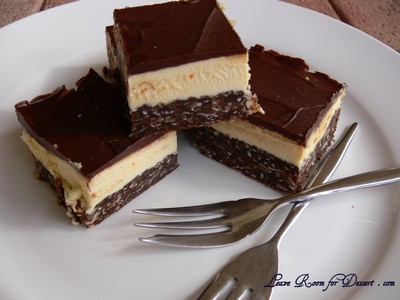
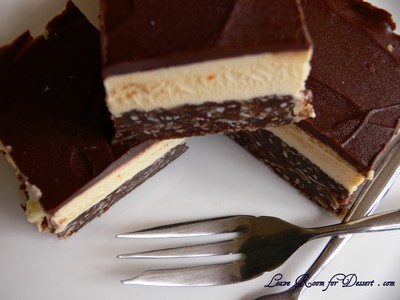
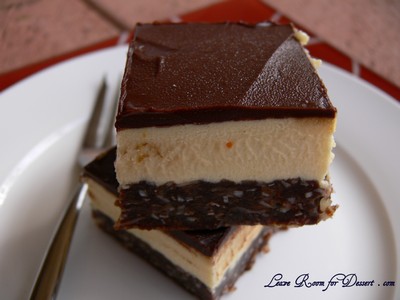
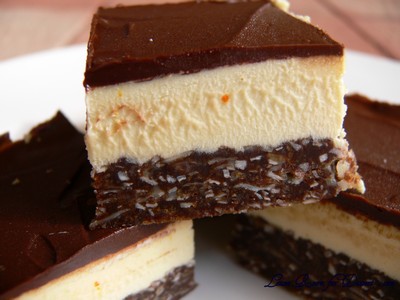
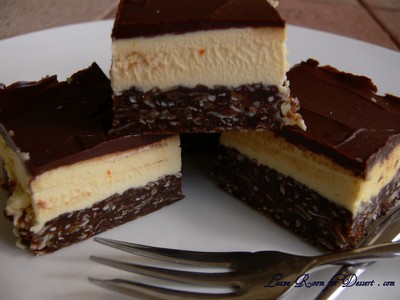
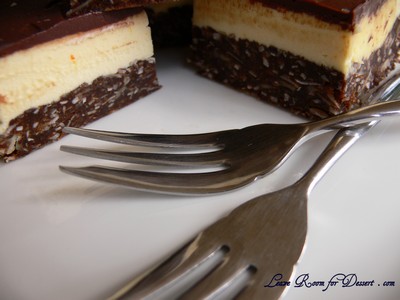
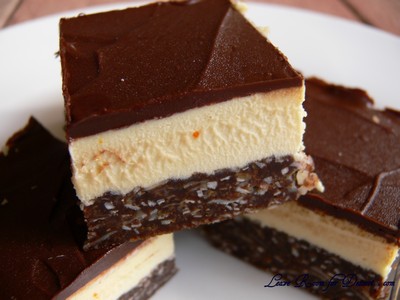
The Nanaimo bars are very nice and quite easy to make. I was expecting the middle layer to be a bit more custard-like, although the butter cream was very nice.
GrahamWafers&NanaimoBars17

Thanks again to Lauren for the great challenge. I’m glad I’ve made some more gluten free sweets and am looking forward to expanding my repertoire.

P.S. Those red/orange spots in the butter cream are from the custard powder.

Gluten-Free Graham Wafers

1 cup (138 g) (4.9 ounces) Sweet rice flour (also known as glutinous rice flour) (I found 138g was 1¼ – 1½ cups)
¾ cup (100 g) (3.5 ounces) Tapioca Starch/Flour (I found 100g was 1 cup)
½ cup (65 g) (2.3 ounces) Sorghum Flour (I used normal rice flour)
1 cup (200 g) (7.1 ounces) Dark Brown Sugar, Lightly packed
1 teaspoon (5 mL) Baking soda
¾ teaspoon (4 mL ) Kosher Salt
7 tablespoons (100 g) (3 ½ ounces) Unsalted Butter (Cut into 1-inch cubes and frozen)
1/3 cup (80 mL) Honey, Mild-flavoured such as clover.
5 tablespoons (75 mL) Whole Milk
2 tablespoons (30 mL) Pure Vanilla Extract

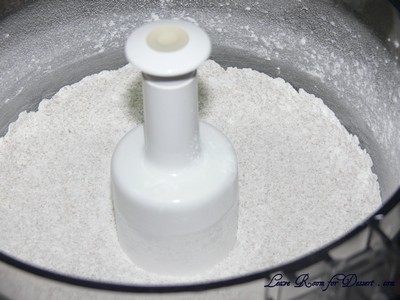
In the bowl of a food processor fitted with a steel blade, combine the flours, brown sugar, baking soda, and salt. Pulse on low to incorporate.
GrahamWafers&NanaimoBars25

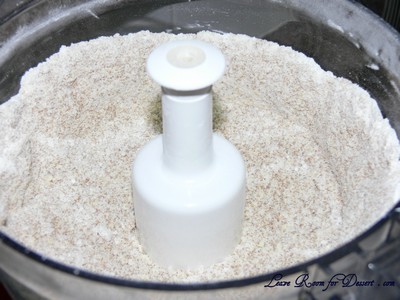
Add the butter and pulse on and off, until the mixture is the consistency of a coarse meal. If making by hand, combine aforementioned dry ingredients with a whisk, then cut in butter until you have a coarse meal. No chunks of butter should be visible.
GrahamWafers&NanaimoBars26

In a small bowl or liquid measuring cup, whisk together the honey, milk and vanilla. Add to the flour mixture until the dough barely comes together. It will be very soft and sticky.
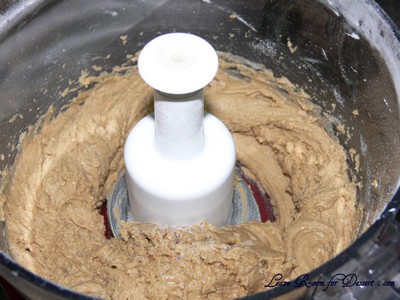
GrahamWafers&NanaimoBars27

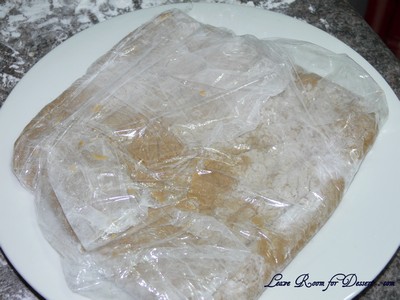
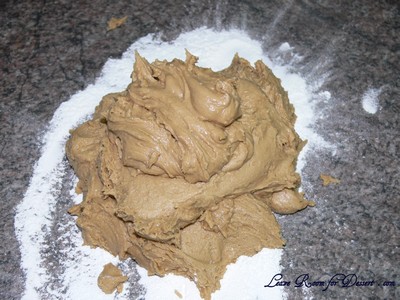
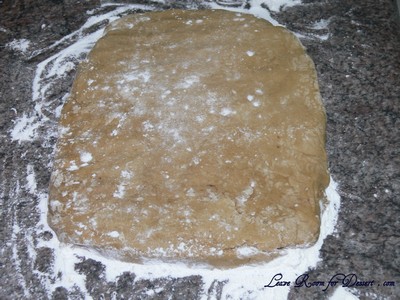
Turn the dough onto a surface well-floured with sweet rice flour and pat the dough into a rectangle about 1 inch thick. Wrap in plastic and chill until firm, about 2 hours, or overnight.
GrahamWafers&NanaimoBars28

GrahamWafers&NanaimoBars29

GrahamWafers&NanaimoBars01

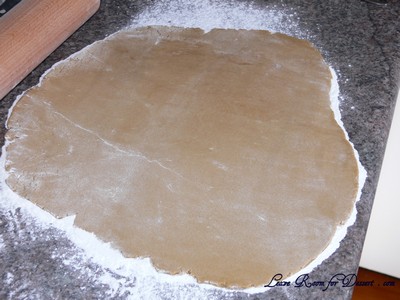
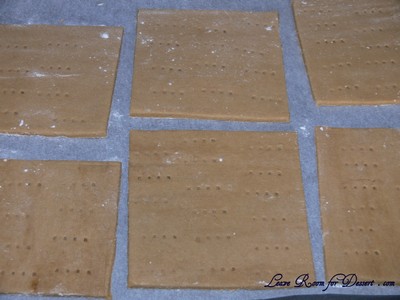
Divide the dough in half and return one half to the refrigerator. Sift an even layer of sweet rice flour onto the work surface and roll the dough into a long rectangle, about 1/8 inch thick. The dough will be quite sticky, so flour as necessary. Cut into 4 by 4 inch squares. Gather the scraps together and set aside. Place wafers on one or two parchment-lined baking sheets. Chill until firm, about 30 to 45 minutes. Repeat with the second batch of dough.
GrahamWafers&NanaimoBars02

GrahamWafers&NanaimoBars03

Adjust the rack to the upper and lower positions and preheat oven to 350 degrees Fahrenheit (180 degrees Celsius).

Gather the scraps together into a ball, chill until firm, and re-roll. Dust the surface with more sweet rice flour and roll out the dough to get a couple more wafers.

Prick the wafers with toothpick or fork, not all the way through, in two or more rows.

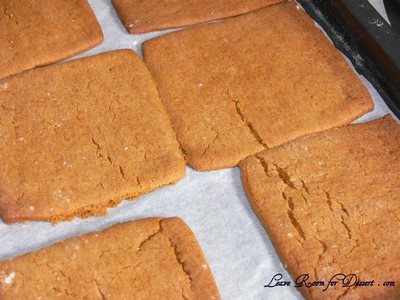
Bake for 25 minutes, until browned and slightly firm to the touch, rotating sheets halfway through to ensure even baking. Might take less, and the starting location of each sheet may determine its required time. The ones that started on the bottom browned faster.
GrahamWafers&NanaimoBars04

When cooled completely, place enough wafers in food processor to make 1¼ cups (300 mL/ 160g) of crumbs. Another way to do this is to place in a large ziplock bag, force all air out and smash with a rolling pin until wafers are crumbs.

Nanaimo Bars

For Nanaimo Bars — Bottom Layer
½ cup (115 g) (4 ounces) Unsalted Butter
¼ cup (50 g) (1.8 ounces) Granulated Sugar
5 tablespoons (75 mL) Unsweetened Cocoa
1 Large Egg, Beaten
1¼ cups (300 mL) (160 g) (5.6 ounces) Gluten Free Graham Wafer Crumbs (See recipe above)
½ cup (55 g) (1.9 ounces) Almonds (Any type, Finely chopped)
1 cup (130 g) (4.5 ounces) Coconut (Shredded, sweetened or unsweetened) (I found 1 cup weighed ~65g)
For Nanaimo Bars — Middle Layer
½ cup (115 g) (4 ounces) Unsalted Butter
2 tablespoons and 2 teaspoons (40 mL) Heavy Cream
2 tablespoons (30 mL) Vanilla Custard Powder (Such as Bird’s. Vanilla pudding mix may be substituted.)
2 cups (254 g) (8.9 ounces) Icing Sugar
For Nanaimo Bars — Top Layer
4 ounces (115 g) Semi-sweet chocolate
2 tablespoons (28 g) (1 ounce) Unsalted Butter

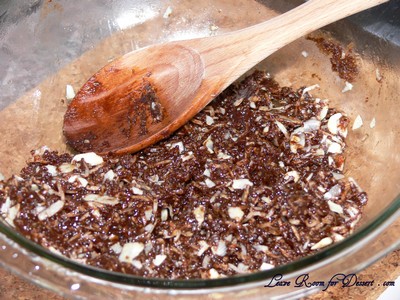
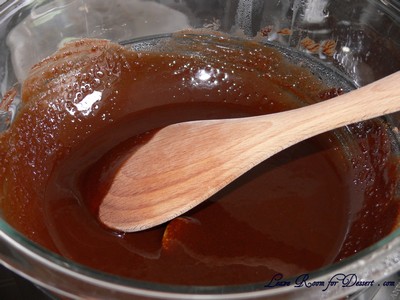
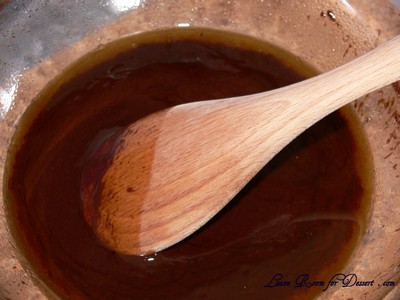
For bottom Layer: Melt unsalted butter, sugar and cocoa in top of a double boiler. Add egg and stir to cook and thicken. Remove from heat. Stir in crumbs, nuts and coconut. Press firmly into an ungreased 8 by 8 inch pan.
GrahamWafers&NanaimoBars05

GrahamWafers&NanaimoBars06

GrahamWafers&NanaimoBars07

For Middle Layer: Cream butter, cream, custard powder, and icing sugar together well. Beat until light in colour. Spread over bottom layer.
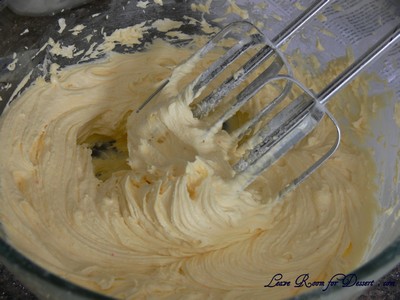
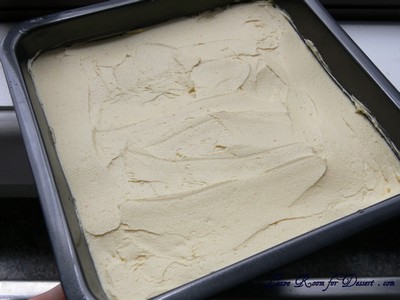
GrahamWafers&NanaimoBars08

GrahamWafers&NanaimoBars10

For Top Layer: Melt chocolate and unsalted butter over low heat. Cool. Once cool, pour over middle layer and chill.
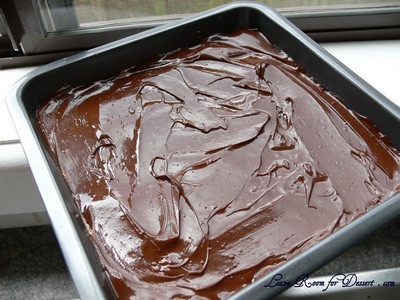
GrahamWafers&NanaimoBars11

Additional Information:
These bars freeze very well, so don’t be afraid to pop some into the freezer.
The graham wafers may be kept in an airtight container for up to 2 weeks. Mine lasted about that long.
If making the graham crackers with wheat, replace the gluten-free flours (tapioca starch, sweet rice flour, and sorghum flour) with 2 ½ cups plus 2 tbsp of all-purpose wheat flour, or wheat pastry flour. Watch the wheat-based graham wafers very closely in the oven, as they bake faster than the gluten-free ones, sometimes only 12 minutes.
For the Nanaimo Bars, if making with wheat, replace the gluten-free graham wafer crumbs with equal parts wheat graham wafer crumbs!
GrahamWafers&NanaimoBars14

Lamingtons

Tuesday, January 26th, 2010

Lamingtons 11

Happy Australia Day!
Lamingtons 09

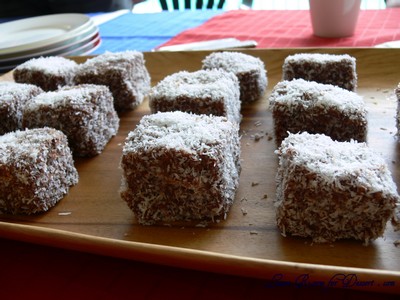
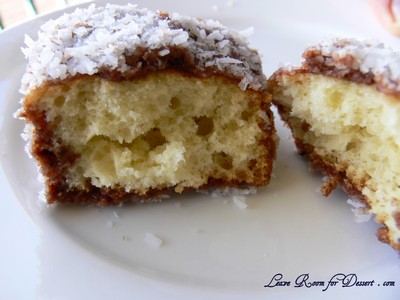
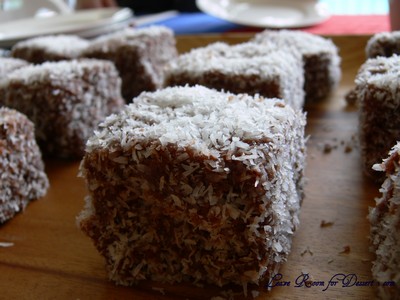
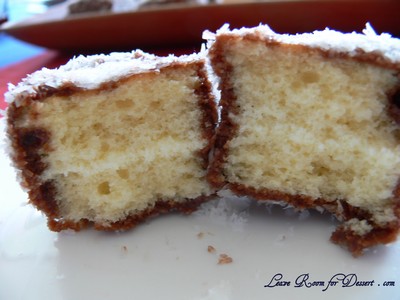
I thought I would celebrate by posting one of Australia’s favourite cakes – the Lamington. It is said to have originated in Queensland around the 1900’s, where Lord Lamington’s (the governor at the time) chef was given short notice to provide food for guests. He quickly dipped some old sponge in chocolate and coconut and the guests enjoyed it immensely.

Lamingtons 12

Lamingtons are a part of our history, present and future. Schools and other organisations often fund-raise by selling lamingtons in “lamington drives”.

Lamingtons 08

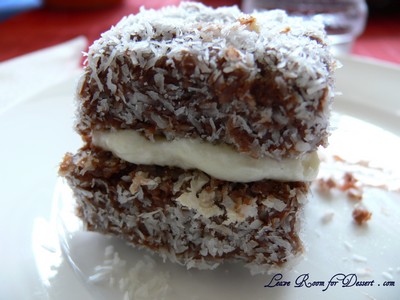
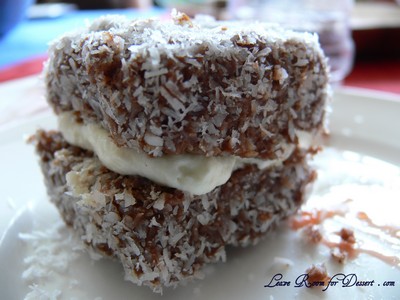
You can serve them plain or with a thin amount of jam and/or some lovely whipped cream in the middle of the sponge.

Time to go have our BBQ… (and I won’t be having shrimp or prawns on the BBQ – but I will be having lamb tonight).

Lamingtons 10

Lamingtons

(recipe adapted from the recipe that came with the Lamington tin I bought)

125g butter
2/3 cup sugar
2 eggs
2 cups self raising flour
½ teaspoon salt
¾ cup milk
½ teaspoon vanilla essence

Chocolate Icing
30g butter
½ cup boiled water
4 cups icing sugar or icing mixture
2/3 cup cocoa
½ teaspoon vanilla essence
3 cups desiccated coconut

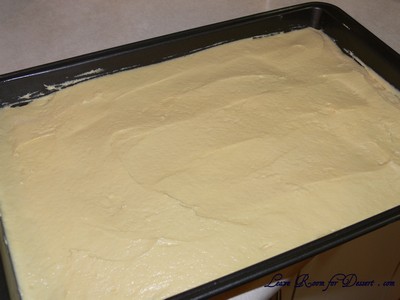
Cream butter and sugar until light and fluffy. Add eggs, one at a time, beating well between each addition. Sift flour and salt. Add alternately with milk to mixture. Add vanilla essence. Blend well but do not over beat. Add a little more or less milk if necessary to form a soft dropping consistency. Spread evenly into a lightly greased lamington tray.

Lamingtons 16

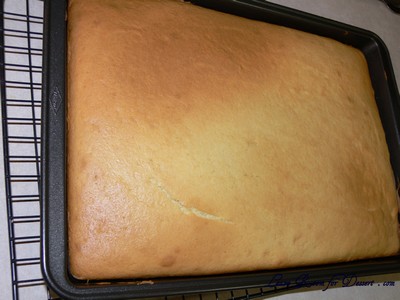
Bake in moderate oven 180˚C for 25-35 minutes or until cooked.
Turn out and cool on a cake rack. (You can use it straight away or leave it in an airtight container overnight).

Lamingtons 17

Cut into 32 squares.

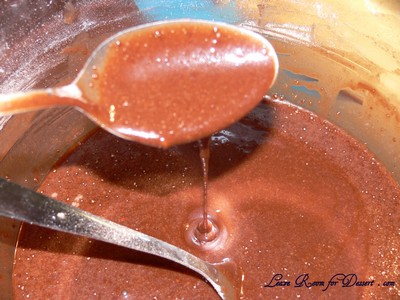
For chocolate icing – melt butter in ¼ cup boiling water. Sift icing sugar with cocoa. Add liquid, mixing well. Add vanilla essence. The icing must be thin so that squares of cake can be readily coated. Add sufficient boiling water to form this consistency.

Lamingtons 22

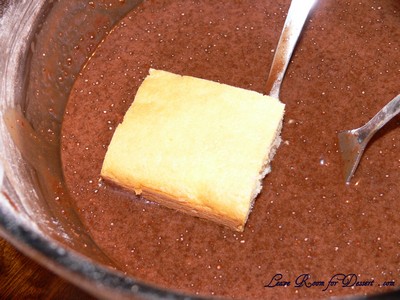
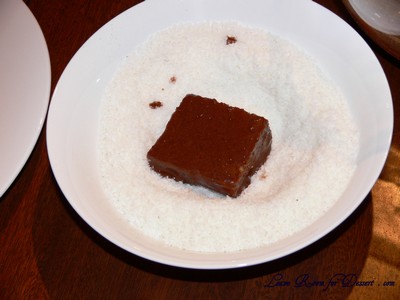
Dip and roll each square into the chocolate icing and let it soak for 15 sec or more and then roll in coconut. If you want to put strawberry jam and/or whipped cream in the cake, slice the sponge through the middle and spread over the cream. Dip carefully in the chocolate mix. Alternatively (if the sponge moves around too much), cut the sponge in half when already coated and then fill with cream.

Lamingtons 01

Lamingtons 23

Lamingtons 13

Ricotta Hotcakes with Honeycomb Butter by Bill Granger

Saturday, January 23rd, 2010

PancakeBillGranger09

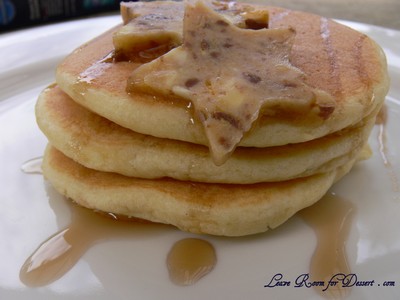
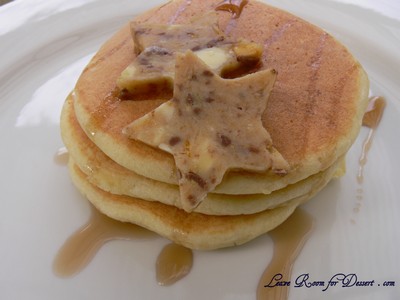
Everyone probably knows by now that I love pancakes.

PancakeBillGranger08

Many people have recommended I go and try Bill Granger’s pancakes/hotcakes at his restaurant (please disregard my use of the word pancake – it seems more natural for me to say pancake then hotcake). Bill’s pancakes are described as gorgeous fluffy soft ricotta pancakes with a beautiful honeycomb butter served with banana. I have been to Bill’s previously, although didn’t have enough room to fit in the pancakes after my meal. I’ll make sure I go back soon to try the pancakes.

PancakeBillGranger10

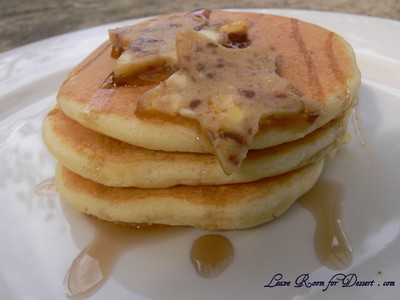
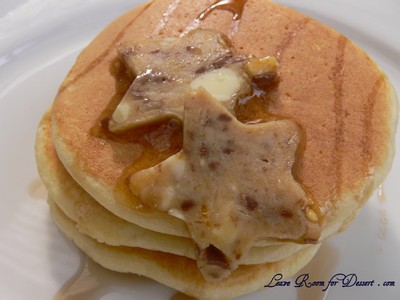
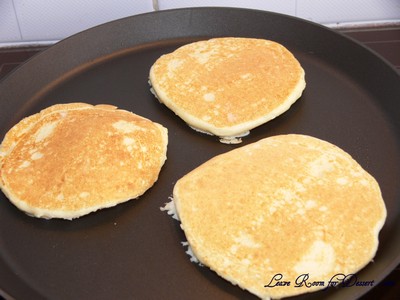
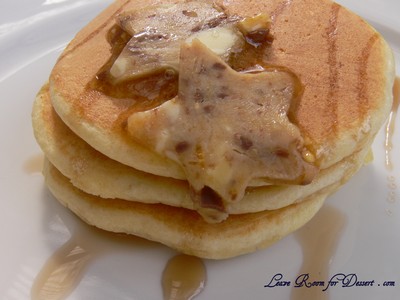
In the meantime, I decided to make some at home – good decision. These are absolutely wonderful pancakes, and the combination with the honeycomb butter and banana makes them one of the best ways to start the weekend. I’ve made them a number of times already, and continue to go back to the recipe.

PancakeBillGranger01

Ricotta Hotcakes with Honeycomb Butter by Bill Granger

Recipe from Bill Granger found on AWW Ninemsn

Serving size: Serves 6

1 1/3 cups (225g) ricotta
3/4 cup (170ml) milk
4 eggs, separated
1 cup (140g) plain flour
1 teaspoon baking powder
Pinch of salt
50g butter

banana
honeycomb butter, sliced (below)
icing sugar for dusting

Honeycomb Butter (You will need less than half of this)
250g unsalted butter, softened
100g sugar honeycomb, crushed with a rolling pin (I used a couple violet crumbles, chopped finely, which worked very well as you get bits of chocolate in the butter)
2 Tablespoons honey

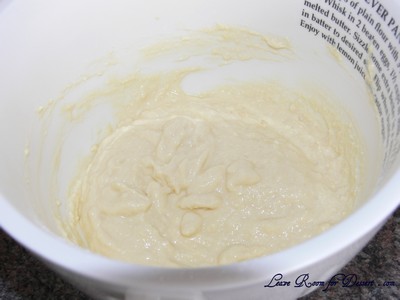
Place ricotta, milk and egg yolks in a mixing bowl and mix to combine. Sift the flour, baking powder and salt into a bowl. Add to the ricotta mixture and mix until just combined.

PancakeBillGranger03

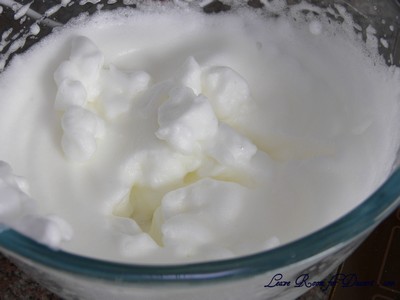
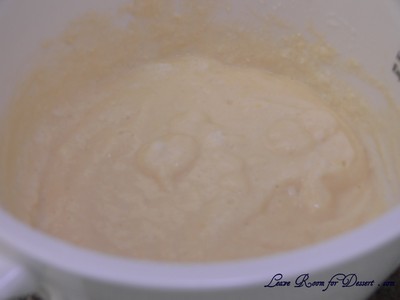
Place egg whites in a clean dry bowl and beat until stiff peaks form. Fold egg whites through batter in two batches, with a large metal spoon.

PancakeBillGranger04

PancakeBillGranger05

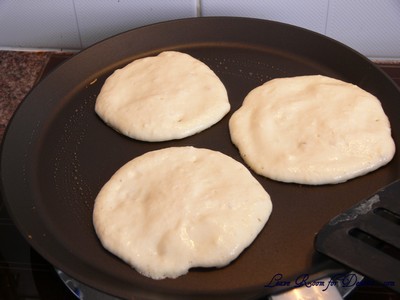
Lightly grease a large non-stick frying pan with a small portion of butter and drop 2 tablespoons of batter per hotcake into the pan (don’t cook more than 3 per batch).

PancakeBillGranger06

Cook over a low to medium heat for 2 minutes, or until hotcakes have golden undersides. Turn hotcakes and cook on the other side until golden and cooked through. Transfer to a plate and quickly assemble the other ingredients.

PancakeBillGranger07

Slice one banana lengthways onto a plate, stack three hotcakes on top with a slice of honeycomb butter. Dust with icing sugar.

Honeycomb butter
Place all ingredients in a food processor and blend until smooth. Shape into a log on plastic wrap, roll, seal and chill in a refrigerator for 2 hours.
Store any leftover honeycomb butter in the freezer, it’s great on toast.

PancakeBillGranger02

In the Press – CLEO Magazine February 2010

Wednesday, January 20th, 2010

Cleo04

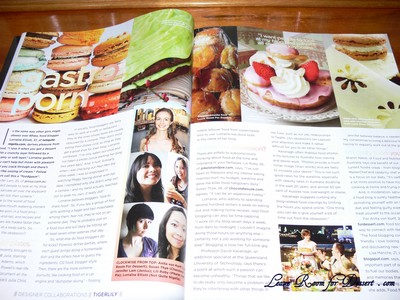
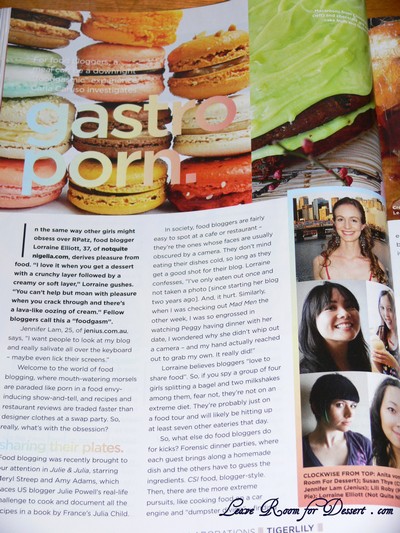
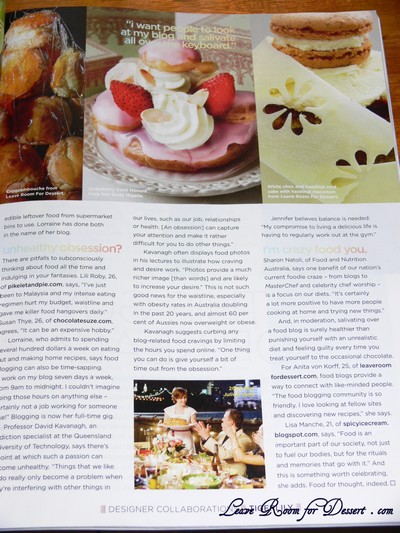
The February issue of CLEO Australia has just been released and has a double spread article on “gastro porn…” describing the obsessions and quirks of food bloggers everywhere, along with our aim to make and photograph deliciously tempting food.

Cleo02

This is the first time I have been mentioned in the press, so I am quite excited 🙂 There is one small comment from me about the blogging atmosphere, with a photo of my Croquembouche and White Chocolate and Hazelnut Cake with Hazelnut Macaron. The article also displayed photos and comments from the following lovely and talented Australian food bloggers: Lorraine from Not Quite Nigella, Jennifer from Jenius, Lili from Piklet and Pie, Susan from Chocolate Suze and Lisa from Spicy Icecream.

Cleo03

Pork and Fennel Sausage Pasta and Chocolate Fudge Cakes with Coffee Syrup – Cooking Class 13

Sunday, January 17th, 2010

PorkFennelPastaChocCake12

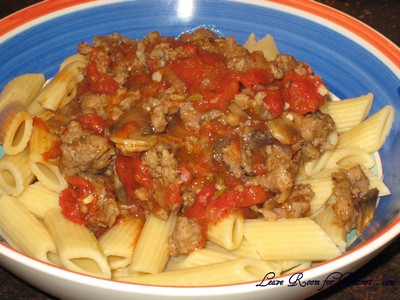
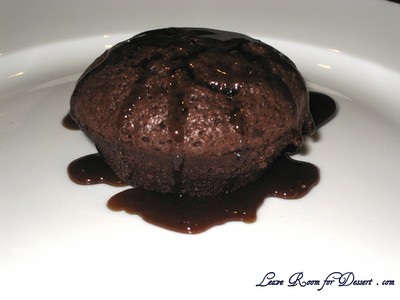
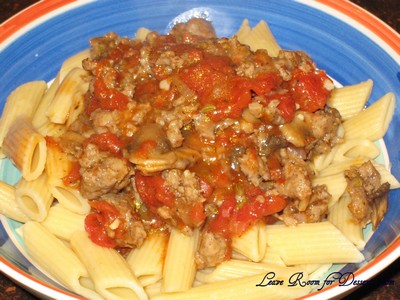
Trying new dishes is one of the best parts with our family cooking classes. I don’t think either of these recipes would have been at the very top of my list of dishes to make. Although after trying them I feel like making it again – and I will. (It’s been quite a while since this class – so I’m definitely craving the pasta right now…)

PorkFennelChocCake2

There wasn’t much hassle with either of these meals and both resulted in a great taste. I have been wondering if there is another way to get the same flavours, without having to buy so many pork and fennel sausages (as this gets a bit expensive if cooking for a large number of people).

PorkFennelPastaChocCake10

BTW – I’ve been very busy intently reading through the Twilight series. I’ve just started “eclipse” (the 3rd) and am enjoying them thoroughly. If you’ve read them – did you enjoy them? (obviously without giving away any info 🙂 )

Pasta with Pork and Fennel Sausages

Serves: 4

6 Italian pork and fennel sausages (about 550g/1 lb 4 oz)
1 tbsp olive oil
1 small red onion, finely chopped
2-3 garlic cloves, crushed
½ tsp chilli flakes
300g (10 ½ oz) field or button mushrooms, thinly sliced
800g (1lb 12 oz) tinned diced tomatoes
1 tbsp finely chopped thyme
500g (1lb 2 oz) penne rigate
grated parmesan cheese, to serve

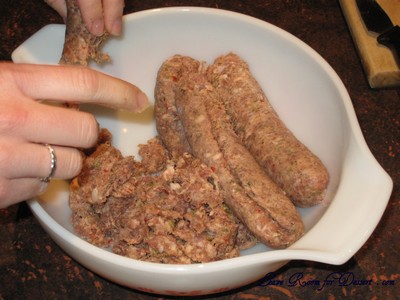
Split the sausages open, remove and crumble the filling and discard the skins.

PorkFennelPastaChocCake07

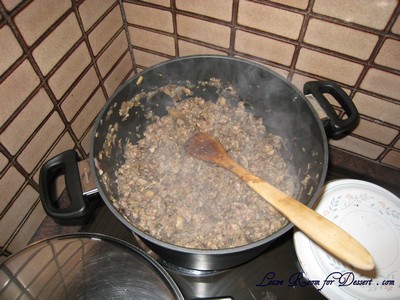
Heat the oil in a large saucepan over medium-high heat and cook the onion for 3-4 minutes, or until fragrant and transparent. Add the garlic, chilli flakes, mushrooms and crumbled sausage meat. Cook over high heat, stirring gently to mash the sausage meat, for 4-5 minutes, or until the meat is evenly browned. If necessary, use a tablespoon to remove any excess fat from the pan, leaving about a tablespoon of oil. Continue to cook, stirring once or twice, for 10 minutes.

PorkFennelPastaChocCake08

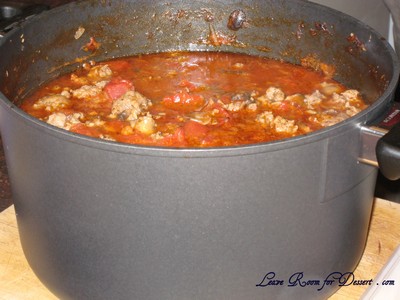
Stir in the tomato and thyme, then bring the sauce to the boil. Cover and cook over medium-low heat for 20 minutes, stirring occasionally.

PorkFennelPastaChocCake09

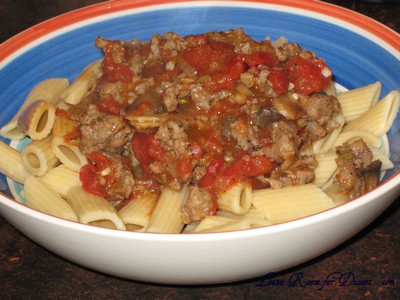
Meanwhile, cook the penne rigate in a large saucepan of rapidly boiling salted water until al dente. Drain well, then add to the sauce, stirring to combine. Serve with parmesan.

PorkFennelPastaChocCake11

Chocolate Fudge Cakes with Coffee Syrup

Makes: 12

½ cup of cocoa powder
1 cup firmly packed brown sugar
½ cup boiling water
85g dark cooking chocolate, finely chopped
2 egg yolks
¼ cup almond meal
1/3 cup wholemeal plain flour (we used plain flour)
4 egg whites

Pre-heat oven to 170°C, lightly grease 12-hole muffin pan (use 1/3 cup muffin pan).

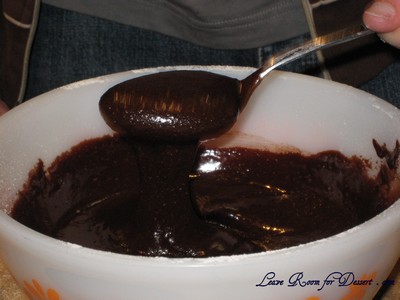
Combine sugar and sifted cocoa, blend in water, then chocolate, and stir until smooth. Stir in egg yolks, almond meal, and flour.

PorkFennelPastaChocCake13

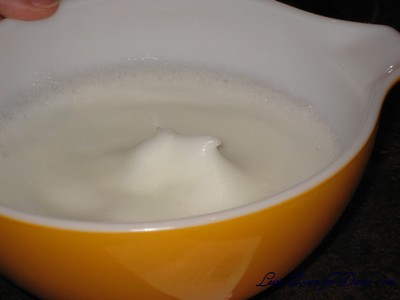
Beat egg-whites until soft peaks form.

PorkFennelPastaChocCake14

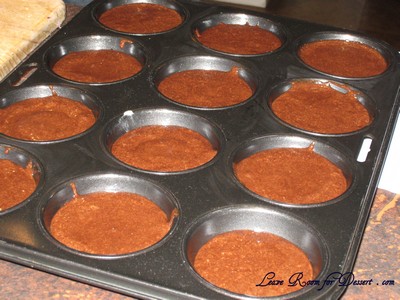
Fold into chocolate mixture in 2 batches. Divide mixture among pan-holes. Bake uncovered for 20 minutes. Make syrup.

PorkFennelPastaChocCake15

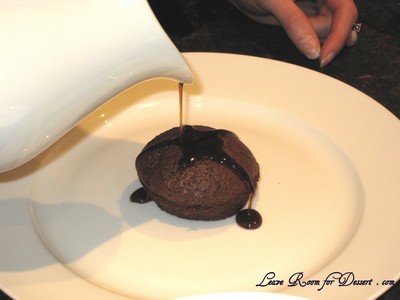
Stand cakes in pan for 5 minutes before serving with coffee syrup.

PorkFennelChocCake1

Coffee Syrup:
¾ cup firmly packed brown sugar
¾ cup water
1 tbsp coffee powder

Stir sugar and water in small saucepan over low heat until sugar dissolves, then bring to the boil. Reduce heat and simmer uncovered without stirring for 15 minutes or until syrup thickens. Stir in coffee, strain into small heat-proof jug and serve.

PorkFennelPastaChocCake02

PorkFennelPastaChocCake06

Chicken Curry with Blueberries and Goji Berry Pilau

Wednesday, January 6th, 2010

ChickenBlueberryGoji13

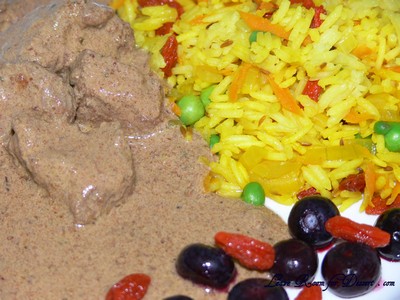
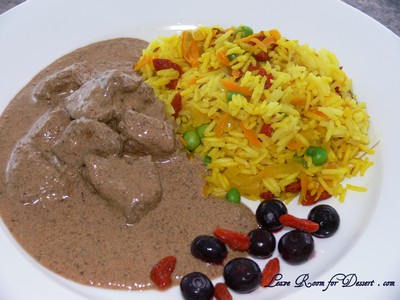
I know a number of people will have started this new year with the aim to eat healthier, so I thought I should post this recipe early as it has claimed to be the “world’s healthiest meal” (by it’s creator – check out the link). Even though it may not be the lowest in fat (which many people will be trying to reduce), it is quite high in antioxidants which are very important in a healthy diet.

ChickenBlueberryGoji02

Everyone who I trialed this dish out on (including me) was very skeptical – blueberry and curry don’t sound like two words that really go together. I got even more skeptical when I tried the dried goji berries we had bought. I’m not a big fan of them dried and by themselves. Although I still thought we may as well give the dish a go.

ChickenBlueberryGoji11

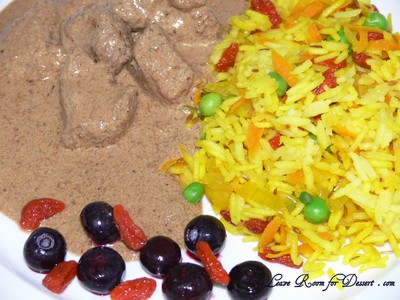
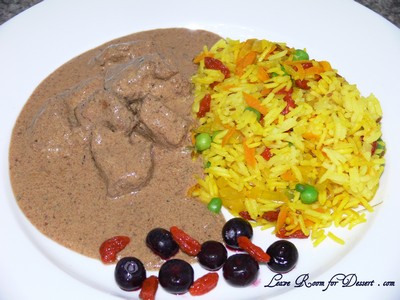
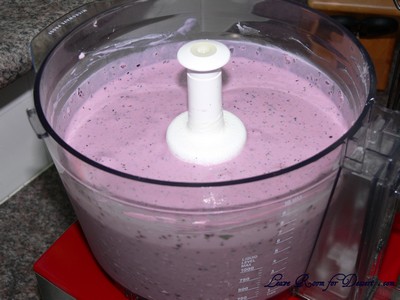
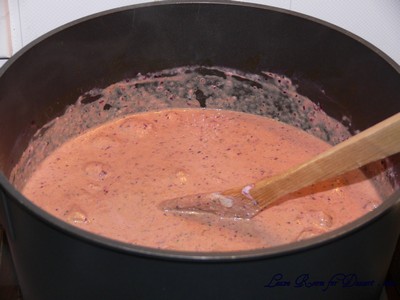
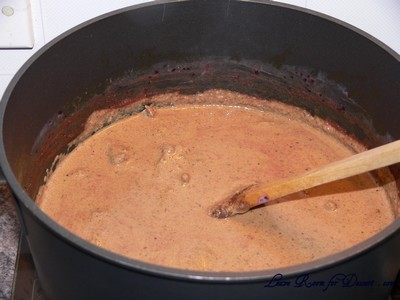
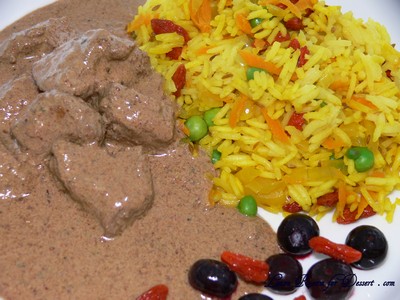
It was quite easy to cook and prepare. The blueberry and youghurt mix is a gorgeous bright purple and the dish remained like this for half the time it was cooking. Once it was finished cooking it looked like a normal beef curry – yes, just looking at it, it does look like beef. The flavours worked fabulously together and the goji berries plumped up a bit in the pilau. I even enjoyed a few thawed blueberries with the dish.

ChickenBlueberryGoji01

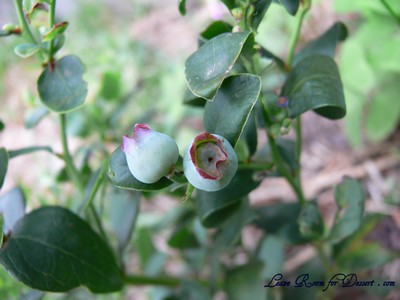
This may even be a good dish to try on someone who doesn’t eat enough fruit and vegetables (hahaha, my trick worked and my culprit ate all the sauce (pureed blueberries) and goji berries). We will be eating this again (time to go look out for some specials on blueberries, goji berries and spices). Perhaps in a few years I will be able to use some from my own blueberry bush:

ChickenBlueberryGoji04

Chicken Curry with Blueberries and Goji Berry Pilau

Recipe by Mr Bains

Serves: 4

20g coriander, chopped
200g fresh or frozen blueberries
2 tablespoons freshly grated ginger
3/4 teaspoon salt or to taste
500g low-fat Greek yoghurt
4 cloves of garlic finely chopped
3 tablespoons olive oil
1 teaspoon turmeric
2 tablespoons ground cinnamon
1 teaspoon chilli powder (I used 1/2 teaspoon medium chilli powder)
500g of chicken breast, cut into bite-sized chunks
1 teaspoon garam masala

For the Pilau Rice
2 teaspoons cumin seeds
2 tablespoons olive oil
1 small onion, sliced
1 teaspoon turmeric
1 grated carrot
1 cup Basmati rice
1 3/4 cups of boiling water
1/2 teaspoon salt or to taste
50g goji berries
Handful of peas (I poured boiling water over some frozen peas before using)

Blend the chopped coriander, blueberries, ginger and salt with 500g of low-fat Greek yoghurt, and set aside.

ChickenBlueberryGoji06

Place the chopped garlic into a saucepan with the olive oil and heat on a low-medium flame until the garlic starts to turn brown – this should take no longer than one or two minutes. Add the turmeric, mix well and heat through for 20 seconds. Mix in the ground cinnamon and chilli powder and cook for a further 20 seconds.

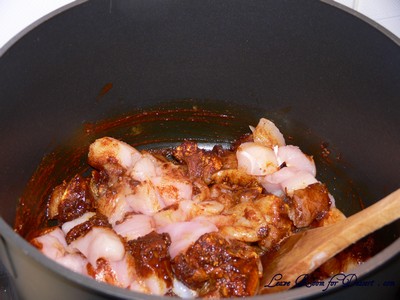
Add the chopped chicken breast, and seal, stirring frequently – this should take no more than five minutes. Now slowly pour the yoghurt mixture, mixing into the chicken, and bring to a simmer on a low heat. Simmer for 10 minutes uncovered, stirring from time to time. Mix through the garam masala and garnish with extra coriander.

ChickenBlueberryGoji07

ChickenBlueberryGoji08

ChickenBlueberryGoji10

To cook the pilau place the cumin seeds and olive oil into a saucepan and heat on a low-medium flame until the seeds begin to pop – about three minutes. Fry the onion and cook until soft. Then add the turmeric powder, stir and heat for 20 seconds and add one grated carrot. Cook for two minutes.

Place the onion mixture, basmati rice, pinch of salt and the 1 3/4 cups of boiling water into a large microwaveable bowl and mix with a fork. Cook uncovered in the microwave for 4 minutes (700W), 3 1/2 minutes (800W) or 3 minutes (900W). Mix and cook for a further 4 minutes (700W), 3 1/2 minutes(800W) or 3 minutes (900W). Finally cover and continue to cook for 4 minutes (700W), 3 1/2 minutes (800W) or 3 minutes (900W). (For the rice, I left the onion mix in the saucepan, added the rice, salt and boiling water and when it came to the boil, turned it down to really low. I cooked this for 10 minutes, then added the goji berries and peas, turned the heat off and left for another 10 minutes covered before serving)

To finish add the goji berries and peas and let stand covered for 10 minutes. Fluff the pilau with a fork, and serve.

ChickenBlueberryGoji14