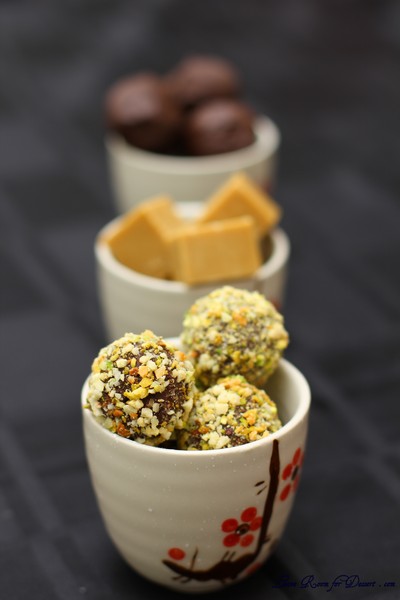
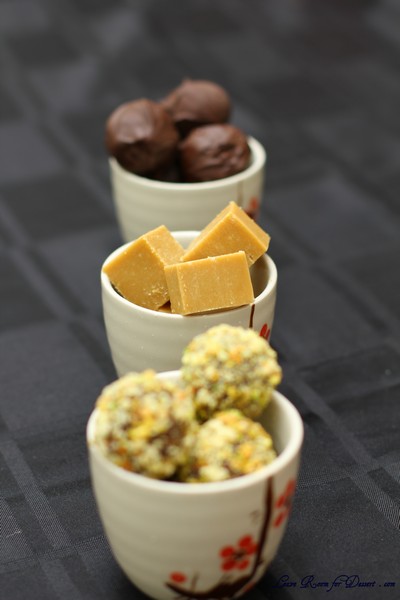
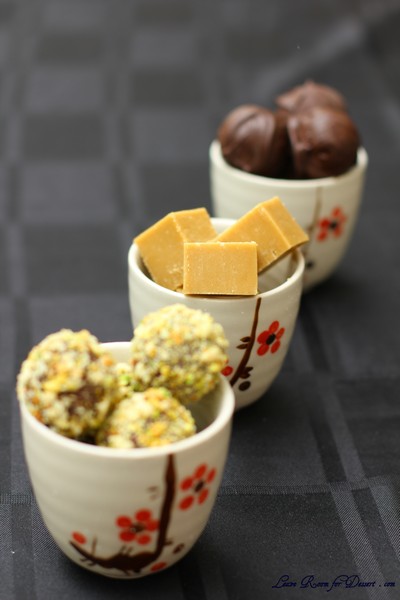
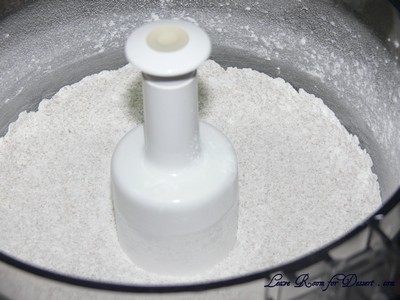
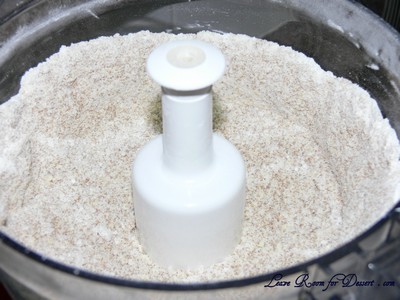
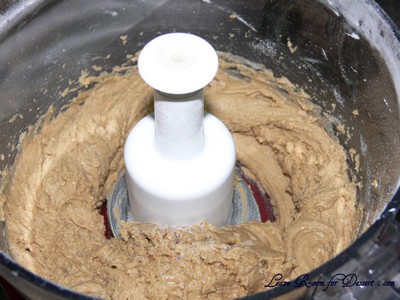
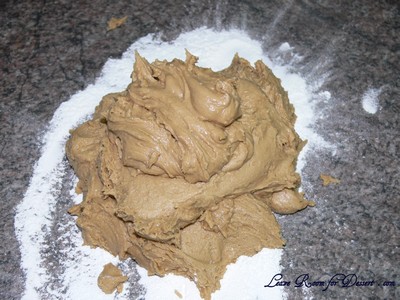
The August 2011 Daring Bakers’ Challenge was hosted by Lisa of Parsley, Sage, Desserts and Line Drive and Mandy of What the Fruitcake?!. These two sugar mavens challenged us to make sinfully delicious candies! This was a special challenge for the Daring Bakers because the good folks at http://www.chocoley.com offered an amazing prize for the winner of the most creative and delicious candy!
I have just been away for a fabulous 2 week holiday, leaving the rainy Sydney weather and enjoying beautiful 25 degree days in Port Douglas and the sand under my feet. I hope to give a short post on a few of my recommendations of restaurants and activities for those who are going there on a holiday soon.
We came home to lawn that needed mowing and the destruction of the first tulips I have planted in our garden, some fresias, irises, jonquils and snowflakes. We think it was either cockatoos, rabbits or a dog that destroyed some of the flowers and plants, but I am so excited about the flowers that weren’t destroyed and hope to post some of those pics soon as well.
I should get started talking about this month’s challenge though, and I must admit my delight at the array of recipes we were given to choose from for this challenge. We needed to make a chocolate and non-chocolate sweet, and were given methods for tempering chocolate, making truffles, chocolate coated sweets, filled chocolate, jellies and fudge.
Two of the recipes that I really wanted to make required specialised equipment and/or ingredients, which I did not have time to source before the challenge was due, although I am thinking of looking on the internet to find the moulds and ingredients so I can make these in the future.
Due to time constraints, I decided to make some of the easier looking recipes, and I have never made fudge before, so this was also an exciting new recipe to try. I found the truffle recipe a lot easier than a previous truffle recipe I have tried, and the fudge was easy as well, not needing a thermometer.
I woke up this morning and thought perhaps I would just coat my truffles in crushed nuts, but decided to push past my troubles with tempering chocolate, and tried to temper some of the nicest chocolate I have ever bought, using my marble slab. Unfortunately I still have some way to go before I manage to temper chocolate correctly, although I guess practice makes perfect…
Thanks to this month’s hosts. Everyone who has tried these sweets has loved the challenge, and loved that I’m a member of the Daring Bakers! 🙂
Milk Chocolate & Hazelnut Praline Truffles
Servings: Makes +- 30 truffles, recipe easily doubled or halved
Adapted from the Cook’s Academy Curriculum, Dublin
Active Time: 1 – 2hrs
Ganache Setting Time: 2 – 4hrs or Overnight
Praline Ingredients:
½ cup (120 ml/2 oz/60 gm) hazelnuts, shelled & skinned (or a combination of nuts, hazelnuts, almonds, pistachios)
½ cup (120 ml/4 oz/115 gm) granulated white sugar
2 tablespoons (30 ml) water
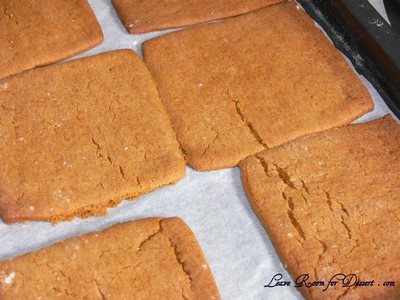
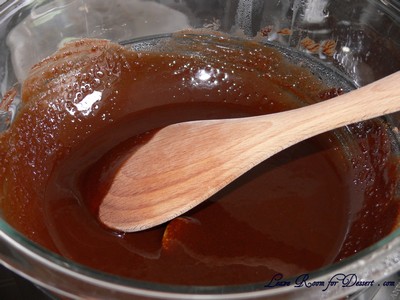
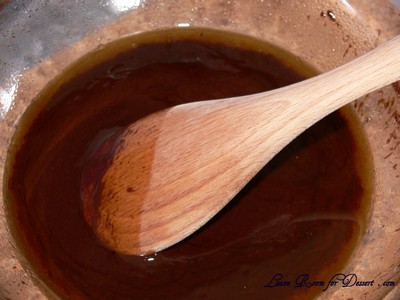
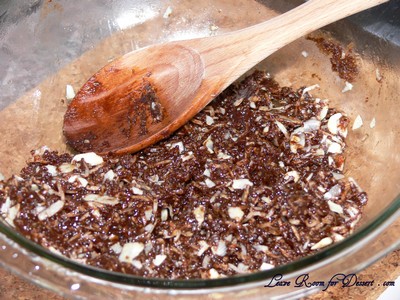
Making the praline and ganache. Once set, making balls of the set ganache then rolling in crushed hazelnuts
Directions:
1. Preheat oven to moderate 180°C / 160°C Fan Assisted (convection oven); 350°F / 320°F convection / Gas Mark 4
2. Place whole hazelnut on a non-stick baking tray and dry roast for 10mins
3. Allow to cool
4. Place hazelnuts in a clean dry kitchen towel and rub to remove the skins
5. Line a baking tray with parchment paper or a silicon mat
6. Place the skinned hazelnuts onto the prepared tray
7. Combine the sugar and water in a saucepan over medium low heat, stirring until the sugar is dissolved
8. Turn the heat up and bring to the boil (do not stir), brushing down the sides of the pot with a pastry brush dipped in water to remove any sugar crystals
9. Boil until the mixture turns amber (160°C – 170°C / 320°F- 340°F on a candy thermometer)
10. Remove from heat immediately and pour the syrup over the hazelnuts
11. Allow to cool completely
12. Break into small pieces
13. Transfer pieces to a food processor and process until desired texture, either fine or rough
14. Set aside
Ganache Ingredients
1¾ cup (9 oz. / 255 g) Milk chocolate, finely chopped
½ cup (4 oz. / 125 ml) Double/Heavy Cream (36% – 46% butterfat content)
2-3 Tablespoons (1-1 ½ oz. / 30ml – 45 ml) Frangelico Liqueur, optional
½ – 1 cup Crushed or Ground Roasted Hazelnuts for coating (I used pistachio and almonds)
Directions:
1. Finely chop the milk chocolate
2. Place into a heatproof medium sized bowl
3. Heat cream in a saucepan until just about to boil
4. Pour the cream over the chocolate and stir gently until smooth and melted
5. Allow to cool slightly, about 10 minutes
6. Stir in the praline and (optional) liqueur
7. Leave to cool and set overnight or for a few hours in the fridge
8. Bring to room temperature to use
Forming the truffles:
1. Using teaspoons or a melon baller, scoop round balls of ganache
2. Roll them between the palms of your hands to round them off
Tip: Handle them as little as possible to avoid melting
Tip: I suggest wearing food safe latex gloves, less messy and slightly less heat from your hands
3. Finish off by rolling the truffle in the crushed roasted hazelnuts
Tip: You can also roll them in hazelnut praline
4. Place on parchment paper and leave to set
Tip: They look great when put into small petit four cases and boxed up as a gift!
Peanut Butter Fudge
Prep Time: 15 mins
Total Time: 20 mins
Yield: 64 squares
Ingredients:
1/2 cup (120ml/115g / 4oz.) Unsalted Butter
2 1/4 cups (540ml/450g / 16oz.) firmly packed Brown Sugar
1/2 cup (120ml) Milk
3/4 cup (180ml/200g / 7oz.) smooth Peanut Butter
1 teaspoon (5ml) Vanilla Extract
3 1/2 cups (840ml/425g / 15oz.) Confectioners’ (Icing) Sugar
Directions:
1. Place butter into a medium saucepan and melt it over medium heat.
2. Add brown sugar and milk, stirring.
3. Boil for 2 minutes, stirring frequently.
4. Remove from heat.
5. Mix in peanut butter and vanilla.
6. Place confectioners’ sugar into a large mixing bowl.
7. Pour hot peanut butter mixture over confectioners’ sugar and beat until smooth.
8. Pour fudge into an 8 by 8 inch (20cm by 20cm) pan.
9. Chill until firm, about 1 hour.
10. Cut into 1-inch (25 mm) squares.
