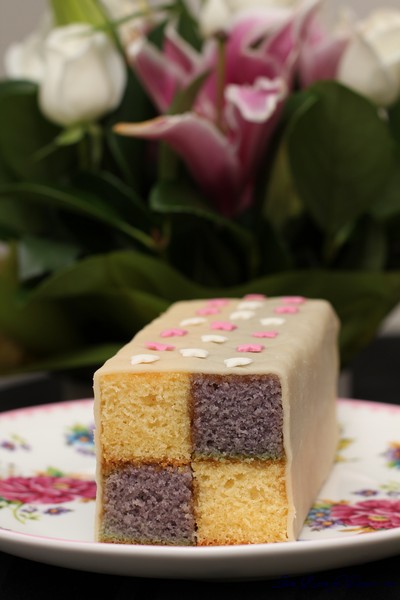
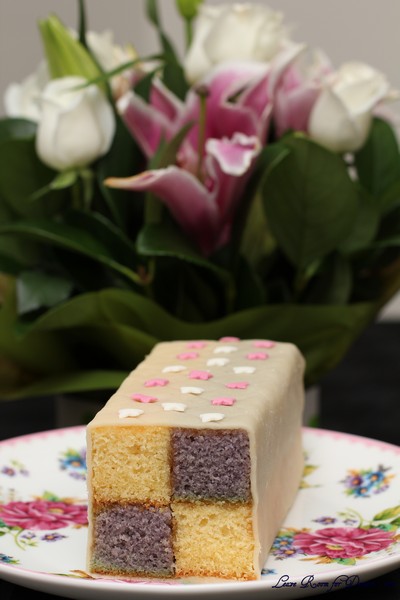
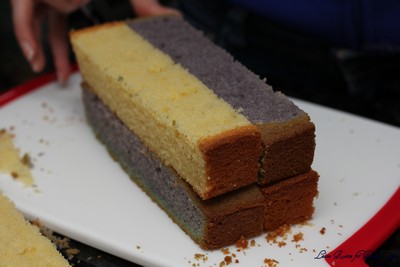
Mandy of What The Fruitcake?! came to our rescue last minute to present us with the Battenberg Cake challenge! She highlighted Mary Berry’s techniques and recipes to allow us to create this unique little cake with ease.
I was just about to go to bed when I thought – what’s the date today – whoops, it’s the day to post our Daring Bakers Challenge for the month.
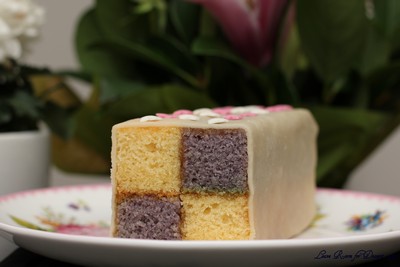
You see, I have been away for most of the month on a two week road trip – which I’d love to post a few non-food related pics soon, and also let you know about some of the great places to see and places to eat too. So it seemed quite far away from when I made this cake at the beginning of the month.
It was extremely fun to make such a pretty cake and also see some of the specialized tins people use to make the Battenberg cake. One change I would make is to use something in place or on top of the marzipan. I found the one I bought (which is quite common in supermarkets) was a little see-through and detracted being an off-white colour. I think a fondant or ready rolled icing may have been nice, or possibly some of the other options given by Mandy.
Traditional Battenberg
Recipe Source:
Traditional Battenberg adapted from Mary Berry’s “Baking Bible”
Servings: +- 8
Ingredients
¾ cup (1½ sticks) 175gm / 6 oz Unsalted Butter, softened & cut in cubes
¾ cup / 175gm / 6 oz Caster Sugar
1¼ cups / 175gm / 6 oz Self-Raising Flour (***see end of doc on how to make your own)
3 Large Eggs, room temp
½ cup / 65gm/ 2 1/3 oz Ground Almonds (Can be substituted with ground rice)
3/4 tsp / 3½ gm Baking Powder
½ tsp / 2½ ml Vanilla Extract
1/4 tsp (1¼ ml) Almond Extract
Red Food Colouring, paste, liquid or gel
To Finish
1/3 cup (80 ml) 100gm /3 ½ oz Apricot Jam
1 cup / 225gm / 8 oz Marzipan, natural or yellow
Directions:
1. Preheat oven to moderate 350°F/180°C/160°C Fan Assisted/Gas Mark 4
2. Grease an 8”/20cm square baking tin with butter
3. Line the tin with parchment paper, creating a divide in the middle with the parchment (or foil)
– Tip: See photos or watch video above for detailed instructions
4. OR Prepare Battenberg tin by brushing the tin with melted butter and flouring
5. Whisk together the dry ingredients then combine with the wet ingredients in a large bowl and beat together just until the ingredients are combined and the batter is smooth
6. Spoon half the mixture into the one side of the prepared baking tin
7. Add a few drops of red food liquid/gel/paste to the remaining batter, stir until the colour is thoroughly distributed, add more colour if needed
8. Spoon the pink batter into the other half of the prepared baking tin
9. Smooth the surface of the batter with a spatula, making sure batter is in each corner
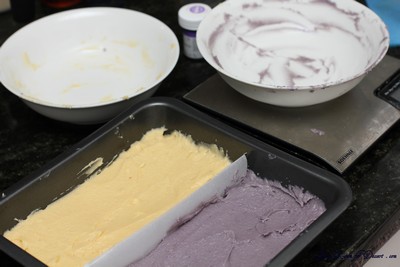
10. Bake for 25-30mins until the cake is well risen, springs back when lightly touched and a toothpick comes out clean (it should shrink away from the sides of the pan)
11. Leave to cool in the tin for a few minutes before turning out to cool thoroughly on a wire rack
12. Once completely cool, trim the edges of the cake with a long serrated knife
13. Cut each coloured sponge in half lengthways so that you are left with four long strips of sponge
14. Neaten the strips and trim as necessary so that your checkered pattern is as neat and even as possible
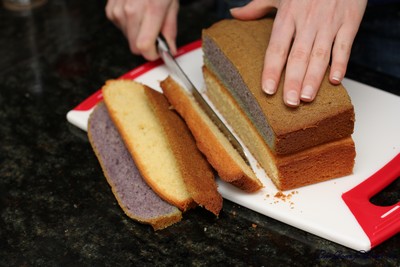
15. Gently heat the apricot jam and pass through a small sieve
16. Brush warmed jam onto the strips of cake to stick the cake together in a checkered pattern (one yellow next to one pink. On top of that, one pink next to one yellow)
– Tip: See photos for detailed instructions
17. Dust a large flat surface with icing sugar then roll the marzipan in an oblong shape that is wide enough to cover the length of the cake and long enough to completely wrap the cake
18. Brush the top of the cake with apricot jam
19. Place the cake on the marzipan, jam side down
– Tip: Either in the middle or to the one side of the marzipan
20. Brush the remaining three sides with jam
21. Press the marzipan around the cake, making sure the join is either neatly in the one corner, or will be underneath the cake once turned over
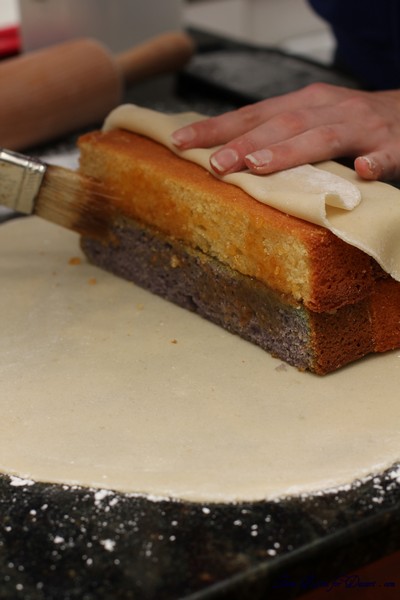
– Tip: If you put the sponge to the one side of the marzipan, I found it easiest to “roll” the sponge over and over onto the marzipan instead of lifting the marzipan up onto the sponge
22. Carefully flip the cake over so that the seam is under the cake and score the top of the cake with a knife, you can also crimp the top corners with your fingers to decorate
23. Neaten the ends of the cake and remove excess marzipan by trimming off a small bit of cake on both ends to reveal the pattern
