High Tea

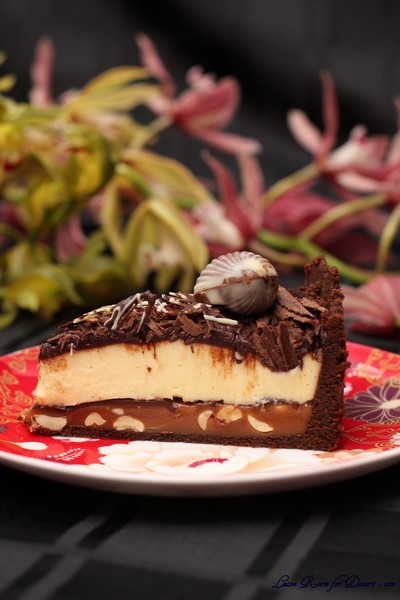
Triple Chocolate Cheesecake with Salted Peanut Caramel

Tuesday, October 9th, 2012

Everyone has had the experience when they see a photo of food they just have to make. I started sending emails titled: “I want this” when I saw this cake. I only had to find time and an occasion. And what better occasion than a surprise morning tea for a wonderful friend who was off to get married.

Making the cake wasn’t difficult, each part was quite easy and didn’t take long, although you do need time for it to set between each layer.

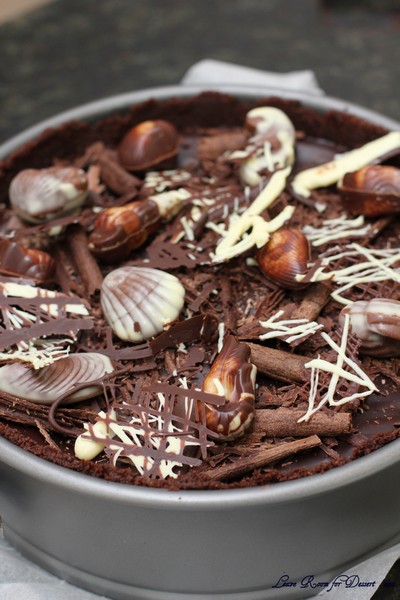
I made the biscuit base and had that in the fridge while I made the caramel, then left this for most of the day, made the chocolate layer and whilst the chocolate was in the fridge I made the cream cheese part. I left this overnight and put the final touches on the cake after work. (If you want to do this at night, it will take 3 nights). I left off the Italian meringue due to someone having an egg allergy, and instead covered it in chocolate curls and bought sea shell chocolates.

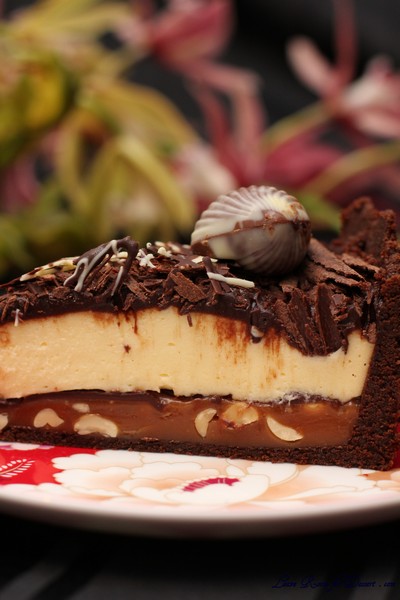
The biggest difficulty with this cake was cutting it. I think I may have cooked my caramel too long, and when stored in the fridge it became very hard and difficult to cut (it was fine to eat though, and was not too hard to chew). This is something I would be a bit more careful about next time, although I am not sure how I would tell the right consistency, as the caramel was quite runny when warm. The cake is best served chilled, but the caramel is far easier to cut when at room temperature.

I would definitely make this cake again, the flavours worked so beautifully together, and you only need a very small serve (after I ate a piece, I could not eat anything else at the morning tea).

P.S. The photos of this cake were from the piece I managed to bring back home from work so Nick could try some of the cake. It was not cold anymore by this stage, and so was easy to cut.

Triple-choc cheesecake with salted peanut caramel

Australian Good Taste – April 2012 , Page 8
Original Recipe by Michelle Southan

This recipe is adapted, with the removal of the Italaian meringue

Melted butter, to grease
400g plain chocolate biscuits
150g butter, melted
5g butter, extra
260g Dark Cooking Chocolate, finely chopped
150g White Cooking Chocolate, finely chopped
375g cream cheese, at room temperature
100g (1/2 cup) caster sugar
310ml (11/4 cups) thickened cream
1 1/2 tbs hot water
3 tsp gelatine powder

Salted peanut caramel

315g (11/2 cups) caster sugar
185ml (3/4 cup) water
250ml (1 cup) double cream
120g (3/4 cup) salted roasted peanuts, coarsely chopped

Chocolate curls and sea shell chocolates for decoration

Release the base from a 6cm-deep, 22cm (base measurement) springform pan and invert. Brush with butter. Line the base with non-stick baking paper, allowing the edge to overhang. Secure the base back into the pan.

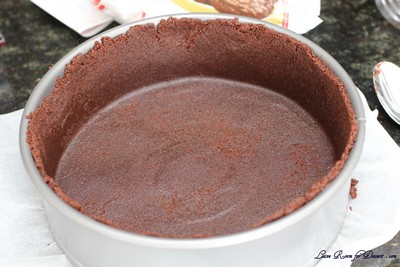
Process the biscuits in a food processor until finely crushed. Add the butter and process until well combined. Transfer to the prepared pan. Use a straight-sided glass to spread and press the mixture firmly over the base and side. Place in the fridge to chill.
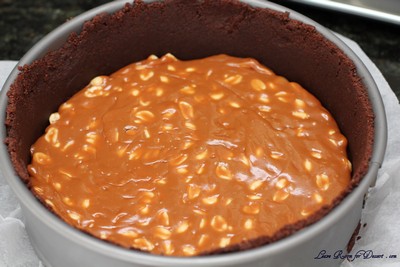
To make the salted peanut caramel, stir the sugar and water in a large saucepan over low heat for 5 minutes or until the sugar dissolves. Increase heat to high. Bring to the boil. Boil, without stirring, brushing down the side of the pan occasionally with a wet pastry brush, for 18-20 minutes or until deep golden. Remove from heat. Stir in the cream. Place over medium heat. Cook, stirring constantly, for 2 minutes. Set aside for 30 minutes to cool. Stir in peanuts. Spoon over the biscuit base. Smooth the surface. Place in the fridge for 3 hours or until firm.

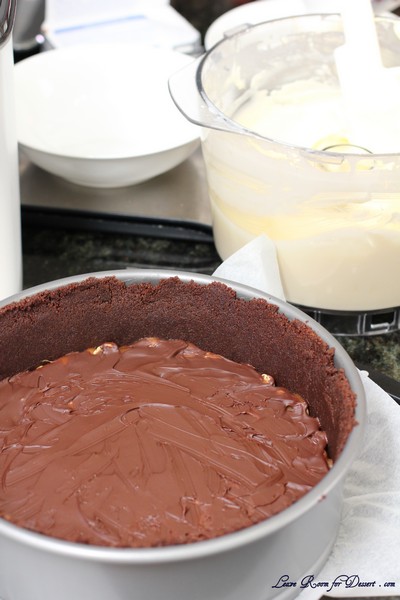
Place the extra butter and 60g of the dark chocolate in a small microwave-safe bowl. Cook, stirring every 30 seconds, on High/ 800watts/100% for 11/2 minutes or until melted and smooth. Spread over the caramel to cover. Set aside for 10 minutes to set.

Stir the white chocolate in a small heatproof bowl over a saucepan half-filled with simmering water (make sure the bowl doesn’t touch the water) until smooth. Set aside for 5 minutes to cool slightly.

Process the cream cheese, sugar and 185ml (3/4 cup) of the cream in a food processor until smooth. Add the white chocolate and process until well combined.

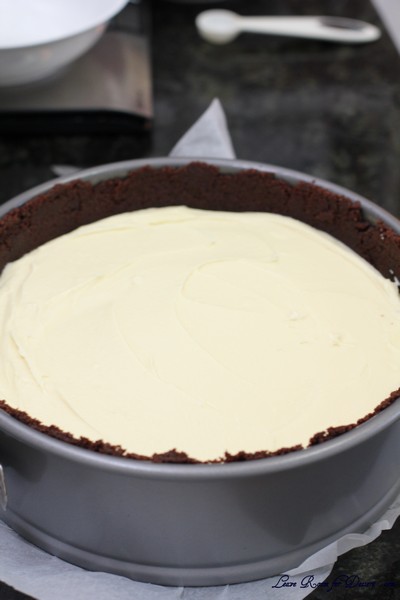
Place the hot water in a small heatproof bowl and sprinkle with the gelatine. Place bowl in a slightly larger heatproof bowl filled with boiling water. Set aside, stirring occasionally, for 5 minutes or until the gelatine dissolves. Remove smaller bowl from larger bowl and set aside for 5 minutes to cool slightly. add to cream cheese mixture. Process until well combined. Pour cream cheese mixture over dark chocolate. Cover pan with plastic wrap and place in fridge for 4 hours to set.

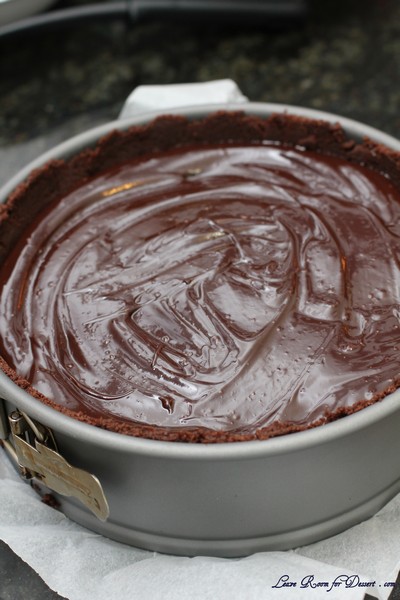
Stir remaining dark chocolate and cream in a saucepan over low heat until smooth. Pour over cheesecake. Place in the fridge for 1 hour to set.

Decorate the top with chocolate curls or shavings, or patterns and sea shells.
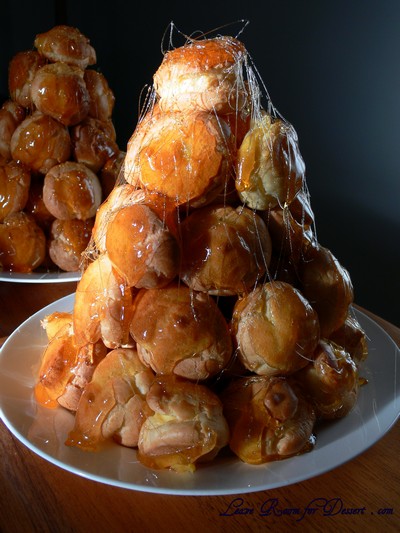
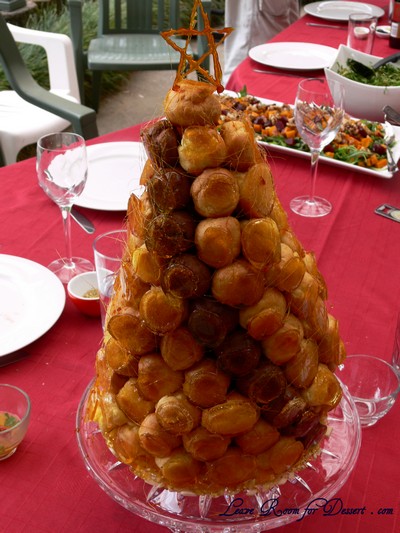
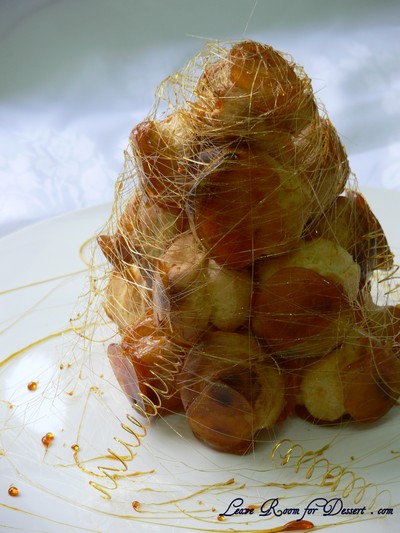
Croquembouche (Piece Montée) – Daring Bakers Challenge May 2010

Thursday, May 27th, 2010

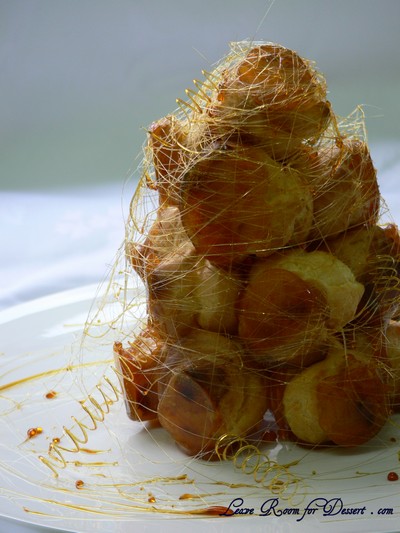
The May 2010 Daring Bakers’ challenge was hosted by Cat of Little Miss Cupcake. Cat challenged everyone to make a piece montée, or croquembouche, based on recipes from Peter Kump’s Baking School in Manhattan and Nick Malgieri.

I’ve made two croquembouches’ so far, the original one from Masterchef and the chocolate swirl one, also from MasterChef. So, when I found out this month’s challenge was also a croquembouche I was both a bit indifferent, and also excited.

First of all, the slight disappointment was due to it not being something new. Although the excitement came from knowing how gorgeous the custard filled profiteroles with lovely crunchy toffee are. My family and I cannot resist croquembouche, although the next Christmas or event I make it for, I’ll just be pouring the caramel over the top and not building a cone shaped tower.

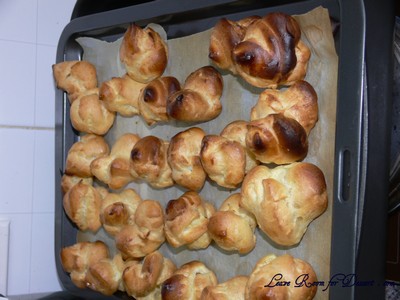
The other excitement came from trying the different recipes, I was hoping for a harder choux pastry, one which was a bit crunchy and kept its shape quite well. I think this choux pastry recipe may have succeeded in this, although I still need to learn my oven better, as they were cooked in 10-15 minutes, almost burning, so I couldn’t leave them in the oven to dry out longer, for fear of losing them.

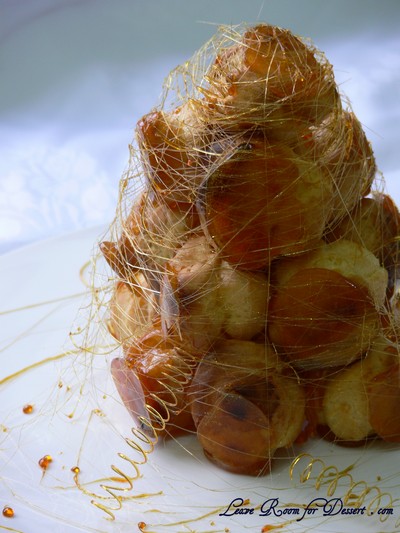
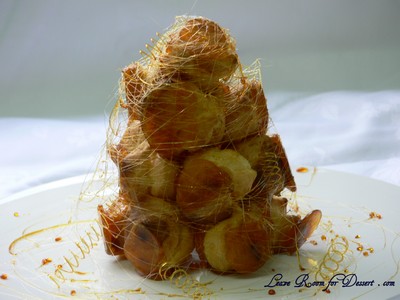
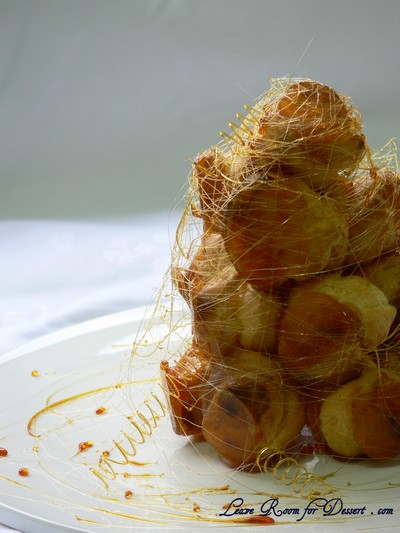
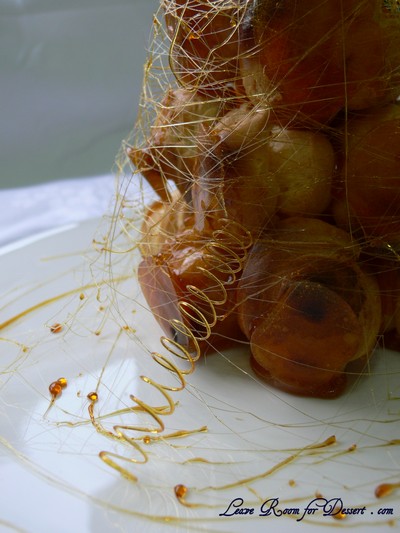
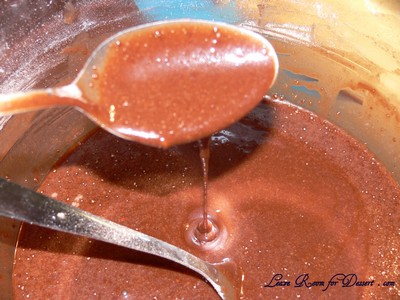
For my own challenge, I decided to try making cute little caramel corkscrews. Using a spoon, I spun the caramel around a clean knife (sharpening) steel. And they worked! I had to keep heating and cooling the caramel though to make it the right consistency – which was quite difficult to figure out.
Unfortunately for the presentation, the lovely caramel strands around the outside started beading within 20 minutes and by the time we ate the croquembouche, a few hours afterwards, there were no strands to be seen. I’m not sure whether this was due to the humidity we had here, or whether the glucose added to caramel contributes to the stability of the caramel.

Overall, I was very excited making this again, and I think it made the perfect quantity (even though people asked – where’s the rest of it?). The different components themselves are relatively easy, and I will consider making it more often, now that I won’t be making trays and trays worth of profiteroles, and a large lasagna dish filled with custard.

Croquembouche (Piece Montée)

Recipe Source: Peter Kump’s Baking School in Manhattan and were originally created by famed pastry chef, Nick Malgieri.

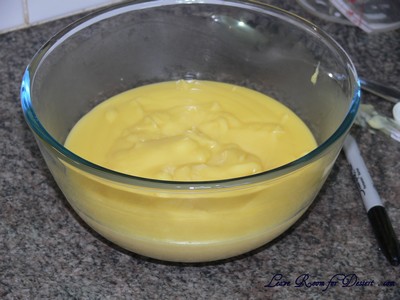
Vanilla Crème Patissiere (Half Batch) [I made a full batch – double this – although I think I could have made 1.5 batches – three times this]
1 cup (225 ml.) whole milk
2 Tbsp. cornstarch / cornflour
6 Tbsp. (100 g.) sugar – I used caster sugar
1 large egg
2 large egg yolks
2 Tbsp. (30 g.) unsalted butter
1 Tsp. Vanilla

Dissolve cornstarch in ¼ cup of milk. Combine the remaining milk with the sugar in a saucepan; bring to boil; remove from heat.

Beat the whole egg, then the yolks into the cornstarch mixture. Pour 1/3 of boiling milk into the egg mixture, whisking constantly so that the eggs do not begin to cook.

Return the remaining milk to boil. Pour in the hot egg mixture in a stream, continuing whisking.

Continue whisking (this is important – you do not want the eggs to solidify/cook) until the cream thickens and comes to a boil. Remove from heat and beat in the butter and vanilla.

Pour cream [Crème Patissiere] into a stainless steel/ceramic bowl. Press plastic wrap firmly against the surface. Chill immediately and until ready to use.

Pate a Choux (Yield: About 28) [Mine made more than 50]
¾ cup (175 ml.) water
6 Tbsp. (85 g.) unsalted butter
¼ Tsp. salt
1 Tbsp. sugar
1 cup (125 g.) all-purpose flour
4 large eggs

For Egg Wash: 1 egg and pinch of salt

Pre-heat oven to 425◦F/220◦C degrees. Line two baking sheets with parchment paper.

Preparing batter:
Combine water, butter, salt and sugar in a saucepan over medium heat. Bring to a boil and stir occasionally. At boil, remove from heat and sift in the flour, stirring to combine completely.

Return to heat and cook, stirring constantly until the batter dries slightly and begins to pull away from the sides of the pan.

Transfer to a bowl and stir with a wooden spoon 1 minute to cool slightly. [A KitchenAid works so well for this]

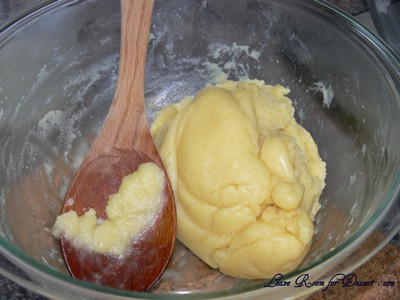
Add 1 egg. The batter will appear loose and shiny.

After mixing in the first egg

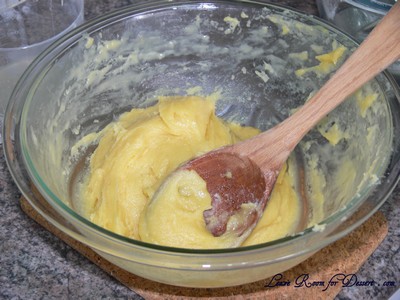
As you stir, the batter will become dry-looking like lightly buttered mashed potatoes.

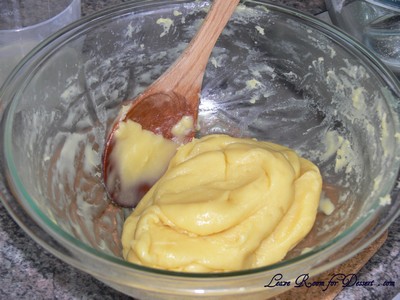
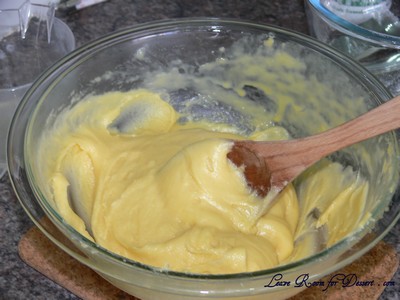
It is at this point that you will add in the next egg. Repeat until you have incorporated all the eggs.

After mixing in the second egg

After mixing in the third egg

After the fourth and final egg

Piping:
Transfer batter to a pastry bag fitted with a large open tip (I piped directly from the bag opening without a tip). Pipe choux about 1 inch-part in the baking sheets. Choux should be about 1 inch high about 1 inch wide.

Using a clean finger dipped in hot water, gently press down on any tips that have formed on the top of choux when piping. You want them to retain their ball shape, but be smoothly curved on top.

Brush tops with egg wash (1 egg lightly beaten with pinch of salt).

Baking:
Bake the choux at 425◦F/220◦C degrees until well-puffed and turning lightly golden in color, about 10 minutes. [mine cooked in 15 minutes total]

Lower the temperature to 350◦F/180◦C degrees and continue baking until well-colored and dry, about 20 minutes more. Remove to a rack and cool.

Can be stored in a airtight box overnight.

Filling:
When you are ready to assemble your piece montée, using a plain pastry tip, pierce the bottom of each choux. Fill the choux with pastry cream using either the same tip or a star tip, and place on a paper-lined sheet. Choux can be refrigerated briefly at this point while you make your glaze.

Use one of these to top your choux and assemble your piece montée.

Hard Caramel Glaze: [I needed 1.5 – 2 times this recipe, as I stirred it too early]
1 cup (225 g.) sugar
½ teaspoon lemon juice

Combine sugar and lemon juice in a saucepan with a metal kitchen spoon stirring until the sugar resembles wet sand. Place on medium heat; heat without stirring until sugar starts to melt around the sides of the pan and the center begins to smoke. Begin to stir sugar. Continue heating, stirring occasionally until the sugar is a clear, amber color. Remove from heat immediately; place bottom of pan in ice water to stop the cooking. Use immediately.

Assembly of your Piece Montée:
You may want to lay out your unfilled, unglazed choux in a practice design to get a feel for how to assemble the final dessert. For example, if making a conical shape, trace a circle (no bigger than 8 inches) on a piece of parchment to use as a pattern. Then take some of the larger choux and assemble them in the circle for the bottom layer. Practice seeing which pieces fit together best.

Once you are ready to assemble your piece montée, dip the top of each choux in your glaze (careful it may be still hot!), and start assembling on your cake board/plate/sheet. Continue dipping and adding choux in levels using the glaze to hold them together as you build up.

When you have finished the design of your piece montée, you may drizzle with remaining glaze or use ribbons, sugar cookie cut-outs, almonds, flowers, etc. to decorate. Have fun and enjoy! Bon appétit!

Pistachio Macarons

Sunday, May 9th, 2010

PistachioMacaron03

Happy Mother’s Day!

PistachioMacaron07

Even though these lovely pistachio macarons weren’t made for Mother’s Day – they were made for my Mum – on her birthday. They were the decorations for the dessert I made for her (a while ago now), I hope to post it soon. For the main meal on her birthday, we made the most awesome beef bourguignon pie – using Julia Child’s recipe (here is the recipe, if you don’t have the book). It was AMAZING! It took a while to prepare, but was worth it – it doesn’t get any better.

PistachioMacaron01

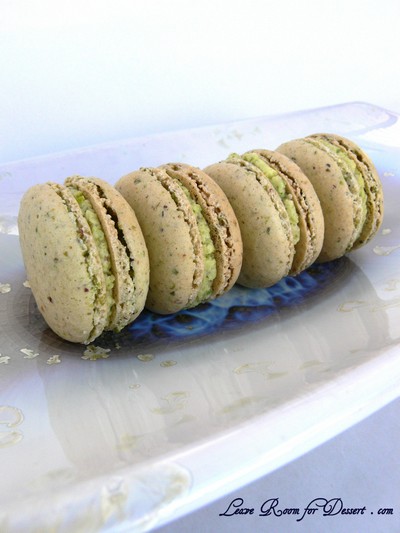
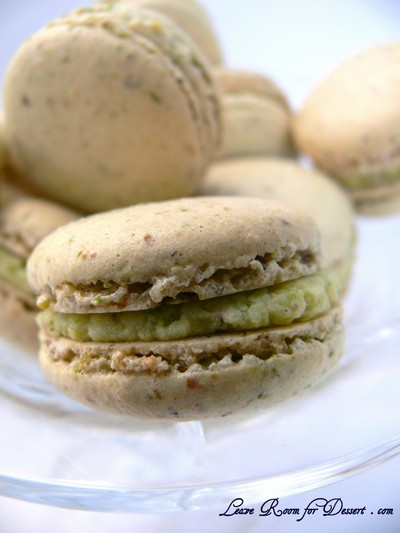
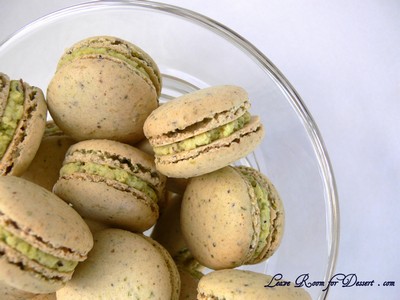
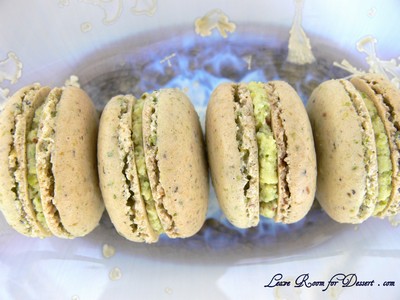
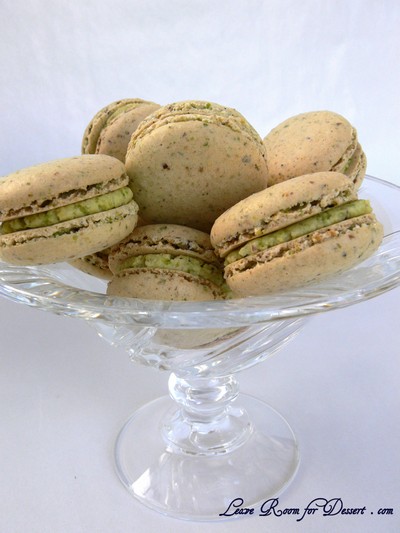
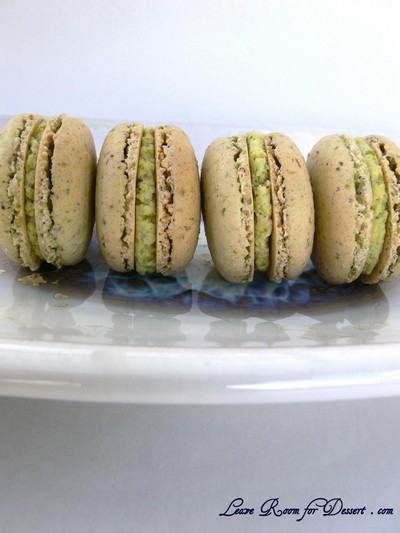
These home made pistachio macarons turned out just how I wanted. Cute little feet (the frill at the base of the macaron), slightly crisp on the outside, a lovely chewy centre and a wonderfully tasty pistachio flavour.

PistachioMacaron05

These would be perfect for a kitchen tea, high tea, baby shower or petit fours after a meal.

PistachioMacaron06

Pistachio Macarons

Recipe by Anita @ Leave Room for Dessert

Makes 46 sandwiched macarons

120g egg whites (aged for a day or two – covered in the fridge then brought to room temperature, or left at room temperature if the weather’s cool)
90g caster sugar
220g pure icing sugar
80g almond meal
80g pistachios

Pistachio butter cream
80g butter, at room temperature
160g icing sugar
50g pistachio

Process the icing sugar, pistachios and almond meal in a food processor until very finely ground, like dust. Sift and set aside.

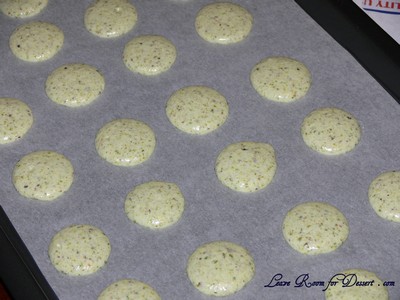
Beat egg whites until frothy, add the caster sugar whilst continuing to beat the egg whites on high until it forms a glossy thick meringue. Beat and fold the icing sugar and nut mixture into the meringue until the mixture flows and when the mixture is piped, any peaks sink back after a few minutes. Pipe 3-4cm circles on lined baking trays. Leave at room temperature for 30 minutes or more to form a skin.

PistachioMacaron02

Preheat oven to 150°C and cook macarons for 10 minutes or until slightly coloured, crisp on the outside and chewy on the inside. Allow to cool and then fill with the pistachio butter cream or another filling.

For the pistachio butter cream, cream the butter until light and fluffy. Process the pistachios with the icing sugar until finely ground. Beat the pistachio sugar into the butter in batches. When all the pistachio sugar is incorporated it is ready to fill the macarons. If it isn’t spreadable, add a touch of milk and mix until smooth.

PistachioMacaron04

Lamingtons

Tuesday, January 26th, 2010

Lamingtons 11

Happy Australia Day!

Lamingtons 09

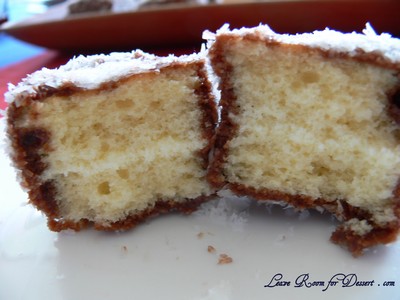
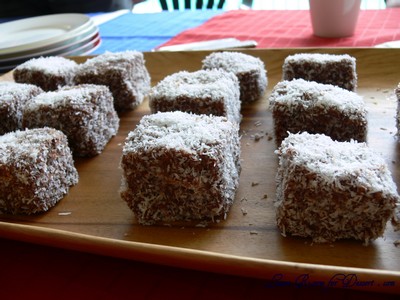
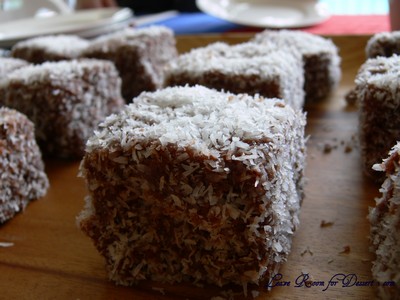
I thought I would celebrate by posting one of Australia’s favourite cakes – the Lamington. It is said to have originated in Queensland around the 1900’s, where Lord Lamington’s (the governor at the time) chef was given short notice to provide food for guests. He quickly dipped some old sponge in chocolate and coconut and the guests enjoyed it immensely.

Lamingtons 12

Lamingtons are a part of our history, present and future. Schools and other organisations often fund-raise by selling lamingtons in “lamington drives”.

Lamingtons 08

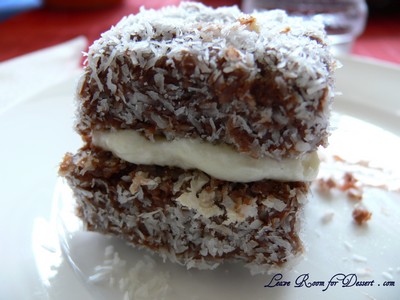
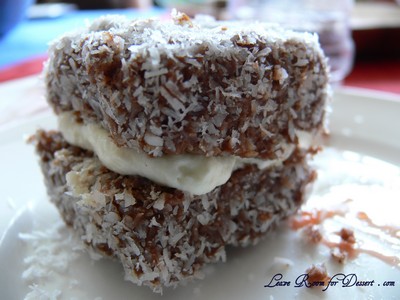
You can serve them plain or with a thin amount of jam and/or some lovely whipped cream in the middle of the sponge.

Time to go have our BBQ… (and I won’t be having shrimp or prawns on the BBQ – but I will be having lamb tonight).

Lamingtons 10

Lamingtons

(recipe adapted from the recipe that came with the Lamington tin I bought)

125g butter
2/3 cup sugar
2 eggs
2 cups self raising flour
½ teaspoon salt
¾ cup milk
½ teaspoon vanilla essence

Chocolate Icing
30g butter
½ cup boiled water
4 cups icing sugar or icing mixture
2/3 cup cocoa
½ teaspoon vanilla essence
3 cups desiccated coconut

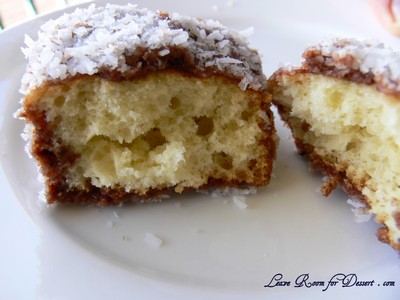
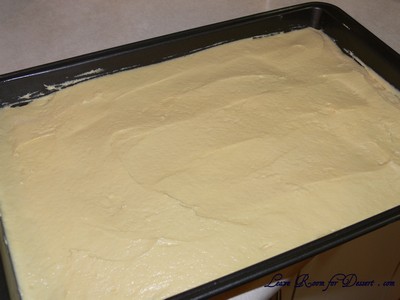
Cream butter and sugar until light and fluffy. Add eggs, one at a time, beating well between each addition. Sift flour and salt. Add alternately with milk to mixture. Add vanilla essence. Blend well but do not over beat. Add a little more or less milk if necessary to form a soft dropping consistency. Spread evenly into a lightly greased lamington tray.

Lamingtons 16

Bake in moderate oven 180˚C for 25-35 minutes or until cooked.
Turn out and cool on a cake rack. (You can use it straight away or leave it in an airtight container overnight).

Lamingtons 17

Cut into 32 squares.

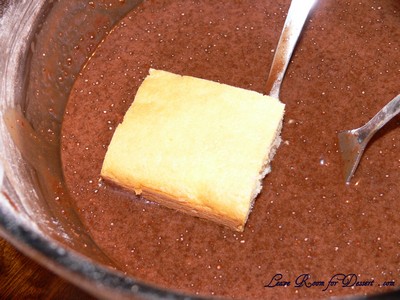
For chocolate icing – melt butter in ¼ cup boiling water. Sift icing sugar with cocoa. Add liquid, mixing well. Add vanilla essence. The icing must be thin so that squares of cake can be readily coated. Add sufficient boiling water to form this consistency.

Lamingtons 22

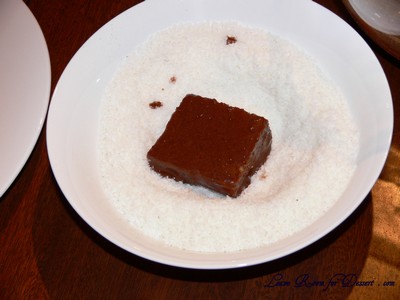
Dip and roll each square into the chocolate icing and let it soak for 15 sec or more and then roll in coconut. If you want to put strawberry jam and/or whipped cream in the cake, slice the sponge through the middle and spread over the cream. Dip carefully in the chocolate mix. Alternatively (if the sponge moves around too much), cut the sponge in half when already coated and then fill with cream.

Lamingtons 01

Lamingtons 23

Lamingtons 13

Scones

Sunday, November 22nd, 2009

SconesMasterChef5

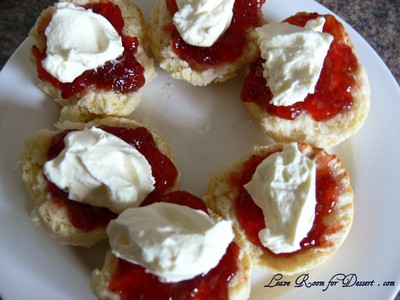
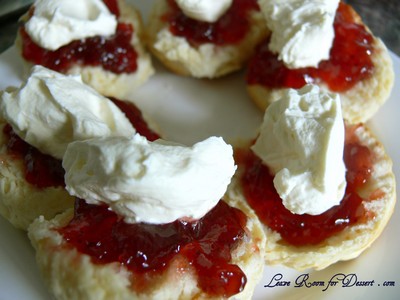
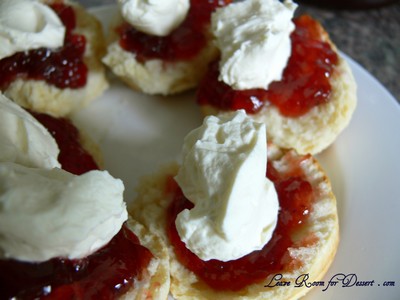
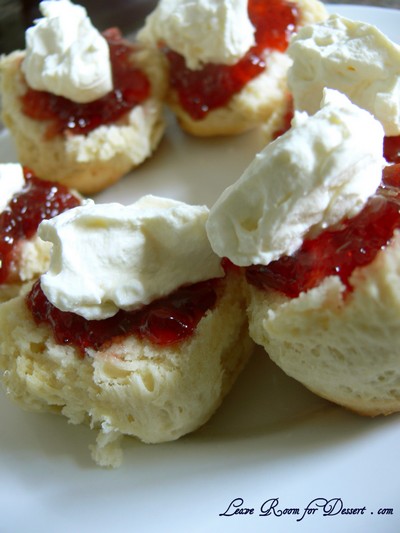
I love scones. Almost nothing is as good as jam and whipped cream on some fresh scones.

SconesMasterChef3

Even better is when they’re so quick and easy to make – and these ones surely are. They were seen on a masterclass show on MaterChef, although had dates and lemon. I’m sure this flavour combination would be great, but without them the recipe is lovely.

SconesMasterChef4

Scones

Recipe adapted from MasterChef’s Date and Lemon Scone recipe

150ml-175ml milk
150ml cream
1 egg
3 cups self-raising flour
2 tablespoons caster sugar
Cream & jam, to serve

Preheat oven 200°C fan forced. Line large flat oven tray with baking paper.

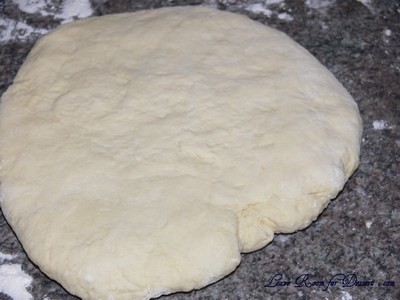
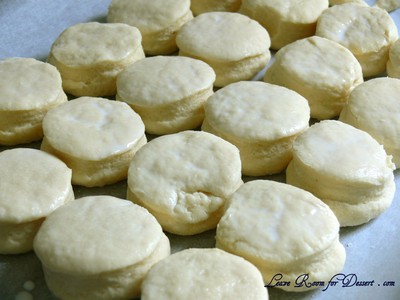
Whisk 150ml milk, cream and egg together until well combined. Combine flour and sugar in a large bowl. Add milk mixture and stir gently to a soft dough, adding remaining milk if necessary. Turn onto a lightly floured surface and knead gently until dough comes together.

Press dough out to 2cm-thick.

SconesMasterChef03

Cut scones from dough and place onto tray flat-side up. Press dough together gently and repeat using the remaining dough.

SconesMasterChef2

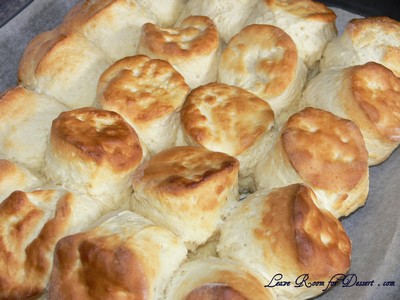
Brush the tops with milk and sprinkle with a little sugar. Bake 12-15 minutes until golden and well risen. Serve hot with jam and cream.

SconesMasterChef05

SconesMasterChef1

Easy Chocolate Brownies

Sunday, April 19th, 2009

This is a recipe I use a lot and as Sarah has requested on my About page, I’ve gotten around to posting it 🙂

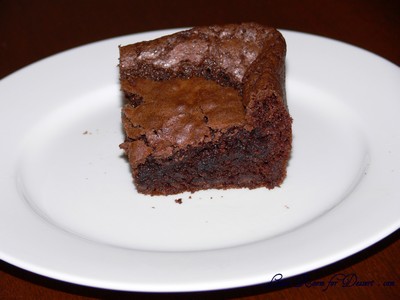
chocbrownies_cut

This is one recipe where I have no idea where it originated. I received it from someone at uni, who got it from someone at uni… and I don’t know where they got it from.

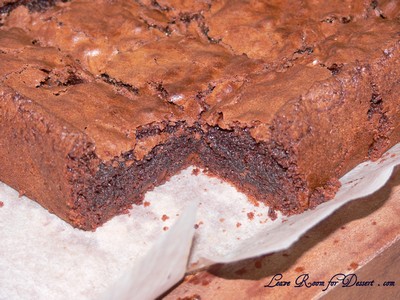
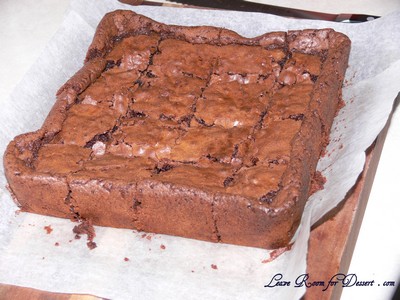
I’ve doubled the recipe, because there really is no point in only making just one batch (16 brownies) of these (as you can freeze left-overs and take them to work or school). They are great! And even though there are other more decadent recipes for chocolate brownies, which include rich chocolate pieces and toasted nuts, these are easy and pretty cheap too!

chocbrownies_piece

Chocolate Brownies

Makes: 32 brownies

250g butter
1 cup cocoa
4 eggs
2 cups caster sugar
1 teaspoon vanilla essence or imitation vanilla
1 cup self-raising flour
1 heaped cup dark choc bits, plus a few tablespoons extra

Preheat oven to 180°C (160°C for a fan forced oven). Grease and line two 20cm square cake tin.

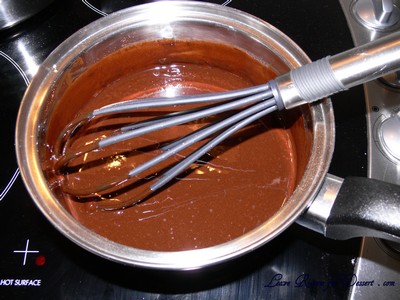
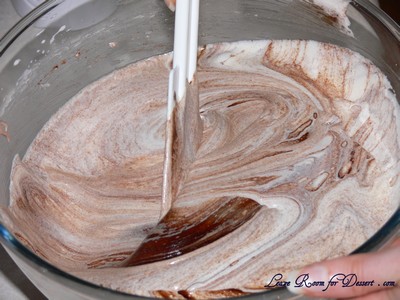
Put butter into saucepan and melt over low/medium heat. Add cocoa and whisk until well blended and smooth. (Add extra choc bits at this stage). Remove from heat and cool slightly.

Don’t be tempted to lick the whisk… many a passer-by have succumbed to it’s beauty… but cocoa and butter just isn’t as good as it looks! :)

Don’t be tempted to lick the whisk… many a passer-by have succumbed to it’s beauty… but cocoa and butter just doesn't taste as good as it looks! 🙂

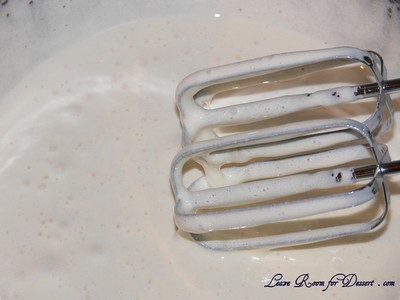
Using an electric mixer, beat eggs and caster sugar in a mixing bowl until light and fluffy.

chocbrownies_eggmix

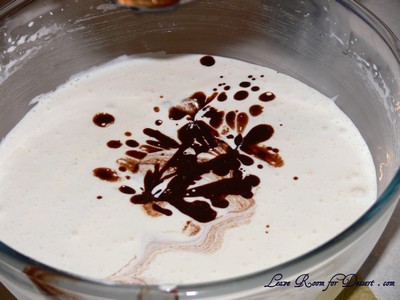
Beat in butter and cocoa mixture and vanilla essence. Sift flour over the top and fold in gently. Then fold in dark choc bits.

chocbrownies_mix

chocbrownies_fold

chocbrownies_oven

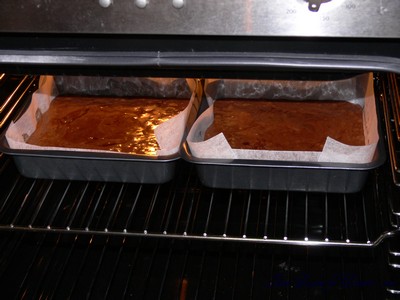
Pour into prepared cake tin and bake for 40-45 mins or until firm to touch at the centre. Take care not to over bake the brownies as they dry out. (If you accidentally undercook them, just say they were meant to be fudgey brownies 🙂 .

chocbrownies_cut1

Leftover brownies can be frozen and thawed at room temperature.

Almond Butter Biscuits

Thursday, April 16th, 2009

almondbb

One of my favourite memories of foods growing up is these almond butter biscuits. I remember getting a few at the beginning of every school year and always wanting more and requesting them throughout the year.

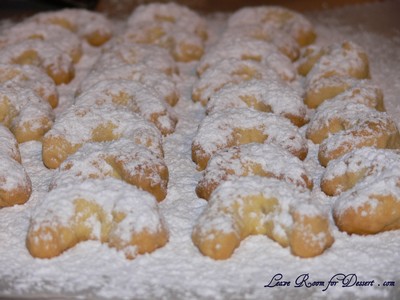
Melt in your mouth Heaven… with a bit of crunch from the almonds dusted in sweet icing sugar. The icing sugar can be a bit of a mess when eating, especially over black clothes, although this is a small price to pay for something so good.

Almond Butter Biscuits

Makes around 50 biscuits

8oz (250g) butter or margarine (I use salted butter)
3 tablespoons castor sugar
1 teaspoon vanilla essence
½ teaspoon salt
2 cups plain flour
¾ cup chopped blanched almonds or slivered almonds
1/2 – 1 cup icing sugar or mixture

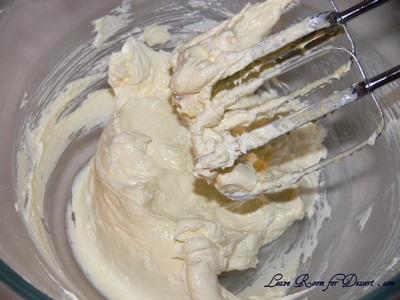
Cream butter with sugar and vanilla until light and fluffy.

almondbb_butter

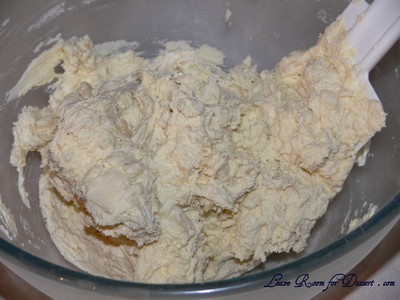
Sift flour and salt together and blend into creamed mixture then stir in almonds (make mixture just stiff enough to be able to roll it into balls in hand i.e. add a little more flour if necessary).

almondbb_mix

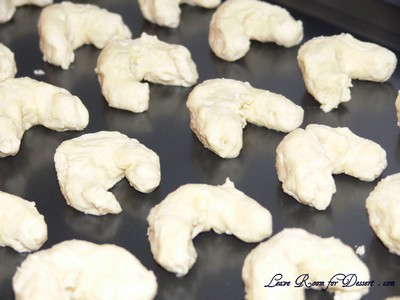
Place in balls the size of walnuts or in crescent shapes on an ungreased tray.

almondbb_shaped

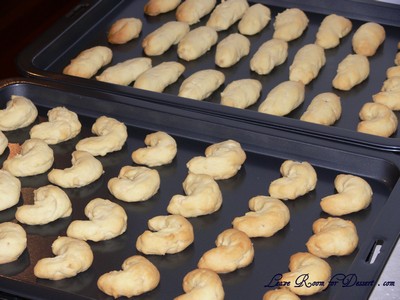
Bake in moderate oven (180°C/350°F) for 15 minutes. Remove from tray and cool slightly. Roll in icing sugar. (Sift icing sugar on the bottom of the biscuits first then on the top)

almondbb_cooked

almondbb_icing1

almondbb_icing2

almondbb_plate

Chocolate Chip Friands with Cinnamon and Almonds

Wednesday, March 25th, 2009

friands

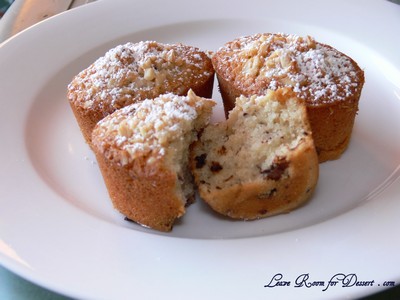
Can you believe after that mammoth feast for my Mum’s birthday, consisting of Butter chicken pie with vegetables and rice, home-made trifle for dessert and a poppy seed cake for the birthday cake, that there would still be time to make, and people to eat, some lovely friands?

Well, not really… there was enough time for me to make these friands, although almost no one had enough room to fit in even a quarter of a friand.

If it weren’t for my bad timing (chosen due to the left-over egg whites from the custard in the trifle), I’m sure these would have been gobbled up by my family… alas… I was ‘forced’ to take most home – with a couple arriving with me at work with the remaining poppy seed cake.

Choc Chip friands with Cinnamon and Almonds

(adapted from Lynne Mullin’s recipe in the Sydney Morning Herald’s Good Living Winter + Food Magazine May 2008)

Makes: 12

6 egg whites
185g butter, melted
125g (1½ cups) almond meal
240g (2 cups) pure icing sugar, sifted
75g (heaped ½ cup) plain flour
100g coarsely chopped dark chocolate
¼ teaspoon ground cinnamon
25g (1/4 cup) slivered almonds, chopped
Icing sugar for dusting

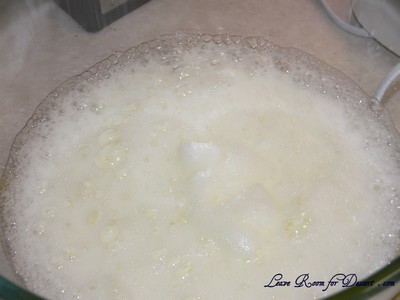
Preheat oven to 200°C. Whisk egg whites in a medium bowl until frothy and small peaks form. Add melted butter, almond meal and icing sugar and stir with a wooden spoon until combined. Add flour, chocolate and cinnamon and combine well.

Egg White beaten until frothy and starting to form small peaks

Egg White beaten until frothy and starting to form small peaks

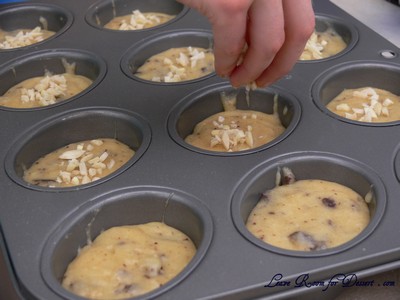
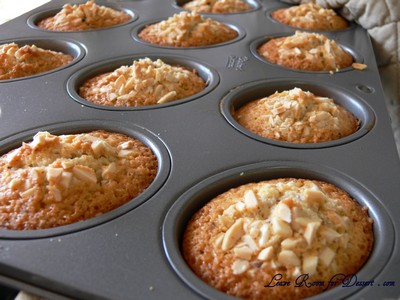
Divide mixture evenly between a 12-mould friand tin. Sprinkle with chopped almonds and bake for 25-30 minutes or until golden and cooked.

Sprinkle with chopped almonds

Sprinkle with chopped almonds

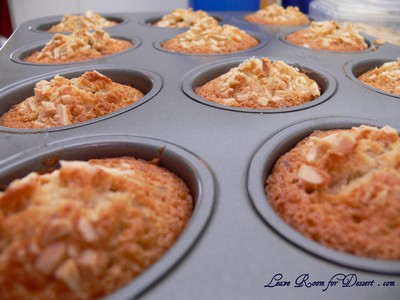
Rest in pan for 5-10 minutes and the carefully turn onto a cake rack or use a spoon to lift out of moulds. Cool friands and then dust with icing sugar before serving.

friand_cooked2

friand_cooked

friands2

Portuguese Custard Tarts

Sunday, March 8th, 2009

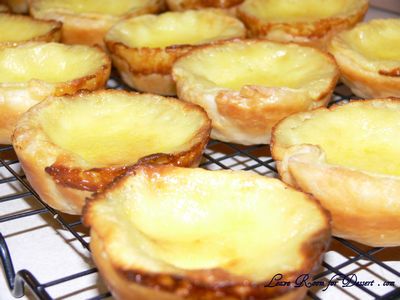
Portuguese_Custard_Tarts

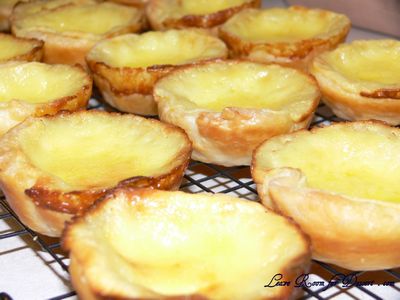
Fresh home-made creamy thick custard with flaky buttery pastry… who could resist? I doubt many people at all (except perhaps my brother). Even people who wouldn’t normally like custard, probably because they’ve only had the runny bought custard, love these tarts.

I was only recently introduced to Portuguese custard tarts, first at work and then I decided to make my own as there aren’t any places near my house or work that sell them. I’ve tried a few variations, including the one from “Sweet Food” which I made the pastry and custard from scratch. Unfortunately the pastry turned out too crunchy and not as crispy and flaky as I would have liked and the custard was a bit too sweet.

I searched and searched for a reasonable recipe for pastry with Portuguese custard tarts, although most recipes use store-bought puff pastry and in the end this worked out best.

I made some of Bill Grangers Portuguese Custard Tarts for my Kitchen Tea a while ago and many of the guests liked them. So I have stuck with this recipe. They are tasty both warm out of the oven and cooled down.

This recipe is adapted from the UKTV site with the recipe from Bill Granger.

Portuguese Custard Tarts

Makes: 12-18

3 free-range egg yolks
115g caster sugar
2 tablespoons cornflour
230 ml double/thick cream
170 ml milk
2 teaspoons natural vanilla extract
1-2 sheets ready-rolled puff pastry

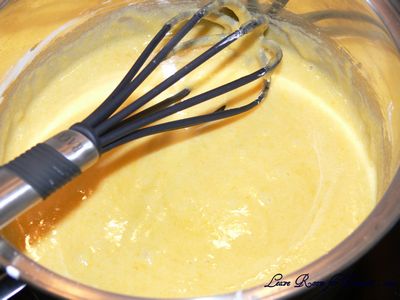
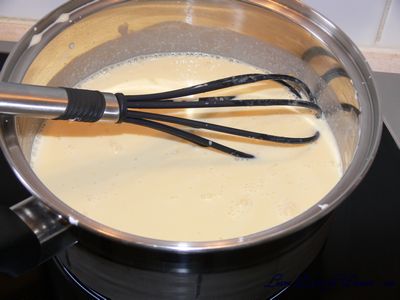
Put the egg yolks, sugar and cornflour in a saucepan and whisk together. Gradually whisk in the cream and milk until smooth.

Egg yolks, sugar and cornflour whisked

Egg yolks, sugar and cornflour whisked

Milk and cream combined with egg mix

Milk and cream combined with egg mix

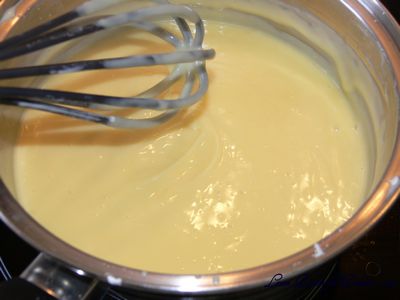
Place the pan over medium heat and cook, stirring, until the mixture thickens and comes to the boil. Remove from the heat and stir in the vanilla extract.

Thicken custard

Thicken custard

Transfer the custard to a bowl, cover the surface with plastic wrap to prevent a skin forming and leave to cool.

Preheat the oven to 190ºC/375F/Gas 5.

Lightly grease one or two 12-hole (80ml/2½fl oz) muffin tins.

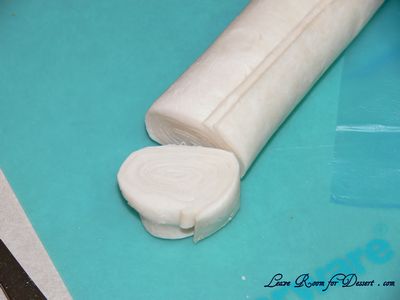
Cut the pastry sheet in half, put one half on top of the other and set aside for five minutes. Roll up the pastry tightly from the shorter-sided end and cut the pastry log into twelve 1cm/½in rounds.

Pastry rolled and sliced

Pastry rolled and sliced

Lay each pastry round on a lightly floured surface and use a rolling pin to roll out until each is 10cm/4in in diameter.

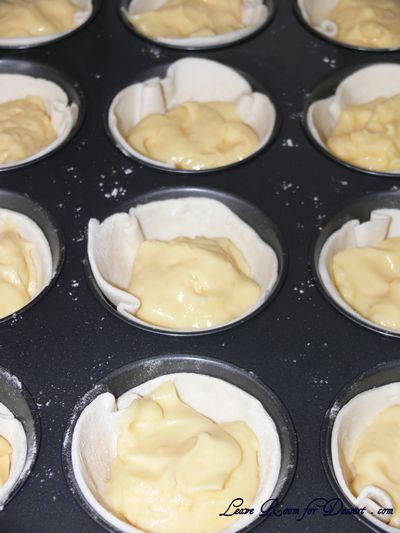
Rolled pastry slices in muffin tin with cooled custard

Rolled pastry slices in muffin tin with cooled custard

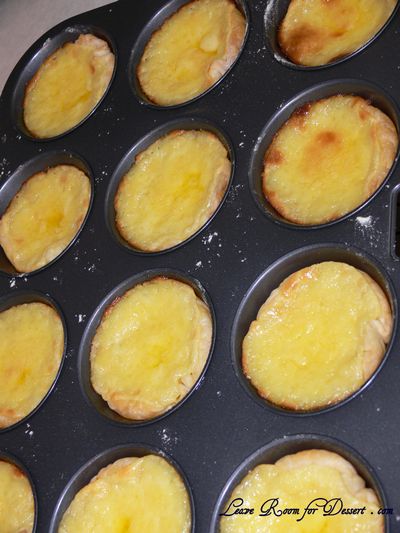
Press the pastry rounds into the holes in the muffin tin. Spoon the cooled custard into the pastry cases and bake for 20-30 minutes, or until the pastry and custard are golden.

Portuguese_Custard_Tarts_cooked
Leave the tarts in the tin for five minutes, then transfer to a wire rack to cool completely.

Portuguese_Custard_Tarts_Rolled