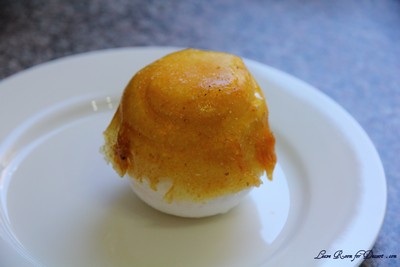
Archive for August, 2010

Baked Alaska and Ice Cream Petit Fours – Daring Bakers Challenge August 2010

Friday, August 27th, 2010

The August 2010 Daring Bakers’ challenge was hosted by Elissa of 17 and Baking. For the first time, The Daring Bakers partnered with Sugar High Fridays for a co-event and Elissa was the gracious hostess of both. Using the theme of beurre noisette, or browned butter, Elissa chose to challenge Daring Bakers to make a pound cake to be used in either a Baked Alaska or in Ice Cream Petit Fours. The sources for Elissa’s challenge were Gourmet magazine and David Lebovitz’s “The Perfect Scoop”.

Two sweets I have never made were chosen for this month’s Daring Bakers challenge. We could do both or just one, and as I had done neither previously and wanted to try them both. I went with both, especially considering that there were two common components between these desserts, meaning I just had to increase the cake and ice cream quantity, and not make too many extra components.

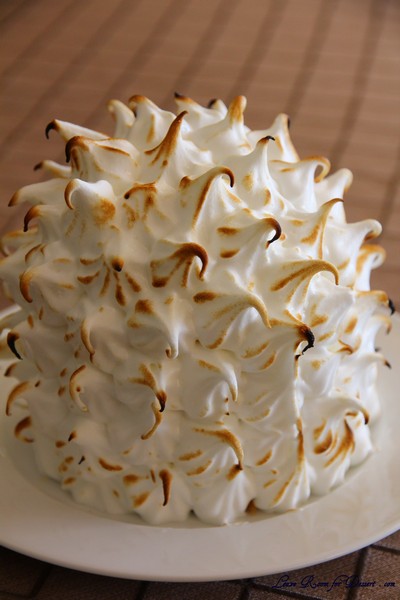
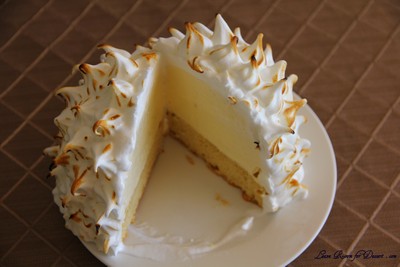
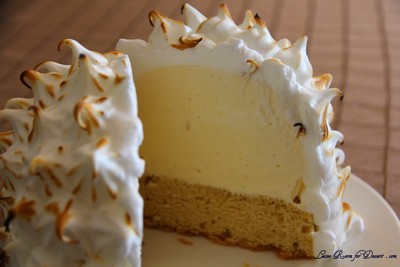
I was surprised by how many people one Baked Alaska from a reasonably small tea cup actually served. You could easily serve 2-4 people with one Baked Alaska, and with the petit fours being served up with them, I was cutting it into eight. This meant one of them stayed in the freezer (covered in plastic) for a week before my family got around to eating it. And it was still good.

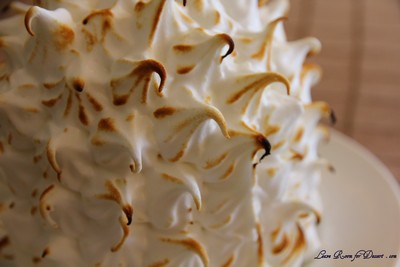
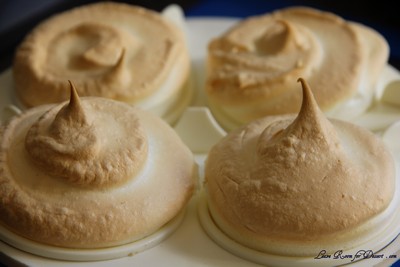
I tried both torching the meringue using a blow torch and placing it in a hot oven for 4 minutes. The torching was a heap of fun, although the oven actually made the meringue beautifully crispy on the outside. I’m not a huge fan of not-fully cooked meringue and this was a little off-putting for me, although others couldn’t get enough of it.

The cake was lovely the day it came out of the oven, the burnt butter flavour worked so well. I found as the days went on and refrigeration and freezing were required, it became a little staler than I would have preferred.

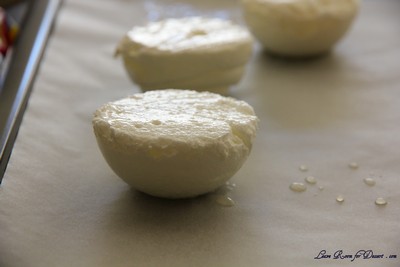
Although I was extremely looking forward to the petit fours, they didn’t turn out how I had hoped. They were too large, the cake kept coming away from the ice cream and they were too difficult to coat. Taste-wise they were great – but I wouldn’t bother doing them individually again…

Thanks again to our host this month – I always enjoy the challenges.

Baked Alaska and Ice Cream Petit Fours

Recipe Source: The brown butter pound cake recipe is adapted from the October 2009 edition of Gourmet. The vanilla ice cream is from ice cream genius David Lebovitz, adapted from The Perfect Scoop. The chocolate glaze for the petit fours is a larger adapted version of this ganache from Godiva Chocolate and the meringue for the Baked Alaska is a larger version of this meringue from Gourmet, May 1995.

Vanilla Ice Cream

1 cup (250ml) whole milk
A pinch of salt
3/4 cup (165g) sugar
1 vanilla bean, split lengthwise OR 2 teaspoons (10ml) pure vanilla extract
2 cups (500ml) heavy (approx 35% butterfat) cream
5 large egg yolks
1 teaspoon (5ml) pure vanilla extract

Heat the milk, salt, and sugar in a medium saucepan until the liquid steams. Scrape out the seeds of the vanilla bean with a paring knife and add to the milk, along with the bean pod. Cover, remove from heat, and let infuse for an hour. (If you do not have a vanilla bean, simply heat the milk, salt, and sugar in a medium saucepan until the liquid steams, then let cool to room temperature.)

Set up an ice bath by placing a 2-quart (2 litre) bowl inside a large bowl partially filled with water and ice. Put a strainer on top of the smaller bowl and pour in the cream.

In another bowl, lightly beat the egg yolks together. Reheat the milk in the medium saucepan until warmed, and then gradually pour ¼ cup warmed milk into the yolks, constantly whisking to keep the eggs from scrambling. Once the yolks are warmed, scrape the yolk and milk mixture back into the saucepan of warmed milk and cook over low heat. Stir constantly and scrape the bottom with a spatula until the mixture thickens into a custard which thinly coats the back of the spatula.

Strain the custard into the heavy cream and stir the mixture until cooled. Add the vanilla extract (1 teaspoon [5ml] if you are using a vanilla bean; 3 teaspoons [15ml] if you are not using a vanilla bean) and refrigerate until thoroughly chilled, preferably overnight.

Remove the vanilla bean and freeze in an ice cream maker. If you don’t have an ice cream maker, you can make it without a machine. See instructions from David Lebovitz: http://www.davidlebovitz.com/archives/2007/07/making_ice_crea_1.html

Brown Butter Pound Cake
The pound cake calls for cake flour. You can make 1 cup of cake flour by placing 2 tablespoons of corn starch in a 1 cup measure, and filling to the top with all purpose flour.

19 tablespoons (9.5 oz) (275g) unsalted (sweet) butter
2 cups (200g) sifted cake flour (not self-rising; sift before measuring) (See “Note” section for cake flour substitution)
1 teaspoon (5g) baking powder
1/2 teaspoon (3g) salt
1/2 cup (110g) packed light brown sugar
1/3 (75g) cup granulated sugar
4 large eggs
1/2 teaspoon pure vanilla extract

Preheat the oven to 325°F/160°C and put a rack in the center. Butter and flour a 9”x9” (23cmx23cm) square pan.

Place the butter in a 10” (25cm) skillet over medium heat. Brown the butter until the milk solids are a dark chocolate brown and the butter smells nutty. (Don’t take your eyes off the butter in case it burns.) Pour into a shallow bowl and chill in the freezer until just congealed, 15-30 minutes.

Whisk together cake flour, baking powder, and salt.

Beat the brown butter, light brown sugar, and granulated sugar in an electric mixer until light and fluffy, about 2 minutes. Beat in the eggs one at a time, mixing well, and then the vanilla extract.

Stir in the flour mixture at low speed until just combined.

Scrape the batter into the greased and floured 9”x9” (23cmx23cm) square pan. Smooth the top with a rubber spatula and rap the pan on the counter. Bake until golden brown on top and when a toothpick inserted into the center comes out clean, about 25 minutes.

Cool in the pan 10 minutes. Run a knife along the edge and invert right-side-up onto a cooling rack to cool completely.

Chocolate Glaze (For the Ice Cream Petit Fours)

9 ounces (250g) dark chocolate, finely chopped
1 cup (250 ml) heavy (approx 35% butterfat) cream
1 1/2 tablespoons (32g) light corn syrup, Golden syrup, or agave nectar
2 teaspoons (10ml) vanilla extract

Stir the heavy cream and light corn syrup in a small saucepan over medium heat until it comes to a boil. Remove from heat and add the dark chocolate. Let sit 30 seconds, then stir to completely melt the chocolate. Stir in the vanilla and let cool until tepid before glazing the petit fours.

Meringue (For the Baked Alaska)

8 large egg whites
½ teaspoon (3g) cream of tartar
½ teaspoon (3g) salt
1 cup (220g) sugar

Beat the egg whites, cream of tartar, and salt on high speed in an electric mixer until soft peaks form. Beat in the sugar gradually in a slow stream until stiff peaks form.

Assembly Instructions – Ice Cream Petit Fours

Line a 9”x9” (23cmx23cm) pan with plastic wrap, so that no sides of the pan are exposed and so there is some extra plastic wrap hanging off the sides. Spread 1 ¾ to 2 cups (450ml to 500ml) ice cream into the pan. Cover with more plastic wrap and freeze several hours.

Once the brown butter pound cake has completely cooled, level the top with a cake leveler or a serrated knife. Then split the cake in half horizontally to form two thin layers.

Unwrap the frozen ice cream. Flip out onto one of the layers of cake and top with the second layer of cake. Wrap well in plastic wrap and return to the freezer overnight.

Make the chocolate glaze (see above.)

While the glaze cools, trim ¾” (2cm) off each side of the ice cream cake to leave a perfectly square 7.5” (19cm) ice cream cake. Cut the cake into twenty five petit fours, each 1.5”x1.5” (4cmx4cm).

Glaze the petit fours one at a time: place a petit four on a fork and spoon chocolate glaze over it.

Place the petit fours on a parchment-lined baking sheet and return to the freezer for one hour.

Assembly Instructions – Baked Alaska

Line four 4” (10cm) diameter tea cups with plastic wrap, so that plastic wrap covers all the sides and hangs over the edge. Fill to the top with ice cream. Cover the top with the overhanging plastic wrap and freeze for several hours, or until solid.

Level the top of the brown butter pound cake with a serrated knife or with a cake leveler. Cut out four 4” (10cm) diameter circles from the cake. Discard the scraps or use for another purpose.

Make the meringue (see above.)

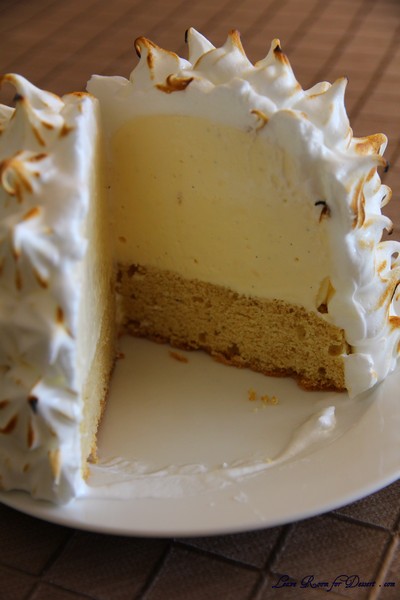
Unwrap the ice cream “cups” and invert on top of a cake round. Trim any extra cake if necessary.

Pipe the meringue over the ice cream and cake, or smooth it over with a spatula, so that none of the ice cream or cake is exposed. Freeze for one hour or up to a day.

Burn the tips of the meringue with a cooking blow torch. Or, bake the meringue-topped Baked Alaskas on a rimmed baking sheet in a 500°F/260°C oven for 5 minutes until lightly golden. Serve immediately.
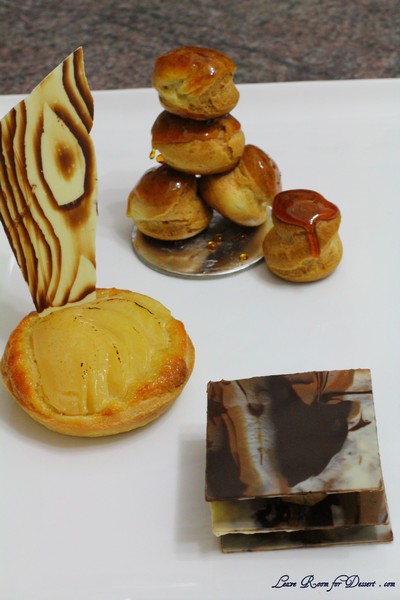
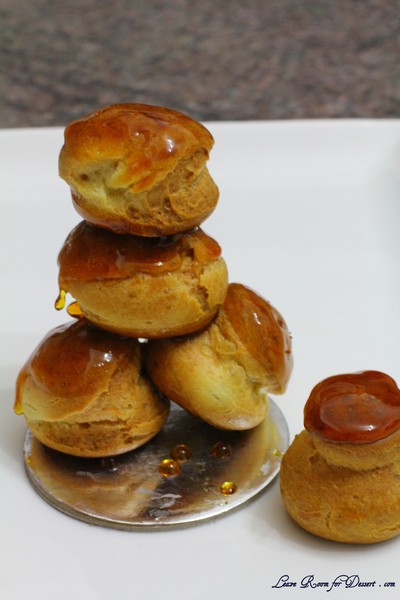
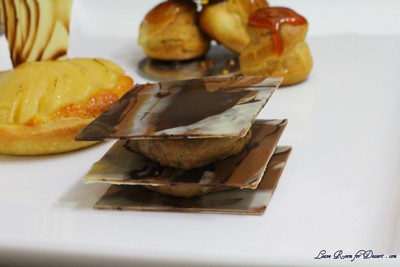
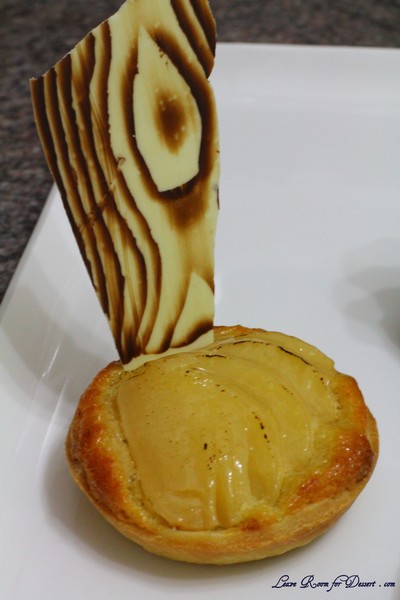
Mini Croquembouche, Belgian Chocolate Mouse Mille Feuille and Pear Bourdaloue (Frangipane Tart) – A Cooking Class at Patisse

Sunday, August 22nd, 2010

After seeing the variety and large quantity of pastries brought in to work from a friend at work who had been to the pastry fundamentals cooking class at Patisse, I went eagerly online to check out the other courses available.

When I found the French Classics course, it was easy to find other food loving individuals who also wanted to attend. We organised a private group cooking class (6-12 people) and I found it really enjoyable going with people I knew, although am sure it would be great meeting new people at any of their organised classes.

All the staff were lovely, with the executive chef Vincent Gadan being our main teacher. Having worked as a Head Pastry Chef in many of the Michelin Star restaurants in France and Nice, as well Guillaume at Bennelong and other Australian restaurants, Vincent had many great stories, tips and recipes to share.

Although I had made a few items before (3 croquembouches, chocolate mousse and pastry) it was still quite informative. I learnt a few extra tips with all three recipes we made.

The course consisted of some individual hands on experience, along with Vincent showing many components (due to time restrictions – it’s amazing how fast the time goes).

Along with the cooking class, dinner is also served and we were each treated to a lovely pie, salad and some caramelised onion tart – all of which were lovely.

This is a great class for beginners and those with a bit of experience, who want to get a few more tips, ask questions of a professional or have a fun night out.

Tropical Snow Egg

Tuesday, August 3rd, 2010

After our trip to Quay last year, I have wanted to replicate Peter Gilmore’s Snow egg. It never occurred to me again, until I saw Peter Gilmore in a Gourmet Traveller video, where he showed roughly how his two signature desserts (the eight-textured chocolate cake and the snow egg) were made, along with his inspiration behind them. I went searching for recipes for poached meringues, crispy tuilles and with terrible luck (and terrible search terms) it took me quite a few hours before I had found the actual recipe on the internet…

And then I saw it everywhere, even little searches brought me to his recipe, either posted by someone who went to Peter’s cooking class or even on a lifestyle website. Then it was the final dish to be prepared by MasterChef contestants in series 2.

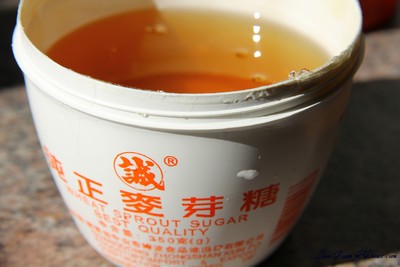
The best part of this dessert being on MasterChef were the comments by people below the recipe, as everyone was discussing where to buy maltose. Beforehand I tried looking in the shops and found rice malt – a brownish liquid maltose (+ carbohydrates and a little glucose). I decided to try it out, without trying any other parts of the recipe, to see if this would work. It didn’t. The tuilles melted into a terrible mess. After checking out the MasterChef website I found people suggesting going to Asian grocery stores. And with much luck, my local Asian grocery store had it. I had to ask for it though as it was too difficult to find, although the lovely staff member there found me some – it was labelled: Wheat Sprout Sugar, Ingredients: Rice, malt…

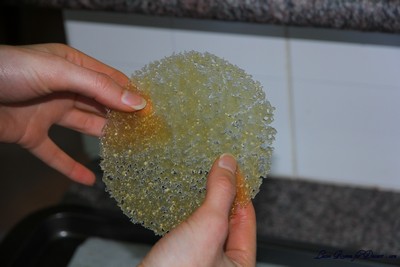
These tuilles were perfect! They worked very well on baking paper and hardly any broke. It also didn’t matter if they stayed on the paper a while.

The other piece of equipment I was missing were the hemisphere moulds. Although my Mum came up with the brillant idea of using an egg poacher for the meringue moulds. Lucky my mum’s one had smooth hemispheres compared to mine with a flat base. These worked perfectly, with the only problem being that there were only 4 moulds, so I had to clean them between cooking each batch of 4 halves. I made a total of 8 snow eggs, so this part got tedious after the 2nd batch.

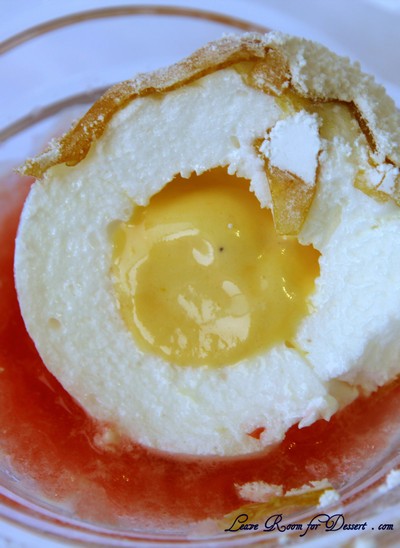
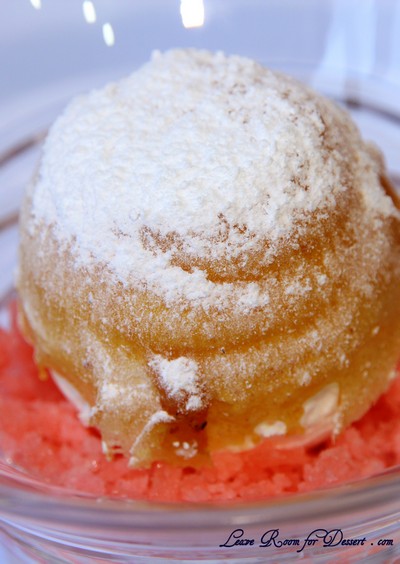
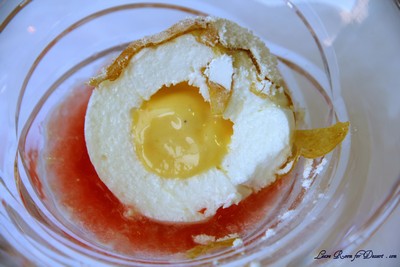
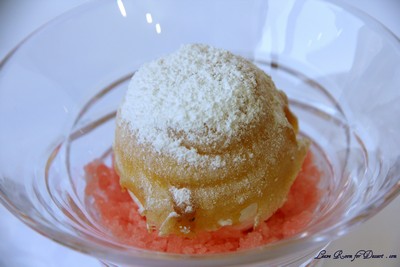
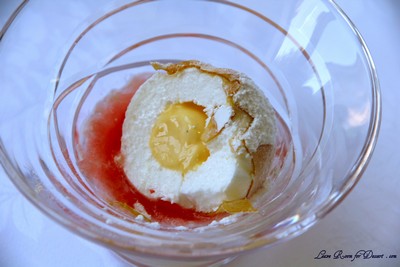
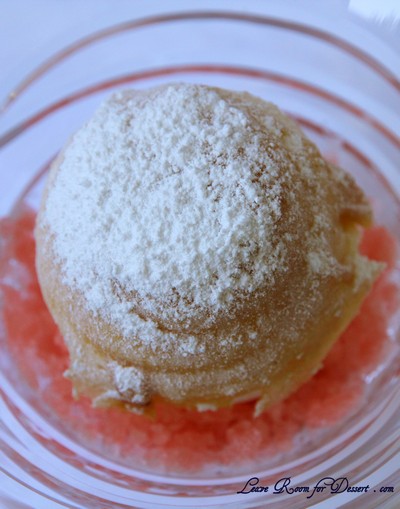
The flavours Peter uses are gorgeous, although trying to make this using seasonal fruits or frozen fruits I had on hand, made me change the recipe to suit the timing of the year. I decided on a passionfruit ice cream for the “yolk” of the egg, with a tropical, strawberry, pineapple and passion fruit granita along with a strawberry cream. I think most flavours worked wonderfully – although the strawberry cream was maybe a little overpowering in flavour.

I have learnt so much from this challenge – the maltose experience was extremely interesting, as were making the poached meringue and granita. I am so glad I have made this, and even more glad the extremely talented and incredibly gifted Peter Gilmore shared such a beautiful recipe of his. I would much like to go back to Quay at some point as the experience was just amazing. I am also greatly anticipating the launch of his book on 1st November this year!!! I tried to make my own version of Peter Gilmore’s eight textured chocolate cake as I could not find his recipe anywhere – although it didn’t turn out particularly well in the presentation department (and obviously didn’t compare to the flavours of Peter’s, but was still delicious). I’m not sure whether I should post it due to the bad photos… – although I have heard his actual recipe may be in his book – making me super excited!!

And to answer your questions, I think this dessert is worth making. Many components can be made the night or a few nights beforehand, the presentation is lovely, the flavours are beautiful, the concept is amazing. (Although, this is on the condition of getting some hemisphere moulds – as cleaning the egg poachers was too tedious. Please let me know if you find any in Sydney or on the internet?) {now that’s not a hint for a birthday present, if I ever did give one 🙂 }

Tropical Snow Egg

Recipe adapted from Peter Gilmore from Quay‘s Guava and Custard Apple Snow Egg

Passion fruit ice cream
100ml milk
3 egg yolks
100g caster sugar
100g passion fruit pulp
50ml pouring cream

Vanilla custard base
400ml pouring cream
2 vanilla beans, split and seeds scraped
1 whole egg
3 egg yolks
80g caster sugar

Tropical granita
100g caster sugar
500ml water
150g pineapple, diced
100g passion fruit pulp
100g fresh strawberries, hulled and halved

Poached meringue (I used all the left over egg whites from the ice cream and custard – making a meringue of ~200g egg whites and ~200g caster sugar)
Canola oil spray or vegetable oil
150g egg white
150g caster sugar

Maltose tuiles
200g liquid maltose
100g caster sugar
20g flaked almonds

Vanilla cream

100g vanilla custard base
100g double cream

Strawberry Cream
100g of strawberries, pureed and sieved
200g vanilla cream

1 cup icing sugar, to serve

Preheat oven to 150ºC and turn on ice cream machine to chill.

For the passion fruit ice cream, bring milk to the boil in a small saucepan. Whisk egg yolks and sugar together by hand, then pour boiling milk onto the egg yolk mixture while whisking. Pour into a stainless steel bowl and cook while whisking over a pot of simmering water for about 10 minutes or until it is thickened. Whisk sabayon until cool over ice, then whisk in the passion fruit pulp and the cream. Strain and then place the mixture into an ice cream machine and churn for about 40 minutes. Place in the freezer until set.

For the vanilla custard base, heat cream and vanilla seeds together in a small saucepan until it just begins to boil, and then remove from the heat. Whisk by hand the eggs, egg yolks and sugar together in a stainless steel bowl until combined. While whisking the eggs, slowly pour on the hot vanilla cream. Mix well and remove the vanilla pods. Pour this mixture into 4 dariole moulds to a depth of 5 cm, place the dariole moulds into a small baking dish with boiling water around the dariole moulds up to halfway to form a water bath. Place the water bath into a 150ºC oven and cook the custard 25 minutes or until the custard is just set. If the centre is still runny place in the freezer until set then place in refrigerator until needed.

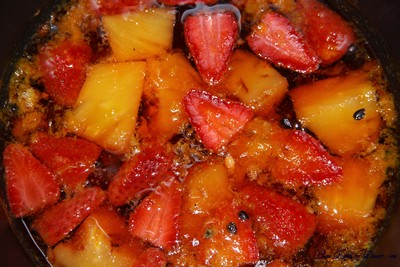
For the granita, combine sugar and water in a large saucepan; bring to the boil then lower heat. Add diced fruit and gently simmer for 10 minutes. Take off the heat and allow to infuse at room temperature for 30 minutes. Pass the liquid through a muslin cloth and discard the solids. Pour the syrup into a lamington or slice tin to a depth of 5cm. Place in the freezer until solid. Scrape with a fork into crystals and then transfer to the freezer until required.

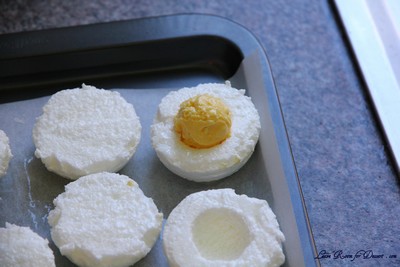
For the poached meringue, whisk the egg whites in an electric mixer until they form soft peaks and then slowly add the sugar bit by bit. Keep whisking until the meringue forms firm peaks and the sugar has dissolved. Spray hemisphere moulds lightly with canola oil spray. Spoon mixture into a piping bag fitted with a 1cm nozzle. Pipe mixture into moulds so it sits above the surface. Place the filled moulds into a large baking dish and pour boiling water into the baking dish to a depth of about 3cm. Bake at 150ºC for 15 minutes until just. Allow to cool for 2 minutes, then trim off tops so they are perfect hemispheres. Gently un-mould and place cut side up on a baking paper lined tray in the fridge until needed. Increase oven temperature to 180ºC.

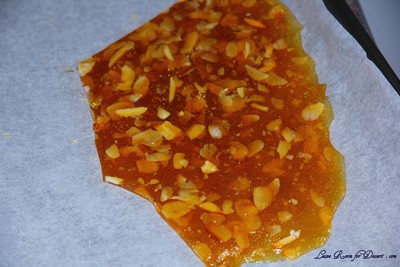
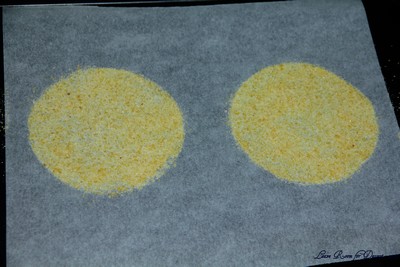
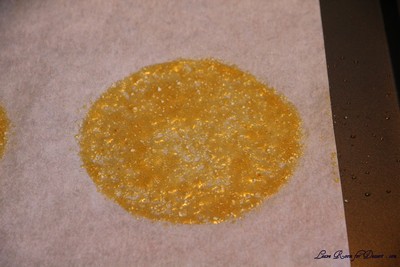
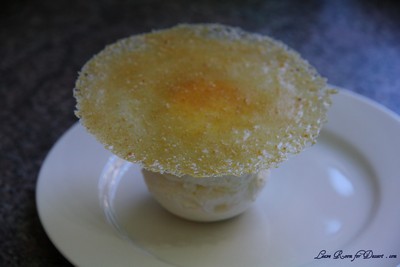
To make the maltose tuiles, stir maltose and sugar together in a small saucepan then bring to the boil until it reaches hard crack stage (until it caramelises) (this will occur at 160ºC or a little higher). Take care to brush down the sides with a pastry brush dipped in water so it doesn’t crystallise. Once golden add the flaked almonds and immediately pour the mixture onto a silicon mat, allow to cool completely. Process the cooled praline in the bowl of a hand blender to form a fine powder. Next sift a fine layer of the praline mixture through a drum sieve, over an acetate stencil with 11cm circles cut out of it onto a silicon mat on a baking sheet. Melt this mixture in a 180ºC oven for a few minutes until it forms a clear liquid paste. Cool tuiles slightly and peel off silicon sheet while still flexible. Store flat between sheets of baking paper until ready to use.
For the vanilla cream, whisk the cream and custard together to form soft peaks. Store in the fridge until ready to use.

For the strawberry cream, place the strawberry puree in a small bowl and fold through the vanilla cream gently to form a rippled effect. Do this just before you are ready to assemble the dessert.

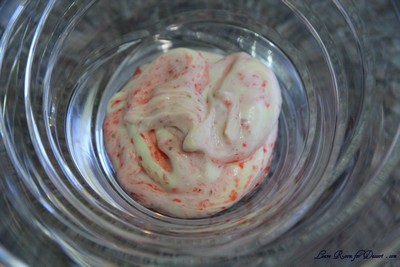
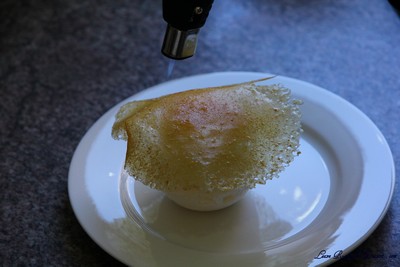
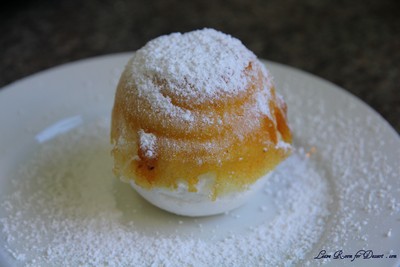
To assemble, take 8 of the half hemisphere poached meringues. Using a teaspoon or half teaspoon measure remove a small scoop from the centre of each half hemisphere being careful not to break through the outer edge. Then place a teaspoon or half teaspoon measure scoop of passion fruit ice cream in four of the hemispheres. Invert the other four hemispheres over the ice cream filled meringues to form a complete sphere. Use wet fingers to stick the two halves together. Place a tuile on top of each sphere and using a blow torch and an even motion, melt it over the sphere, patting it down if necessary. Dust spheres liberally with icing sugar. Next add a generous spoonful of the strawberry cream in the bottom of each serving glass. Top the cream with the tropical granita. Use two teaspoons to place the snow egg on top of the granita and serve.