Archive for October, 2010

Cinnamon Doughnuts – Daring Bakers Challenge October 2010

Wednesday, October 27th, 2010


The October 2010 Daring Bakers challenge was hosted by Lori of Butter Me Up. Lori chose to challenge DBers to make doughnuts. She used several sources for her recipes including Alton Brown, Nancy Silverton, Kate Neumann and Epicurious.

Will this year get any busier?? I hope not – but I’m pretty sure it will.

October has been an amazing month. Birthdays always have a huge presence in October – with my family and friends accounting for at least 7 birthdays.

I did manage to fit in the Daring Bakers Challenge this month, though I couldn’t cater to all the requests (custard filled doughnuts didn’t make it). I ended up making the common cinnamon sugared doughnuts – which I often crave whilst out at the shops (and no – I don’t buy them even 10% of the time I want them).

I made these doughnuts the day after my first progressive dinner with friends. It was a lovely long evening with good friends, good food, lots of laughs and full tummies. I bet you can guess what course I cooked for the dinner?

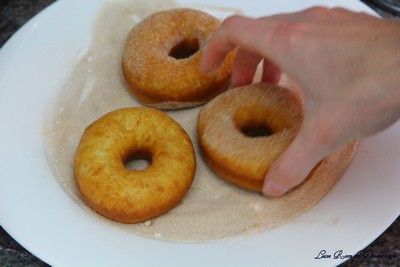
Back to the doughnuts – these were lovely and you couldn’t get them any fresher. They were soft and delicious and even tasted ok the next day.

We tried to encase some chocolate inside some of the leftover dough and fry that, but either the cooking time wasn’t long enough or the dough was thicker (due to more handling) and didn’t cook as well. So, the chocolate filled doughnuts were still a bit raw inside…

I also tried the dough in a mini doughnut maker I was given – although it didn’t work, and I expect the recipe for the doughnut maker works a lot better.

For the recipe I used (and have given below), I felt that there was too much oil used in the saucepan. These doughnuts floated, and therefore you only need the oil a little deeper than half the height of the doughnut.

Even though I loved the doughnuts, I don’t tend to fry many things, mainly due to the excess oil that is often wasted. I did enjoy this challenge though. Thanks to our host for providing so many recipes and ideas for this month’s challenge.

Yeast Doughnuts

Preparation time:
Hands on prep time – 25 minutes
Rising time – 1.5 hours total
Cooking time – 12 minutes

Yield: 20 to 25 doughnuts & 20 to 25 doughnut holes, depending on size

Ingredients
Milk 1.5 cup / 360 ml
Vegetable Shortening 1/3 cup / 80 ml / 70 gm / 2.5 oz (can substitute butter, margarine or lard) – I used butter
Active Dry Yeast 4.5 teaspoon (2 pkgs.) / 22.5 ml / 14 gm / ½ oz
Warm Water 1/3 cup / 80 ml (95°F to 105°F / 35°C to 41°C)
Eggs, Large, beaten 2
White Granulated Sugar ¼ cup / 60 ml / 55 gm / 2 oz
Table Salt 1.5 teaspoon / 7.5 ml / 9 gm / 1/3 oz
Nutmeg, grated 1 tsp. / 5 ml / 6 gm / ¼ oz
All Purpose Flour 4 2/3 cup / 1,120 ml / 650 gm / 23 oz + extra for dusting surface
Canola Oil DEPENDS on size of vessel you are frying in – you want THREE (3) inches of oil (can substitute any flavorless oil used for frying)

Place the milk in a medium saucepan and heat over medium heat just until warm enough to melt the shortening. (Make sure the shortening is melted so that it incorporates well into the batter.)

Place the shortening in a bowl and pour warmed milk over. Set aside.

In a small bowl, sprinkle the yeast over the warm water and let dissolve for 5 minutes. It should get foamy. After 5 minutes, pour the yeast mixture into the large bowl of a stand mixer and add the milk and shortening mixture, first making sure the milk and shortening mixture has cooled to lukewarm.

Add the eggs, sugar, salt, nutmeg, and half of the flour. Using the paddle attachment of your mixer (if you have one), combine the ingredients on low speed until flour is incorporated and then turn the speed up to medium and beat until well combined.

Add the remaining flour, combining on low speed at first, and then increase the speed to medium and beat well.

Change to the dough hook attachment of the mixer and beat on medium speed until the dough pulls away from the bowl and becomes smooth, approximately 3 to 4 minutes (for me this only took about two minutes). If you do not have a dough hook/stand mixer – knead until the dough is smooth and not sticky.

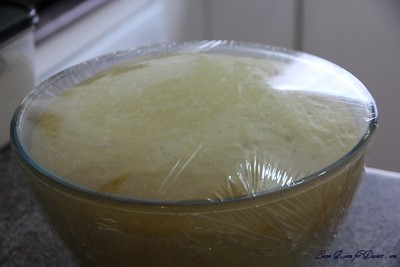
Transfer to a well-oiled bowl, cover, and let rise for 1 hour or until doubled in size.

On a well-floured surface, roll out dough to 3/8-inch (9 mm)thick. (Make sure the surface really is well-floured otherwise your doughnuts will stick to the counter).

Cut out dough using a 2 1/2-inch (65 mm) doughnut cutter or pastry ring or drinking glass and using a 7/8-inch (22 mm) ring for the center whole. Set on floured baking sheet, cover lightly with a tea towel, and let rise for 30 minutes.

Preheat the oil in a deep fryer or Dutch oven to 365 °F/185°C.

Gently place the doughnuts into the oil, 3 to 4 at a time. Cook for 1 minute per side or until golden brown (my doughnuts only took about 30 seconds on each side at this temperature).

Transfer to a cooling rack placed in baking pan. Allow to cool for 15 to 20 minutes prior to glazing, if desired. Allow to cool slightly before coating in cinnamon sugar.

Cinnamon Sugar:
Mix together ¾ cup caster sugar with ½ teaspoon cinnamon for coating the doughnuts.


Asparagus, Broad Bean and Poached Egg Tart

Sunday, October 24th, 2010

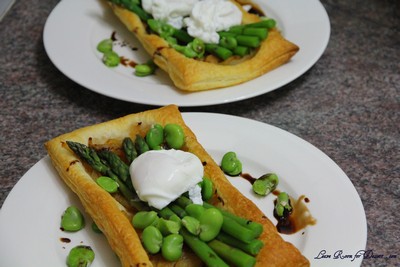
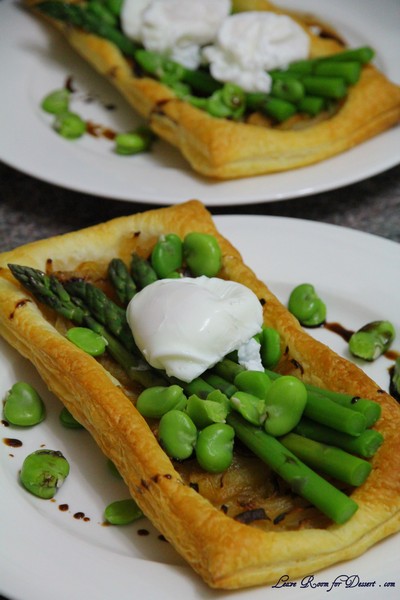
Asparagus is on a great special at the moment in the shops and is tasting fantastic too. I always like using fresh, seasonal ingredients, because not only do they have an amazing taste, they are likely to have traveled less distance to reach the shops, and are also a good price – which is important to most people.

I have only just started getting into eating asparagus. This year in particular has been one where my whole family is eating asparagus – and broad beans too. I now have broad beans with a lot of meals, although we are lucky if they make it to the plate – as I tend to eat them whilst shelling them.

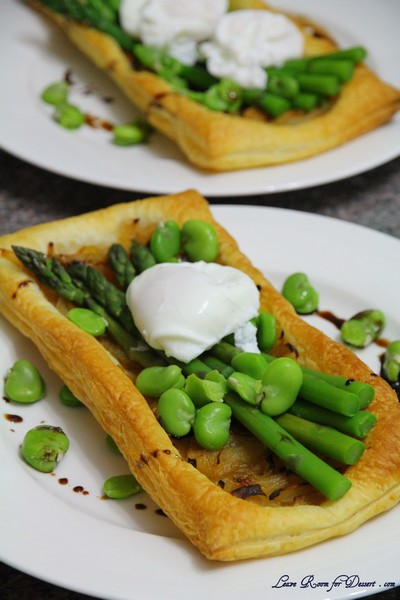
This is a quick and easy meal with fresh ingredients. I wish I was growing asparagus and broad beans as that would make it even more enjoyable and fresh. I haven’t left you with a recipe of how to poach eggs, as I haven’t come across a fool-proof way of making them yet so they look good. For my ones (which still tasted great), I boiled up water in a medium saucepan, added a splash of vinegar, stirred
the water, then added the egg. The eggs came apart a bit whilst cooking, although stayed together enough – they cooked for 2-4 minutes and were then drained.

Asparagus, Broad Bean and Poached Egg Tart

Recipe by Anita @ Leave Room for Dessert

Serves: 4

1 tablespoon olive oil
5 large onions, sliced
1/2 teaspoon salt
2 bunches of asparagus
2 cups broad beans
4-8 poached eggs
2 sheets puff pastry, thawed and halved
Caramelised balsamic vinegar to serve
Shaved Parmesan cheese, to serve

Preheat oven to 180C.

Heat oil in a medium saucepan on high. Add the onion and salt, stir and turn the heat down to medium/low (alternating if need be to make sure the onions don’t burn). Cook for 10-20 minutes until the onions are caramelised.

Place pastry halves on two lined baking trays. Divide the onion mix across the pastry halves, leaving a 2cm gap around the outside edges. Cook in the oven for 10-20 minutes until the pastry on the outside is puffed and golden brown.

Whilst the tarts are cooking, poach the eggs (with the method I used above, or according to your preferred method), and cook the asparagus and broad beans.

To cook the asparagus and broad beans, boil water in a medium saucepan. Place the broad beans in the water and cook for 2 minutes, or a little longer if they haven’t come to the surface of the water. Place in cold water straight away, to stop the cooking. Remove skins from the broad beans. Place the asparagus into the boiling water and cook for 2 minutes. Place in the cold water.

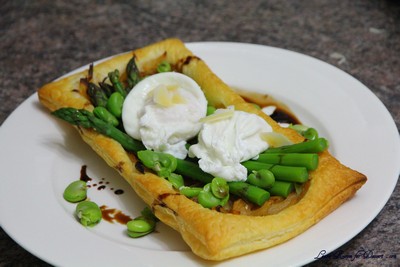
Rinse the broad beans and asparagus under a small amount of hot water, before draining and placing on top of the cooked onion tart. Top with 1-2 poached eggs per tart and drizzle caramelised balsamic vinegar around the edges.

Ciabatta Bread

Wednesday, October 6th, 2010

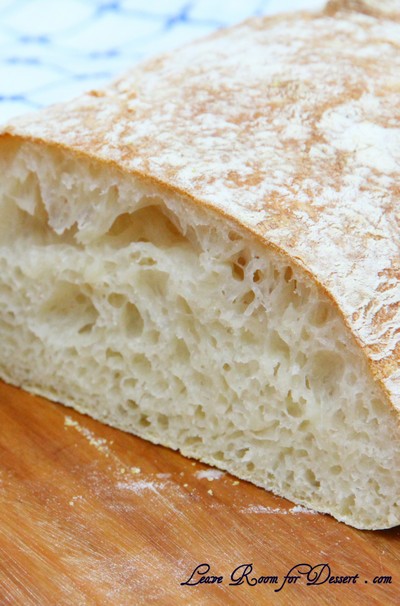
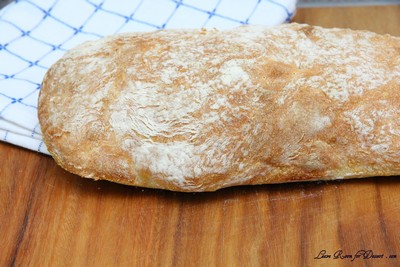
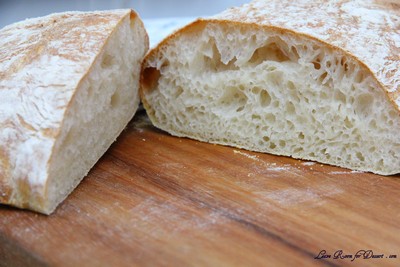
I’ve always had problems making bread at home. They nearly never end up with the same fluffy lovely texture the bought ones do. So I couldn’t be more excited to share with you all, the great ciabatta bread method Nick found. I know I have told so many people about it – and they have been very patient waiting for the recipe – so here it is (finally).

I had heard a while back about the no-knead bread. It sounds delicious and I still intend to make it one or two days when I have the time. This is a quick no-knead ciabatta bread and I don’t know why it’s called that, as there is quite a lot of kneading done by the KitchenAid. I wouldn’t want to do it by hand – as the mixture is just way too sticky.

Another plus it that you don’t need any special flour for it. Plain flour works beautifully.

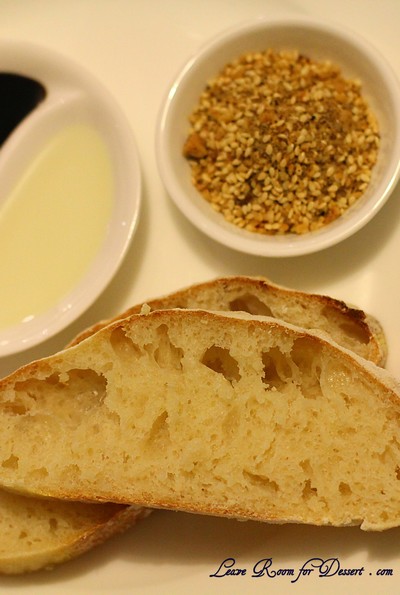
I hope more people try it – as there’s almost nothing better than dunking some fresh gorgeous ciabatta bread into olive oil, caramelised balsamic vinegar and dukkah.

Ciabatta Bread

Recipe by Nick based on Jason’s Quick Coccodrillo Ciabatta Bread and Food Wishes Video

**Note: Takes 3-8 hours or overnight with proving. (Nick has made it in 3 hours at the shortest time, although it works in 6 hours and even overnight!)

Makes: one loaf, and can easily be doubled to make two loaves

250g plain flour
1 teaspoon dry yeast
1 teaspoon salt
1 teaspoon sugar
250ml warm water

plain flour and polenta for dusting plastic wrap and baking paper lined tray

Place all dry ingredients into a bowl for a KitchenAid or mix master, with a dough hook attached. Whisk or mix the dry ingredients, then add the warm water and mix with the dough hook for 10 minutes. You may want to stop the mixer and scrape the bottom and sides of the bowl to ensure that all of the dry ingredients have come away from the sides. You should really notice the texture and consitency of the dough change after 10 minutes of mixing, going from gluggy to stretchy and bandy.

Pour the mixture into a large lightly oiled bowl. Cover with a lid, tea towel or plastic wrap and leave in a warm place for 3-6 hours or overnight.

Sprinkle some water onto a clean counter surface and lay out a piece of plastic wrap onto the wet surface. This stops the plastic wrap from moving around. Sift some plain flour onto the plastic wrap to give an even coating (slightly smaller than the size of a baking tray). Cover your baking tray with a piece of baking paper, then sift a similar sized patch of flour onto the baking paper. Then sprinkle some polenta onto the flour on top of the baking paper. The flour on the plastic wrap will stop the dough sticking to the plastic, and the flour and polenta on the baking paper will end up on the underside of the bread, giving it a good texture and flavour.

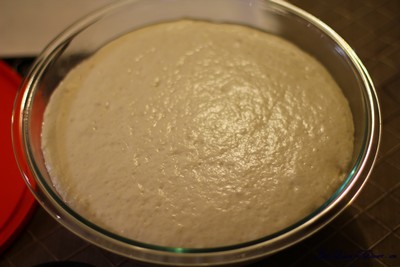
The mixture should have tripled in size after proving, and will be sticky and full of air bubbles. Pour the mixture onto the flour covered plastic wrap and shape the dough into a loaf roughly 30cm x 15cm. It’s best to pop any really large air-bubbles in the dough. Carefully lift the plastic wrap with the dough on top and flip the loaf on the flour and polenta covered baking paper, then remove the plastic wrap. Re-shape the dough into a loaf shape again on the tray if required.

Leave the dough to sit in a warm spot for 15 minutes to 1 hour.

Cook at 250C for approximately 20 minutes, until the outside has formed a nice crust and makes a hollow sound when tapped.

Allow to cool to a temperature you’re able to handle, then slice up and serve with a meal – or for a lovely starter serve with a good olive oil and caramelised balsamic vinegar, and perhaps dukkah too.

If you make two loaves, you can easily store one in a tea towel overnight. Place on a baking tray and reheat in the oven at 180C for 5-10 minutes, before serving. It’s almost as good as freshly baked.