Cake Decorating

Solar System Cake

Thursday, November 22nd, 2018

Solar System Cake

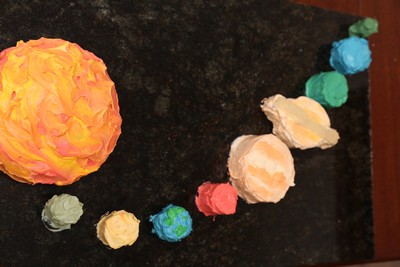
Deciding a birthday cake and theme is always tricky for kids. I can’t remember the alternative for my daughters birthday, but she decided to go with the solar system, as she loved the dwarf planet Pluto.

SolarSystem07

SolarSystem09

SolarSystem08

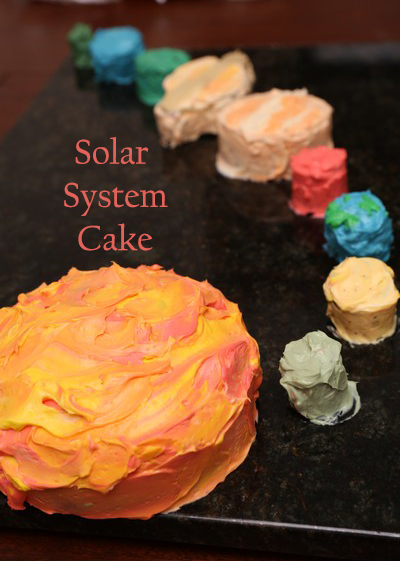
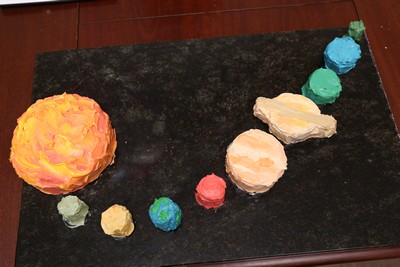
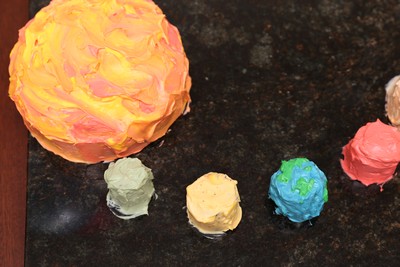
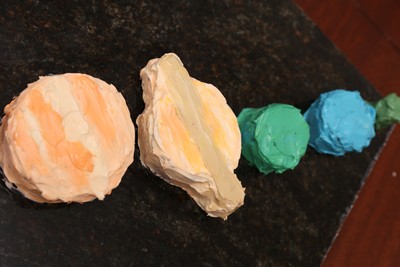
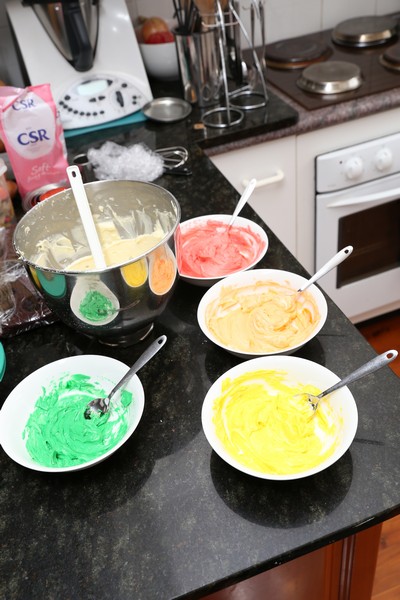
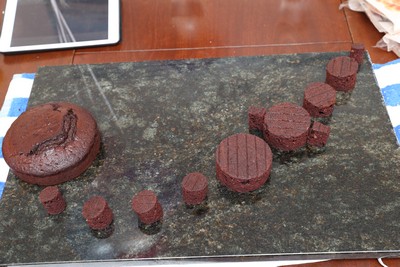
She chose a chocolate cake and cream cheese icing (so it wasn’t too sweet). I made the cake in advance (one round cake for the sun, and a large slab for the rest). I then cut out the planets with different sized cutters, and coloured them as close as I could to the real planets.

SolarSystem04

SolarSystem05

SolarSystem10

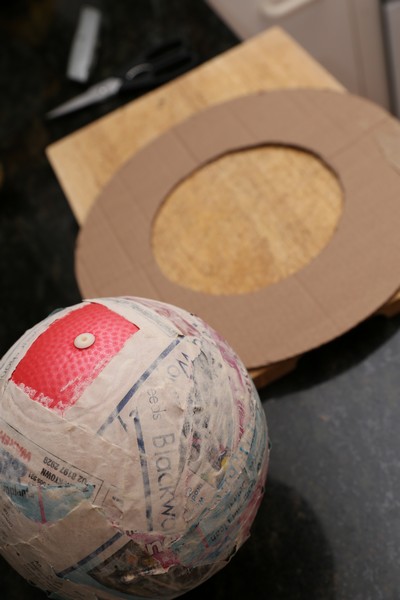
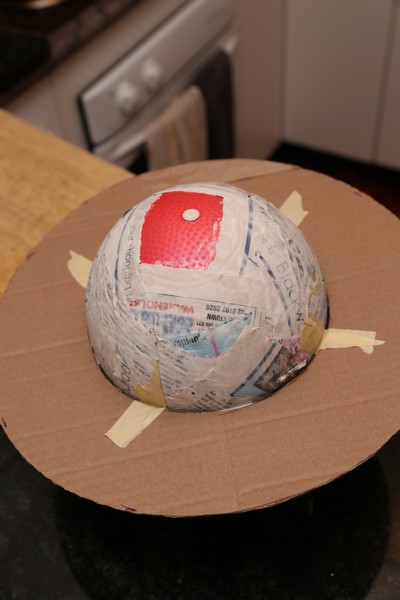
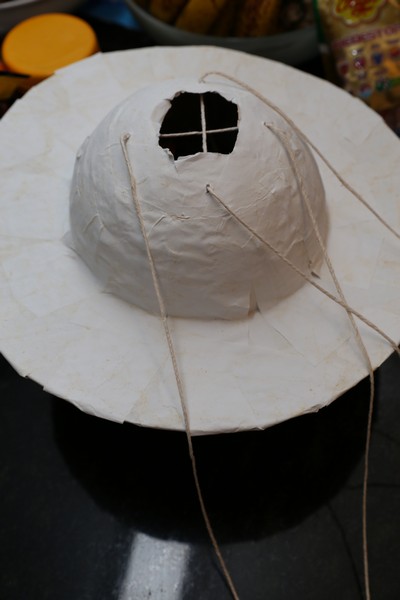
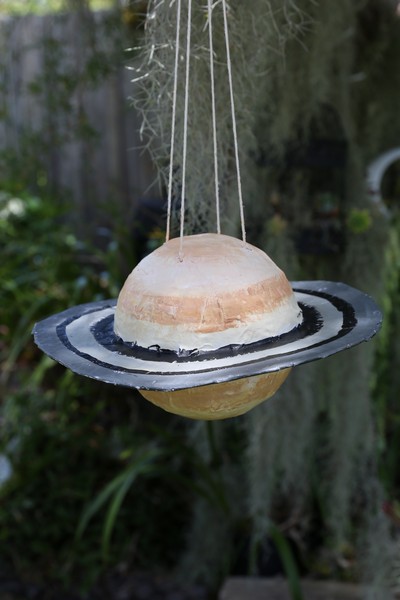
For the piñata, I made Saturn. First using a small round exercise ball and covering in paper mache, then deflating it for removal. Next, I cut the rings out of a large cardboard sheet and sticky taped them to the ball, before adding another layer of paper mache followed by paint.

SolarSystem01

SolarSystem02

SolarSystem03

SolarSystem11

Turtle Cake and Under the Sea Party

Monday, November 19th, 2018

UndertTheSea07

I always remember our lovely birthdays as children. We were able to choose any cake from the Women’s Weekly Cake Book. My mum made so many different cakes from the book over the years, I couldn’t help but buy the same cake book (and the new bumper book too) for my children to choose from. We already have lots of fun searching through all the lovely pictures.

UndertTheSea01

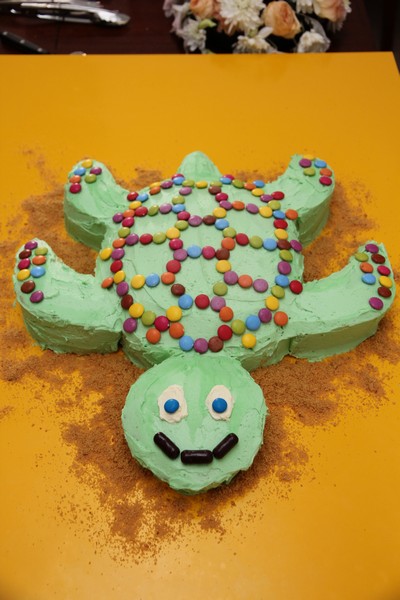
I searched for a turtle cake for my daughters 2nd birthday (a few years back now), and didn’t see anything that quite looked how I wanted it to look in either book or the internet. So I decided to design my own turtle cake and make an under the sea themed party.

UndertTheSea02

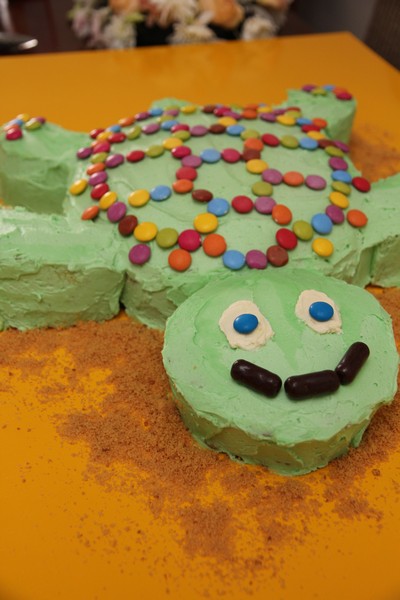
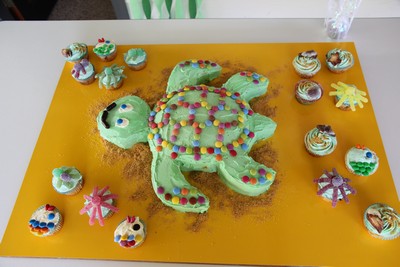
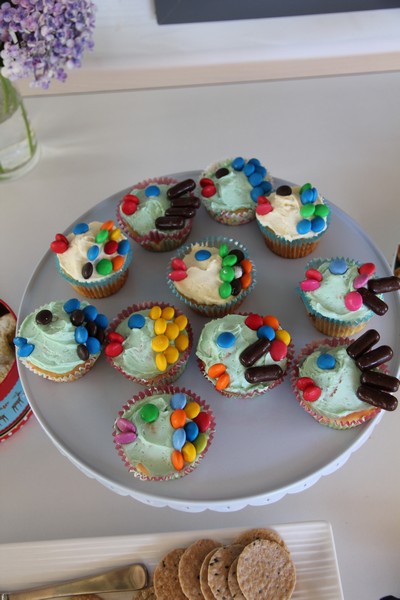
We generally prefer buttercream/Vienna icing to fondant, so I made it green and used smarties or mm’s for the design (liquorice could have been used as well). To make the shell I used a round tin and trimmed the sides to make it more oval. I made a template out of grease-proof paper for the body (using a round tin 22cm or 24cm), I then used it make an appropriate sized head and flippers, making sure they would fit in my lamington tray (or a larger tray). Cut out the pieces once the cake has been frozen.

UndertTheSea09

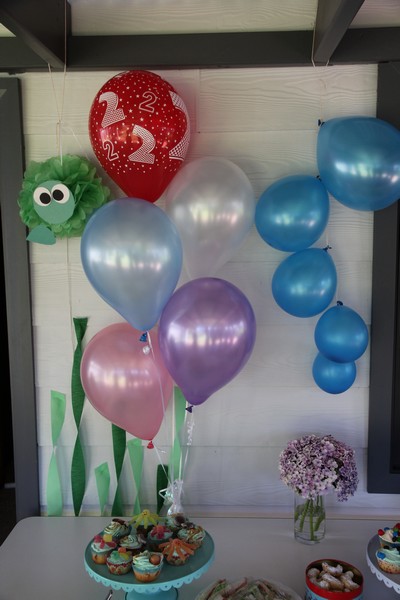
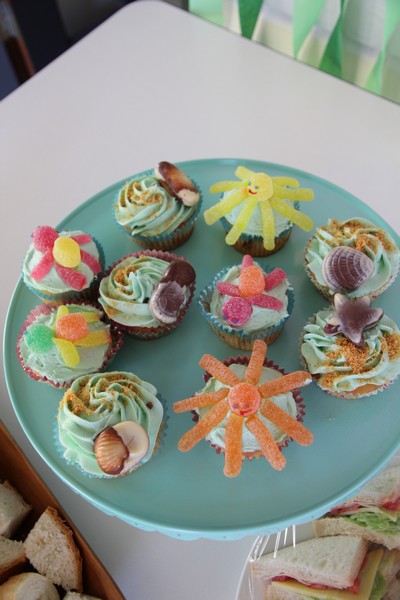
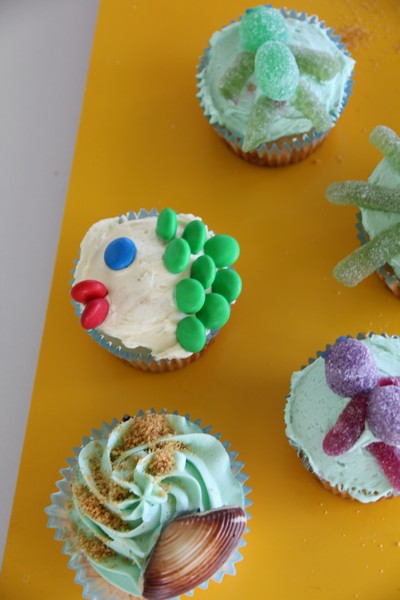
Cupcakes had blue icing for the sea, biscuit crumbs for sand and a sea shell chocolate on top. With other cupcakes having fish or other sea creatures made out of lollies.

UndertTheSea05

UndertTheSea04

UndertTheSea11

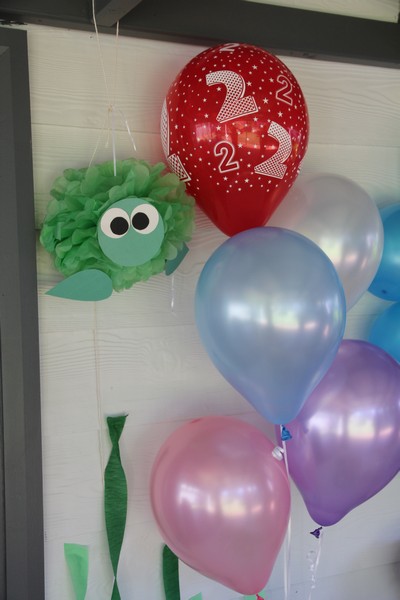
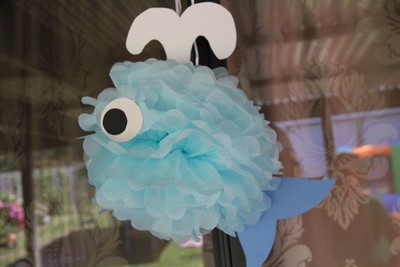
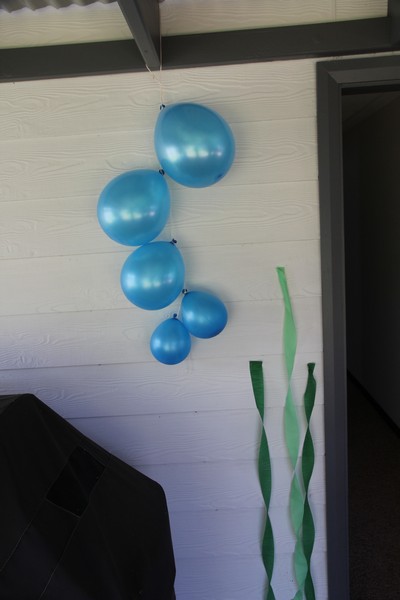
Decorations included seaweed out green crepe paper streamers, bubbles out of different sized balloons and sea creatures out of pom-poms.

UndertTheSea03

UndertTheSea06

UndertTheSea08

Elsa Cake (Buttercream tutorial) and an Ice-themed Birthday Party

Tuesday, December 13th, 2016

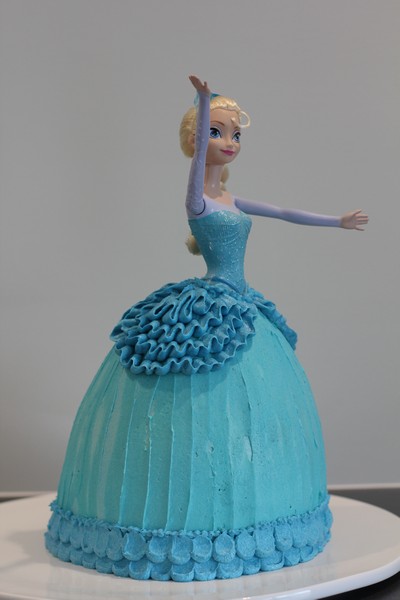
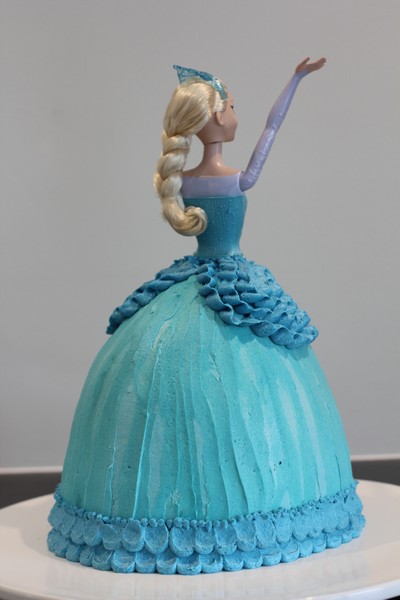
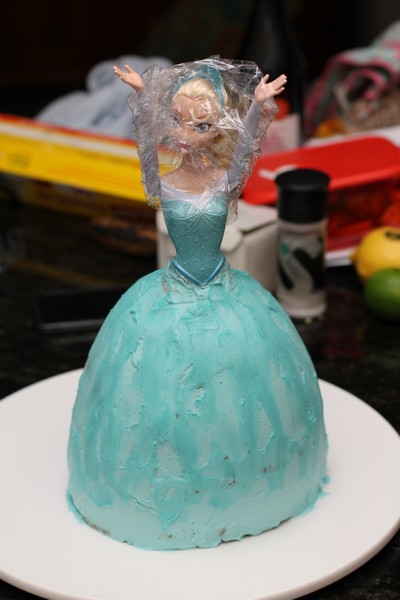
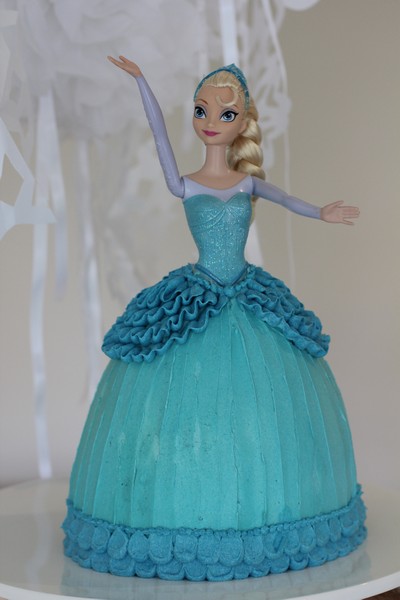
Elsa Cake Buttercream tutorial

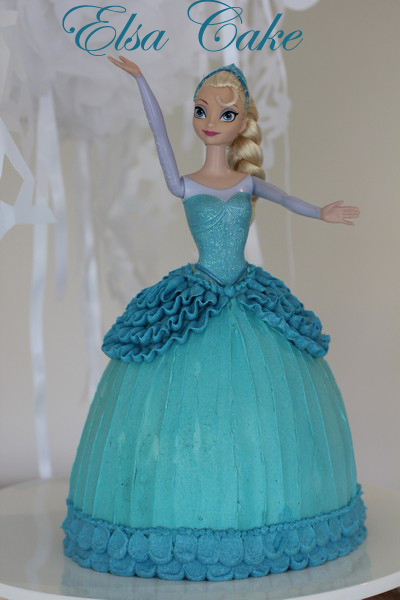
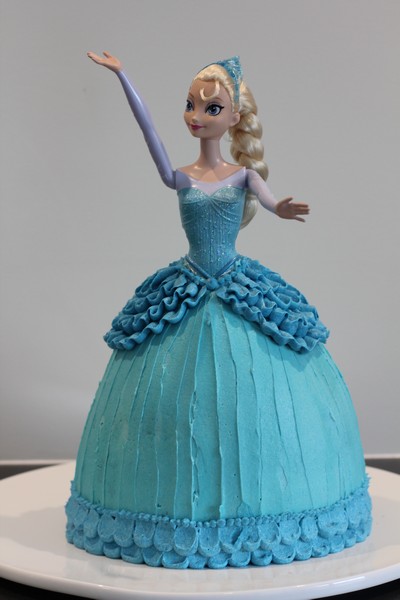
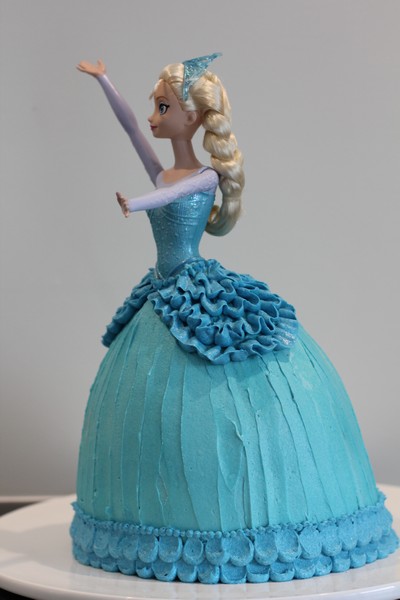
I had a request for a very special birthday this year. An Elsa cake. I’m sure many parents out there have had the same request after the much loved Frozen movie was released back in December 2013.

Elsa Cake

There are some amazing tutorials out there for both buttercream and fondant for Elsa cakes. Although, as my family are not huge fondant fans (and I am not hugely confident with fondant), our cakes are always decorated in Vienna/Buttercream icing. It does limit some of the effects you are able to create, but I (almost) always love a challenge and a bit of problem-solving.
Elsa Cake

Elsa Cake

Elsa Cake

Elsa Cake

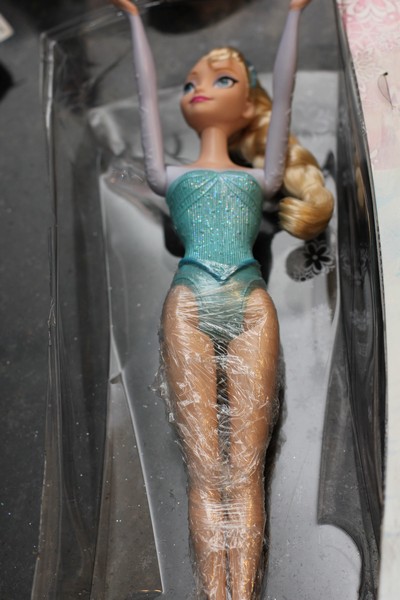
To start with, I needed an Elsa whose clothes could come off, and even better – the one I chose had a printed on bodice. I bought mine online here – you may find something similar by searching Elsa sparkle doll. I found the ones in store didn’t look as pretty as the one I ordered.
Elsa doll

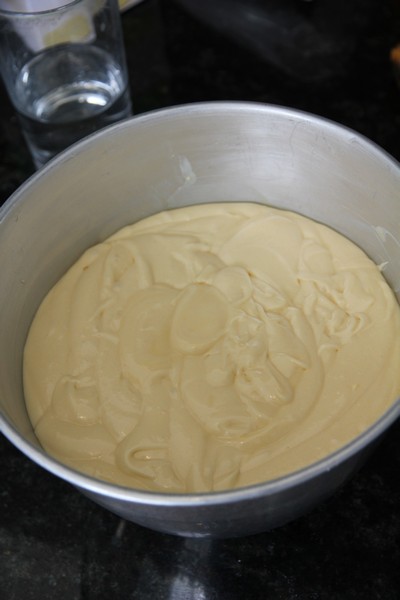
To make the cake, I used a combination of my mum’s Dolly Varden tin as well as a square 20cm tin (you could probably use a round 20 or 22cm tin). For the Dolly Varden tin I used 2 x packet cake mixes (I used Green’s Golden Butter Cake, with a dash of vanilla added to it). This took about 1 hour 20 minutes at 170C (check every 20 minutes, and 10 minutes toward the end). I wrapped the tin in foil/damp newspaper wrap to try and make the cooking a bit more even. Here is a good tutorial to make one. I also made another 2 x packet cake mixes for the square tin + 18 patty cakes. I made the additional cake, as didn’t want to take the legs off a doll I had bought as a present.
Elsa Cake

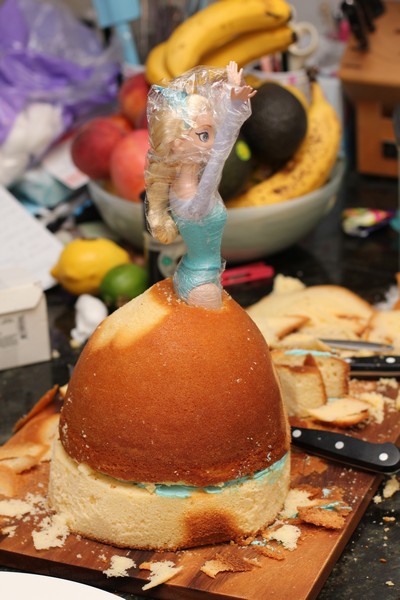
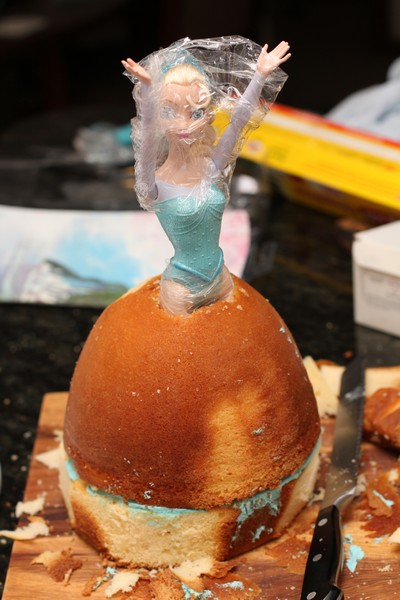
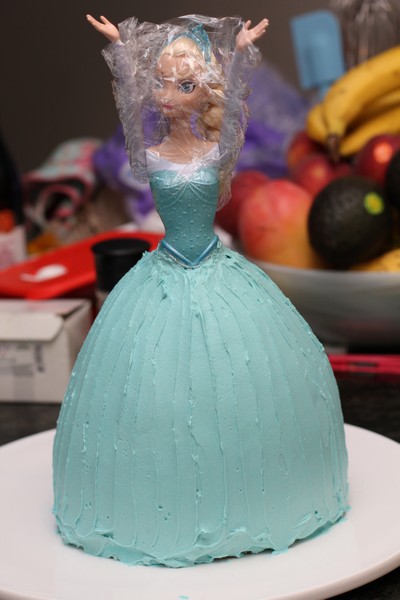
Once the cakes were cooled, I cut out a rectangle toward the front of the dolly Varden cake big enough for Elsa to fit in, scooping out the cake with a fork. I then placed her into the cake, making sure her bottom half was covered with plastic wrap. Here is a good fondant tutorial for an Elsa cake, which i based some of the carving from. Once the rectangle was cut out (and both cakes reasonably flattened), I froze both the cakes – to make carving easier and less messy later – and it’s much easier not having to make the cakes the day before the party.

The day before the party I decorated the cake, using 3 x quantity Vienna cream. (There was more than enough for the cake and some of the patty cakes as well).
375g butter, room temperature
4 1/2 cups icing sugar (I used icing mixutre)
3-6 Tablespoons milk
Beat butter until fluffy and very light in colour. Gradually add the icing sugar and milk alternatively until nice and fluffy. Add colour pastes as required, mix well.

To get the right colour I kept adding a combination of Wilton Icing colours (pastes) – Sky Blue and Royal Blue, until I was happy with the colour of the main part of the dress.

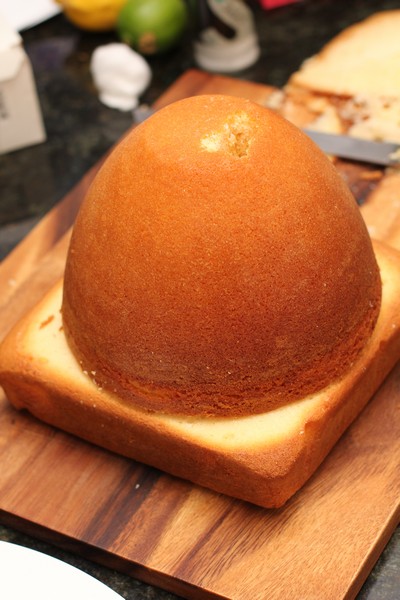
Remove the cakes from the freezer, add some icing between the two layers (you may need to add more icing here, depending how high your cakes rose and where they come up to on Elsa’s legs) and start to carve. The main carving is needed from the square cake, although i made the front of the skirt a little flatter, and took a little off the back as well.
Elsa Cake carving

Elsa Cake carving

Elsa Cake carving

Elsa Cake carving

I iced the skirt with a crumb coat (place some icing in a bowl and coat – this way you don’t need to worry about crumbs getting into the small bit of icing in the bowl). Smooth the skirt and place in the fridge for 5-10 minutes. Remove from the fridge and smooth well with a slightly warmed palate knife. Next ice on top of the skirt with another layer of icing. To get the striped look, use the small offset palate knife to stroke down evenly along the skirt.
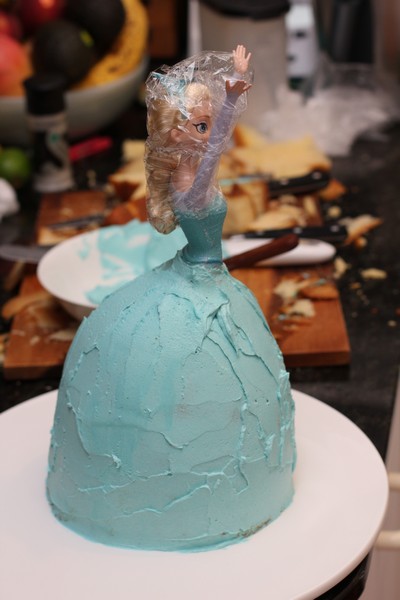
Elsa Cake Crumb Coat

Elsa Cake smoothed

elsacake10

Elsa Cake smoothed

Here is a Wilton tutorial of the cake I was basing my one off.

Once you are happy with the main part of the skirt, you can add more of those two coloured pastes until you have a darker and nicely contrasted blue. This is then used for the base decorations and the ruffles. For the base I used 1cm nozzle in a piping bag and piped 5 rounds of icing, then use the small offset palate knife to pull some of the icing upwards (not too far though). Continue around the skirt until it is complete. Do the same pattern offset above this pattern.
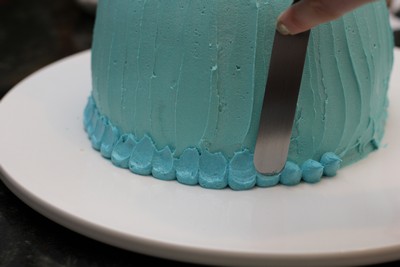
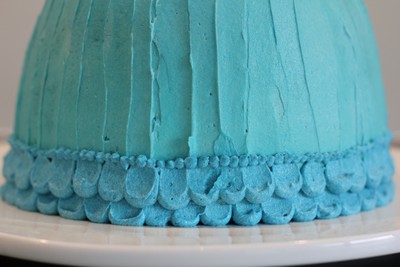
Elsa Cake

Elsa Cake Skirt base

For the ruffles at the top, I used my Wilton tip 104. There are many tutorials on how to use these tips to make beautiful ruffles. My suggestion would be to do a rough outline (either using a template or freehand) to mark where to do the ruffles. My original ones were too small and looked silly, so I had to wipe them off and start again. I’m also not sure whether they were totally even.
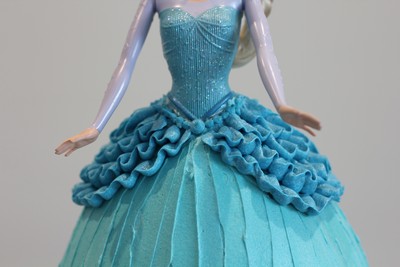
Elsa Cake Ruffles

For the piping at the top and bottom, I used a size 4 Bakers Secret nozzle. I just used what I had on hand and what I thought would suit this size skirt – as the cake ended up being quite big (without looking out of proportion).
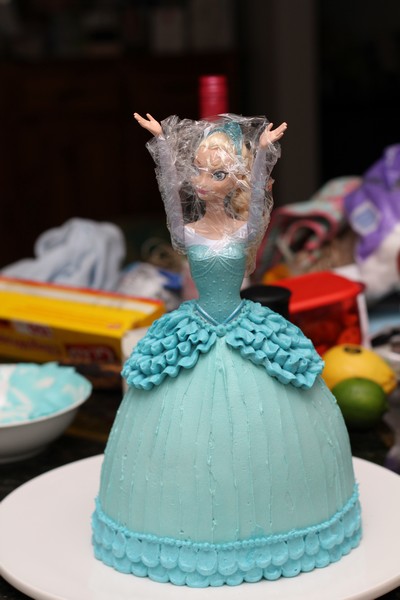
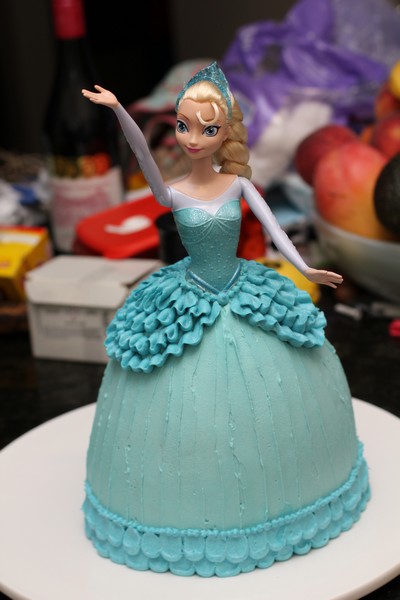
Elsa Cake

Elsa Cake

I hope this tutorial has helped anyone planning to make a lovely cake for a special someone in their life.

Some of the other things I made for the party included meringue snowmen and a lime pie (topped with snowflake icing decorations). These snowflake decorations were just made using some flower paste and using cutters that are available on ebay.
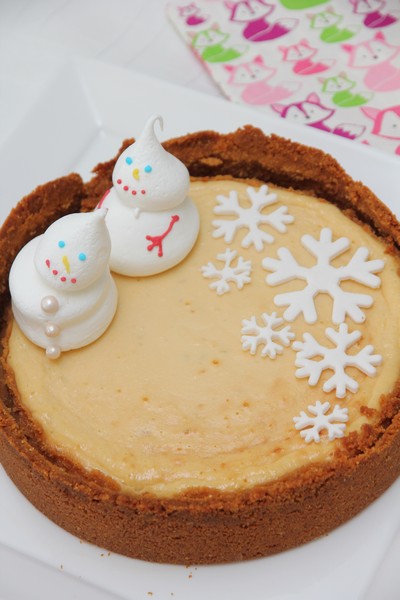
Elsa Cake Lime Pie

The decorations in the centre of the room were a combination of balloons, tissue paper pom poms and hand made snowflakes – always a fun craft to do!
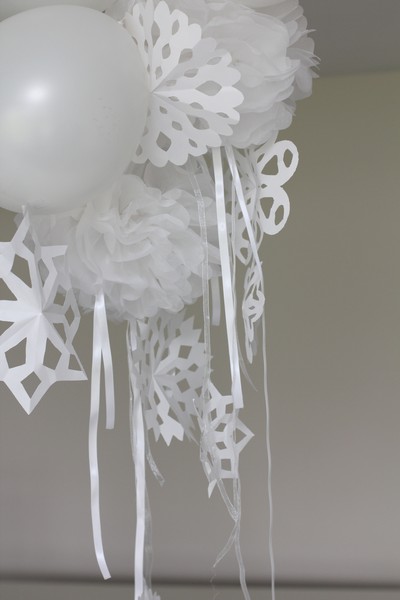
Decorations

Elsa Cake

Sugar Flowers and An Amazing Birthday

Wednesday, July 15th, 2015

Sugar Flowers

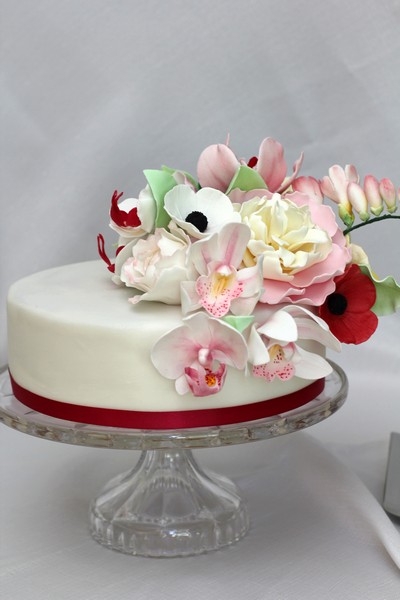
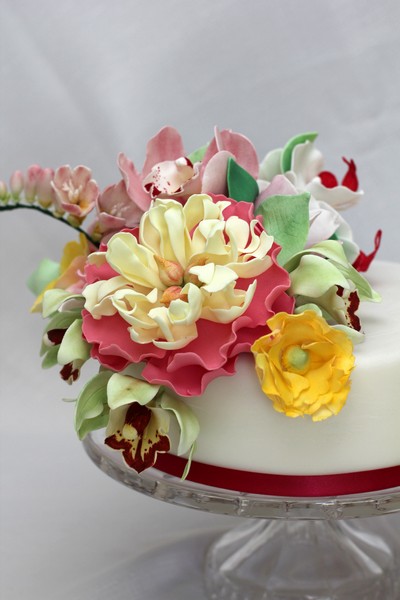
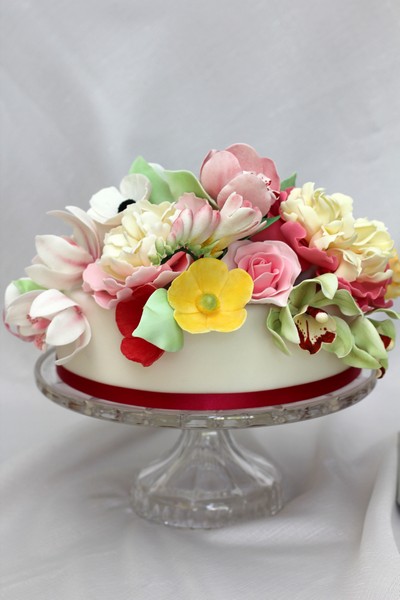
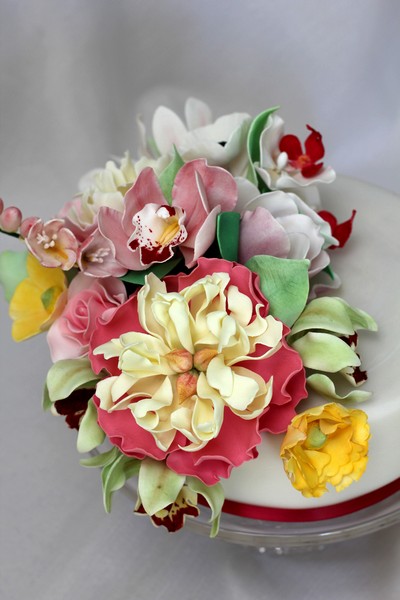
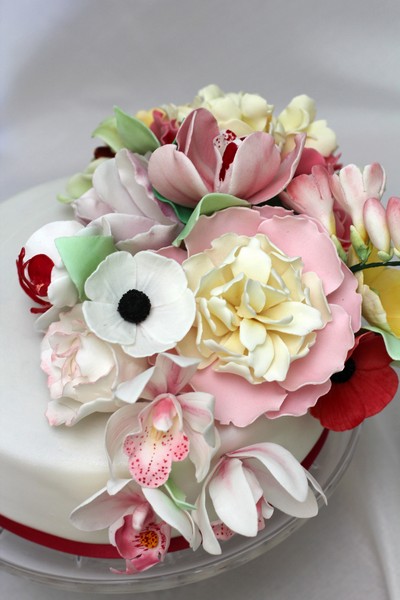
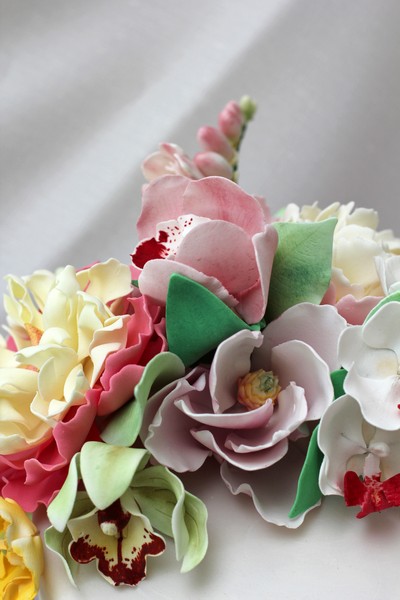
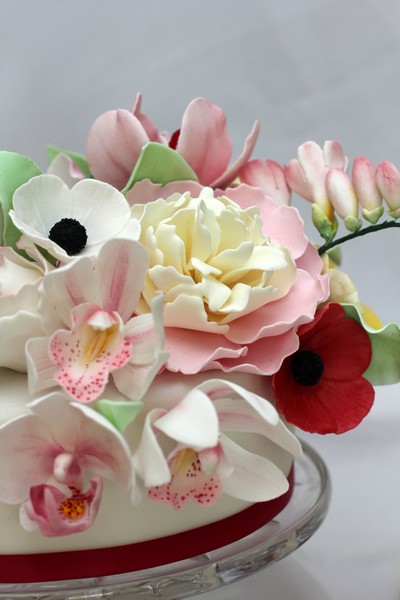
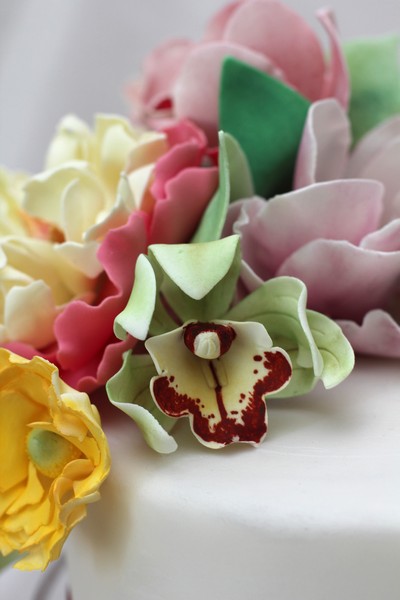
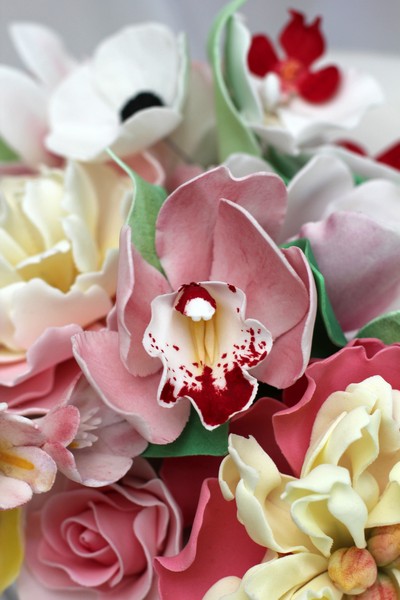
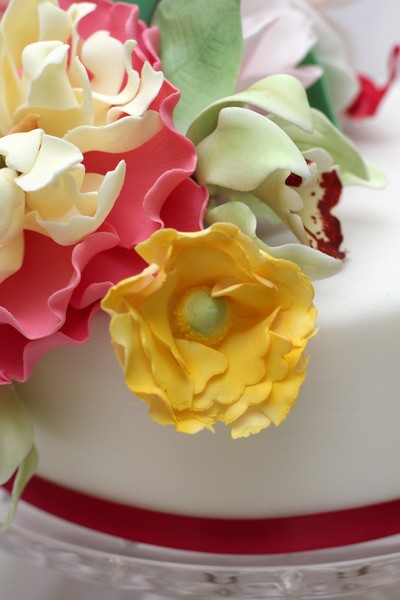
Last year I decided to make my birthday cake. I was inspired by a beautiful cake by Sharon Wee, which had an amazing number and variety of sugar flowers on multiple levels of the cake. I had bought a number of new flower and petal cutters and watched videos, pinned websites and read books and tutorials on making sugar flowers. It took me a number of months to make them all. Each time my child went down for a nap, I would make some petals or assemble a flower, or colour flower paste.

Sugar Flowers

I tried a number of flower paste recipes, and I found I couldn’t quite get the right consistency. They would either dry too quickly and crack whilst I was using it, or take forever to dry and I couldn’t assemble a flower over a short period of time. Some also had issues with tearing whilst trying to thin edges. I am still on a look out for the perfect recipe.

Sugar Flowers

I haven’t had much experience with making cakes that are scrumptious – and can be made a couple of days in advance, and covered with ganache and fondant, and still taste great. So I decided to try a new white chocolate mud cake recipe and a new white chocolate ganache recipe (I bought some fondant). I tried very hard to make the edges on the ganache nice and sharp – it was extremely hot weather, and I just didn’t manage this. I also tried to get the edges of the fondant sharp, again with no success, and I tried to do a luster effect on the outside of the cake, which also didn’t turn out how I would have liked – perhaps I used the wrong brush, wrong ingredients or too small an amount.

Sugar Flowers

I also didn’t have the patience to make up some royal icing, and place the flowers into straws before inserting into the cake. The flowers weren’t in the cake very long, so we just ate around them 🙂

Sugar Flowers

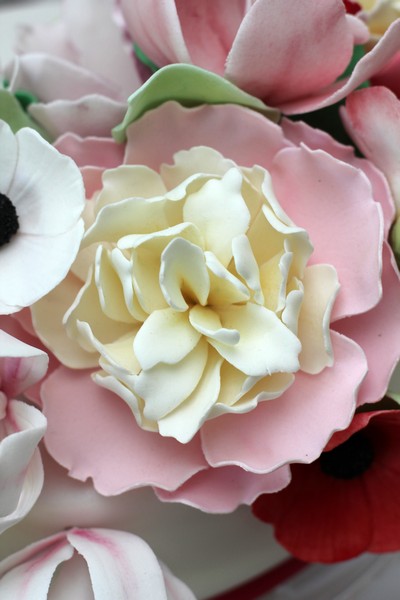
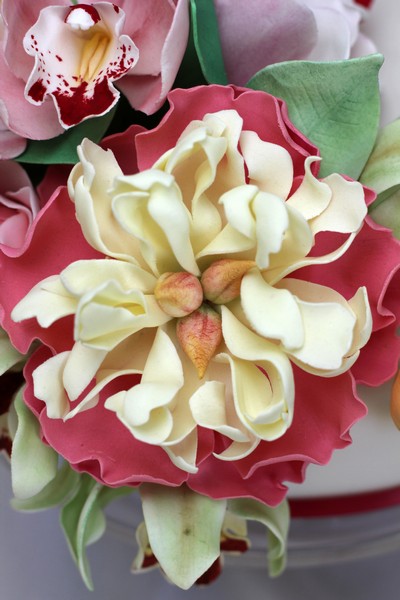
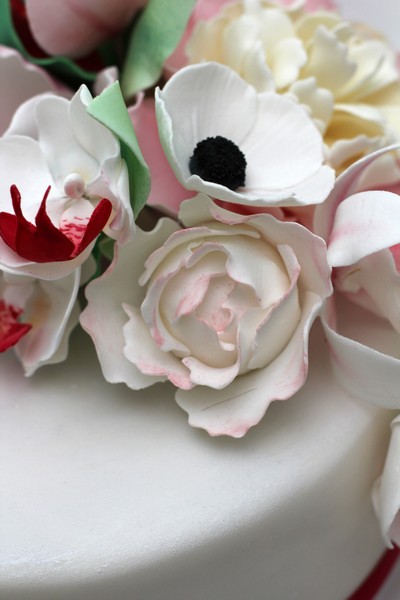
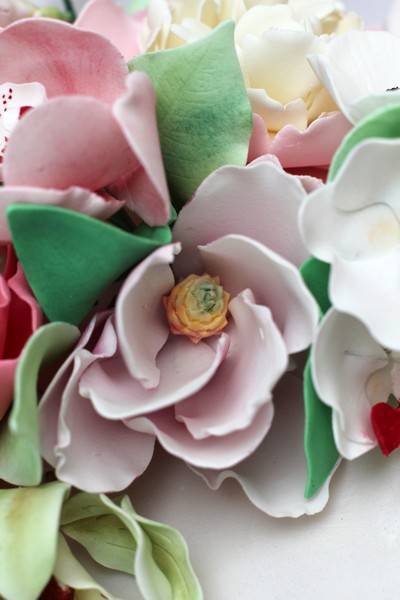
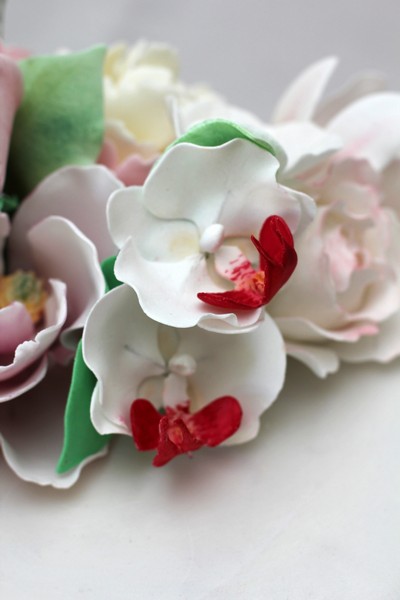
Amongst the flowers I made were peonies, roses, freesia, Phalaenopsis orchids, cymbidium orchids, a magnolia and anemones.

Sugar Flowers

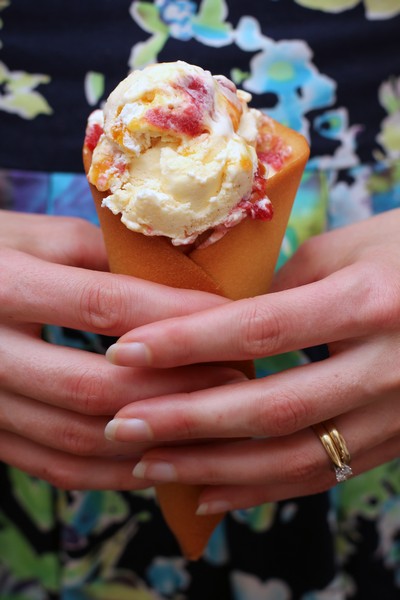
Apart from stressing myself out making the cake for my birthday, I had also made some Pavlova Ice cream, and also asked for help making our own waffle cones – not the best decision, due to the number of people eating ice cream, and the heat of the day. The main meal for lunch was slow cooked pulled pork and coleslaw rolls. All in all a wonderful day. My birthday cake for this year is unlikely going to have the same amount of time and effort put in 🙂

Sugar Flowers

Peony

Peony

Peony

Orchid

Orchid

Sugar Flowers

Orchid

Magnolia

Orchid

Poppy

Pavlova Ice Cream

Pink Sugar Roses

Wednesday, June 3rd, 2015

I have a lot of hobbies (some may call them obsessions). Food, flowers, photography. What’s great about these hobbies, is that they go so well together. I do seem to add and add and add though, rather than replace. One of my most recent hobbies has been sugar flowers. I’m not sure where the obsession started… although I think it was possibly viewing one of the many gorgeous posts from Bake in Paris. Such a beautiful job with all the sugar flowers, how could one not be in awe!
This led me to join a community college course in cake decorating, in which I learned many valuable techniques, although it only touched on sugar flowers, and not enough for what I wanted to achieve. I later went to a 2 day course at Planet Cake and learned how to make a peony and hydrangea arrangement. I bought a book and pinned lots of tutorials, although have only just started to play and learn.

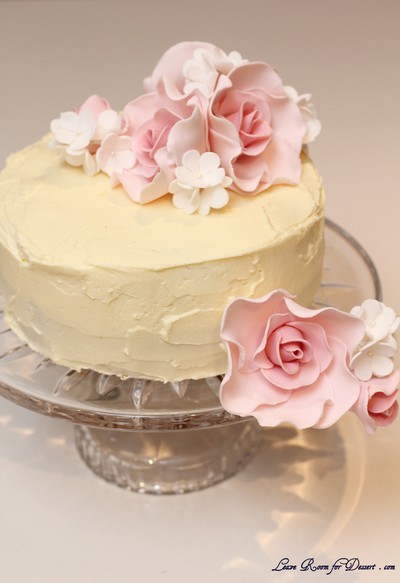
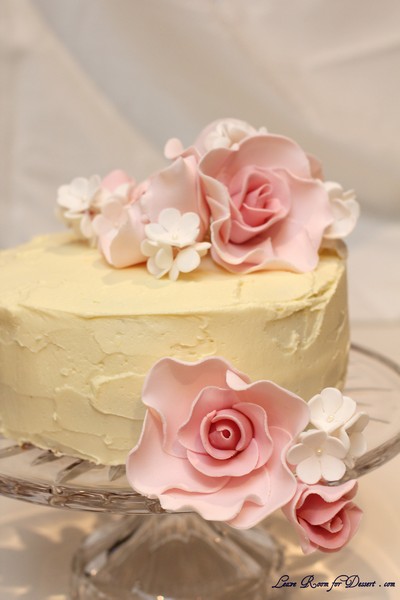
I made these roses and white flowers using gumpaste which just did not handle well (this was the second time I had tried making gumpaste, each from a different recipe). Although I was very happy with the results, especially compared to my first ever rose I tried to make (I found patience was the key here, originally I tried to make the whole rose in one day – it just doesn’t work, you need to let the paste dry and harden inbetween layers).

This cake was a poppyseed cake, with orange frosting (as fondant isn’t enjoyed by my family). A lovely, yummy cake chosen by my Mum, as this was a special cake for her birthday weekend for a very special birthday.

I look forward to continuing to explore my passion for sugar flowers (and cake decorating) and will hopefully make some tutorials when I am happier with my results.

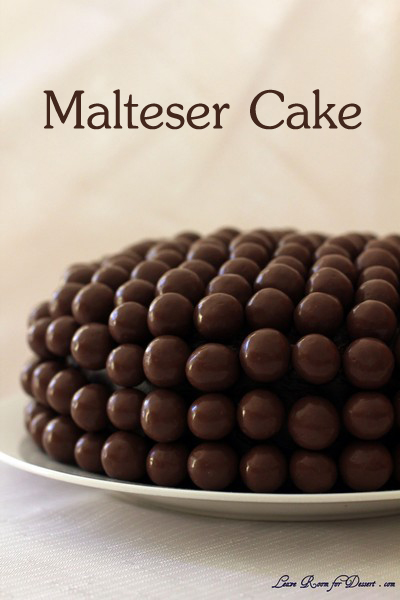
Malteser Cake

Sunday, January 11th, 2015

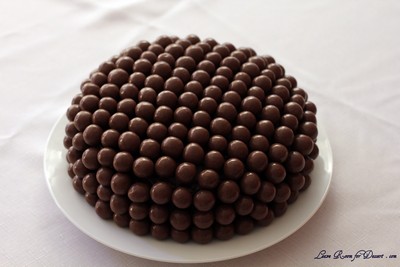
Malteser Cake

After seeing a cake covered in maltesers, how could you NOT make it? And what better excuse than a birthday.

It looked lovely and tasted lovely – only very very rich. I couldn’t get through my piece, and neither could a number of other family members. The cake was rich and the icing, very sweet and there was lots of it.

I would definitely consider decorating another cake in maltesers, as it looks lovely – and I love maltesers…. but I wouldn’t make this recipe again unfortunately. Just too rich for me and my family.

If you would like to try it, I used this recipe from Taste.

Surprise Cakes – Daring Bakers Challenge July 2014

Monday, July 28th, 2014

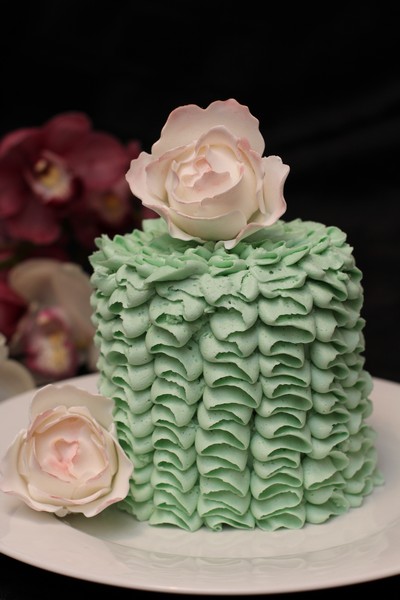
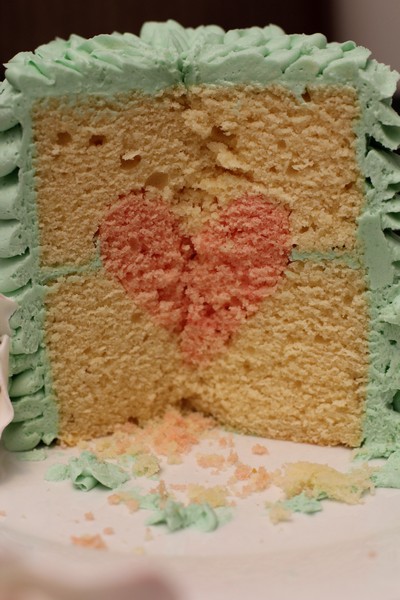
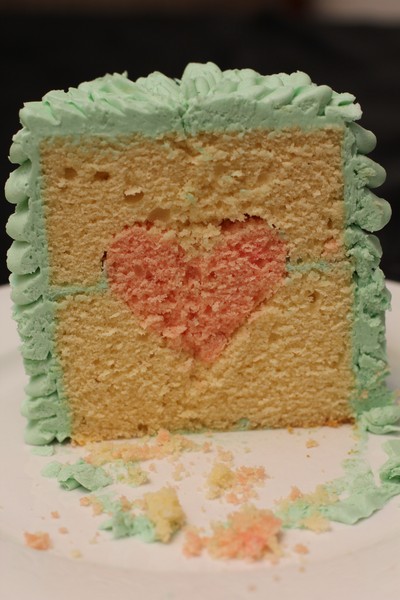
Surprise Heart Cake

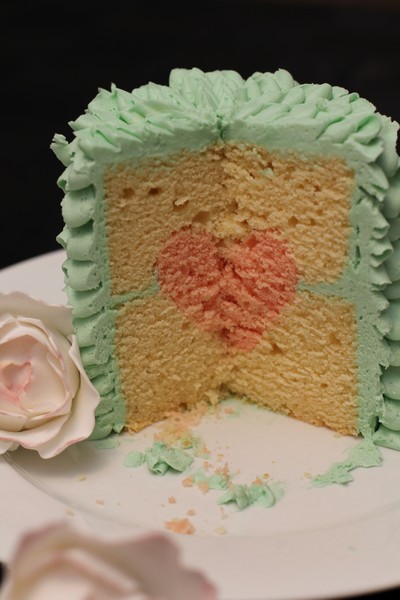
For the July Daring Baker’s Challenge, Ruth from The Crafts of Mommyhood challenged us to bake a cake. But not just any cake; she asked us to add in a special surprise for our eyes as well as our taste buds!

Surprise Heart Cake

I’m glad this months challenge is done! On Friday night, I spent a few hours, cooking, colouring, carving and icing the surprise cake for the daring bakers challenge.

Surprise Heart Cake

It doesn’t look anywhere near as beautiful as the heart cake made by Amanda Rettke in her Surprise-inside Cakes book, but I am glad with how mine turned out, considering this was my first time, I was in a rush, and I probably chose the wrong cake recipe. (I used a cupcake recipe, but this had too much air and made bubbles, which doesn’t help with the carving)

For a great tutorial on how to make the actual cake, please see this website.

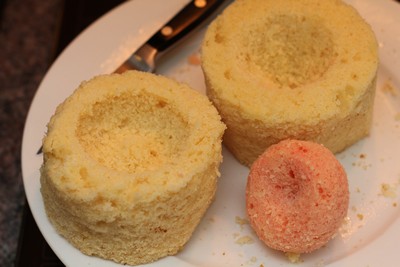
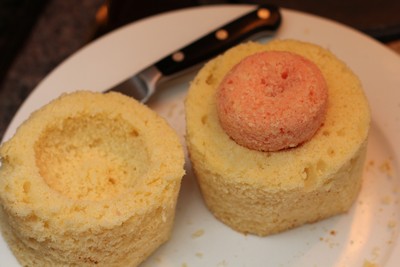
I didn’t want a huge cake (as I didn’t really have an event to make this for), so I made 2x quantity of cupcake mix, and cooked up a loaf tin plus a few cupcakes (which I coloured in varying pink shades). I placed both the loaf cake, and cupcakes in the freezer once they had cooled, so I could carve them better. And once I had a 3D heart carved out of one of the cupcakes, I made the indents in both halves of the loaf tin (which I had cut with a circle cutter).

Surprise Heart Cake

Creating the ruffles was the easy part! (there are heaps of tutorials on the web). As much as I didn’t feel I had the energy to make the cake, I am glad I managed to make it. Challenge complete!

Assembly

Assembly

Assembly

The mess