Archive for June, 2009

Fried Rice

Tuesday, June 30th, 2009

fried-rice-03

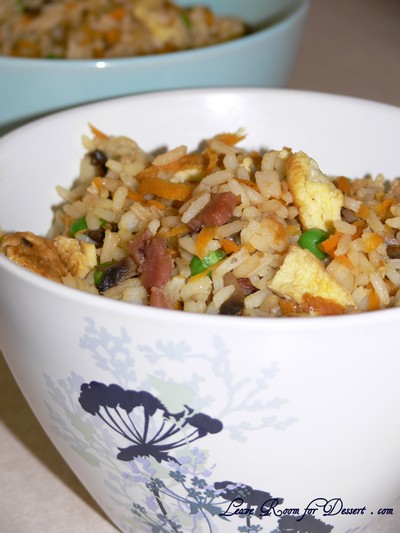
Looking for something easy, quick, tasty and reasonably cheap? Well, fried rice is a good way to use up whatever is left in the fridge and easy to alter the recipe by adding fresh ingredients.

Easy Fried Rice
Recipe from Taste.com.au

Serves: 4

1 cup long grain white rice
2 eggs
2 teaspoons vegetable oil
2 bacon rashers, chopped
1 carrot, peeled and grated
2 shallots, trimmed, finely sliced (I used a sliced onion)
1/2 cup frozen peas, thawed
1 tablespoon soy sauce, plus extra to serve
I added a few sliced mushrooms too, when cooking bacon and onion (capsicum would also go well in this dish)

Cook the rice in a large saucepan of boiling water for 12 minutes or until tender. Drain and leave to cool.

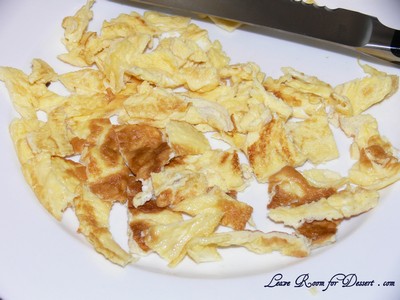
Using a whisk, lightly beat eggs in a small bowl. Heat oil in non-stick wok or large frying pan over medium heat. Add eggs. Swirl over base to form an omelette. Cook 2 minutes. Turn over. Cook 2 minutes until set. Transfer to a chopping board. Set aside to cool slightly. Cut into short strips.

fried-rice-04

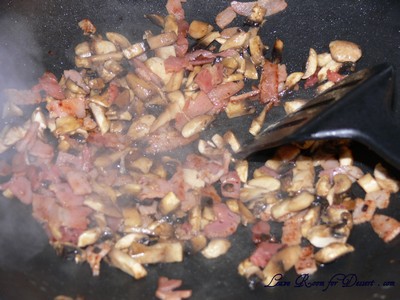
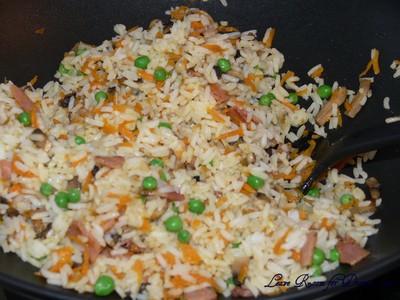
Add bacon to wok. Cook 4 minutes until light golden. Add carrot. Stir fry 1 minute. Add shallots, peas and rice. Cook, stirring, 3-4 minutes. Add egg and soy sauce. Stir until heated through. Serve immediately, with extra soy.

fried-rice-01

fried-rice-02

fried-rice-03

Bakewell Tart… er… Pudding – Daring Bakers Challenge June 2009

Saturday, June 27th, 2009

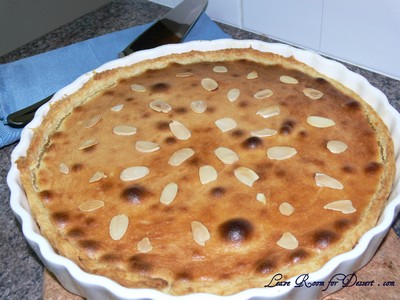
bakewelltart04

My First Daring Bakers Challenge!! I was so excited to find out what my first challenge would be with the Daring Bakers, and was a little scared when I heard about the different components needed for this tart… er… pudding (as the hosts like to put it). And a Big THANK YOU to the hosts for this month and to the founders and everyone at The Daring Kitchen for all their hard work.

group_w200x150

The June Daring Bakers’ challenge was hosted by Jasmine of Confessions of a Cardamom Addict and Annemarie of Ambrosia and Nectar. They chose a Traditional (UK) Bakewell Tart… er… pudding that was inspired by a rich baking history dating back to the 1800’s in England.
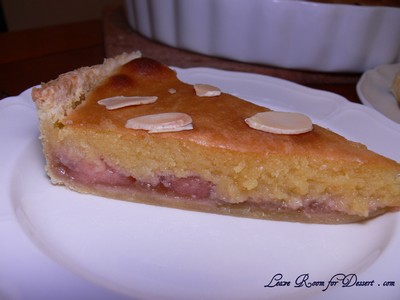
bakewelltart08

Bakewell tarts…er…puddings combine a number of dessert elements but still let you show off your area’s seasonal fruits.

Like many regional dishes there’s no “one way” to make a Bakewell Tart…er…Pudding, but most of today’s versions fall within one of two types. The first is the “pudding” where a layer of jam is covered by an almondy pastry cream and baked in puff pastry. The second is the “tart” where a rich shortcrust pastry holds jam and an almondy sponge cake-like filling.

The version we’re daring you to make is a combination of the two: a sweet almond-flavoured shortcrust pastry, frangipane and jam.
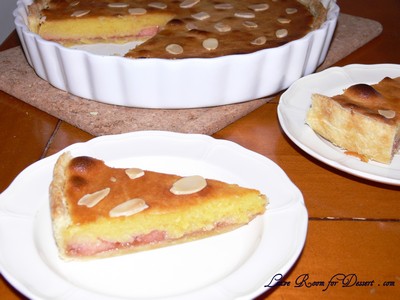
bakewelltart06

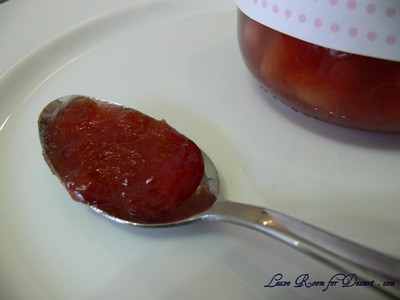
Going by the suggestions given by the lovely hosts, I made the shortcrust pastry by hand (grating chilled butter into flour) and the jam also from scratch using fruits in season – Pink Lady Apple , Rhubarb and Cinnamon Jam. I’m glad I made the effort to make everything from scratch and would certainly make jam again, but would use a food processor for the pastry (Since making this tart, I have made pastry again and the food processor makes a nicer consistency with the pastry compared with what I was able to do by hand).
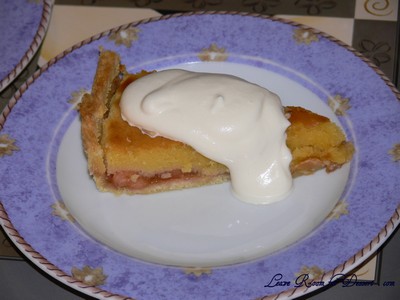
bakewelltart12

Bakewell Tart…er…pudding

Makes one 23cm (9” tart)
Prep time: less than 10 minutes (plus time for the individual elements)
Resting time: 15 minutes
Baking time: 30 minutes
Equipment needed: 23cm (9”) tart pan or pie tin (preferably with ridged edges) (I used a quiche dish as this is all I had), rolling pin

One quantity sweet shortcrust pastry (recipe follows)
Bench flour
250ml (1cup (8 US fl. oz)) jam or curd, warmed for spreadability
One quantity frangipane (recipe follows)
One handful blanched, flaked almonds

Assembling the tart
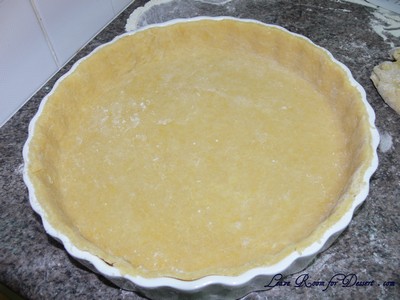
Place the chilled dough disc on a lightly floured surface. If it’s overly cold, you will need to let it become acclimatised for about 15 minutes before you roll it out. Flour the rolling pin and roll the pastry to 5mm (1/4”) thickness, by rolling in one direction only (start from the centre and roll away from you), and turning the disc a quarter turn after each roll. When the pastry is to the desired size and thickness, transfer it to the tart pan, press in and trim the excess dough. Patch any holes, fissures or tears with trimmed bits. Chill in the freezer for 15 minutes.
bakewelltart16

Preheat oven to 200C/400F.

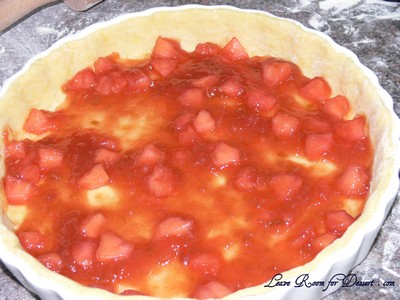
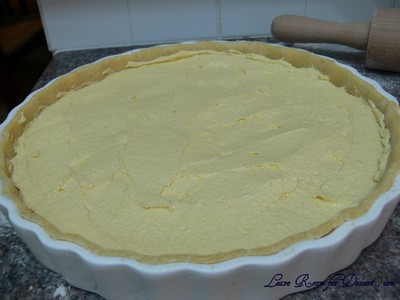
Remove shell from freezer, spread as even a layer as you can of jam onto the pastry base. Top with frangipane, spreading to cover the entire surface of the tart. Smooth the top and pop into the oven for 30 minutes. Five minutes before the tart is done, the top will be poofy and brownish. Remove from oven and strew flaked almonds on top and return to the heat for the last five minutes of baking.
bakewelltart22

bakewelltart02

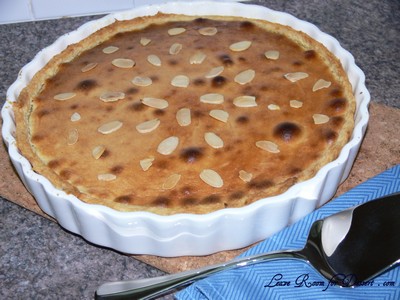
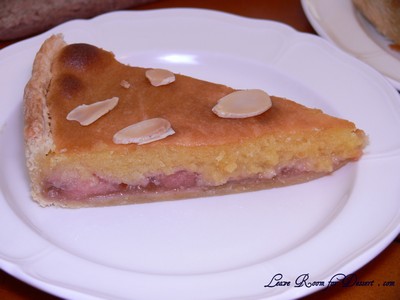
The finished tart will have a golden crust and the frangipane will be tanned, poofy and a bit spongy-looking. Remove from the oven and cool on the counter. Serve warm, with crème fraîche, whipped cream or custard sauce if you wish.
bakewelltart03

When you slice into the tart, the almond paste will be firm, but slightly squidgy and the crust should be crisp but not tough.
bakewelltart11

Jasmine’s notes:
• If you cannot have nuts, you can try substituting Victoria sponge for the frangipane. It’s a pretty popular cake, so you shouldn’t have any troubles finding one in one of your cookbooks or through a Google search. That said, our dear Natalie at Gluten a Go Go has sourced some recipes and linked to them in the related alt.db thread.
• You can use whichever jam you wish, but if you choose something with a lot of seeds, such as raspberry or blackberry, you should sieve them out.
• The jam quantity can be anywhere from 60ml (1/4 cup) to 250ml (1cup), depending upon how “damp” and strongly flavoured your preserves are. I made it with the lesser quantity of home made strawberry jam, while Annemarie made it with the greater quantity of cherry jam; we both had fabulous results. If in doubt, just split the difference and spread 150ml (2/3cup) on the crust.

Annemarie’s notes:
• The excess shortcrust can be rolled out and cut into cookie-shapes (heck, it’s pretty darned close to a shortbread dough).

Sweet shortcrust pastry

Prep time: 15-20 minutes
Resting time: 30 minutes (minimum)
Equipment needed: bowls, box grater, cling film

225g (8oz) all purpose flour
30g (1oz) sugar
2.5ml (½ tsp) salt
110g (4oz) unsalted butter, cold (frozen is better)
2 (2) egg yolks
2.5ml (½ tsp) almond extract (optional – I used vanilla extract instead, like the notes said)
15-30ml (1-2 Tbsp) cold water

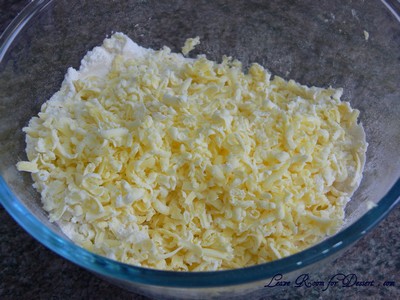
Sift together flour, sugar and salt. Grate butter into the flour mixture, using the large hole-side of a box grater. Using your finger tips only, and working very quickly, rub the fat into the flour until the mixture resembles bread crumbs. Set aside.
bakewelltart13

Lightly beat the egg yolks with the almond extract (if using) and quickly mix into the flour mixture. Keep mixing while dribbling in the water, only adding enough to form a cohesive and slightly sticky dough.

Form the dough into a disc, wrap in cling and refrigerate for at least 30 minutes

Jasmine’s notes:
• I make this using vanilla salt and vanilla sugar.
• If you wish, you can substitute the seeds of one vanilla bean, one teaspoon of vanilla paste or one teaspoon of vanilla extract for the almond extract

Frangipane

Prep time: 10-15 minutes
Equipment needed: bowls, hand mixer, rubber spatula

125g (4.5oz) unsalted butter, softened
125g (4.5oz) icing sugar
3 (3) eggs
2.5ml (½ tsp) almond extract
125g (4.5oz) ground almonds
30g (1oz) all purpose flour

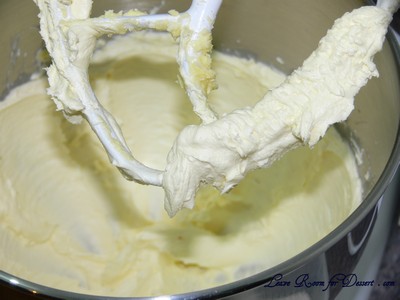
Cream butter and sugar together for about a minute or until the mixture is primrose in colour and very fluffy.
bakewelltart18

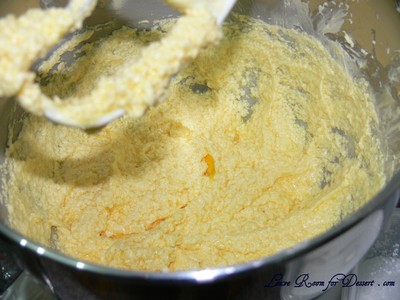
Scrape down the side of the bowl and add the eggs, one at a time, beating well after each addition. The batter may appear to curdle. In the words of Douglas Adams: Don’t panic. Really. It’ll be fine. After all three are in, pour in the almond extract and mix for about another 30 seconds and scrape down the sides again.
bakewelltart21

With the beaters on, spoon in the ground nuts and the flour. Mix well. The mixture will be soft, keep its slightly curdled look (mostly from the almonds) and retain its pallid yellow colour.
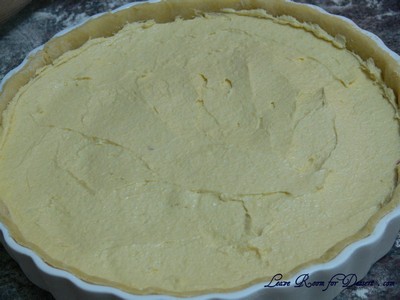
bakewelltart01

Annemarie’s notes:
• Add another five minutes or more if you’re grinding your own almonds or if you’re mixing by hand (Heaven help you).
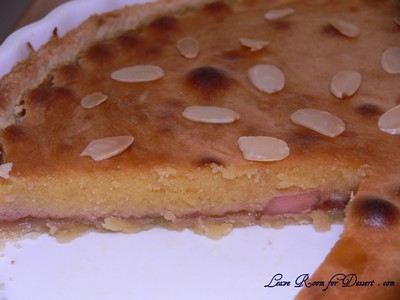
bakewelltart10

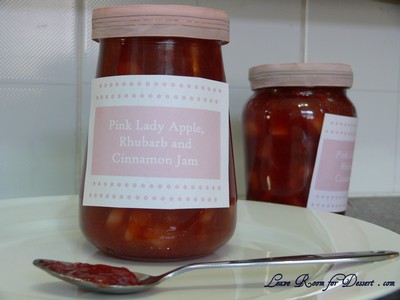
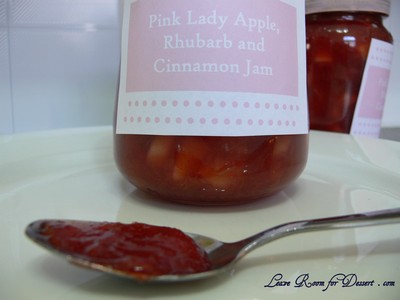
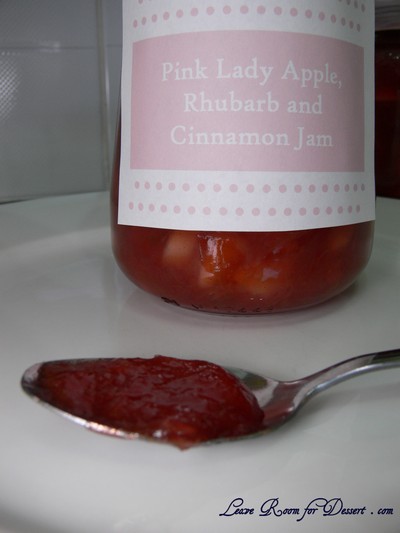
Pink Lady Apple, Rhubarb and Cinnamon Jam

Thursday, June 25th, 2009

applerhubarbjam02

When making jams, or anything really, it’s important to use fruits that are in season. This is both due to a better taste, but also reduced costs. So whist deciding to make my first ever jam, I checked on the fruits in season in Australia in June.

Two that caught my eye were pink lady apples (which I had accidentally bought a lot of, due to low prices) and rhubarb, which I don’t cook with often. I also thought it would be a very different jam to make, sort of emulating an apple and rhubarb pie.

applerhubarbjam06

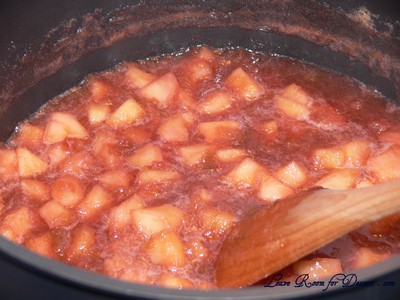
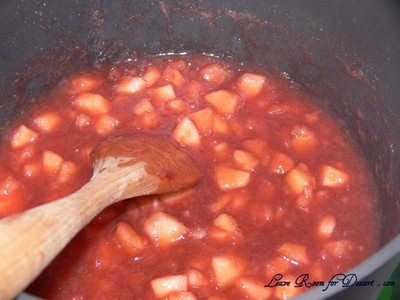
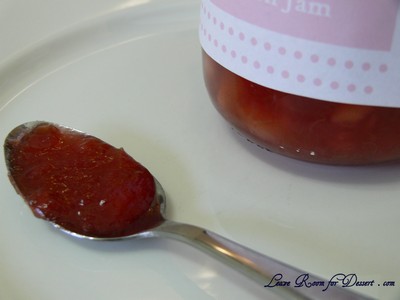
For those who don’t like an extremely sweet jam, try this one, as it is a little on the tart side. For those who like a sweet jam, feel free to add another 200-400g sugar whilst cooking. I also didn’t realise how the fruit would act when cooking, I found the rhubarb fell apart quite quickly, whereas the apples held their shape quite well, making this a chunky jam. It could have easily been blended up at the end, or the apple pieces made a lot smaller for someone who likes a smooth jam.

I’m now looking forward to trying some new combinations and am (not so) patiently waiting for strawberries to come into season and be a reasonable price… or even more waiting for our strawberry plants to start bearing good fruit, now that they are off our balcony and can get proper sunlight.

applerhubarbjam07

Pink Lady Apple, Rhubarb and Cinnamon Jam
Makes: 2 x 500-600g jars

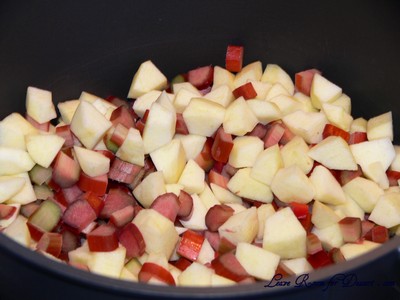
380g Rhubarb, diced
400g Pink Lady apples, diced quite small
400g sugar (or more if you like it sweeter)
120ml water
1 teaspoon ground cinnamon
½ packet (25g) JamSetta (this is a pectin based Jam setting product that can be bought in Australian supermarkets – other people may need to test out jam setting sugar or other pectin products)

Place rhubarb, apple, sugar, cinnamon and water in a very large saucepan.

applerhubarbjam03

Bring to the boil, reduce heat and simmer for 40 minutes.

applerhubarbjam04

Add Jamsetta and bring to the boil, cook for 5 minutes (be careful as the jam starts to spit out of the pot). Pour into warm sterilised jars. (See here on good tips to sterilise jars). Make sure both the jam and jars are hot.
applerhubarbjam05

applerhubarbjam09

applerhubarbjam01

Almond and Vanilla Porridge

Monday, June 22nd, 2009

almondvanillaporridge01

We all know “someone”, who can’t go past a freebee. Who goes around and around to people handing around free samples just so they can collect as much as possible…

Well I know a couple of those people, and I can certainly relate to it, especially when I see something that looks particularly appealing. And let’s face it – it’s the best sort of bargain out there – you get something for nothing!

almondvanillaporridge02

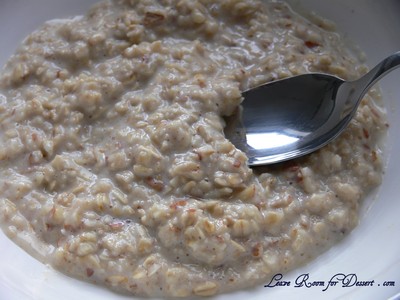
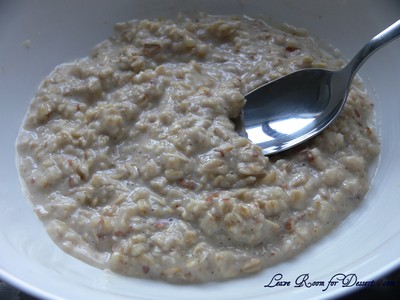
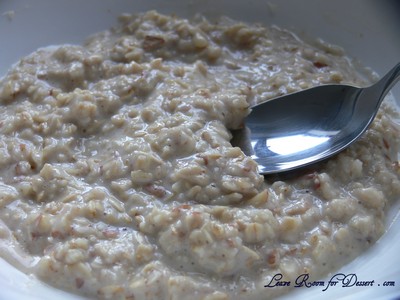
Even though I’ve never liked porridge that people have made (I’ve found they tend to be a bit plain, and since I don’t like dried fruit, it doesn’t even add an extra element that would entice me), I picked up a few samples of porridge in new flavours or a different brand being handed out. One had dried fruit, the other Vanilla and Almond Porridge. Well, the later actually sounds nice, so after trying it, I realised I would have it again. But samples don’t last long… they’re samples. And not finding them in the shops meant I would try and make it myself (and it’s likely to be both cheaper and healthier – as you know exactly what goes into it).

So, one trial for the recipe and I was pretty happy with the result (even more so than the original product, after being given another sample and doing a taste-test comparison)! This is great for our cold weather (and unfortunately weather that is going to get colder and rainier).

almondvanillaporridge06

Almond and Vanilla Porridge

Serves: 1 small serving, feel free to double the quantity

1/3 cup rolled oats, blitzed in a food processor until chopped slightly (or Quick Oats)
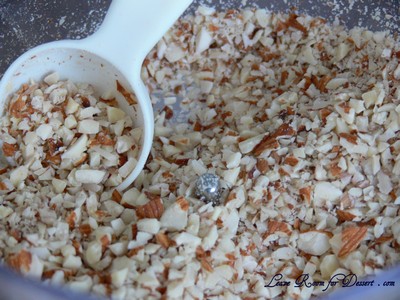
1 tablespoon blitzed roasted almonds
1 teaspoon caster sugar
A sprinkle of ground cinnamon
2/3 cup milk (approximately)
1/8 teaspoon vanilla

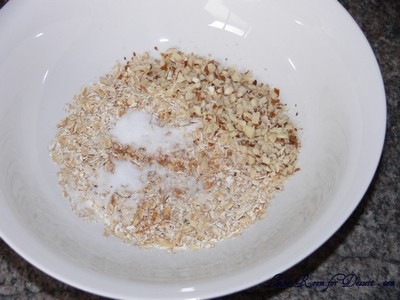
Mix the dry ingredients in a bowl. Mix the vanilla with the milk and pour into bowl. Mix together and microwave on high for 1 minute (Be careful, this will be hot). Stir mixture and cook on high for another 30sec – 1min, until as thick as you like. Add more milk depending on the consistency and temperature you like your porridge.

almondvanillaporridge03

almondvanillaporridge05

almondvanillaporridge07

The Best Ever Pancake Recipe

Friday, June 19th, 2009

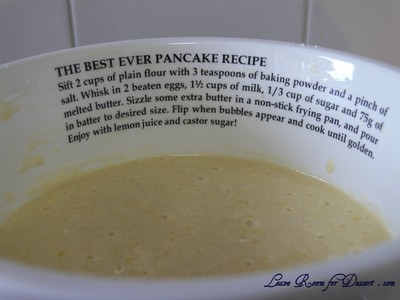
Do you have many kitchen bowls or dishes that have a heap of writing on them? A recipe perhaps? Well, I have one (and certainly saw a few more in the range when I bought this one). It’s a pancake mixing bowl – with a recipe for The Best-Ever Pancakes!

pancakesbest04

Very cool!

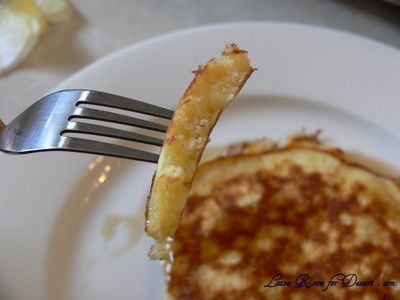
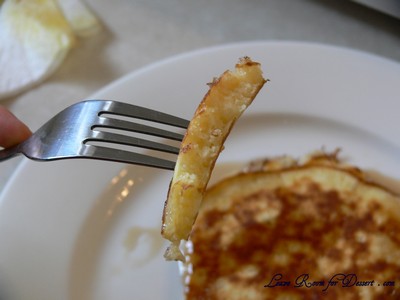
Although I find it hard to say that these are the “Best-Ever!”, they are certainly close. These pancakes are easy to make, lovely flavours and nice and fluffy and fantastic with maple syrup. I have made it a few times and been happy – and the recipe is always easy to find! 😉

pancakesbest01

The Best Ever Pancake Recipe
Recipe from PRIMO pancake bowl

2 cups plain flour
3 teaspoons baking powder
pinch of salt
2 eggs, beaten
1½ cups milk
1/3 cup sugar
75g butter, melted
extra butter for frying

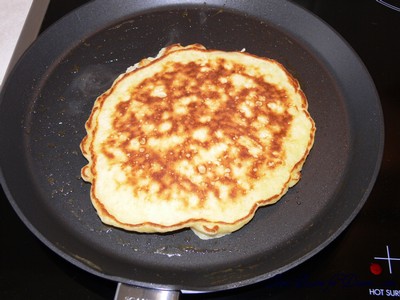
Sift flour with baking powder and salt. Whisk in beaten eggs, milk, sugar and butter. Sizzle some extra butter in a non-stick frying pan and pour in batter to desired size. Flip when bubbles appear and cook until golden. Enjoy with lemon juice and castor sugar! (or maple syrup)

pancakesbest05

pancakesbest06

Chorizo, Pumpkin and Feta Pasta

Saturday, June 13th, 2009

chorizopumpkinfeta01

Can you imagine how we felt when we had used up only half the amount of pumpkin we had roasted for a pizza, with half a block (100g) of feta still in the fridge? Well I may have been a little apprehensive as to what to do with these… maybe make another pizza – I do love pizza.

How about a pasta sauce? Nick suggested.

Having already used up all the cream I had bought for a dessert, I thought, well… that combination does go lovely with the tomato base of the pizza, sure give it a go.

So as Nick concocted this recipe the first time, no photos were taken (as we weren’t sure of how it would turn out). As time passes, we realise we will be making it time and time again and always leaving some left over pumpkin and feta from the pizzas (as if the pumpkin is already roasted previously, this recipe will take less than an hour from start to eating).

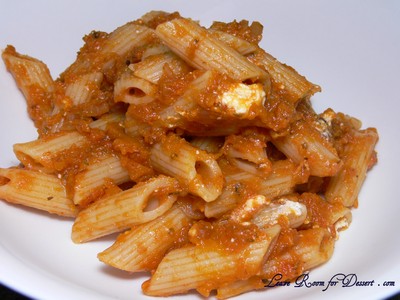
The lovely feta falls apart slightly in this lovely pasta dish, producing a slightly creamy pasta sauce, the pumpkin adds a lovely depth to the meal and the chorizo (which can be left out for a vegetarian option) is cut into many pieces to ensure a smoky spiced flavour hit in many mouthfuls. I hope everyone enjoys this as much as I do.

Chorizo, Pumpkin, Feta Pasta
Serves: 6-8

1 tablespoon olive oil
1 chorizo, sliced thinly (0.5cm), then slices cut in 2 or 3 pieces
1 onion, finely diced
3 cloves garlic, finely diced
400g diced tomatoes
¼ cup red wine
¼ cup white wine
1 tablespoon mixed herbs
1 tablespoon sugar
1 teaspoon salt
2 tablespoons tomato paste
1/6 (400-600g) Kent pumpkin, or any other pumpkin, cut into cubes and roasted
100g Feta cubed (any variety will work, including Danish feta, reduced fat, Greek etc)
500g penne pasta

If not already roasted, place cubed pumpkin pieces on a baking tray with baking paper. Brush with a little olive oil. Roast in a preheated oven at 180C for 20 minutes or until pumpkin is soft. This can be stored in the fridge and used within couple of days.

Start pasta cooking.

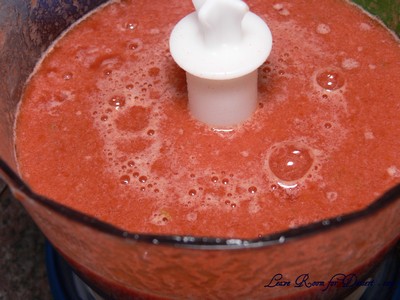
Place diced tomatoes, red wine and garlic in a small food processor and blend.

chorizopumpkinfeta04

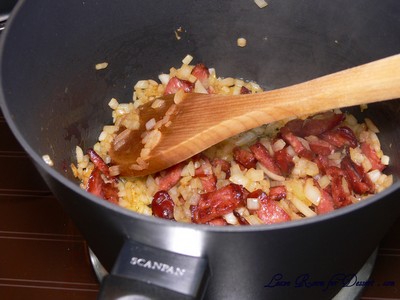
Place oil in a medium saucepan and heat over medium/high heat. Once hot, add chorizo (be careful of oil spitting) and cook stirring occasionally until chorizo is starting to turn brown. Add onions and cook for 5 minutes or until onion becomes soft.

chorizopumpkinfeta03

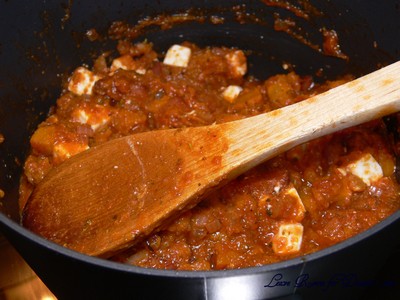
Add tomato mix and cook for a few minutes. Add the white wine, herbs, salt, sugar and tomato paste. Cook for 5 minutes or until pasta is ready to be drained. When pasta is al dente, drain in colander. Add the pumpkin and feta and stir gently through sauce mix. Place drained pasta back in large pot. Add sauce to pasta and stir gently. Serve.

chorizopumpkinfeta05

chorizopumpkinfeta01

Pizza

Wednesday, June 10th, 2009

pizza09
Pizza has so many possibilities… so many gourmet, traditional and common combinations. I guess that’s what makes it so appealing. Make the base, cover in pizza sauce then go wild with your options.

What is your favourite pizza combination?

pizza08

For me… I can’t choose. This is where a lot of people come in handy, the more people, the more pizzas, the more combinations – yay for all! Everyone knows (and loves) the more common pizza toppings of supreme, meat lovers (finding as much variety of meat as possible and covering the pizza), vegetarian, Hawaiian (Ham and pineapple) and Margarita.

A few extra combinations for pizza toppings include the following: (Use tomato base and spread grated cheese on top of toppings)

Chorizo and Spinach
Slice 1 chorizo and fry in some oil until slightly brown on edges. Place on pizza with 12 or more baby spinach leaves.

pizza02

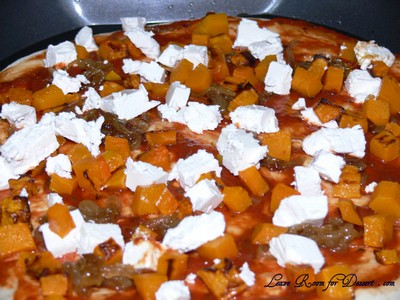
Roast Pumpkin, Feta and Caramelised Onion
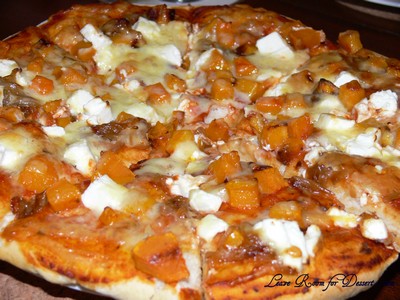
Cut 1/8 of a jap pumpkin (300-400g) into small cubes. Place on baking tray with baking paper. Lightly brush with oil and bake for 20 minutes or more at 180C until soft in the middle and starting to caramelise. Slice half an onion and cook over medium heat in some oil until onions become translucent and caramelised, Cut 100g Feta into cubes and place caramelised onion, pumpkin and feta on the pizza.

pizza06

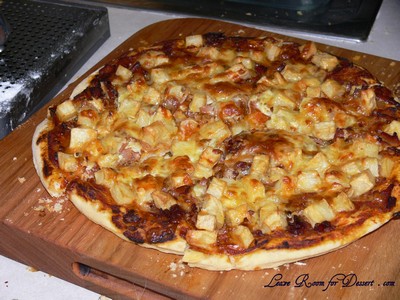
Bacon, Potato and Caramelised Onion
Peel 2 potatoes and cut into cubes. Roast in oven preheated to 180C for 10-30minute or until cooked through and slightly crispy. Remove fat and cut 2-3 slices of bacon into pieces. Cook in a pan over medium heat with removed bacon rind or a little olive oil. Slice half an onion and cook over medium heat in some oil until onions become translucent and caramelised.

piizzabacon01

Tomato, Basil and Boconchinni
Slice 1 tomato (or cut 4-5 cherry tomatoes in half) and place on pizza with 8-12 basil leaves and small pieces (approx 4, each torn in half) boconchinni.

Pizza base
Serves: 4-8 (2-4 pizzas, depending on how thick you like your bases)

3 – 3 ½ cups plain flour, plus a little extra for kneading
1 teaspoon salt
2 teaspoons sugar
½ teaspoon dried oregano
2 x 7g sachets (2 tablespoons) dry yeast
300 ml warm water
½ tablespoon oil (to oil the pan)

¼ cups tomato puree mixed with dried herbs and salt (or 140g Ardmona pizza sauce) or Pizza Sauce (see below)
1 cup cheese, grated
Plus any other toppings

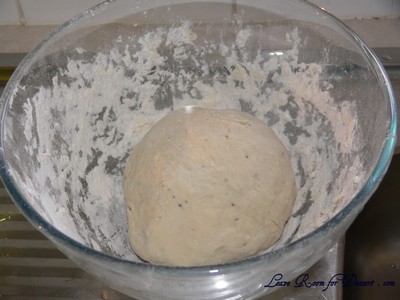
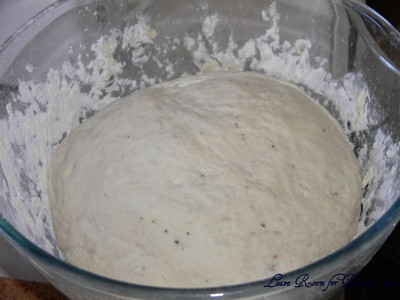
Combine 2 cups of flour, salt, sugar, oregano and dried yeast. Add warm water and beat 300 strokes by hand. Add the extra 1 – 1½ cups of flour and mix until smooth, knead lightly. Cover with a clean tea towel or cling wrap and prove for 10-20 minutes.

pizza16

pizza17

Preheat oven to 180 – 190°C.

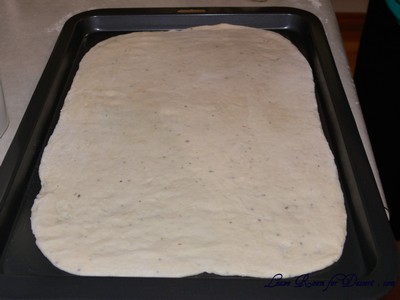
Grease pizza pan or tray with oil. Punch the dough, divide into two and roll out to fit the tray. Place the pizza on the oiled pans and spread pizza sauce over the two pizzas. Arrange toppings and then cover with grated cheese.

pizza01

Bake for 20-25 minutes.

Pizza Sauce
Makes: Enough for 2-3 pizzas

1 tablespoon olive oil
1 onion, diced
2 cloves garlic
440g can diced tomatoes
1 tablespoon mixed dried herbs
1 tablespoon sugar
1 tablespoon salt
1/4 cup red wine

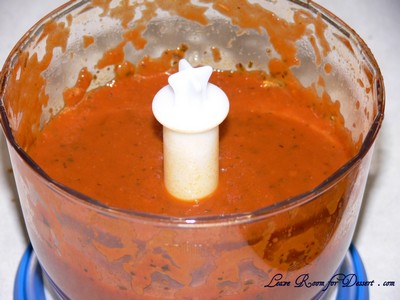
Heat a small saucepan over medium heat. Add oil then cook onion for 5-10 minutes, until the onion starts to become transparent. Add garlic and stir for 1 minute. Add remaining ingredients and cook for 30 minutes or until sauce has thickened. Puree sauce and cool. Spread over pizza base.

pizza14

Banana Bread

Sunday, June 7th, 2009

bananabread-15

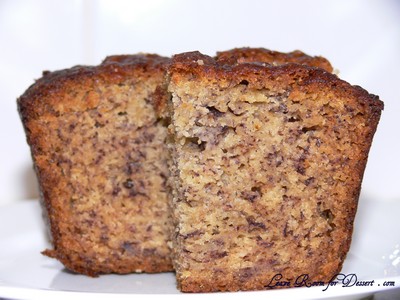
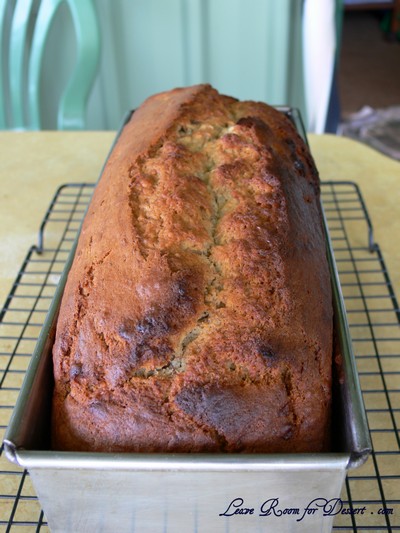
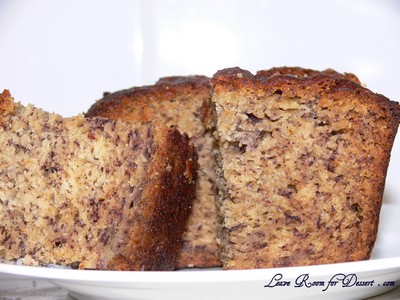
I don’t like wasting food. I try to eat all fruit and veggies before they start turning bad, but sometimes other things come up and I forget about them. Luckily, with bananas, even if I do forget about them for a short or long amount of time, they will still be perfect for banana bread.

bananabread-20

I often hear people say – I thought it was too ripe or too far-gone for banana bread. But I think it’s almost never too far-gone. I use bananas that have started ripening a lot, to ones that have turned completely black. And don’t worry if it’s a little or a lot squishy or becoming a little translucent – this just makes it easier to mash and gives a stronger banana flavour. If you don’t have enough time or bananas for banana bread, just peel the bananas, place in a plastic bag and freeze until ready, then thaw over a few hours and mash like normal.

bananabread-21

Now although this isn’t a “bread” as such, it’s still able to be toasted under a grill or sandwich press and served with a little butter. Any left over slices can be frozen and thawed for a snack – you may want to toast it up to make it a little fresher. I hope you enjoy the recipe!

Banana Bread

125g butter
¾ cup white sugar
4 medium bananas
1 teaspoon bi-carb-soda
2 eggs
2 tablespoons milk
2 cups self-raising flour
pinch salt

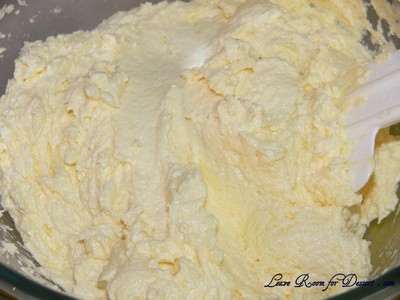
Cream together the butter and sugar until light and fluffy, add eggs, mix well.

bananabread-10

Peel and mash bananas, fold into butter mixture, add soda dissolved in milk, then fold in sifted flour and salt.

bananabread-11

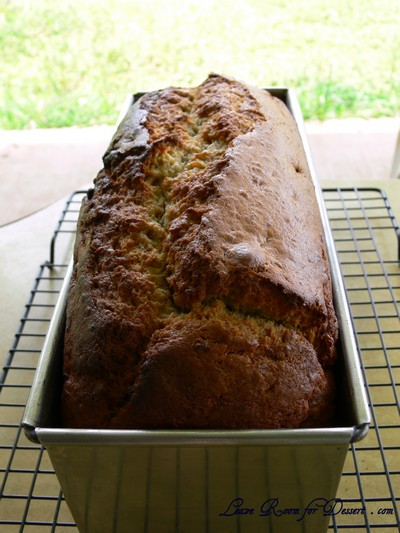
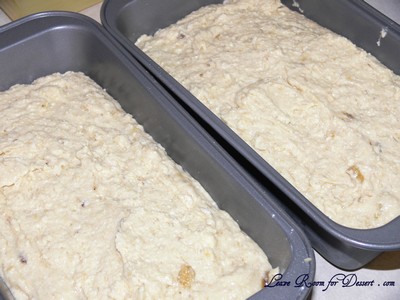
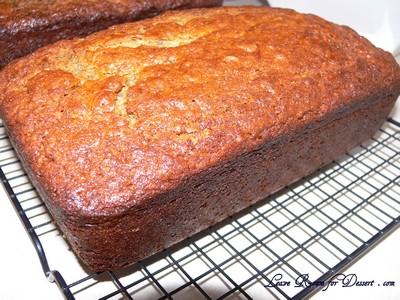
Turn into greased 9”x5” loaf tin. Bake in at 180ºC for 50 minutes or until cooked through. Cool on cake cooler. Serve warm or cold sliced with butter.

bananabread-14

bananabread-16

Bi Bim Bap – Cooking Class 8

Friday, June 5th, 2009

bibimbap07

When Nick chose his next Cooking Class dish, no one had heard of it (and don’t ask me to say it, because I’m sure my Australian accent does it no justice, I’ve already spelt it wrong a couple of times).

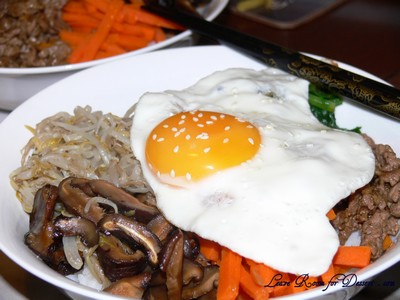
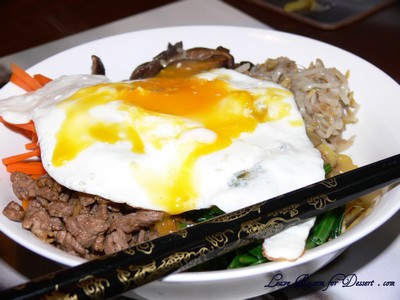
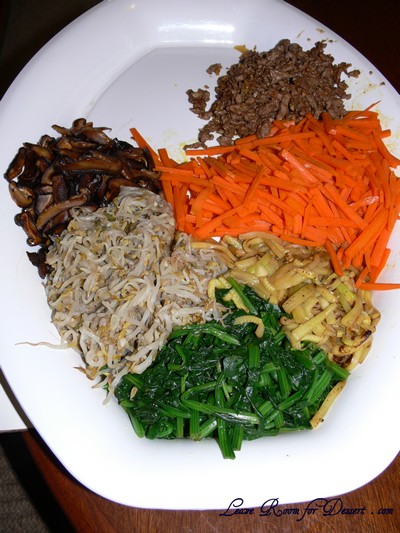
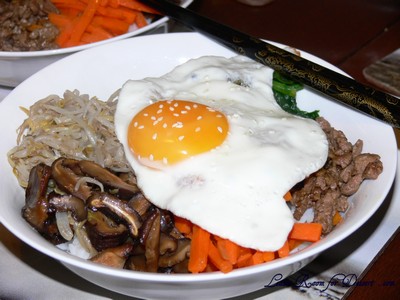
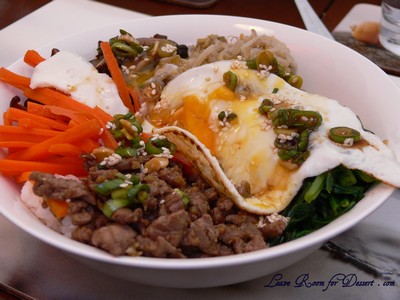
It was described to me as a Korean stir-fry without the actual stir-fry. More of a combination of flavoured vegetables and some beef all cooked separately, then laid onto each person’s bowl of rice, with a fried egg with soft yolk placed on top. Break the yolk and eat different sections, or mix and match.

bibimbap14

It took a bit longer to make then we expected. We had to cook each part separately in the wok, although it was worth it, and the hot rice helped heat up anything that had cooled slightly. Nick was happy with it too, saying it was quite similar to what he had previously tried (even though he’s only tried it once or twice).

Bi Bim Bap
(Recipe adapted from Maangchi)
For 4- 6 servings

1 tablespoon butter
2 cups rice
3 cups boiling water
salt
a package of bean sprouts
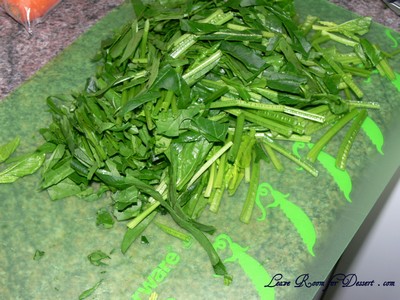
a bunch of spinach, sliced in long strips
2 zucchinis, peeled and cut into long thin slices
8 Shiitake mushrooms (if they are dried, you need to soak them for 2 hours), sliced thinly
200 grams of ground beef (about half a pound), or diced beef
3 carrots, peeled and cut into long thin slices
4-6 eggs
soy sauce
6 cloves garlic
sugar
sesame seeds, sesame oil, and vegetable oil
A platter for vegetables

Green onion sauce
4 green onions
½ cup soy sauce
1 tablespoons sesame seeds
2 teaspoon sugar
1 tablespoon sesame oil

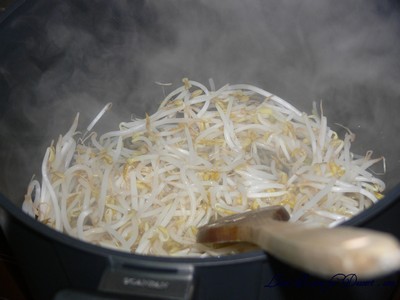
Rinse bean sprouts 3 times and put them in a pot with a cup of water. Add 1 teaspoon of salt and cook for 20 minutes. Half way through add 1 clove of minced garlic, sesame oil and a pinch of salt. Drain and place on platter.

bibimbap16

Heat a medium saucepan on medium/high heat. Add butter and then stir in rice to coat. Add a few pinches of salt, stir, then add boiling water and stir. Once water has come back to the boil, turn down to as low as possible, place the lid on and cook for 15-20 minutes.

Put spinach in a pot of boiling water and stir it for a minute. Then rinse it in cold water a few times and squeeze it lightly. Mix it with a pinch of salt, 1 teaspoon soy sauce, 1 clove of minced garlic and sesame oil. Put it on the platter.

bibimbap17

Sprinkle zucchinis with a pinch of salt and mix together. A few minutes later, sauté zucchini in a wok over high heat. When it’s cooked, it will look a little translucent. Put it on the platter.

Sauté shitake mushrooms with 1 teaspoon of vegetable oil in wok. Add 2 teaspoons of soy sauce and 1 or 2 teaspoons of sugar and stir it for 2 minutes. Add some sesame oil, and put it on the platter.

Add some oil to the wok and cook ground beef. Add 4 cloves of minced garlic, 1 tablespoon of soy sauce, ½ tablespoon of sugar, a little grounded black pepper, and sesame oil. Place on platter

Sauté carrots it for 30 seconds and put it on the platter.

bibimbap01

Add a little butter to a pan and cook eggs with sunny side up. (Crack into pan and cook until egg white cooked and yolk still runny).

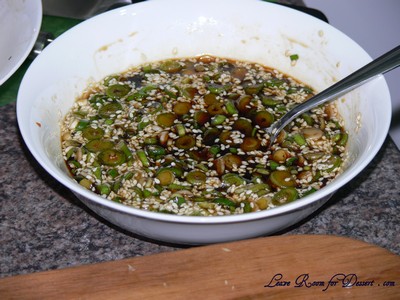
For the sauce, add all ingredients together and mix.

bibimbap23

Spoon rice into bowls and attractively display all your vegetables and meat. Place the sunny side up egg on the centre. Serve it with green onion sauce, sesame oil and hot pepper paste. Lastly, mix it up and eat!

bibimbap03

bibimbap08

bibimbap15

Tomato and Basil Bruschetta

Wednesday, June 3rd, 2009

I’m not the best person at remembering to send someone a recipe they’ve asked for. Unless I get reminded or leave an email in my inbox marked as “unread”, it’s unlikely I’ll get around to it, especially if I haven’t had a chance to type it out. So I felt a bit bad when a friend of mine asked for a Bruschetta recipe and I still haven’t emailed it to her.

bruschetta01

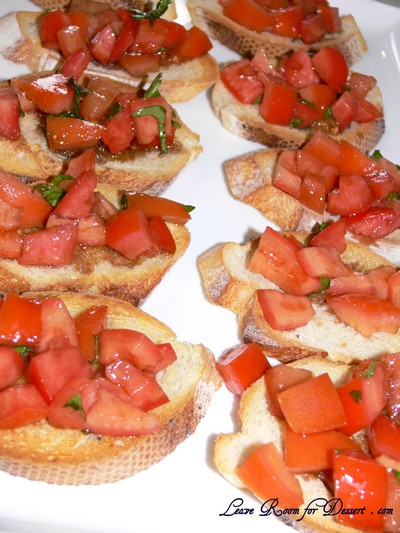
Well here is the Bruschetta recipe I use. It’s nice and quick, with lovely flavours… even for someone who doesn’t like eating raw tomatoes… now who could that be? 😉 De-seeding the tomatoes reduces extra liquid which will cause the bread to soften and go soggy, so make sure you serve very soon after spooning the tomato mix onto the bread.

Tomato and Basil Bruschetta

(Recipe from Super Food Ideas)
Serves: 4

1 loaf day old sourdough bread
2 garlic cloves
¼ cup good-quality extra-virgin olive oil
2 large tomatoes, quartered, deseeded
4 basil leaves, shredded
2 tablespoons olive oil
3 teaspoons balsamic vinegar
salt and pepper to taste

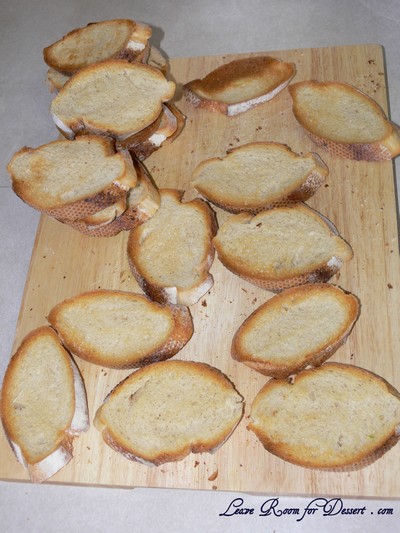
Slice bread into eight, 1cm thick slices (traditionally straight across the bread, not diagonally). Lightly toast (under grill) both sides bread until crisp on outside but soft on side. Cut garlic cloves in half lengthways. Rub cut side of garlic over 1 side of hot bread.

bruschetta03

Drizzle 1½ teaspoons oil over garlic side of bread, Season with salt.

Cut tomato quarters in half again and dice. Place in a bowl. Add basil, oil, vinegar and salt and pepper. Stir gently to combine. Spoon onto toasted bread and serve.

Variation: Replace the fresh tomatoes by combining 1 cup chopped semi-dried tomatoes and ½ cup chopped feta-stuffed olives with the basil.

bruschetta02