Archive for April, 2010

Butterscotch Steamed Pudding – Daring Bakers Challenge April 2010

Tuesday, April 27th, 2010

SteamedPudding01

The April 2010 Daring Bakers’ challenge was hosted by Esther of The Lilac Kitchen. She challenged everyone to make a traditional British pudding using, if possible, a very traditional British ingredient: suet.
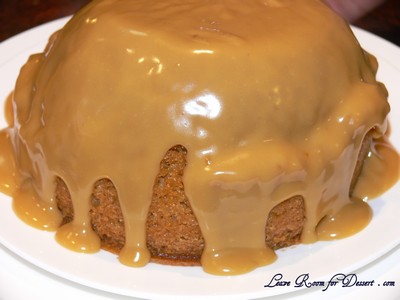
SteamedPudding17

In this month’s challenge we were asked to go a step further in the ingredients we use and use suet in the steamed pudding we were making. After deciding to make a steamed sweet sponge pudding, I decided on using a substitute for the suet – although after having trouble in the cold isle of the supermarket trying to find what I could use as a substitute, I gave in to using butter as my base.

A lot of people know I am a huge fan of self saucing puddings, so I was extremely excited to find out how this differed in taste or texture to the ones I normally make. Personally I enjoy the cake-like fluffy texture of a self-saucing pudding to the more chewy textured steamed pudding. I also find it’s a lot easier to see whether a self-saucing pudding is ready to be eaten – as the steamed pudding has a cover to take off before you can test it.
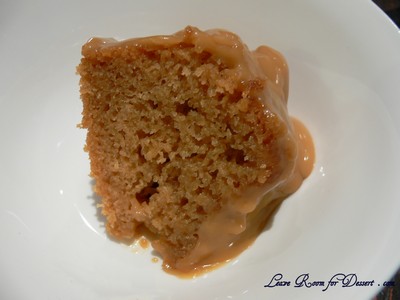
SteamedPudding07

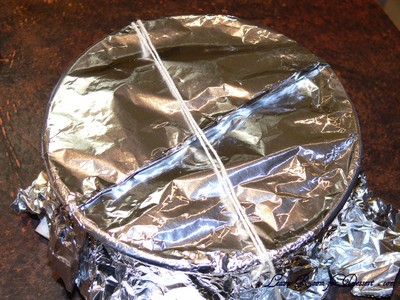
I thought many recipes I looked through needed some photos on the covering and tying of the handle for top of the pudding, as I found some descriptions a bit confusing. Although my mum found this helpful video tutorial (a How-To) for pudding assembly.
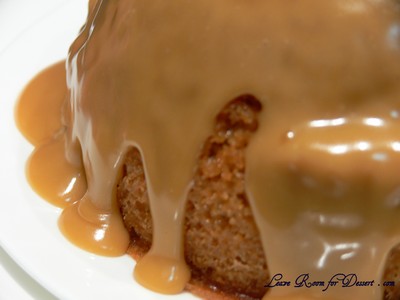
SteamedPudding03

A big thanks to Esther for hosting this challenge and taking me outside my comfort zone (even if I didn’t get around to using suet…).

Butterscotch Steamed Pudding

Recipe adapted from Steamed Treacle Sponge Pudding by Delia Smith

Serves: 6-8

175g butter
175g brown sugar
1 teaspoon vanilla essence
3 eggs
175g self-raising flour
1 teaspoon baking powder

Sauce
1/2 cup brown sugar
2 tablespoons custard powder
1/2 cup milk
1/2 cup cream (you could use more milk here if you don’t have cream)

Grease a 1.2L pudding dish. Place a steamer, bowl, or egg rings in a large saucepan (large enough to fit your pudding dish, with gaps at the side) and fill with enough water to come half-way up the sides of the pudding dish. Place on low/medium heat.

Cream the butter and the brown sugar until light and fluffy. Beat in the vanilla essence. Add the eggs one at a time, beating in between additions. Beat in the sifted flour and baking powder.
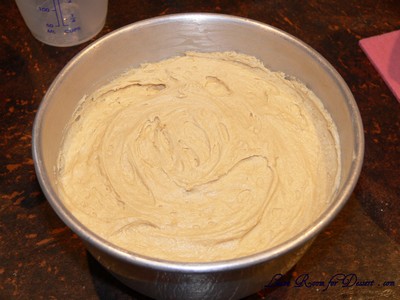
SteamedPudding10

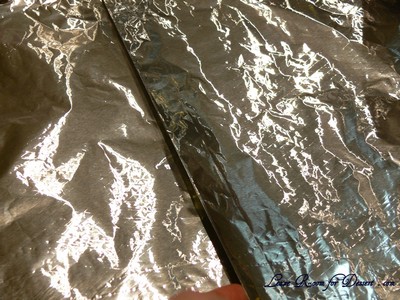
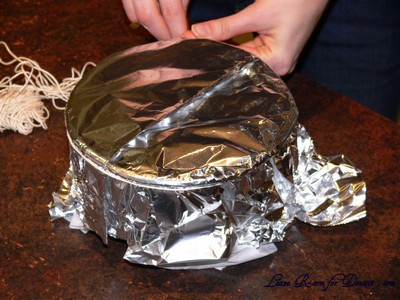
Pour mixture into greased pudding dish, smooth the top. Place a sheet of aluminum foil over a piece of grease-proof paper (approx 40cm x 30cm). Make one pleat (approx 2 cm) in the centre. Place the pleated paper and foil on top of the pudding (grease-proof paper side on the inside near the pudding, the foil on the outside). Turn the edges over, making a tight seal on the dish. Tie a piece of string around the dish – under the lip, keeping the foil tightly against the dish. Tie another piece of string (from the string under the lip) over the top to create a handle. (Watch this video).
SteamedPudding11

SteamedPudding12

SteamedPudding13

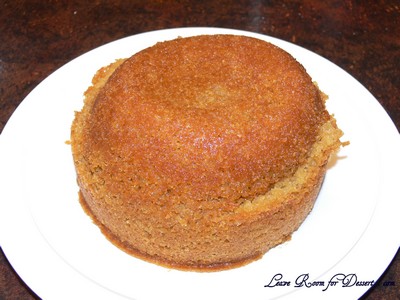
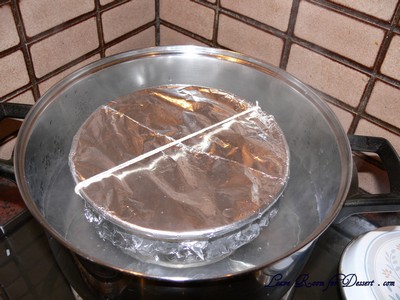
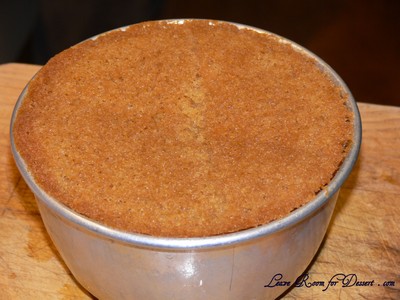
Place the pudding on top of the steamer in the saucepan. Heat on low for 2 hours, checking the water comes halfway up the dish. Once cooked remove from saucepan, sit for 5 minutes, then turn out.
SteamedPudding14

SteamedPudding15

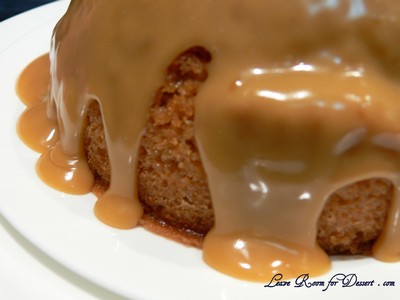
Nothing a bit of sauce won't cover up :)

Nothing a bit of sauce won't cover up 🙂

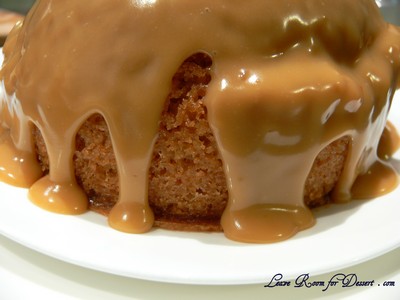
For the sauce, combine all ingredients in a saucepan over medium/high heat and continue to stir until the sauce thickens. Pour over the steamed pudding and serve.
SteamedPudding04

Savour Chocolate and Patisserie School – Petit Gateaux

Tuesday, April 20th, 2010

SavourSchool01

After finally making the decision to visit Melbourne and attend a course at the Savour Chocolate and Patisserie School, I still had to choose which course to attend.

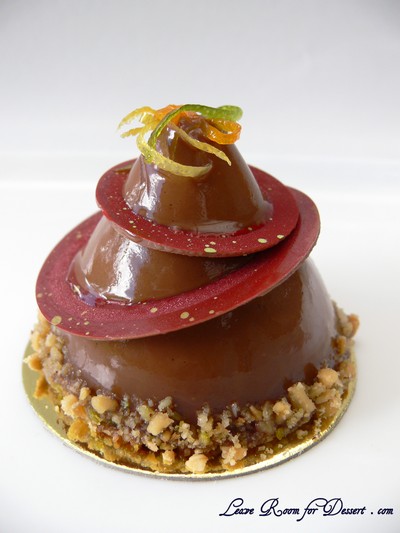
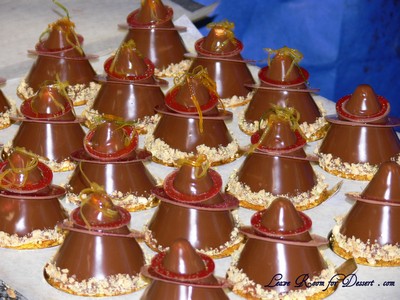
Citrus Chocolate Cone (Bavarian citrus cream, chocolate cremeaux, almond sponge cake)

Citrus Chocolate Cone (Bavarian citrus cream, chocolate cremeaux, almond sponge cake)

I fell in love with the photos on the site, especially the petit fours and petit gateaux. I decided on going with the petit gateaux course, level 2 (two days), as I thought this would give me the best range of new techniques.

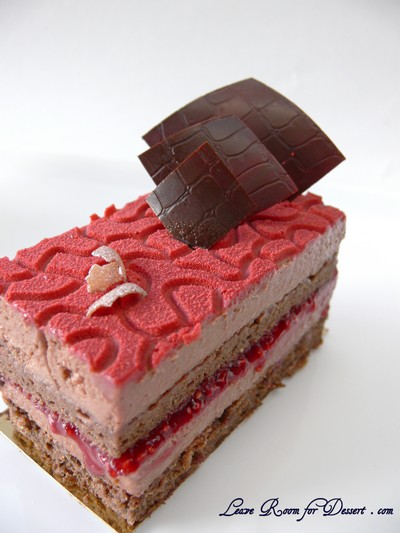
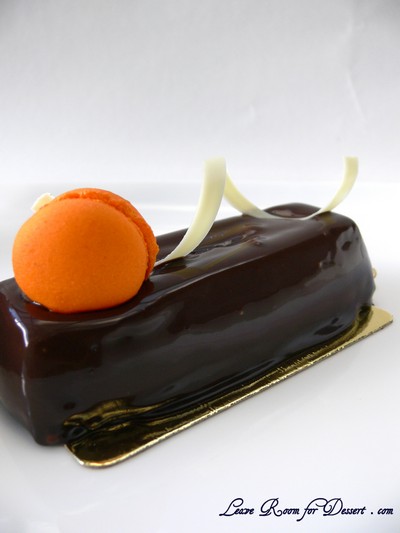
Raspberry and Milk Chocolate Labrinth (milk chocolate raspberry mousse, raspberry jam, cocoa sponge biscuits, rice bubble)

Raspberry and Milk Chocolate Labrinth (milk chocolate raspberry mousse, raspberry jam, cocoa sponge biscuits, rice bubble)

I flew to Melbourne last weekend and attended the course which was led by Paul Kennedy (who won The Australian Chocolate Masters Competition in March 2007) and Robyn from the School, both very informative and friendly. Day one consisted of weighing ingredients for all the components of the gateauxs (mousses, jam, biscuits, cakes, daquoise, glazes), along with the class making or watching each part be made and in many cases, the layers put together and frozen.

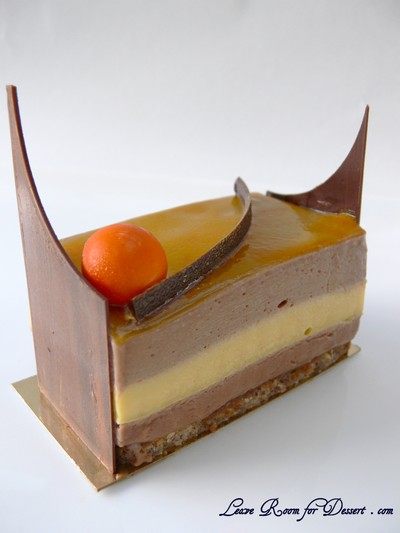
Hazelnut Dacquois and Passionfruit (my favourite in flavour) (milk chocolate custard mousse, passionfruit crème brulee, praline feuillete, hazelnut dacquoise biscuit)

Hazelnut Dacquois and Passionfruit (my favourite in flavour) (milk chocolate custard mousse, passionfruit crème brulee, praline feuillete, hazelnut dacquoise biscuit)

Day two was focused on completing the desserts (cutting and glazing) and making the chocolate garnishes.

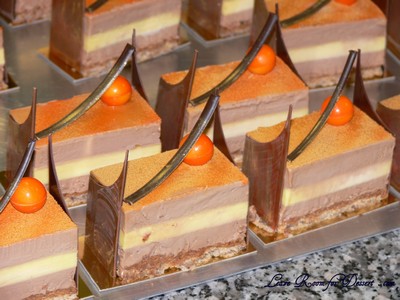
 Chocolate Petit Gateaux (chocolate mousse, madaring mousseline cream, chocolate kalamansi cremeux, pistachio dacquoise)

Chocolate Petit Gateaux (chocolate mousse, madaring mousseline cream, chocolate kalamansi cremeux, pistachio dacquoise)

The parts I most enjoyed from the courses were the tips on layering and assembling the full dessert, glazing and garnishing. Those, along with tasting the multiple components throughout the day and the final products that I got to take home (that was certainly the highlight for my family).

SavourSchool04

Please forgive the photos – the gateauxs traveled to Melbourne airport, waited at the airport, got fed under the chairs in the airplane leaving me no leg room on an already small plane. They then traveled over to Sydney and back home. Lastly, they stayed in the freezer overnight so that I could get daylight photos. A total of 20 hours or so and lots of movement – but they still look good.

SavourSchool13

I just have one question (or suggestion) for Savour – will you be opening a school like this in Sydney?

SavourSchool06

Savour Chocolate and Patisserie School
website
22 Wilson Avenue,
Brunswick, VIC, 3056
AUSTRALIA
Phone: (03) 9380 9777

Opening Hours
Monday: 9:00am – 5:00pm
Tuesday – Friday: 9:00am – 5:30pm
Saturday: 9:00am – 5:00pm
Closed Sunday

SavourSchool03

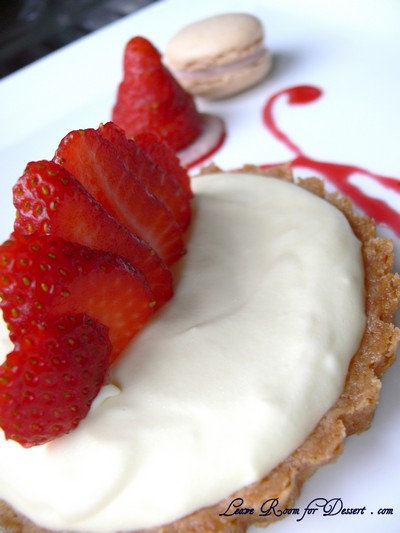
Vanilla Mousse Tart with Strawberries and Macaron

Tuesday, April 13th, 2010

VanillaMousseTart11
In an effort to make sure I am fully prepared for my trip to Melbourne for a cooking class this weekend, I decided to make my own pâte sablĂ©e, mousse and macarons. The other things I was planning to make, like Italian meringue and glazes, were left behind due to time restrictions, so I hope I have enough experience to help and not hinder the others attending the class. I only mention this, as it is a level 2 class – and I haven’t done level 1. I look forward to telling everyone about the course when I get back and have some lovely photos.

VanillaMousseTart09

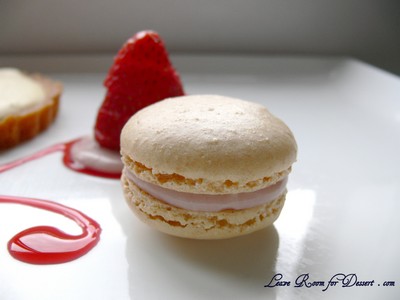
I was ecstatic with the results for my macarons. They had cute little “feet” (the little raised area on the bottom), they had a nice smooth top of the shell, there was no hole under the shell, and they came off the baking paper easily. (Well this is after I made the stupid mistake of trying to cook them in the oven with something else – I won’t tell you what it was [as it caused a very humid oven], but I would suggest cooking a tray at a time, with nothing else in the oven).

VanillaMousseTart07

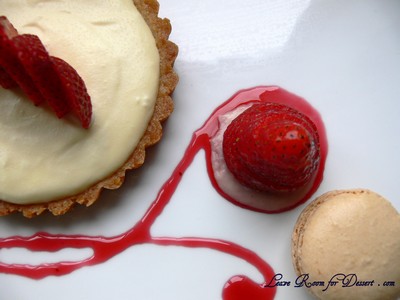
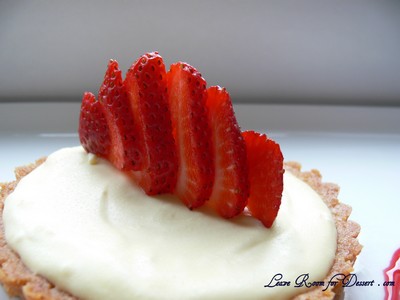
The vanilla mousse tart was lovely and paired very well with the fresh strawberries and mixed berry sauce.

VanillaMousseTart10

Vanilla Mousse Tart with Strawberries and Macaron

Recipe by Anita @ Leave Room for Dessert

Pâte Sablée:
1/4 cup plain flour
1/4 cup icing sugar
1/8 cup almond meal
62g butter, chilled and chopped
pinch salt
1 tablespoon milk (less or more may be required) (an egg is often used to bind the pastry, although with such a small amount, I thought it might be too sticky)

Vanilla Mousse:
1 egg yolk
1 1/2 tablespoons caster sugar
1/4 cup milk
1/3 teaspoon vanilla essence
1/2 teaspoon gelatin
2 tablespoons water
2/3 cup cream

Macarons:
1 egg white (30g) (I normally “age” my egg whites, covered at room temperature or in the fridge overnight)
2 tablespoons (22g) caster sugar
1/4 cup + 1 tablespoon (55g) pure icing sugar
1/4 cup + 1 teaspoon (40g) almond meal

Macaron filling:

a few tablespoons vanilla mousse mixed with a few teaspoons of mixed berry jus

Mixed Berry Sauce:
60g mixed berries (fresh or frozen, thawed)
1/3 cup caster sugar
1/2 cup water

Strawberries to serve

Pâte Sablée:
Process the flour, icing sugar, almonds and salt in a food processor. Place the butter in with the flour and process until it resembles fine breadcrumbs. Add enough milk for the mixture to just come together into a dough that just holds together. Form the dough into a disc and place in the fridge for 30 minutes. Remove from fridge and roll out to a few millimetres thickness (enough to fit two small round tart tins – around 12cm diameter). Place the dough in the tart tins, pressing lightly to fill the tin. Cut off excess dough. Place in the fridge for 30 minutes. Preheat oven to 180C. Cook pâte sablĂ©e for 10 minutes or until golden. Allow to cool before filling.

Vanilla Mousse:

Add gelatine to water. Bring the milk almost to the boil in a small saucepan. Whisk together the egg yolks, sugar and vanilla essence until lighter in colour. Pour the milk into the egg yolk mixture, whisking continuously. Pour the mixture back into the saucepan and cook on low/medium heat until the mixture coats the back of a spoon. Remove from heat and stir in gelatine. Allow to cool.

Whip the cream until light peaks form. Fold half of the cream into the cooled custard mixture. Fold lightly into the remaining cream. Spoon the mousse into the cooled tart shells and allow to set in the fridge for a few hours. (Leave some of the mousse for the macaron filling).

VanillaMousseTart05

Macarons:
Whisk the egg whites in a clean bowl with electric beaters on medium. Once the egg whites become frothy, slowly add the caster sugar, while continuously beating. Continue beating the egg whites until the mixture becomes a thick, glossy meringue, which holds it’s shape. Sift in the icing sugar combined with the almond meal on top of the meringue. Fold and beat the almond meal mixture into the meringue, just until any peaks you create in the mixture sink back. Don’t overbeat the mixture once it is flowing nicely (underbeating can also cause the biscuits to be too meringue like or have a peak on them).

Spoon mixture into a piping bag and pipe circles (3-4 cm diameter) onto a baking paper lined baking tray (make sure this is flat or the mixture will run). Let the macarons sit at room temperature for 30 min or more to allow the top to form a skin (this will help the macaron to rise from the bottom and not split the lovely shell).

Preheat oven to 150C (my oven is fan-forced, although you’ll need to check what temperature works for your oven). Place baking trays in the oven (one at a time, depending on your oven – if mine has two trays in there, the macarons do not colour evenly). Cook for approximately 10 minutes, or until lightly coloured, with a lightly crisp shell and soft on the inside.

Once cooled, you can fill them with the berry mousse filling.

Mixed Berry Sauce:
Puree the berries with some of the water. Strain through a sieve and add to a small saucepan with sugar and remaining water. Cook on medium or high heat until the mixture has become thicker and reduced to 1/2 or 1/3 cup. This may take 10 minutes (more or less depending on the size of your saucepan).

VanillaMousseTart04

Orange and Poppy Seed Cake – Guest Bloggers: Sarah and Jeremy

Thursday, April 8th, 2010


Sarah is a lovely friend, who had given some thought to starting up her own food blog. Although with University, placements, study, work, sport, seeing family and friends, cooking and (my most dreaded task) cleaning, there’s not a heap of time to create and manage a blog. Wow, she does do a lot, I don’t know how she fits it all in.

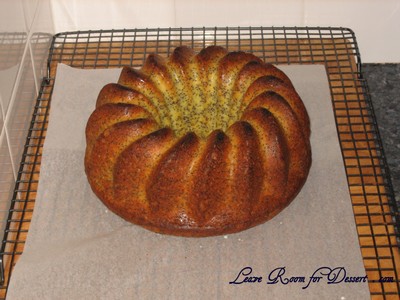
I suggested to her that if she ever wanted to post anything I’d be happy to have her guest blog on my site. And here they are, my first guest food bloggers – please welcome Sarah and Jeremy. They have chosen a lovely orange and poppyseed cake, which is a bit different to the one I normally make, which has a vanilla flavoured cake with a small hint of orange in the frosting. This cake has lovely strong orange flavours throughout and is perfect for parties or even taking to work. I’ll pass over to Sarah and Jeremy now… (sorry it’s taken me so long to post it)

SarahOrangePoppyseed01

Hi! We are Sarah and Jeremy, and Sarah works with Anita. We have been promising this guest blog for ages and have finally got ourselves organised. We have gone with something simple and relatively easy that stores well and is different from Anita’s usual fare. We hope that you enjoy!

Orange and Poppyseed Cake

Recipe adapted from Family Circle cooking book

1 large orange
â…” cup milk, warm
½ cup poppy seed
250g unsalted butter
1½ cups caster sugar
3 eggs, slightly beaten
3 cups SR flour
Extra â…“ cup milk, cold
Icing sugar for dusting

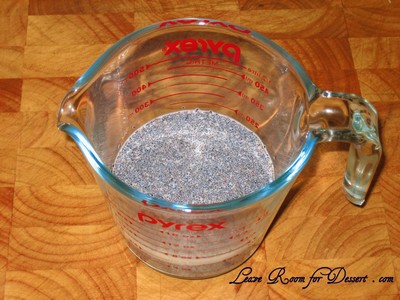
Place poppy seeds and warm milk in a bowl and soak for an hour. (or until your orange is cooked, cooled and puréed – as explained below).

SarahOrangePoppyseed03

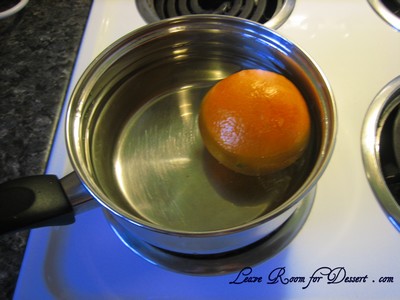
Place whole orange in a saucepan and cover with water. Bring to the boil, reduce heat and simmer for 20 minutes. It is ok if the water does not completely cover the orange (as seen in the picture), just turn it occasionally and let it cook a little longer (until the rind is soft).

SarahOrangePoppyseed02

When the orange is soft and easy to prick with a fork, turn the heat off and leave the orange in the hot water for a further 20 minutes.

Drain, and rinse under cold water. Cool for 1 hour. If pushed for time, we sometimes cut up the orange and place in the freezer until cool).

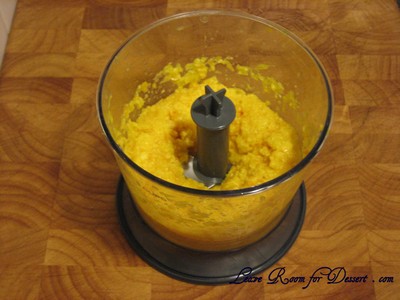
Cut the cooled orange into eighths (do not peel); remove seeds and blend until smooth.

SarahOrangePoppyseed04

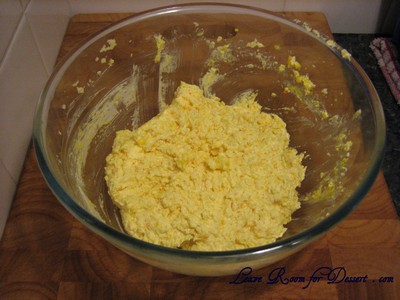
Cream the butter and sugar.

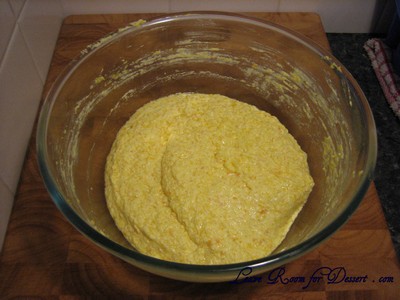
Beat in puréed orange – the mixture will look lumpy.

SarahOrangePoppyseed05

Beat in the eggs.

SarahOrangePoppyseed06

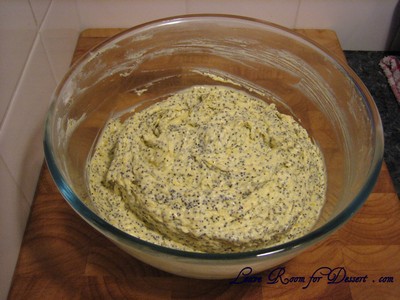
Sieve in flour and stir in poppy seed and milk mixture.

SarahOrangePoppyseed07

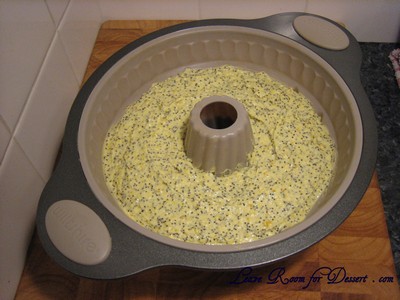
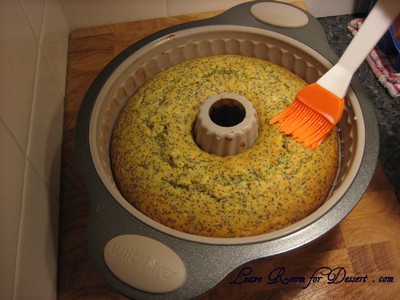
Spoon mixture into greased 24cm ring tin – fluted is good. This is a large cake mixture, so you will need a large ring tin (we use a silicone ring tin, which makes it really easy to turn out).

SarahOrangePoppyseed08

Bake at 180ËšC for 45 min, or until a skewer comes out clean.

Remove from oven and immediately, whilst the cake is still in the tin, brush with half the extra milk using a pastry brush. This extra milk makes the cake lovely and moist.

SarahOrangePoppyseed09

Leave cake in tin for 5 min before turning out.

Brush with remaining milk and leave to cool.

SarahOrangePoppyseed01

When cool, lightly dust with icing sugar.

This cake is best kept in the fridge, but freezes really well. We regularly put a quarter of this cake in the freezer for a future date, and just allow it to defrost in the fridge.

Chocolate Chip Hot Cross Bun (Bread) and Butter Pudding

Sunday, April 4th, 2010

ChocChipBunPudding21

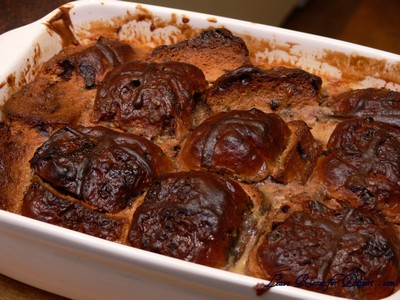
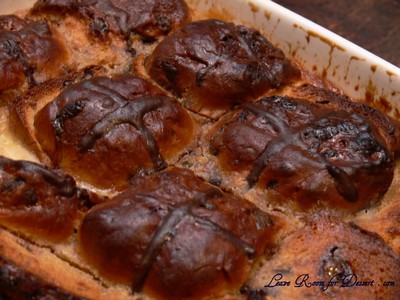
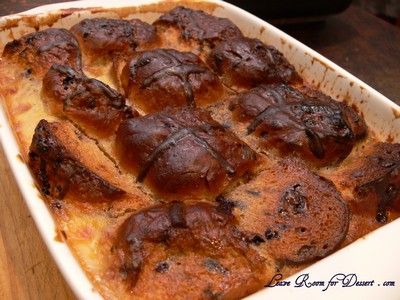
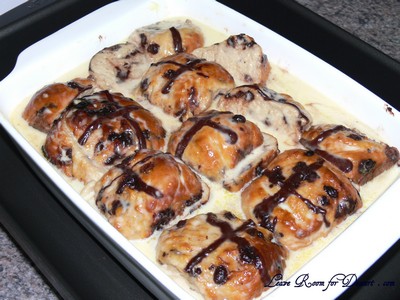
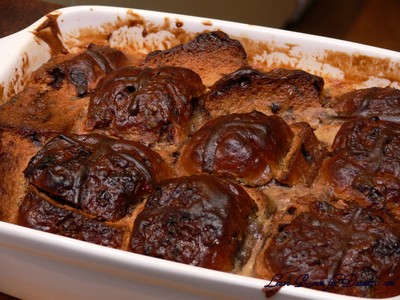
Here’s an idea for those who have ended up with too many choc chip or traditional hot cross buns after Easter. In case you didn’t freeze them, or aren’t going to warm them under the grill over the next few days, try this version of a bread and butter pudding – where the bread is the hot cross buns – or in my case, chocolate chip hot cross buns.

ChocChipBunPudding08

This is a great Easter dessert that should keep everyone happy. Happy Easter everyone!

ChocChipBunPudding16

Chocolate Chip Hot Cross Bun (Bread) and Butter Pudding

Recipe from Anita @ Leave Room for Dessert

9 chocolate chip hot cross buns (bought or made – see the recipe I use here)
50g butter, softened
5 eggs
1 cup caster sugar
500ml milk
500ml cream
1 tablespoon vanilla essence
Icing sugar to dust or melted white chocolate drizzled to serve

Grease an oven-proof dish with some of the butter. Cut the hot cross buns into two or three slices (leaving the tops intact). Spread the cut slides with the butter and lay them reassembled in the baking dish.

Heat the milk, cream and vanilla essence in a small/medium saucepan until almost at the boil. Whisk the caster sugar with the eggs in a large bowl. Slowly pour the warm cream and milk mixture into the egg and sugar mix, whisking constantly, until combined.

Pour the egg and milk mixture into dish with the hot cross buns. Let it sit for at least 30 minutes to allow the mixture to be soaked into the buns. (It can be stored in the fridge at this stage for a few hours, or until ready to cook). Make sure you press the buns down into the mixture a few times to make sure the top soak in the liquid (as they float to the top).

Preheat oven to 170C. Place the dish with the pudding mix into a larger dish and fill the larger dish halfway with warm/hot water. Cook for 1 hour or more until the custard is cooked (insert a knife into the custard to see if it is cooked – it will come out quite clean if cooked, or will have liquid custard if more time is needed. Alternatively move a bun to the side to check the bottom of the dish see if the custard is still runny liquid).

ChocChipBunPudding06

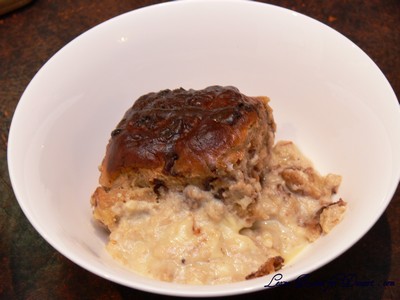
Remove from oven and let sit for 5 minutes. Enjoy with ice cream or Easter eggs.

ChocChipBunPudding20

ChocChipBunPudding27