The first time I tried an acai bowl was 4 or more years back at a Jiujitsu tournament. I wasn’t competing as I don’t do jiujitsu, but I was eating – as I’m really good at that. Since then I have seen it become super popular, with the acai puree now available frozen at supermarkets (I previously had to buy it from a frozen berry supplier). You can’t go past a café without them having some sort of acai smoothie bowl (or something similar) available as a change from your traditional bacon and egg big brekkies.
I also recently had an acai bowl at a children’s play centre. It was super tasty and I started craving it again. So we had to start experimenting. There’s never anything bad that can come from food experimentation. It’s almost always edible. Most recipes I looked up contained almost entirely fruit, although the one I had recently seemed to have oats of some sort mixed through, so I first tried adding some soaked oats (mix oats with milk overnight) to the blended fruit. It was nice, and reasonably close to what I had, although the method we are now making is much easier. The oats and almond meal help make the mixture thick, and I think would help keep you more full through the morning.
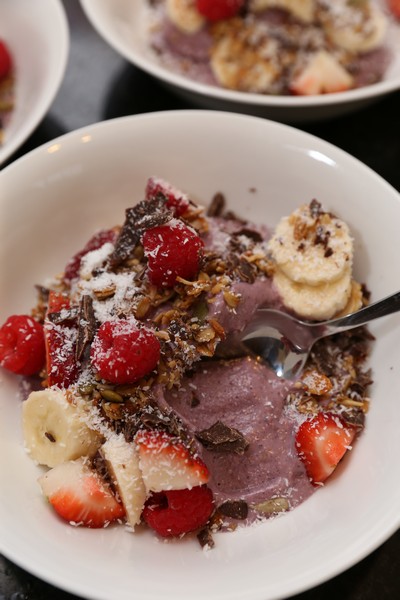
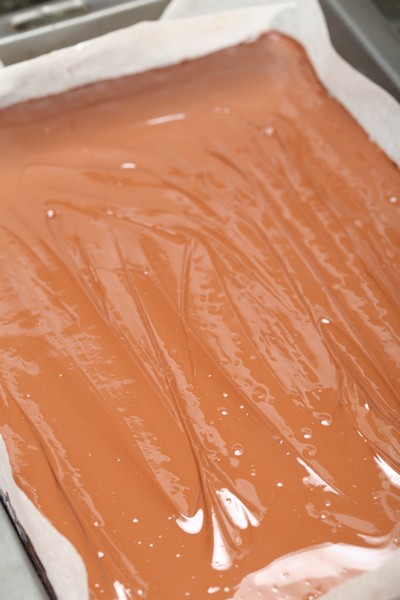
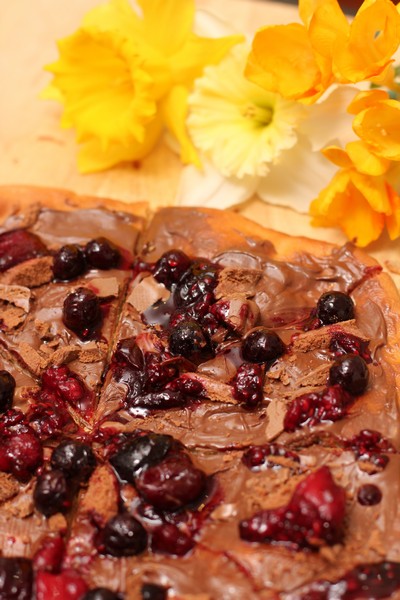
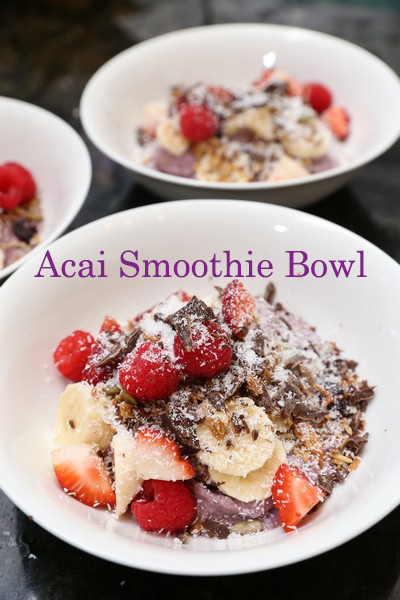
Some of the main things I found went well with the smoothie bowl was adding fresh fruit and quality muesli or granola (and a touch of dark chocolate). I am finding it very difficult to buy pre-packaged foods anymore. The additives or flavours are just not enjoyable. So I came up with an easier muesli to than my original granola. It doesn’t need chopping, doesn’t need an extra bake to get it crunchy and doesn’t use lots of expensive nuts.
Acai Smoothie Bowl
Recipe by Anita @ Leave Room for Dessert
Serves: 4 small bowls
(You can always increase or decrease amounts depending on what you have available. Just don’t add too much water to begin with)
95g frozen acai
130g frozen pineapple
160g frozen banana (approx. 2)
handful frozen blueberries (optional)
50g almond meal (or raw almonds – blend up to a powder before adding other ingredients)
80g oats
120g water (approx.)
To serve:
1-2 bananas, sliced
berries
1/2-1 cup (50g-100g) Muesli
4 pieces dark chocolate (30g), chopped
4 teaspoons desiccated coconut
Place the acai, pineapple, banana, almond meal and oats in a high powered blender. Blend on high (using spatula if needed – the Thermomix comes with a special spatula to help with this sort of thing). Add water to help it come together, making sure not to add too much. You want a thick consistency. Serve immediately with toppings.
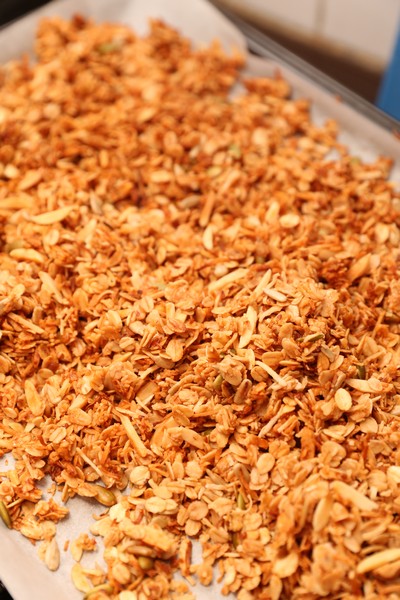
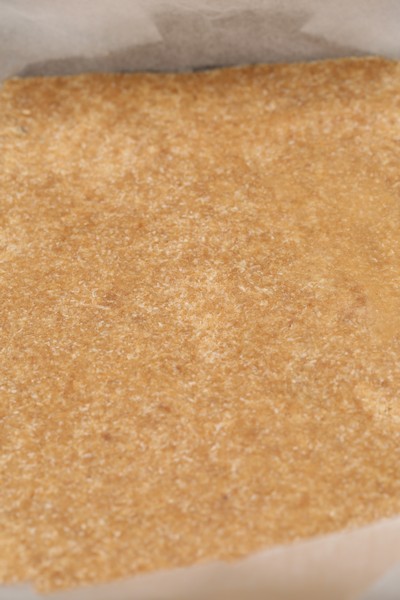
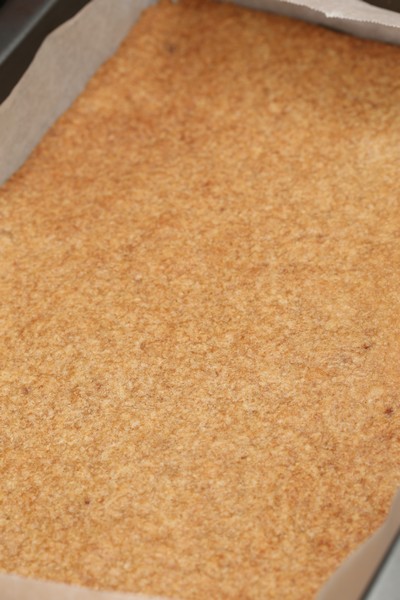
Easy Muesli
Recipe by Anita @ Leave Room for Dessert
400g rolled oats
200g coconut, shredded
50g sunflower seeds
50g pepitas
100g slivered almonds (or chopped almonds)
120g honey
1 tablespoon cinnamon
1 tablespoon vanilla essence or extract
120g coconut oil, melted
salt
Preheat oven to 160C (fan-forced). Place baking paper on two trays.
Mix together the oats, coconut, sunflower seeds, pepitas and almonds in a large bowl. Whisk together the honey, cinnamon, vanilla and coconut oil. Pour into oat mixture and stir to combine. Place on trays, spreading evenly. Cook for 15-20 minutes, stirring once or twice. Leave to cool and store in an airtight container.