Archive for May, 2012

Challah – Daring Bakers Challenge May 2012

Sunday, May 27th, 2012

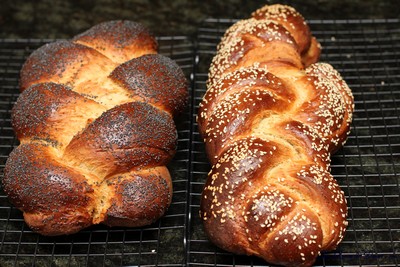
May’s Daring Bakers’ Challenge was pretty twisted – Ruth from The Crafts of Mommyhood challenged us to make challah! Using recipes from all over, and tips from “A Taste of Challah,” by Tamar Ansh, she encouraged us to bake beautifully braided breads.

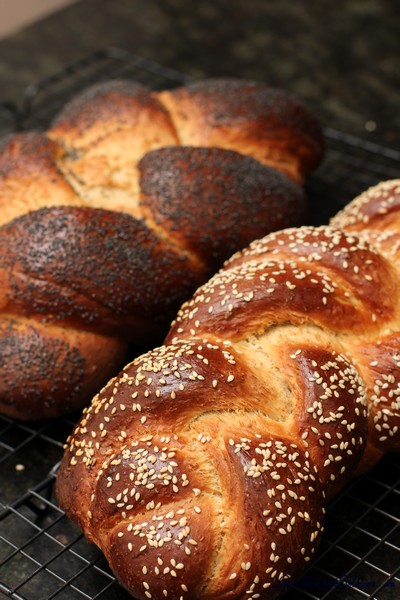
I could not be happier with how my challah turned out this month. As I have never tried challah before, I can’t tell you how close this recipe is to bought ones, although I can tell you everyone who tried it was very happy with the taste and texture, and it was eaten quite quickly.

As it contains egg, it doesn’t last as long as other breads do, and would require an air-tight container, although is best eaten on the day of making.

It can be eaten by itself, which is how we mainly ate it (before dinner…), with leftovers being eaten grilled, or with caramelised balsamic vinegar and dukkah.

Thanks to our host this month, who gave three recipes for people to try, although I only got around to making one.

My anemone flowers are coming up at the moment, just before winter (I think I planted them in March). They are a beautiful addition to the garden at this time when some other plants are dying off before winter. Although I am not sure what time they will flower next year, as I thought they were going to flower in spring.

Ruth’s “Go-To” Whole Wheat Challah

(adapted from Tammy’s recipes)
Servings: 12

Ingredients
2 (.25 oz.) packages (4½ teaspoons) (22½ ml) (15 gm) (½ oz) dry yeast
1 cup (240 ml) warm water (100°F/38°C)
½ cup (120 ml) (100 gm) (3½ oz) brown sugar, firmly packed
½ cup (one stick) (120 ml) (115 gm/4 oz) margarine or unsalted butter – room temperature
2 tsp. (10 ml) (15 gm) (½ oz) salt
3 large eggs
2 cups (480 ml) (280 gm/10 oz) whole wheat flour
2 cups (480 ml) (280 gm/10 oz) all-purpose flour
½ cup (120 ml) (50 gm) (1¾ oz) rolled oats (Old Fashioned work just fine!)
Additional flour for kneading (½ to 1 cup) (120 to 240 ml) (70 to 140 gm) (2½ to 5 oz)
1 egg beaten with 1 tsp. water for glaze

Directions:

1. In the bowl of your stand mixer, dissolve yeast in warm water. Allow to stand about 5 minutes until creamy/foamy.
2. With paddle attachment beat 3 eggs, sugar, margarine (or butter), whole wheat flour, all purpose flour and oats into the yeast mixture. Or, if mixing by hand (ok, spoon), combine eggs and margarine/butter with yeast mixture until well mixed. Add flours and oats and mix until it becomes difficult to mix.
3. Once combined, switch to the dough hook and knead for 5 to 10 minutes until smooth and elastic, adding flour as/if needed. If kneading by hand, this should take about 10-12 minutes.
4. Form dough into a round, compact ball. Turn in oiled bowl, cover with a kitchen/tea towel. Let rise in warm area (I put it in the oven with the light on) until doubled, approx. 2 hours.
5. Once dough has doubled, punch down. Recover with towel, allow to rise again for an hour, but even 30 minutes will be fine if you’re in a hurry.
6. Punch the dough down again, divide in two.
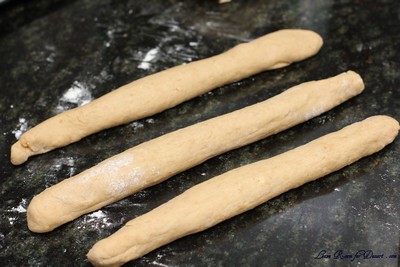
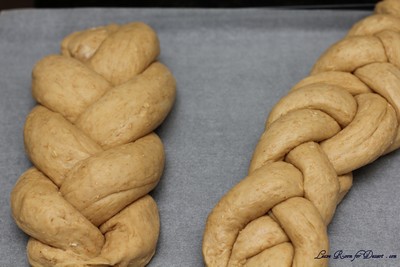
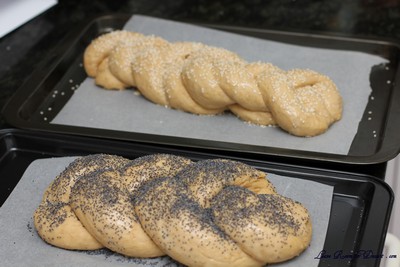
7. Shape each half as desired (3, 4 or 6 strand braid, rolls, etc.). Place shaped loaves onto parchment covered baking trays. Cover with the towel and allow to rise another hour.

8. Preheat oven to 350 degrees.
9. Brush loaves with egg wash. (Sprinkle with vanilla sugar/sesame seeds/poppy seeds/other topping here if desired)
10. Bake 30 to 40 min. until the loaf sounds hollow when tapped on the bottom.

11. Transfer loaves to a wire rack to cool before serving.
De-constructed Lemon Tart

Thursday, May 24th, 2012

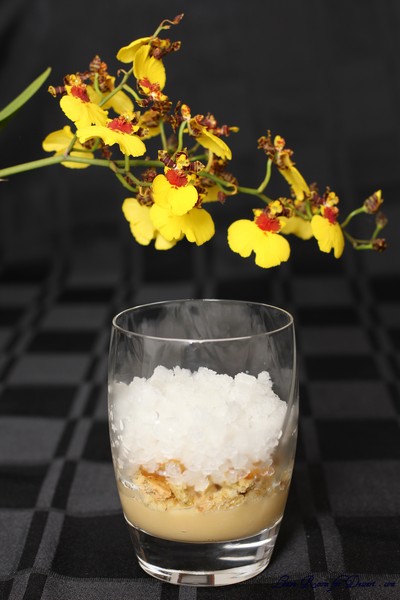
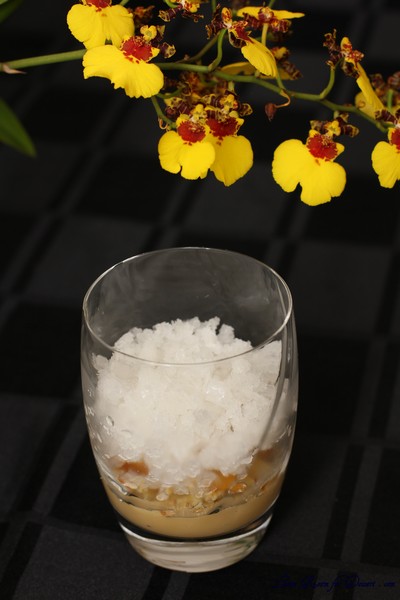
We saw chef Jowett Yu on MasterChef (on Dan Hong’s team) make a de-constructed lemon tart for the first Battle for Immunity Challenge this year, I searched the internet a couple days later hoping to find the recipe on the MasterChef website. The judges had made such wonderful comments, I felt like I needed to try this dish. Unfortunately I could not find the recipe. So I decided to try and make my own, based on what I could remember from the show.

Depending on the lemons you use this recipe may be a little tart, no pun intended. You can always add extra sugar to the granita or curd if you prefer. I wanted to make sure the granita was nice and ice-y, and not syrupy which is why I didn’t add more sugar here.

I know this dessert is unlikely to be as nice as the one made by Jowett, although experimenting with food is so exciting, and rewarding even when it’s not perfect. I have only had a chance to make this once, and try to write out the recipe as I went along. I hope if you try it, you enjoy it.

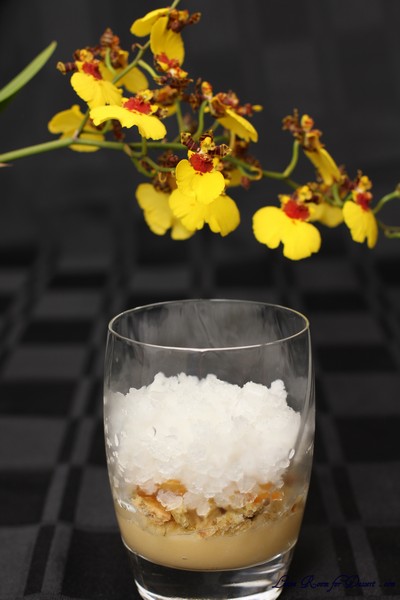
P.S. So happy my yellow dancing oncidium orchid has re-flowered. I bought it last year in flower, probably grown in Queensland where it is much hotter than Sydney, so I had doubts as to what our winter would do to it. I have had it outside with my cymbidium orchids, without a greenhouse, and it seems very happy. (much happier than inside where it shrivels a little). I have a few more oncidiums that I haven’t seen flower, so in a few years I hope to update you with the results of keeping them outside.

De-constructed Lemon Tart

Recipe by Anita @ Leave Room for Dessert
Serves; 4
You may need or want to make some components the night before

Lemon Granita
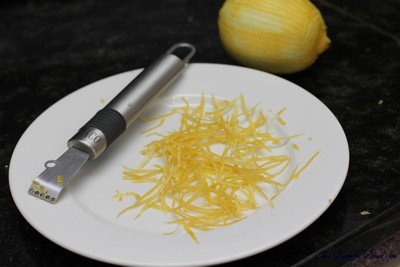
1 lemon, juice (~70ml) and zest (no pith)
1 ½ cups water
1/3 cup caster sugar

Place all the ingredients into a small/medium saucepan, stir over medium heat until the sugar dissolves, turn to high/medium and cook until boiling. Boil for five minutes. Remove from heat and strain into a loaf tin. Place the tin into the freezer once the mixture has cooled. Once frozen (leave overnight or a few hours), use a fork to break into ice crystals. You can do this twice to make the granita fluffier. Store in the freezer until ready to serve.

Lemon Curd
2 lemons, juice and zest
2 eggs
2/3 cup caster sugar
2 teaspoons cornflour
80g butter

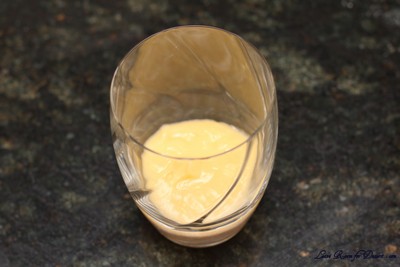
Whisk together the eggs with the caster sugar and cornflour in a medium saucepan, until light and thick. Whisk in the lemon juice and zest. Place the butter in the saucepan with the other ingredients and place on medium heat. Whisk until the butter melts into the mixture, and then the whole mixture comes to the boil and thickens. Once thickened, strain the curd into a bowl and cover with plastic film touching the curd to prevent a skin forming. Keep refrigerated until ready to serve.

Lemon Toffee
Zest of 1 lemon (no pith, this will make it bitter)
½ cup caster sugar
¼ cup water

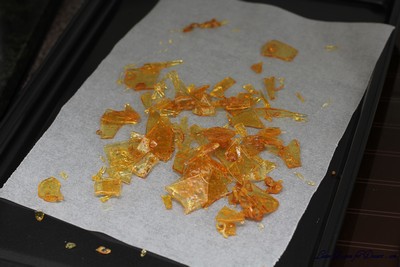
Place all ingredients into a small/medium saucepan. Place on low/medium heat and stir until the sugar has dissolved. Once the sugar has dissolved, stop stirring and turn the heat to high.Cook on high until the mixture turns a golden colour (~150-160C). Pour onto a tray lined with baking paper. Once cooled, you can break or chop into small pieces. Store in an airtight container if storing, although best used on day of making.

Pastry
120g plain flour
20g icing sugar
25g pistachios
60g butter, chilled and chopped
1 egg

In a food processor, process the flour, icing sugar, pistachios for a few pulses. Add the chilled butter, process until like breadcrumbs, and little butter can be seen. Add the egg yolk, reserving the egg white. Blend together, If the mixture does not start to come together, add a bit of the egg white, until the pastry starts to come together.

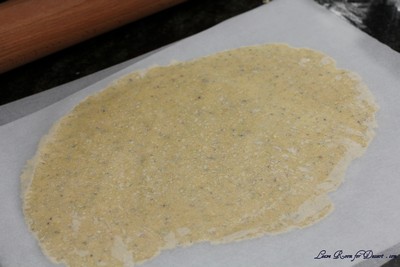
Place the pastry on a lightly floured board and knead until it comes together. Roll the pastry between two sheets of baking paper until 3mm thick. Place the pastry on a baking tray and remove the top piece of baking paper.

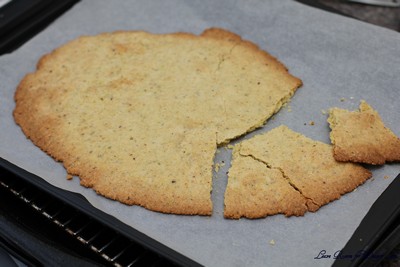
Preheat oven to 180C. Once the oven is at temperature, place the pastry on the tray into the oven and cook for approximately 15 minutes, or until the pastry is lightly golden. Once cooked, remove from the oven and cool for 5 minutes on the tray, Then cool on a cooling rack. Break into pieces (removing any parts that are too brown). Store in an airtight container until ready to serve.

To Serve:
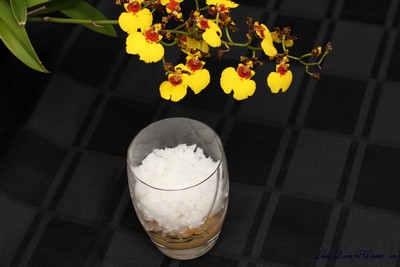
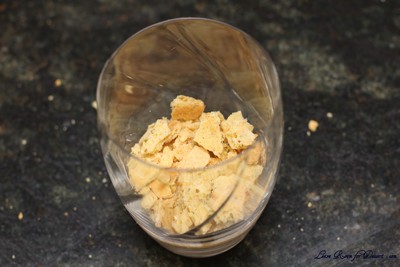
Spoon the lemon curd into the bottom of a large bowl glass. Place the broken pastry and toffee on top. Top with lemon granita and serve straight away.