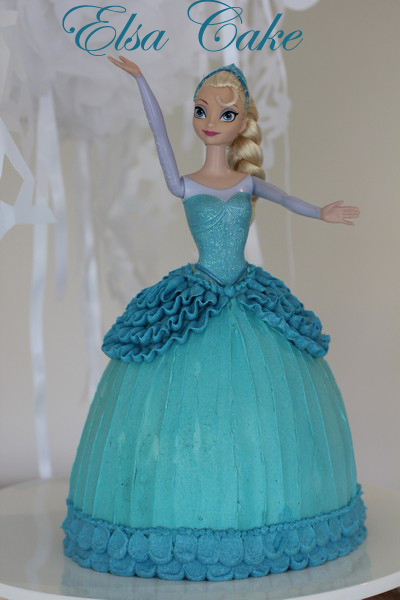
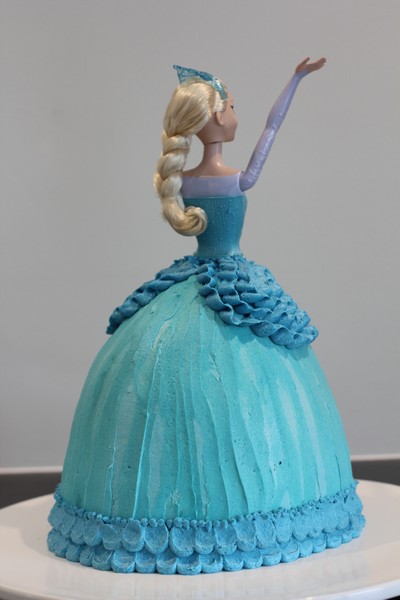
I had a request for a very special birthday this year. An Elsa cake. I’m sure many parents out there have had the same request after the much loved Frozen movie was released back in December 2013.

There are some amazing tutorials out there for both buttercream and fondant for Elsa cakes. Although, as my family are not huge fondant fans (and I am not hugely confident with fondant), our cakes are always decorated in Vienna/Buttercream icing. It does limit some of the effects you are able to create, but I (almost) always love a challenge and a bit of problem-solving.
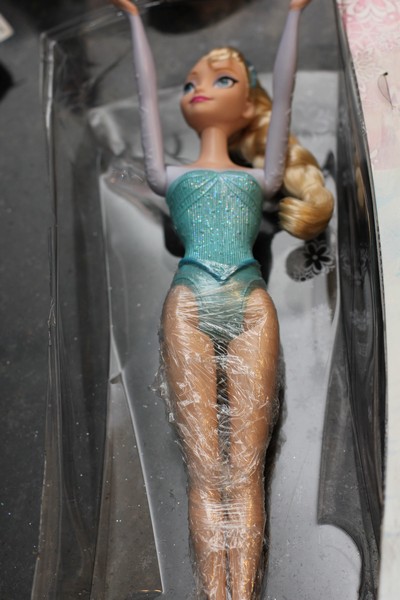
To start with, I needed an Elsa whose clothes could come off, and even better – the one I chose had a printed on bodice. I bought mine online here – you may find something similar by searching Elsa sparkle doll. I found the ones in store didn’t look as pretty as the one I ordered.
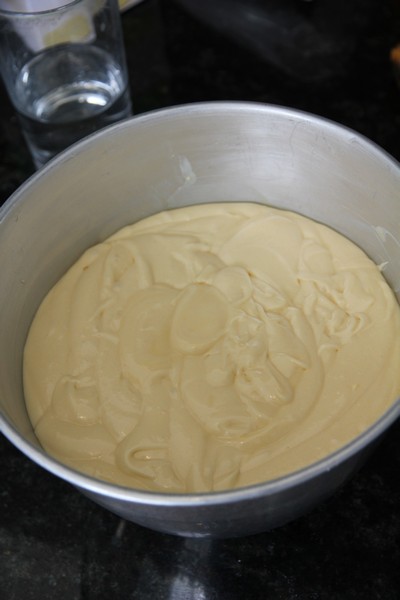
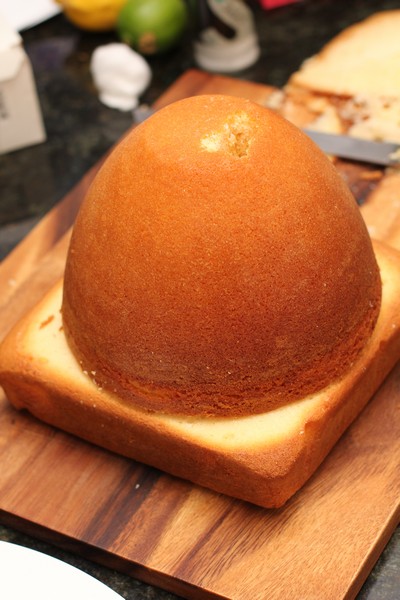
To make the cake, I used a combination of my mum’s Dolly Varden tin as well as a square 20cm tin (you could probably use a round 20 or 22cm tin). For the Dolly Varden tin I used 2 x packet cake mixes (I used Green’s Golden Butter Cake, with a dash of vanilla added to it). This took about 1 hour 20 minutes at 170C (check every 20 minutes, and 10 minutes toward the end). I wrapped the tin in foil/damp newspaper wrap to try and make the cooking a bit more even. Here is a good tutorial to make one. I also made another 2 x packet cake mixes for the square tin + 18 patty cakes. I made the additional cake, as didn’t want to take the legs off a doll I had bought as a present.
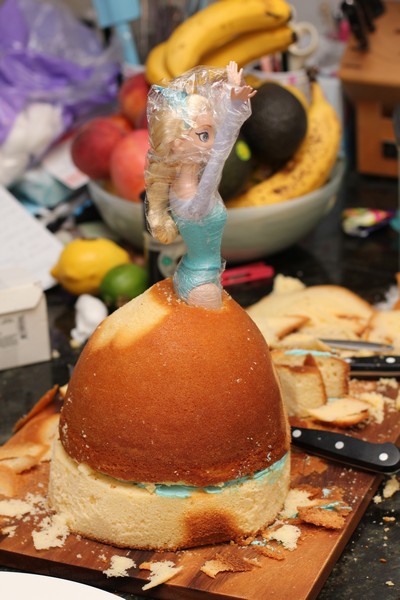
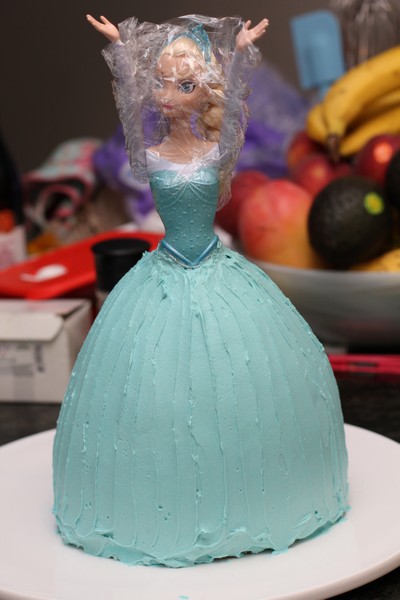
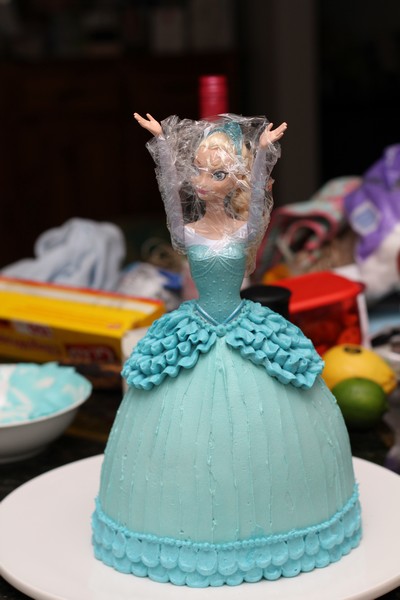
Once the cakes were cooled, I cut out a rectangle toward the front of the dolly Varden cake big enough for Elsa to fit in, scooping out the cake with a fork. I then placed her into the cake, making sure her bottom half was covered with plastic wrap. Here is a good fondant tutorial for an Elsa cake, which i based some of the carving from. Once the rectangle was cut out (and both cakes reasonably flattened), I froze both the cakes – to make carving easier and less messy later – and it’s much easier not having to make the cakes the day before the party.
The day before the party I decorated the cake, using 3 x quantity Vienna cream. (There was more than enough for the cake and some of the patty cakes as well).
375g butter, room temperature
4 1/2 cups icing sugar (I used icing mixutre)
3-6 Tablespoons milk
Beat butter until fluffy and very light in colour. Gradually add the icing sugar and milk alternatively until nice and fluffy. Add colour pastes as required, mix well.
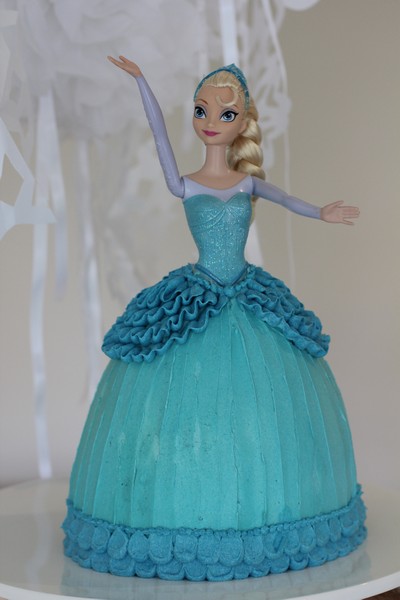
To get the right colour I kept adding a combination of Wilton Icing colours (pastes) – Sky Blue and Royal Blue, until I was happy with the colour of the main part of the dress.
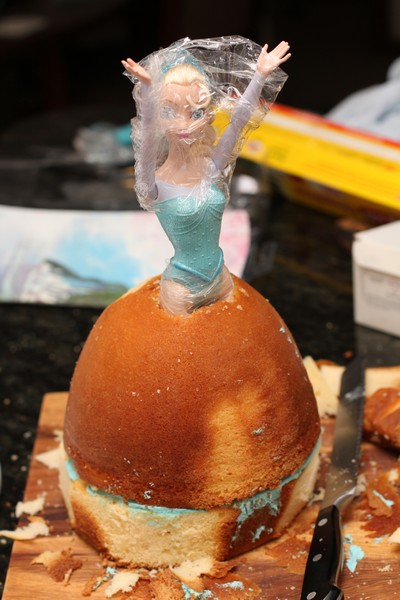
Remove the cakes from the freezer, add some icing between the two layers (you may need to add more icing here, depending how high your cakes rose and where they come up to on Elsa’s legs) and start to carve. The main carving is needed from the square cake, although i made the front of the skirt a little flatter, and took a little off the back as well.

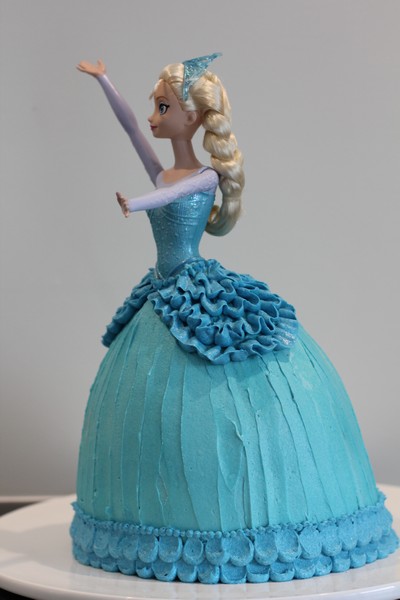
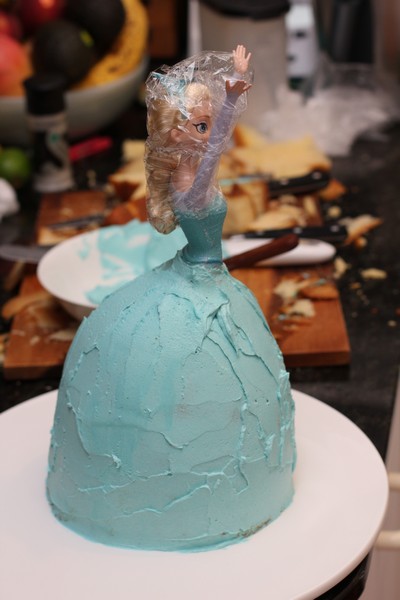
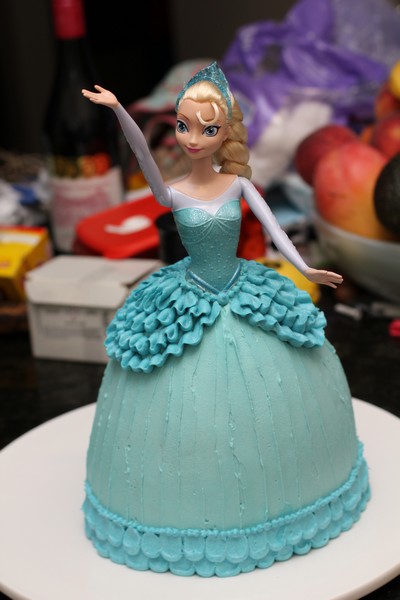
I iced the skirt with a crumb coat (place some icing in a bowl and coat – this way you don’t need to worry about crumbs getting into the small bit of icing in the bowl). Smooth the skirt and place in the fridge for 5-10 minutes. Remove from the fridge and smooth well with a slightly warmed palate knife. Next ice on top of the skirt with another layer of icing. To get the striped look, use the small offset palate knife to stroke down evenly along the skirt.

Here is a Wilton tutorial of the cake I was basing my one off.
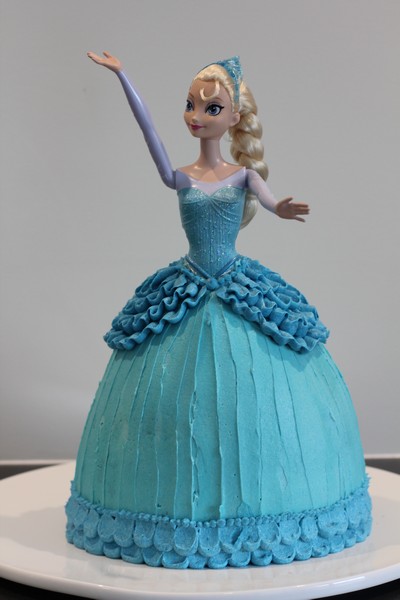
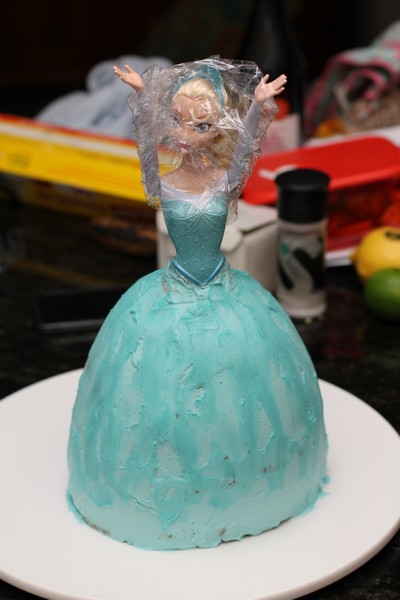
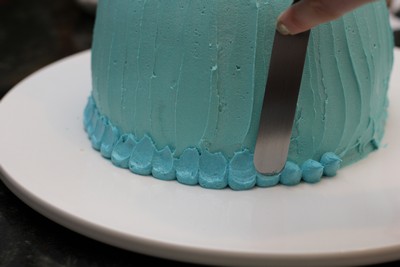
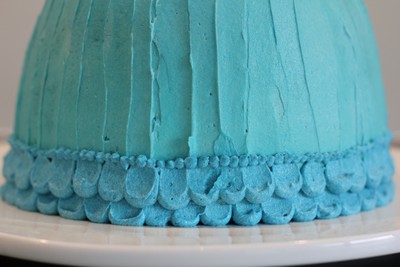
Once you are happy with the main part of the skirt, you can add more of those two coloured pastes until you have a darker and nicely contrasted blue. This is then used for the base decorations and the ruffles. For the base I used 1cm nozzle in a piping bag and piped 5 rounds of icing, then use the small offset palate knife to pull some of the icing upwards (not too far though). Continue around the skirt until it is complete. Do the same pattern offset above this pattern.
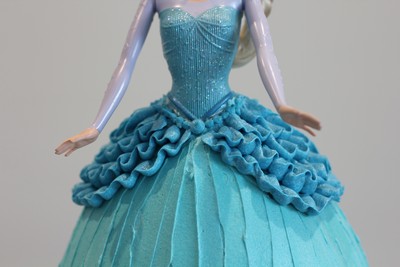
For the ruffles at the top, I used my Wilton tip 104. There are many tutorials on how to use these tips to make beautiful ruffles. My suggestion would be to do a rough outline (either using a template or freehand) to mark where to do the ruffles. My original ones were too small and looked silly, so I had to wipe them off and start again. I’m also not sure whether they were totally even.
For the piping at the top and bottom, I used a size 4 Bakers Secret nozzle. I just used what I had on hand and what I thought would suit this size skirt – as the cake ended up being quite big (without looking out of proportion).
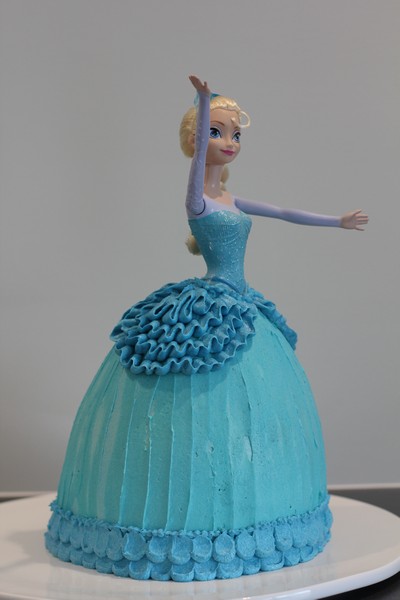
I hope this tutorial has helped anyone planning to make a lovely cake for a special someone in their life.
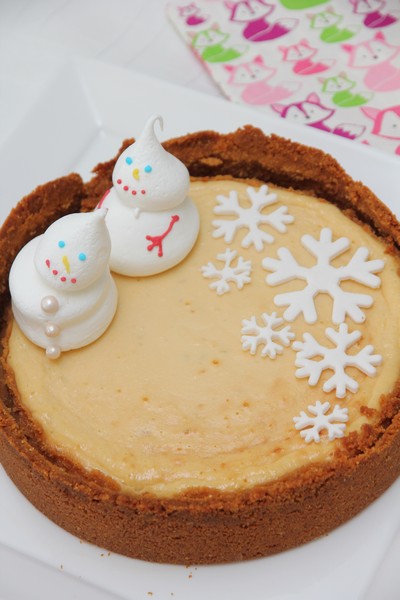
Some of the other things I made for the party included meringue snowmen and a lime pie (topped with snowflake icing decorations). These snowflake decorations were just made using some flower paste and using cutters that are available on ebay.
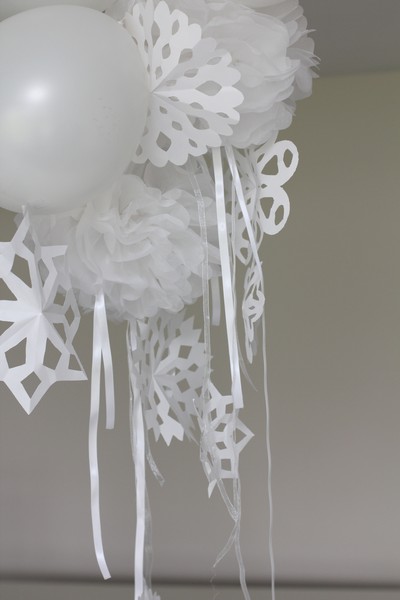
The decorations in the centre of the room were a combination of balloons, tissue paper pom poms and hand made snowflakes – always a fun craft to do!


Oh gosh so pretty – and yum cheesecake.
You are such a talented cake decorator!!!! It was a lovely party and I enjoyed all the food that you made to celebrate, especially the cake and meringues as well as the pizzas!! xxxx
Absolutely brilliant cake, so amazing!!!