I love fond memories of food from when you were younger or on holidays. I always remember the “love heart” candies and have looked all over the internet for these lollies. I have found many a love heart candy – none living up to the shape and size of the original ones, and none living up to the flavour.
I also have memories of a yummy and fantastic cinnamon scroll – the thing is, I have no idea where this originates from. I think it must have been bought somewhere – but I am still left wondering – where was this ideal scroll I ate…
I searched the internet for what I thought would make this magical scroll, and I kept finding recipes with an icing over the top – and this didn’t fit my memory, although almost all the recipes have icing, so I figured there must be a reason, it surely tastes great with the icing.
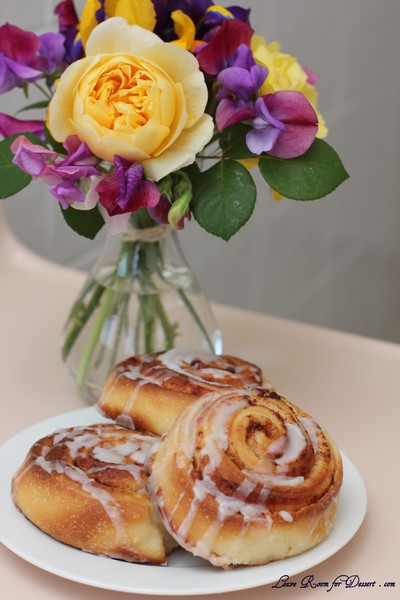
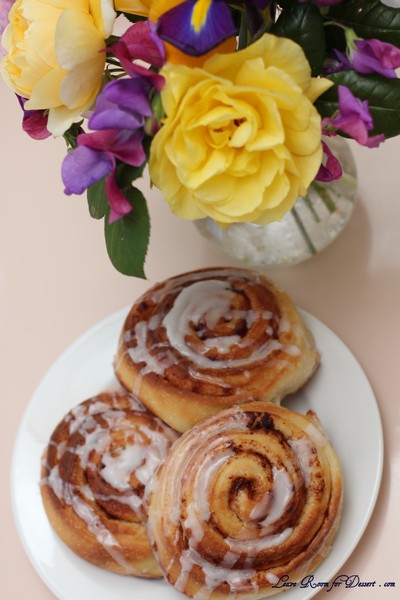
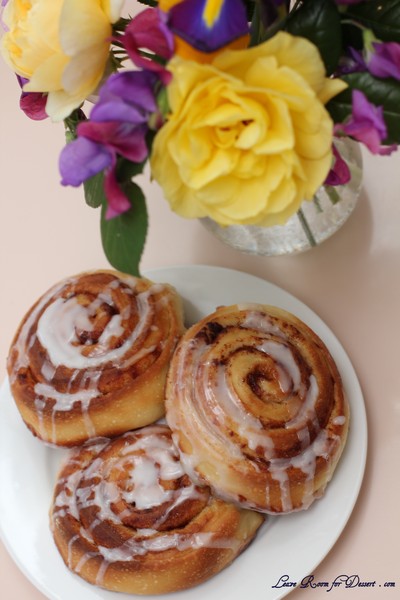
After trying this recipe, I have not looked elsewhere. This recipe is lovely and I have made it several times, and it has almost become a tradition for Easter or Christmas, holiday times, times with family or friends.
I have tried doing everything for this recipe all in one day, and also leaving to prove over night. Both work fine. Sometimes food has to fit around your schedule. I often make the full quantity – so double the recipe below, which makes about 60, as you can bake them at separate times.
Cinnamon Scrolls
ROLLS:
Recipe adapted from: Sugar and Spice (I changed a couple quantities in the frosting recipe and filling)
Makes about 30
DOUGH:
2 cups whole milk
1/2 cup vegetable oil
1/2 cup sugar
1 pkg active dry yeast (2 1/4 teaspoons or approx 1 tablespoon)
4 1/2 cups flour
1/2 teaspoon baking powder
1/2 teaspoon baking soda (bi-carb soda)
1/2 tablespoon salt
FILLING:
50-100g melted butter, plus more as needed
2 tablespoons ground cinnamon for sprinkling (or more or less to taste)
1/2 cup sugar, plus more as needed
Directions:
Mix milk, vegetable oil, and 1/2 cup of sugar in a pan. Scald the mixture (heat until just before the boiling point.) Remove from heat and let it cool 45 minutes to 1 hour.
When the mixture is lukewarm to warm, but NOT hot, sprinkle in package Active Dry Yeast. Let this sit for a minute and then add 4 cups of flour. Stir mixture together. Cover and let rise for at least an hour.
Next, add 1/2 cup flour, the baking powder, baking soda, and salt. Stir mixture together. From here, you could cover the dough and put it in the fridge until you need it—overnight or even a day or two, if necessary. Just keep your eye on it and if it starts to rise out of the pan, just punch it down. Or, of course, you can just go ahead and make the rolls.
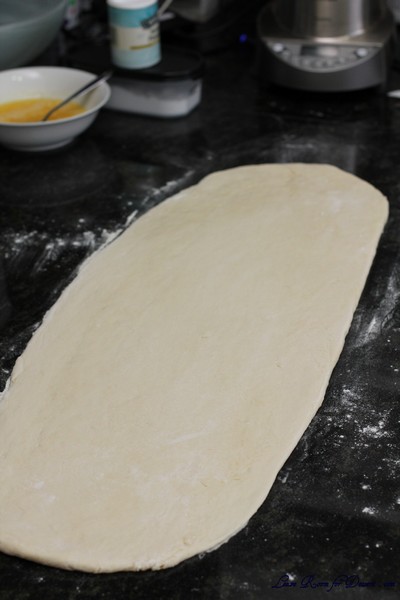
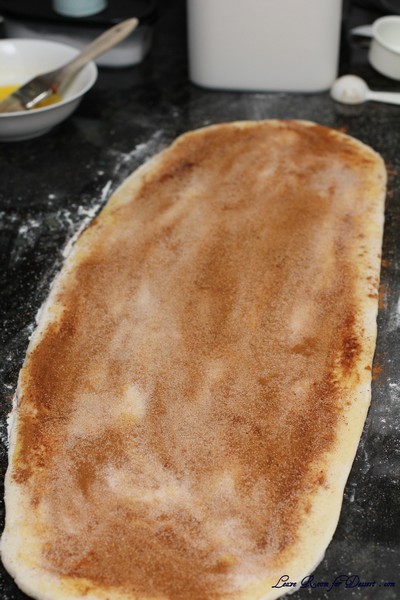
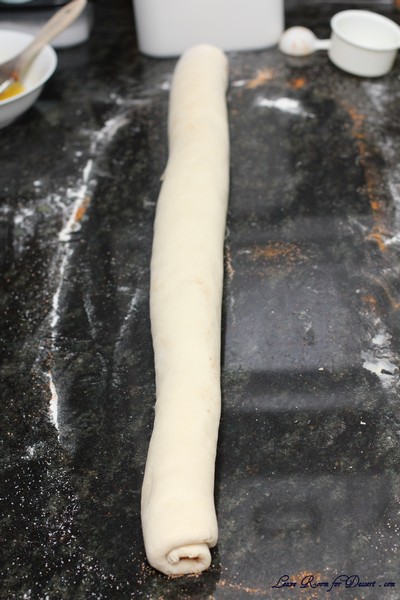
Sprinkle surface generously with flour and roll the dough into a thin rectangular shape (approx 0.5cm x 28cm x 60cm). Brush melted butter on top, then sprinkle sugar over the butter, and finish with a generous sprinkling of cinnamon.
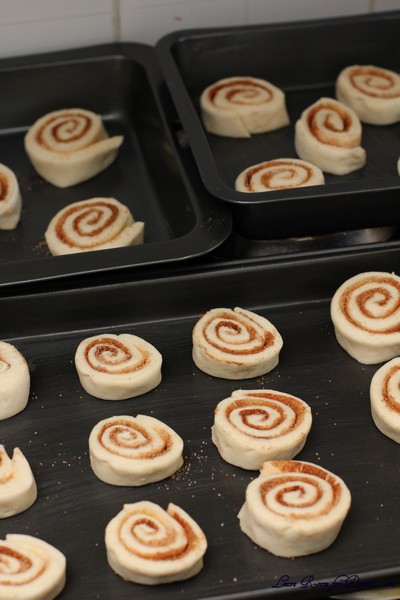
Starting with the wide end, roll the dough tightly towards you in a neat line. Next, pinch the seam to the roll to seal it. Spread 1 tbsp of melted butter in each pan/dish. With a sharp knife, begin cutting the dough into 1 inch slices, and laying them in the pans. Let rest for 20-30 minutes. Bake at 180C for 13 – 17 minutes, or until golden.
IF MAKING AHEAD FOR CHRISTMAS or EASTER MORNING: Instead of popping them into the oven, just put them straight into the fridge and let them rise for the 2nd time in the fridge overnight (they’ll rise VERY slowly in the fridge). Then, in the morning let them sit at room temperature for about 30 minutes, and then pop them in the oven as directed.
FROSTING: (you could multiply the frosting by 1.5 or 2x if you like loads of icing)
Ingredients:
100-200g icing sugar or icing mixture
1/2 tsp. maple flavoring (I left this out)
1/8 (30ml) cup milk
1-2 tablespoons (about 10g) melted butter
2 tablespoons brewed coffee (I didn’t use this, as I don’t like coffee – instead I added a dash of vanilla essence)
Pinch of salt
Directions:
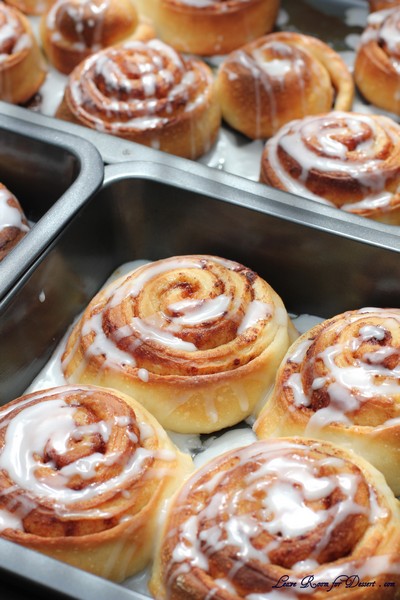
Mix together all ingredients, and stir well until smooth. It should be thick but pourable. Taste and adjust as needed. Generously drizzle over the warm rolls.
