These sweet pumpkin fritters have been a real hit with my daughter and I. Growing up in South Africa, Nick was used to these delights as a breakfast, using up leftover South African style cooked pumpkin which they would have eaten the day prior with boerewors and putu pap with corn and tomato salsa. It’s taken a long time to introduce them to us though, and it makes for a great alternative to pikelets for breakfast.
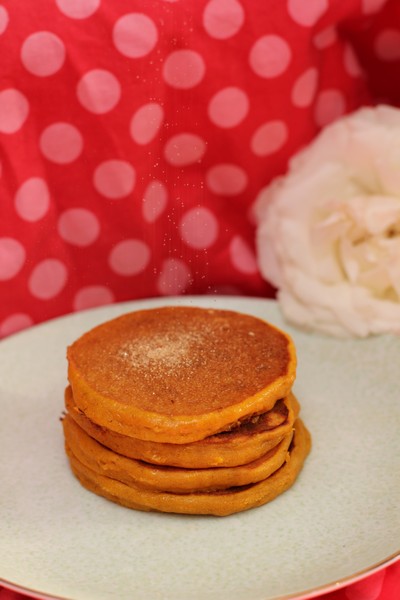
The combination of the sweet pumpkin and cinnamon is really lovely. The recipe is quite simple, I think the hardest thing about the fritters is making sure they are cooked through and don’t burn. We have recently just been making the cooked pumpkin solely for breakfast the next morning. As there is no stirring involved, it is easy to just set a timer for every 15 minutes to check it isn’t burning (it takes about an hour to cook the pumpkin, and you can always make less or more depending on how much pumpkin you have).

Pumpkin Fritters
Makes: 18 pikelet sized fritters
Serves: 2-4
450-500g South African Style cooked pumpkin (recipe below)
1/2 cup self raising flour
1/2 cup plain flour
pinch salt
1/2 teaspoon cinnamon
2 eggs
butter, for pan
lemon juice and cinnamon sugar, to serve
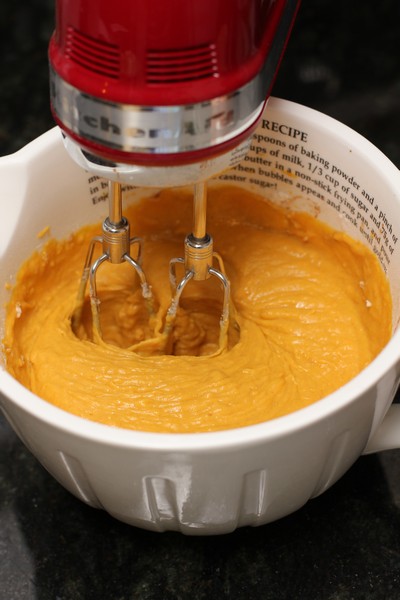
Mix the pumpkin, flours, salt, cinnamon and eggs in a medium bowl using an electric mixer until combined.
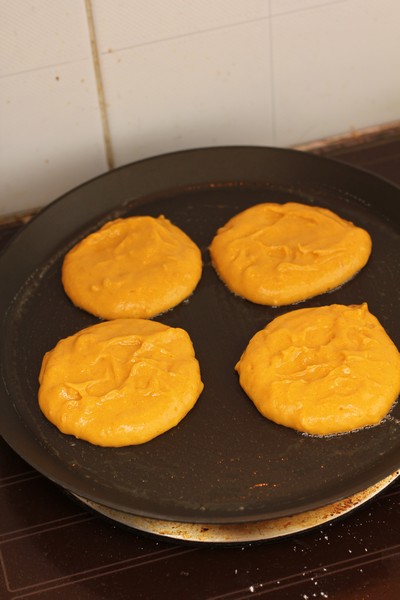
Heat a non stick crepe pan over medium heat. Place a small amount of butter in the pan and wipe with a paper towel. Place heaped spoonfuls of mixture onto the pan, cooking for a few minutes each side until cooked through. (The mixture is thicker than normal pikelets, so they take a bit longer to cook. Be careful not to burn the fritters, removing from heat or turning it down as necessary).

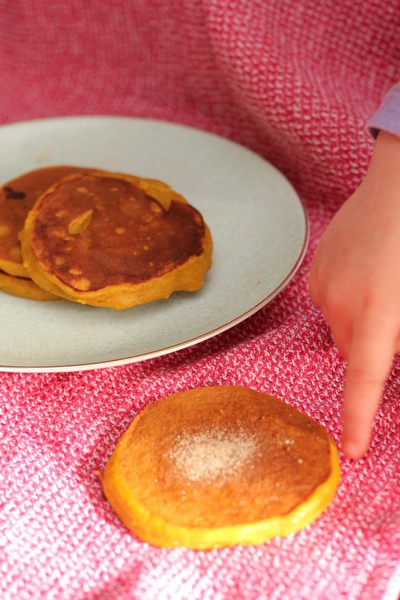
You may wish to keep the earlier fritters warm in a low oven whilst you cook the remaining fritters. Serve with generous amounts of lemon juice and cinnamon sugar
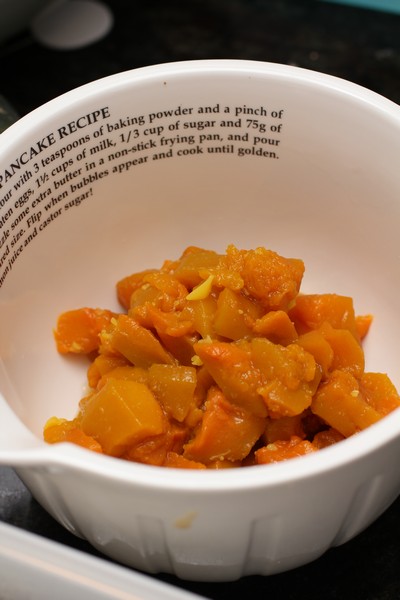
South African Style Cooked Pumpkin
Recipe by Nick and Anita @ Leave Room for Dessert
Cooking Time: 1 hour
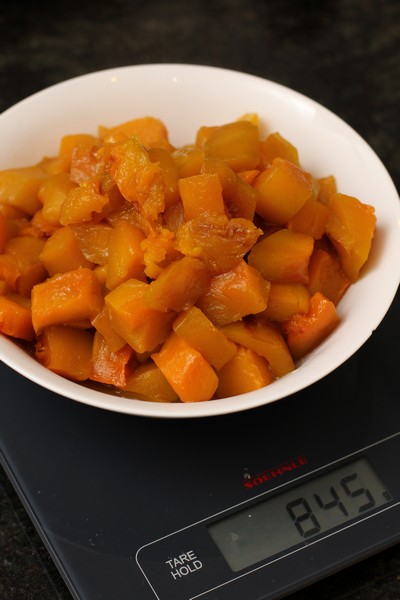
Makes approx 840g cooked pumpkin
1.1 kg jap pumpkin, cut into 2-3cm cubes
1/4 – 1/2 cup sugar
10g butter
pinch salt
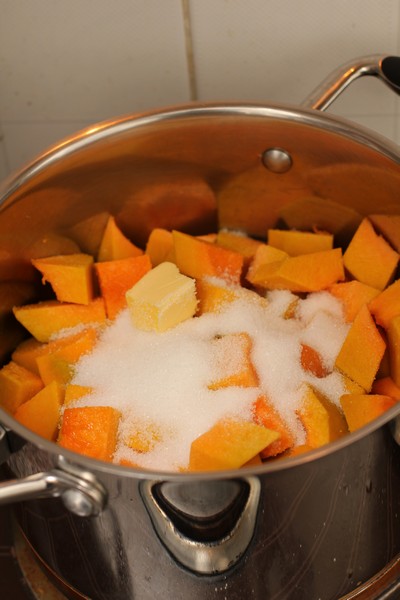
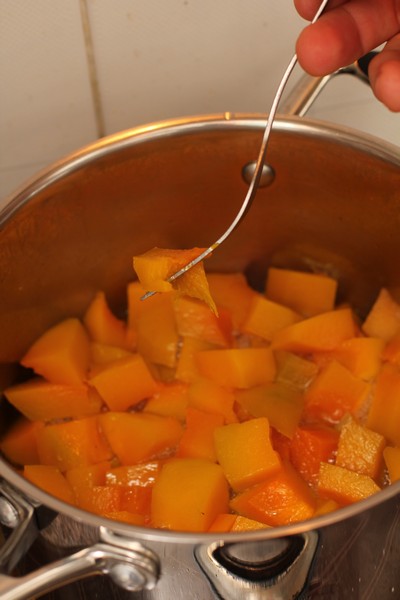
Place the pumpkin in a medium saucepan, followed by the sugar, butter and salt.
Cook over medium/high heat for approximately 15 minutes with the lid on. At this stage there should be liquid coming out of the pumpkin. Don’t stir.
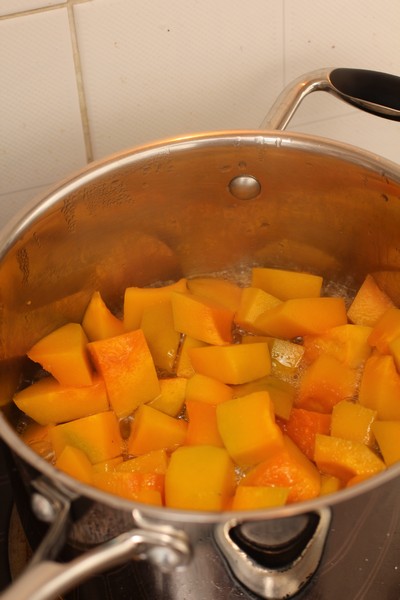
Turn down to just above low and cook for a further 15 minutes. Don’t stir.
The pumpkin should be soft at this stage.
Take lid off and cook for a further 15 minutes. Check. Don’t stir.
Cook a further 15 minutes to try and get the liquid absorbed or evaporated.
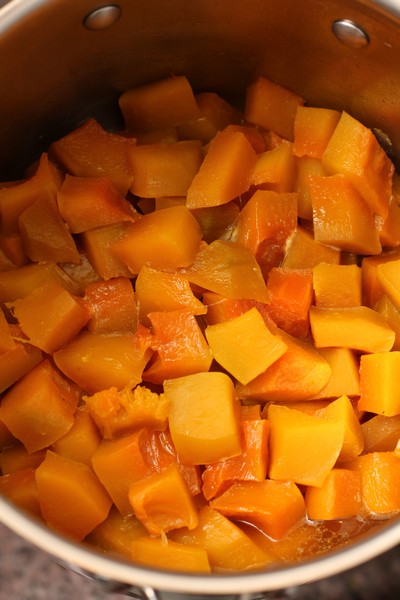
At this stage, most or all of the liquid should be gone.
Serve warm as a side dish, or cool and use for pumpkin fritters