I saw a lot of dishes I would love to eat on MasterChef Australia last year. So far I have only managed to make this one, due to busy times at home. In previous years I have made some creations that took a full day or two to prepare, which in itself didn’t bother me, as I love experimenting and I love a challenge, although it does get harder to justify using all that time when priorities have changed.
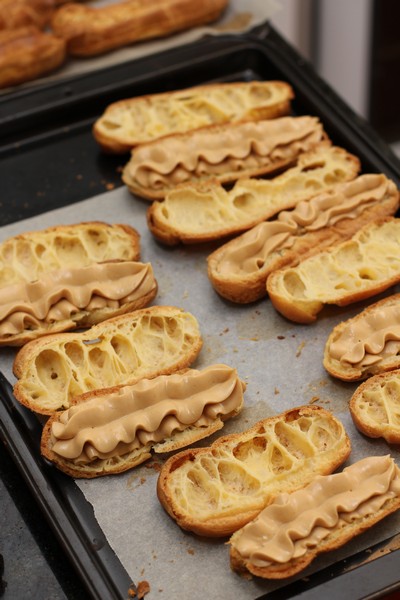
These eclairs were given great reviews from the judges, so much so that I questioned my go-to recipe for eclairs (a custard and cream eclair topped with dark chocolate, that I will need to post some day soon). After making the filling for these ecalirs, my instant reaction was how sweet it was, which may or may not have been contributed to by the bought caramel rather than dulche de leche (which I couldn’t source and didn’t want to make).
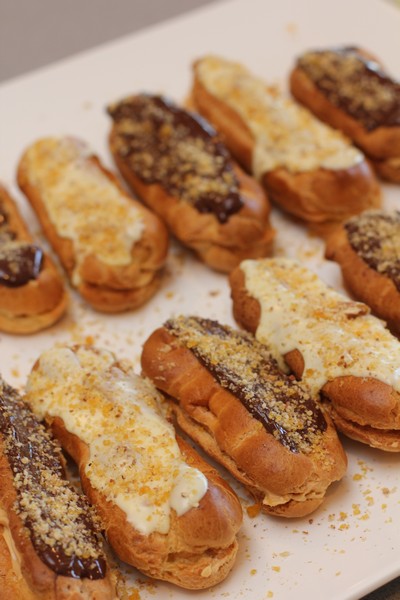
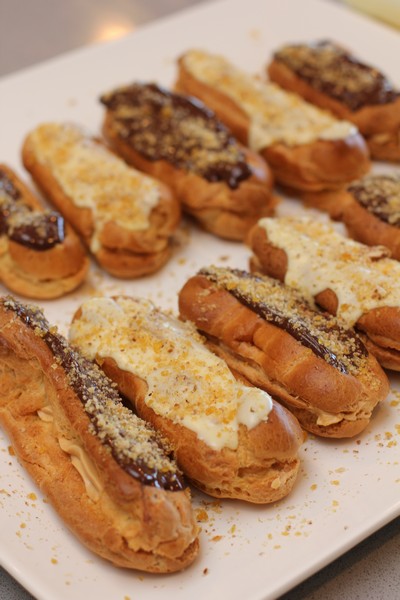
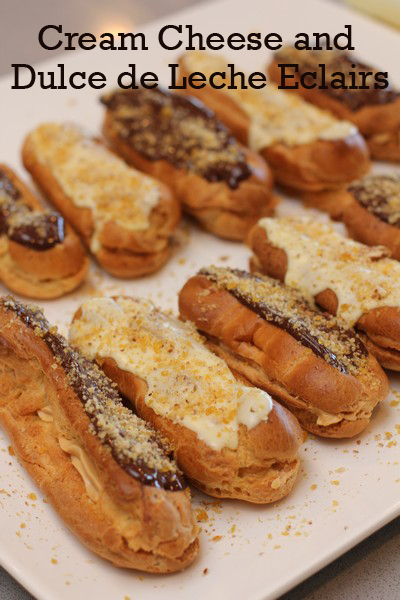
I decided to put dark chocolate on top of some, to cut some of the sweetness, and leave white chocolate on the other half, to try the original recipe and give an honest opinion on the recipe.
The result was as expected, the dark chocolate made the eclairs less sweet, but lost a lot of the subtle flavours in the filling, whereas the white chocolate was a bit too sweet for most people’s liking. (This didn’t stop all eclairs being eaten, they really were lovely). I’m just unsure whether I would make it again, as custard and cream filled eclairs are the perfect balance of everything (according to me and my family, that is 🙂 )
Cream Cheese and Dulce de Leche Eclairs
Recipe by Chloe Bowles on MasterChef
Eclairs:
1/2 cup milk
80g butter
1 cup flour
4 eggs
Cream Cheese Filling:
200g ready made dulce de leche (I used Nestle Top N Fill Caramel)
1/2 cup double cream
50g coverture white chocolate callets
200g cream cheese
1/2 cup icing sugar
Pecan Praline:
1/2 cup pecan nuts
120g sugar
White Chocolate Topping:
200g coverture white chocolate callets
Preheat oven to 210C.
For the Eclairs, line a baking tray with baking paper and set aside. Make a choux pastry by placing milk, butter and ½ cup water into a saucepan over medium heat until butter is completely melted. Add flour and mix vigorously with a wooden spoon until mixture forms a ball and pulls away from the sides of the saucepan.
Transfer dough to a stand mixer fitted with a paddle attachment. Beat until the dough has cooled to room temperature and is no longer steaming. Add eggs, one at a time, beating well after each addition, until mixture is smooth and glossy. Scrape sides of bowl occasionally if needed
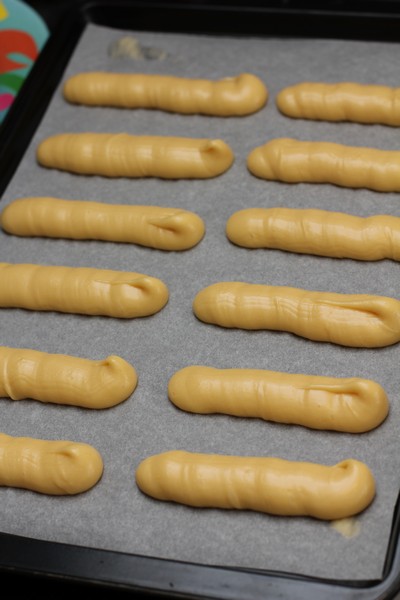
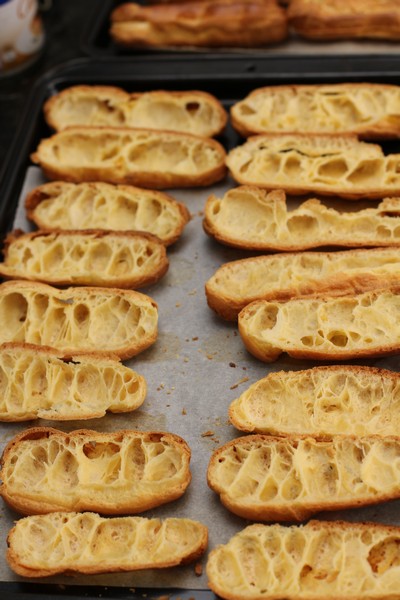
Transfer dough to a piping bag fitted with a wide tip and pipe onto the paper lined baking tray in 10 cm lengths. Use fingers to flick a little water over the choux to help create steam in the oven. Place the tray into the oven and bake for 10 minutes. Remove from oven and pierce the sides of the eclairs with the tip of a sharp knife. Reduce oven to 190C and bake until golden brown and cooked through, about 15 minutes.
Remove from the oven and transfer eclairs to a cooling rack set over a baking tray and set aside to cool. Once cooled, use a serrated knife to cut eclairs in half lengthways. Turn top halves, cut side down, onto the cooling rack and set aside.

For the Cream Cheese Filling, combine dulce de leche and cream in a saucepan over a medium heat and bring to just under boiling point. Remove from heat and add white chocolate. Stir well until smooth.
Place cream cheese and icing sugar in a stand mixer fitted with a whisk attachment and whisk until light and fluffy. Reduce speed to low, add cooled dulce de leche mixture and whisk until combined. Transfer to a piping bag and set aside in the fridge.
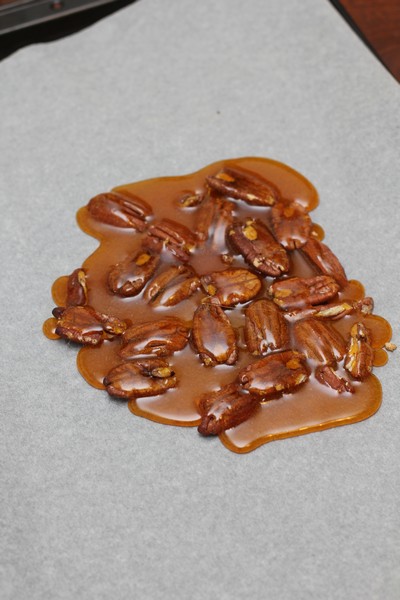
For the Pecan Praline, line a baking tray with baking paper. Spread pecans over the lined tray and roast in the oven until slightly golden, about 3-5 minutes. Remove from oven and set aside to cool.
Meanwhile, melt sugar in a small frypan over low heat until amber in colour then pour immediately over roasted pecans and set aside to cool and completely set. Once set, break into chunks then transfer to a food processor and blitz to a fine crumb. Set aside.
For the White Chocolate Topping, place white chocolate into a bowl and set over a saucepan of simmering water. Stir until completely melted, then spread over the top halves of the reserved Eclairs. Tap the wire rack so that excess chocolate drips away.
To serve, pipe some Cream Cheese Filling onto the bottom halves of the Eclairs. Top with the white chocolate coated top halves and sprinkle with Pecan Praline.