One of my biggest cooking challenges since giving birth, was this cake, but I had desperately wanted to make it for Valentines day (as I knew Nick would probably prefer a different cake for his birthday), so the next best excuse was today (even though we don’t normally celebrate the day).

Eve was made by Kirsten Tibballs from Savour Chocolate and Patessiere School on one of the MasterChef episodes in their “Love” week last year. Having been lucky enough to do a short course at Savour a while ago, and tasting their wonderful creations, I was looking forward to making this cake. I have also noticed Kirsten has a cookbook released recently which looks lovely and one day I would like to get my hands on it.
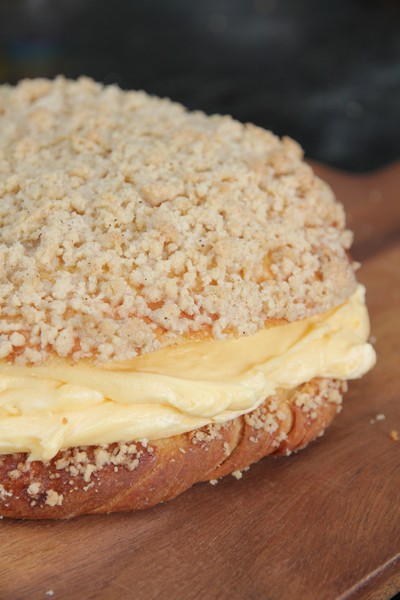
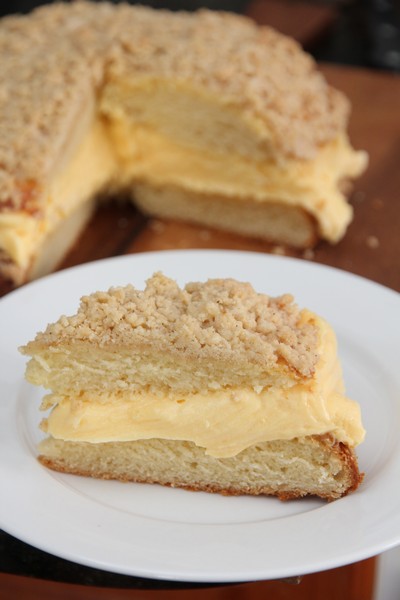
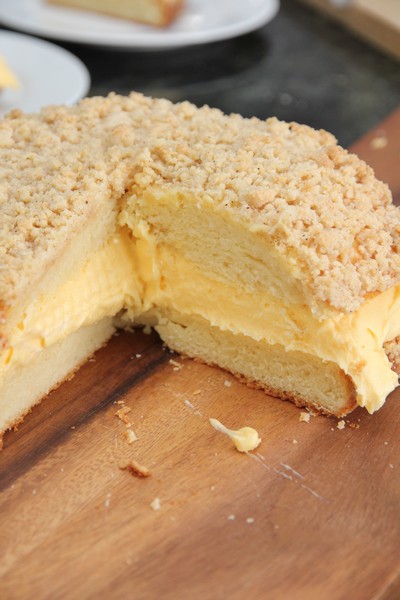
The cake turned out extremely well, and it was extremely rich (you only need a small slice). I was happy with all three components, although a number of people thought a little less cremeux would be good. It looked quite impressive once put together and I was super happy with the result.

My notes and troubleshooting:
I had trouble with the red colouring for the mushrooms. The powder I used wasn’t turning the chocolate red, more of a brown colour, so then I added some of my Wilton colouring gel, and although it turned it a maroon colour (and not vibrant red initially), it also seized the chocolate, meaning it was hard to pipe – I had to pipe it best I could and then use a spoon or knife to spread it into a shape.
For the stems of the mushrooms, I ended up seizing the chocolate too much, so couldn’t pipe it – it was so solid I ended up just moulding it with my hands (like fondant).
I cut the cake into two, as it was quite large and I thought the decorations wouldn’t look in proportion if the cake was left its original size.
I used less chocolate for many aspects (mushrooms and toppings), as I didn’t want much left over. I also just used what chocolate I had available, e.g. cooking chocolate that didn’t require tempering
For the hazelnut praline paste I halved this recipe from Sweet as Honey. I added a bit of water, but it didn’t really get as liquidy as the photos on that website. Therefore for the crispy almond layer I needed to add more melted chocolate and some hazelnut spread.

Eve Cake
Recipe by Kirsten Tibballs
*You will need a 33cm x 23cm cake pan for this recipe
Pistachio dacquoise
145g egg whites, at room temperature
2g cream of tartar
64g caster sugar
2 drops green food colouring
128g ground pistachios, sifted
100g icing sugar, sifted
24g plain flour, sifted
Good quality raspberry jam, for brushing
Crispy almond layer
70g Callebaut dark chocolate, broken into pieces
180g Hazelnut praline paste, or increase chocolate by 40g and add 1 tablespoon almond oil (I made my own hazelnut praline, but also added 50g more chocolate and 1 tablespoon Nutella)
172g slivered almonds, roasted
30g Callebaut cocoa nibs or almonds (I used the almonds)
Chocolate cremeux
690g thickened cream
156g egg yolks
76g caster sugar
265g Callebaut milk chocolate (33.6% cocoa), broken into pieces
265g Callebaut dark chocolate (60% cocoa), broken into pieces
Chocolate leaves and bark
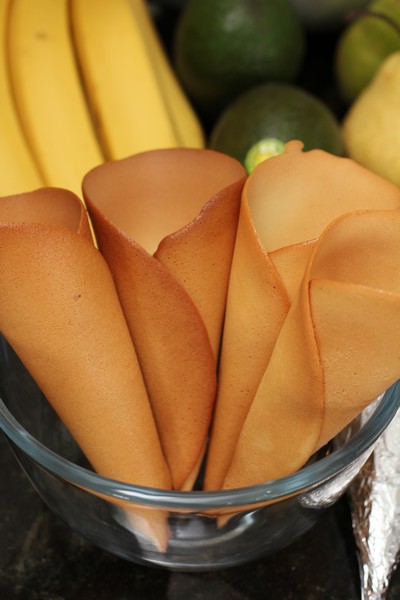
100g good quality dark chocolate (57.8% cocoa) (I used only about 30-50g)
Assorted fresh leaves, washed and dried with paper towel
Chocolate mushrooms
150g Callebaut W2 white chocolate (28% cocoa) (I used only 50-100g)
Red chocolate heart tops
200g Callebaut velvet white chocolate (I used only 50-100g)
20g red soluble oil based powder
Edible pebbles
30g pistachios, roughly chopped
Edible green metallic (I used gold)
Pistachio dacquoise
1. For the pistachio dacquoise, preheat oven to 170C.
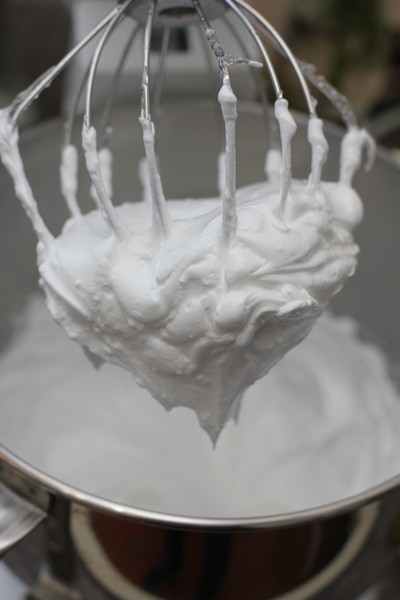
2. Whisk egg whites and cream of tartar in the bowl of an electric mixer to soft peaks, on medium speed.
3. Increase speed to high, then gradually add caster sugar while mixing continuously to allow sugar to dissolve. Add food colouring, whisking to combine.
4. Meanwhile, combine pistachios, icing sugar and flour in a bowl.
5. Gently fold meringue into bowl with pistachio mixture until just combined.
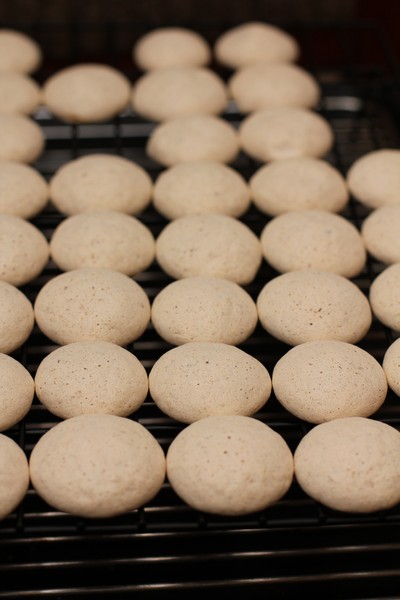
6. Using a palette knife, evenly spread mixture into a 35 x 25cm Flexipat or same-size tray lined with baking paper. Bake in oven for 15-18 minutes, then remove, and set aside to cool completely.

7. Trim dacquoise to 33cm x 23cm rectangle.
Crispy almond layer
1. For the crispy almond layer, grease and line the cake pan with baking paper.
2. Melt chocolate to 36°C in a microwave in 30 second increments. Add remaining ingredients and stir to combine.
3. Evenly press mixture into cake pan. Set aside until just before the almond layer sets, then place dacquoise layer on top.

4. Brush a thin layer of jam over the top of the pistachio dacquoise.

Chocolate cremeux
1. For the chocolate cremeux, bring cream to the boil in a saucepan over medium heat.
2. Meanwhile, whisk egg yolks and sugar in a bowl until well combined. Whisking constantly, slowly add half of the warm cream to bowl with egg yolk mixture until combined.
3. Pour egg yolk mixture into pan with remaining cream, and place over low heat. Using a wooden spoon, stir constantly until mixture reaches 80°C, and coats the back of the wooden spoon.
4. Meanwhile, place chocolate in a medium bowl. Strain cream mixture through a fine sieve over the chocolate, and stir until melted and combined.
5. Pour crémeux over the raspberry jam layer.
6. Refrigerate for 4 hours or until set. You can freeze for up to 1 month in the freezer.
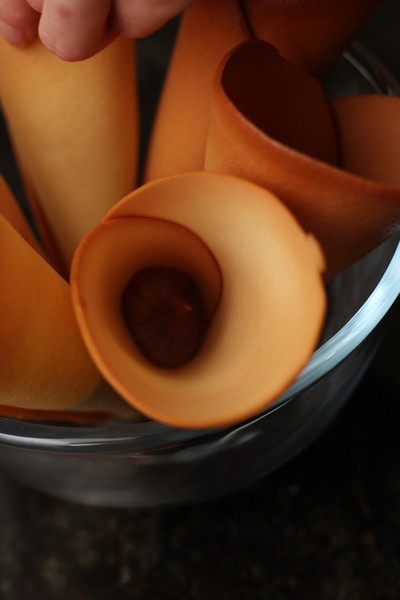
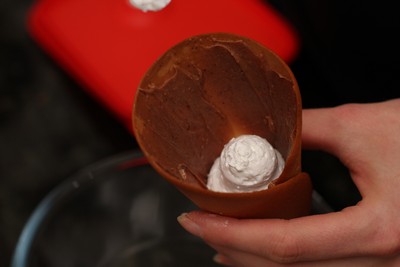
Chocolate leaves and bark
1. For the chocolate leaves and bark, temper dark chocolate as per instructions below.
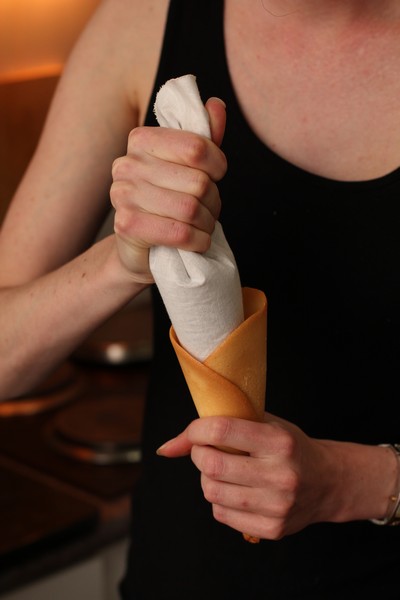
2. For the bark, brush a thin layer of chocolate onto a piece of baking paper and roll up and set aside.
3. For the leaves, brush a thin layer on each leaf, until you can’t see the leaf. Once the chocolate has set, carefully remove the leaf.
Chocolate mushrooms
1. For the chocolate mushrooms, temper chocolate as per instructions below. Add a few drops of water at a time, stirring until the chocolate thickens to a piping consistency. With a disposable piping bag fitted with a 1cm nozzle, pipe 3 mushroom bases onto a tray lined with baking paper. Set aside until firm.
Red chocolate heart tops
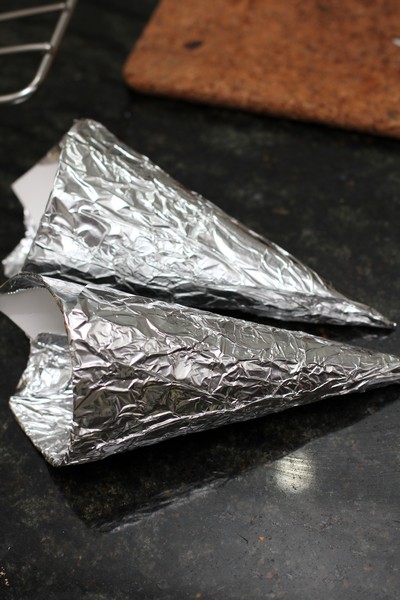
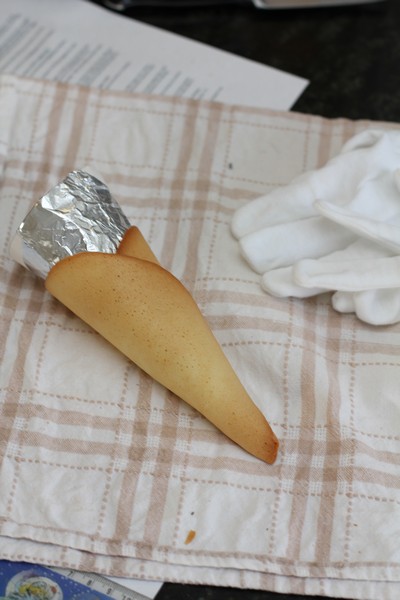
1. For the heart tops, temper chocolate as per instructions below. Sift the red powder into ¾ of the white chocolate and mix until combined. Transfer red chocolate to a piping bag made of baking paper. Pipe red chocolate into heart shapes, using a template as a guide underneath a sheet of baking paper. (see last page) Set the chocolate for 20-30 minutes before removing from the paper.
2. Use the remaining white chocolate to pipe white dots onto the mushroom tops, and to stick the tops and stems together.
Edible pebbles
1. Place pistachios in a bowl and add green metallic, tossing to coat.
To Assemble
1. To assemble, temper the dark chocolate as per instructions below. Brush a thin layer of chocolate onto the surface of the cake to create a rough texture. Brush with gold metallic once set.
2. Garnish with chocolate leaves, bark, chocolate mushrooms, pebbles, raspberries and hazelnuts.

Tempering chocolate
1. Place required chocolate in a plastic bowl (glass retains too much heat).
2. Melt chocolate in a microwave for no more than 30-second increments, stirring in between.
3. Melt chocolate until you have 50% solid chocolate and 50% melted chocolate. Continue stirring without applying any additional heat. It may take a few minutes for all of the solid chocolate to melt. Stir continuously during this time.
4. If the chocolate does not melt completely, apply gentle heat with a hair drier. Do a test by spreading a small amount of chocolate onto a piece of baking paper, in a room at a temperature no higher than 22C. The chocolate should set at room temperature in 5-10 minutes.
a. Dark couverture should set in approximately 5 minutes.
b. Milk couverture should set in approximately 7 minutes.
c. White chocolate should set in approximately 10 minutes.
5. It is necessary to maintain the chocolate in a liquid state by reheating if necessary. Be sure to take a new test every time you reheat.
6. To test if your chocolate is tempered correctly, dip a teaspoon or a square of acetate in the couverture and leave it to set. This should take around 5-10 minutes at room temperature. If the couverture does not set after 10 minutes, it is not tempered correctly. If it sets but there are streaks on the surface, you will need to continue stirring the couverture, then take another test.