Vegetarian

Pancakes – Nigella Lawson

Saturday, May 2nd, 2009

pancakesnigella11

I’m on my way to find fluffy, thick, tasty pancakes. I do admit I enjoy the macadamia pancakes from Pancakes on the Rocks (my favourite choice of their sweet pancakes – which I actually haven’t had in a very long while).

So whilst looking through Nigella Lawson’s How to be a Domestic Goddess I found her recipe for American breakfast pancakes, which looked nice and fluffy and so I decided to make them. As I love pancakes so much, I’m going to end up going through so many recipes to find the right one, that it’s likely I’ll forget what half of them tasted like.
pancakesnigella12

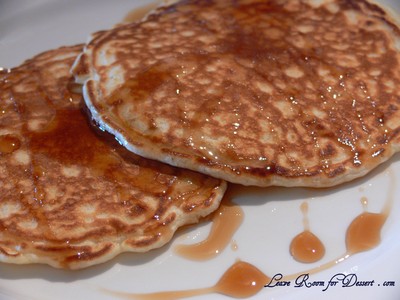
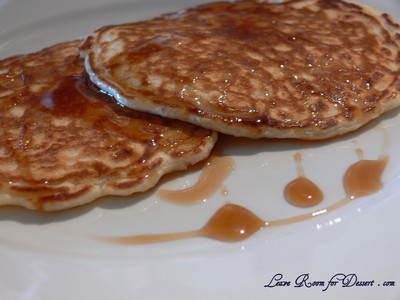
These pancakes were quite nice and fluffy, although they seemed to be missing something or a slightly odd flavour. I’m not entirely sure what exactly that is, whether it be not enough sugar or salt or missing vanilla or maybe too much baking powder?… not sure. I guess I’ll have to try them again – I’m not complaining 🙂

American Breakfast Pancakes
Recipe from How to be a Domestic Goddess and also on Nigella’s website.

225g plain flour
1 tablespoon baking powder
pinch of salt
1 teaspoon sugar
2 large eggs, beaten
30g butter, melted and cooled
300ml milk
butter for frying
Serving Size : 11 blini-pan-sized pancakes

The easiest way to make these is to put all the ingredients into a blender and blitz. But if you do mix up the batter by hand in a bowl, make a well in the flour, baking powder, salt and sugar, beat in the eggs, melted butter and milk, and transfer to a jug: it’s much easier to pour the batter into the pan than to spoon it. I like to leave the batter for 20 minutes before using it; and you may then want to add more milk to the mixture if you’re frying in the blini pan, so that it runs right to the edges.
pancakesnigella08

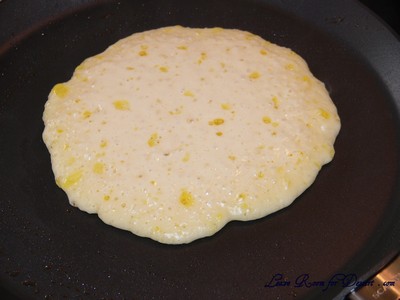
When you cook the pancakes, all you need to remember is that when the upper side of the pancake is blistering and bubbling it’s time to cook the second side, and this needs only about 1 minute, if that.

I get 11 blini-pan-sized pancakes out of this, maybe 16 silver-dollar-sized ones on the griddle.
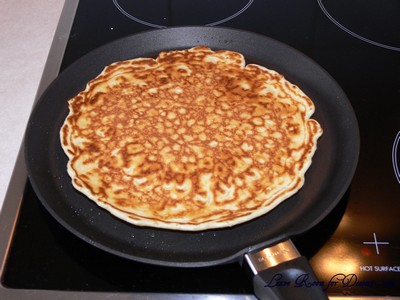
pancakesnigella01

pancakesnigella10

Pear and Raspberry Bread

Tuesday, April 28th, 2009

Do you think I’ve gone a bit “pear” crazy and obsessed?

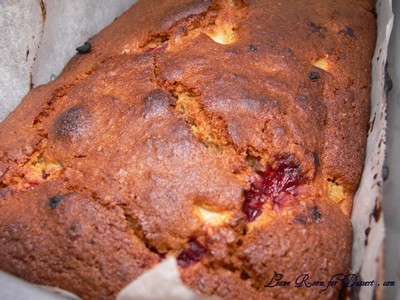
pearraspberrybread6

Perhaps…

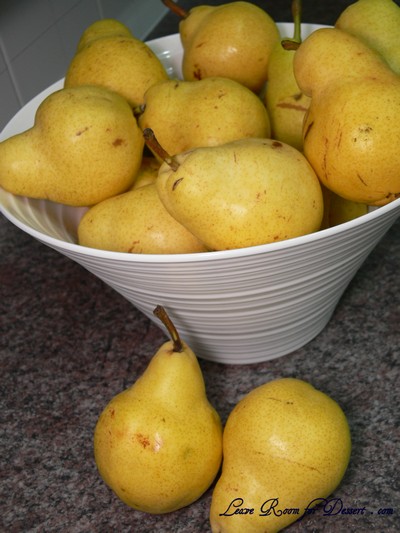
I love pears… although for the last few years I’ve bought bad batches of them – not ripening, still hard on the outside but rotten inside.
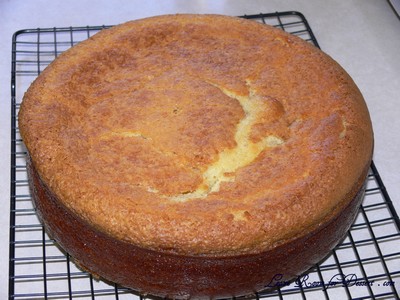
This year I found the quality of pears available here in Sydney were fantastic. So what did I do? Buy, buy, buy!! I ended up buying pears at three different places as I kept finding them for better prices – and I love a bargain!
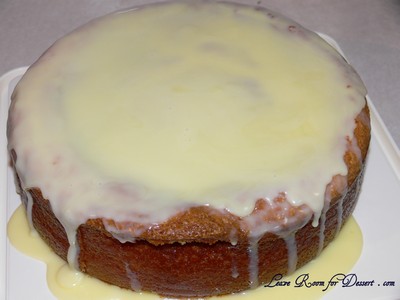
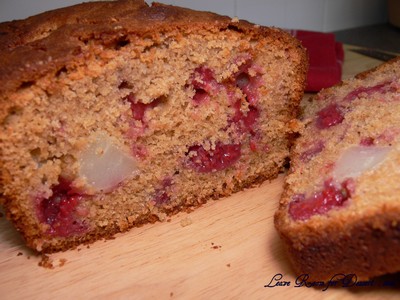
pearraspberrybread5

This means that I could finally use this lovely recipe that I’ve had for a year now, given to me by a friend at work. I had forgotten all the tips she gave me and have no idea where she got the recipe from, perhaps a magazine or newspaper?

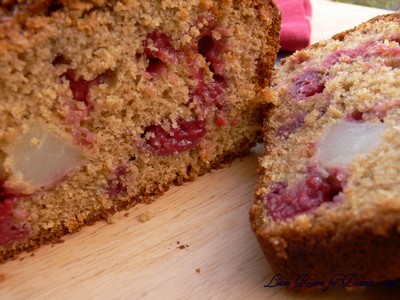
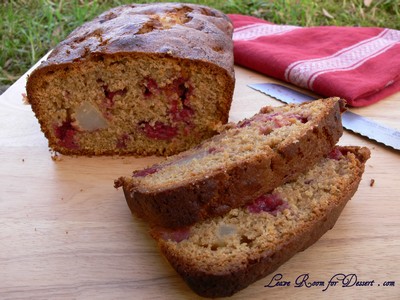
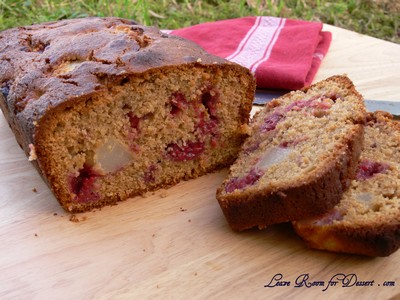
The pear and raspberry bread is unlike a bread, as it contains no yeast. I was hoping for it to be similar to the bought pear and raspberry bread that you buy at café’s and is toasted and served with butter. This bread (or cake) is a bit more crumbly than the bought bread, but the beautiful combination of brown sugar and cinnamon with the pear and raspberries make this a big winner anyway!

pearraspberrybread3

Pear and Raspberry Bread

125g butter
1 cup brown sugar
1 teaspoon vanilla essence
2 eggs
1 cup self-raising flour
½ cup plain flour
1 teaspoon baking powder
1 teaspoon ground cinnamon
½ cup unprocessed bran
2 pears, cored, peeled and chopped
1 cup frozen raspberries

Preheat oven to 180°C. Grease and line a loaf tin with baking paper. Cream the butter, brown sugar and vanilla until mixture lightens in colour. Beat in eggs, one at a time. Sift flours, baking powder and cinnamon and add to mixture with bran. Fold in gently until combined.

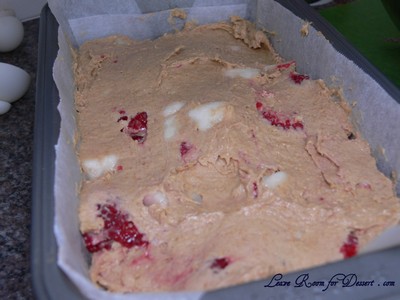
Add chopped pears, folding through followed by raspberries – make sure to fold gently to try and keep raspberries intact. Spoon into prepared loaf tin and cook in preheated oven for 1 hour or until browned and cook through. Leave in tin for 10 minutes, remove and cool, then slice thickly.

pearraspberrybread7

Serve as is or toasted under grill and served with butter. Store any leftovers in a container or wrap up cooled slices in plastic and freeze.

pearraspberrybread8

pearraspberrybread1

pearraspberrybread4

Lemon Curd Friands

Sunday, April 26th, 2009

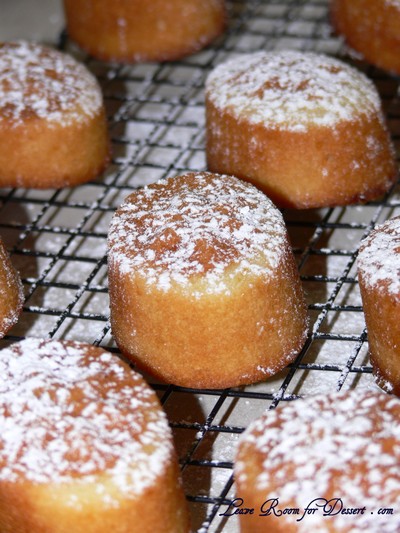
lcf

I have been introduced to a number of foods (mainly baked goods) at work and one of these was the friand, a lemon curd one to be precise. I tried it a while ago and the colleague at work left before I had a chance to get the recipe. As I knew she read the delicious magazine, and thought I remembered hearing her mention it about the friands, I was excited when I found this recipe from the delicious magazine on Taste.com.au.

When deciding to make them, I made sure I could use up the remaining egg yolks and as Portuguese Custard Tarts are one of my favourite foods now, I made almost a double batch of these to use up the egg yolks.

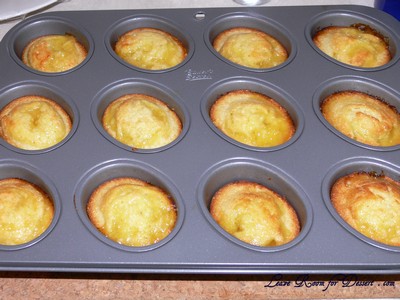
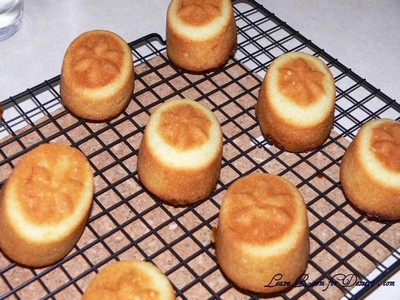
These friands were lovely, I’m not sure if they were the same as what I had tasted, mine seemed a little denser than I expected. I also realise I probably should have swirled the lemon curd in a bit more into the friand mix too, as it was a bit sticky on the top (or bottom, if you turn them over to show the pretty friand star). The lemon curd complemented the friand perfectly and was lovely for afternoon tea or perhaps even a high tea, which is on my list of things to do 😛 .

Lemon curd friands
Recipe from delicious magazine and also found on Taste.com.au

Makes: 10-12

1/2 cup (75g) plain flour
1 1/2 cups (185g) almond meal
1/3 cups (200g) pure icing sugar, sifted, plus extra to dust
5 eggwhites
200g unsalted butter, melted, cooled
Finely grated zest of 1 lemon
5 teaspoons lemon curd, plus extra to serve
Whipped cream (optional), to serve

Preheat the oven to 180°C. Grease a 10-hole or 12-hole friand pan or line with paper cases.

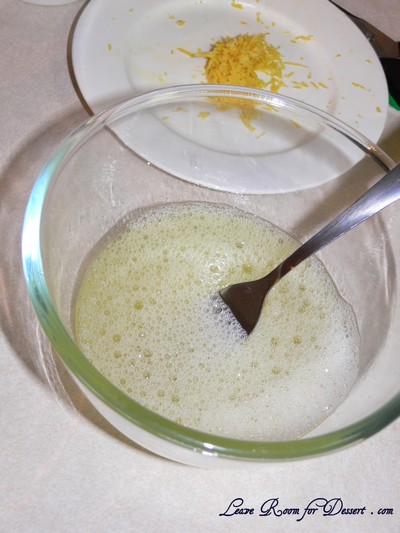
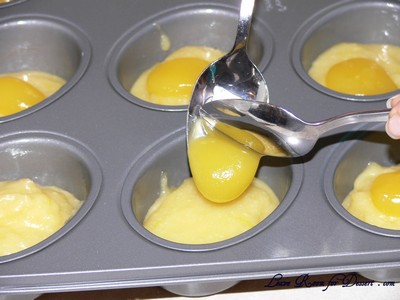
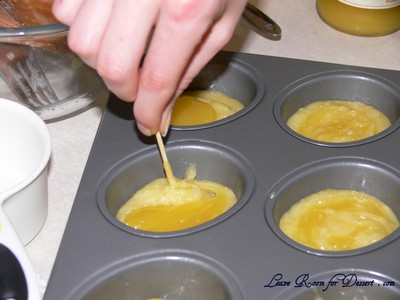
Mix the flour, almond meal and sugar in a bowl. In a separate bowl, lightly beat eggwhites with a fork until foamy, then add to dry ingredients with butter and zest and stir with a wooden spoon to combine. Divide batter among friand pans. Place 1/2 teaspoon of curd on each friand and use a wooden skewer to swirl through batter.

lcf_eggwhite

lcf_lemoncurd

lcf_swirl

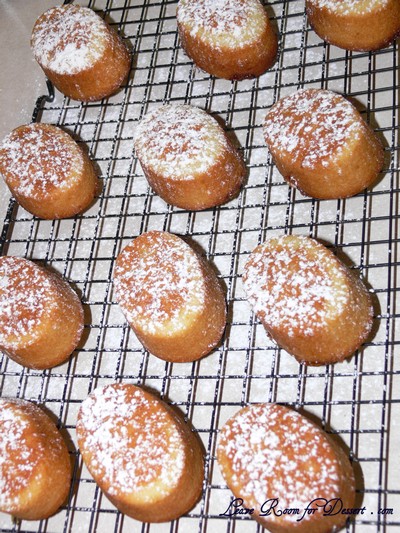
Bake for 20 minutes or until light golden. Cool, then dust with extra icing sugar. Serve with extra lemon curd, and whipped cream if desired.

lcf_cooked

lcf_cooling

lcf2

Corn Bread

Thursday, April 23rd, 2009

After seeing corn bread being made on Food Safari for their USA episode, Nick was inspired to make some. We saw versions using corn kernels, corn off the cob and creamed corn. The ones on food safari looked so easy and very convenient in the muffin tin, that he decided to go with that recipe.

cornbread5

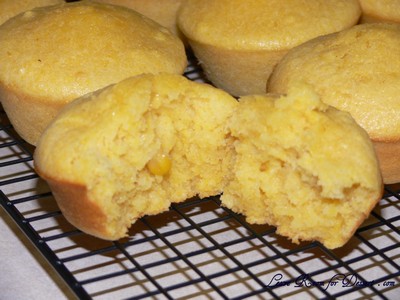
This was a very easy recipe, just combine all ingredients and spoon into muffin tins. Once cooked they smelled lovely and tasted great when we let them cool down a bit. We had made quite a few muffins and accidentally forgot to take them to share with people, leaving us with quite a few in our container at home (we had also frozen some). When trying these a couple days later they had already started going bad, they weren’t fresh and became a little soggy around the edges. So if you’re likely to not get through all the corn bread on the day of baking or the day after, make sure you individually freeze them!!!

I think it would be lovely with a bit of crispy bacon on top… perhaps next time.

Corn Bread
Recipe from Food Safari

Makes: 12 muffins ( I can’t remember if Nick doubled the recipe – ours made 24 muffins)

½ cup polenta
1½ cup self raising flour
½ cup castor sugar
Pinch of salt
½ cup melted butter
3 eggs
1 cup of creamed corn
1 cup full cream milk

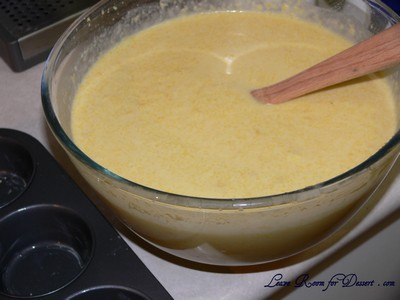
Mix polenta and self-raising flour, castor sugar, salt, melted butter and eggs.

cornbread1

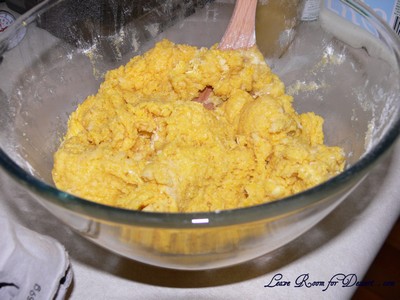
Add creamed corn and milk. Mix until you get a nice creamy consistency.

It took a bit of mixing to get to this stage, and was a bit lumpy (perhaps we should have added the creamed corn and milk a bit at a time)

It took a bit of mixing to get to this stage, and was a bit lumpy (perhaps we should have added the creamed corn and milk a bit at a time)

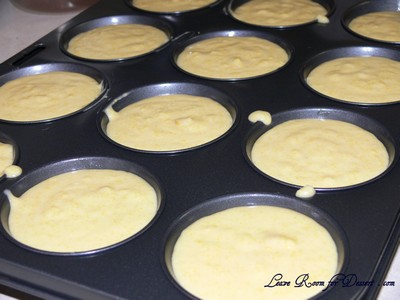
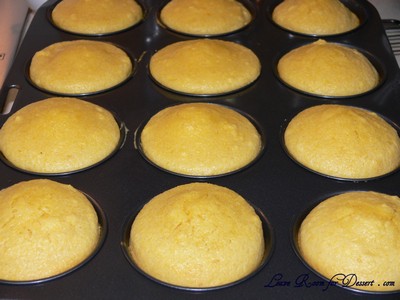
Spoon the mixture into a greased muffin tray and bake in a preheated oven at 180°C for 15-20 minutes or until golden brown in color.

cornbread3

Remove muffin tray from the oven and let them cool until they are ready to be remove from the tray.

cornbread4

Once cooled either store in air-tight container for up to one day or alternatively wrap indivually with cling film and store in freezer. Remove from freezer and thaw when required, heating in microwave or oven to make a bit fresher.

Vodka Cream Pasta

Tuesday, April 21st, 2009

You won’t be single for long!!!

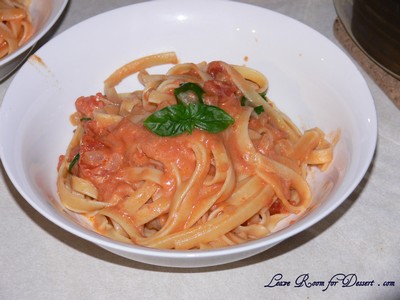
vodkapasta5

Well, this is what was claimed on TV, when a family member of mine saw this recipe on a TV show, with women claiming that once they made this for their partner they were proposed to.

Wow! This pasta must be a absolutely fantastic for someone to propose after eating it. (I must admit there are some foods were I would have seriously considered accepting a proposal, although they tended to be decadent chocolate desserts 🙂 yep, that’s me – loving the desserts!)

So we decided to make the pasta and I’ll admit that I’ve made it more than once as it’s very easy, with few ingredients and quite tasty.

vodkapasta4

I wasn’t proposed to immediately after Nick tried this pasta – let’s say maybe a year after (does that still count?) 😛

I wouldn’t go on to suggest that anyone will be proposed to after serving this pasta, it is good, but not propose-worthy good. I would suggest trying it though, if it’s a Friday night and you can’t be bothered spending too long on dinner.

I have tried this without the vodka too – with skeptics suggesting it didn’t contribute to the pasta at all (as most is steamed out of the dish). So after trialing out the non-vodka version, it still tasted good, there was some small taste missing, so I would recommended adding a little or half the vodka if the budget is tight or you really hate vodka, otherwise try the whole amount and alter the recipe from there.

Vodka Cream Pasta

Recipe from Foodnetwork.com

Serves: 4

1 tablespoon extra-virgin olive oil
1 tablespoon butter
2 cloves garlic, minced
1 brown onion, finely diced
½ -1 cup vodka
1 cup chicken stock
1 can crushed tomatoes (820g)
Coarse salt and pepper
500g pasta, such as penne or fettuccine
½ cup heavy or thickened cream
Fresh basil leaves, shredded or torn, to serve
Herb or crusty bread, to serve

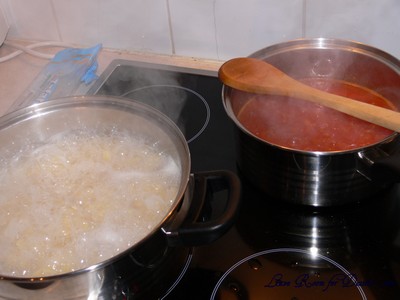
Heat a large saucepan over moderate heat. Add oil, butter, garlic and onion. Gently sauté onion for 3 to 5 minutes to develop their sweetness. Add vodka to pan. Reduce vodka by half; this will take 2 or 3minutes. Add chicken stock, tomatoes and bring sauce to a bubble and reduce heat to simmer. Season with salt and pepper.

vodkapasta1

While sauce simmers, cooks pasta in salted boiling water until cooked to al dente. While pasta cooks, prepare your salad or other side dishes.

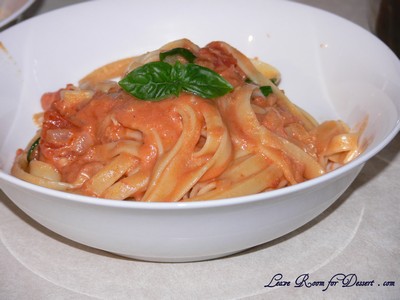
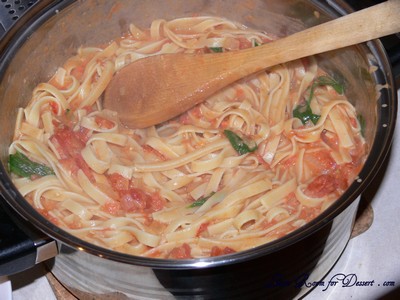
Stir cream into sauce. When sauce returns to a bubble, remove it from heat. Drain pasta. Toss hot pasta with sauce and basil leaves. Serve pasta with crusty bread.

vodkapasta3

Almond Butter Biscuits

Thursday, April 16th, 2009

almondbb

One of my favourite memories of foods growing up is these almond butter biscuits. I remember getting a few at the beginning of every school year and always wanting more and requesting them throughout the year.

Melt in your mouth Heaven… with a bit of crunch from the almonds dusted in sweet icing sugar. The icing sugar can be a bit of a mess when eating, especially over black clothes, although this is a small price to pay for something so good.

Almond Butter Biscuits

Makes around 50 biscuits

8oz (250g) butter or margarine (I use salted butter)
3 tablespoons castor sugar
1 teaspoon vanilla essence
½ teaspoon salt
2 cups plain flour
¾ cup chopped blanched almonds or slivered almonds
1/2 – 1 cup icing sugar or mixture

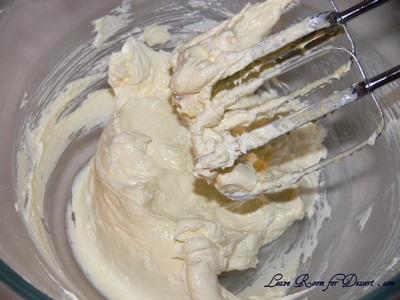
Cream butter with sugar and vanilla until light and fluffy.

almondbb_butter

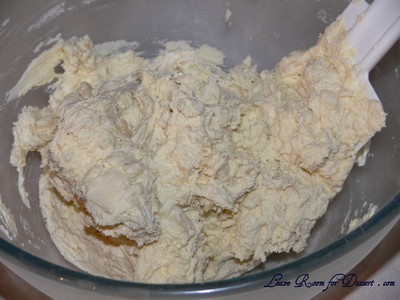
Sift flour and salt together and blend into creamed mixture then stir in almonds (make mixture just stiff enough to be able to roll it into balls in hand i.e. add a little more flour if necessary).

almondbb_mix

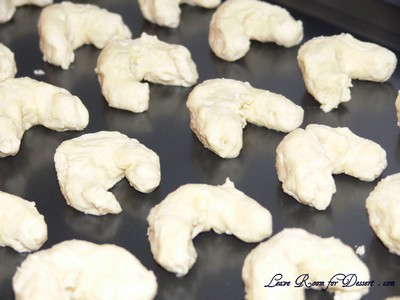
Place in balls the size of walnuts or in crescent shapes on an ungreased tray.

almondbb_shaped

Bake in moderate oven (180°C/350°F) for 15 minutes. Remove from tray and cool slightly. Roll in icing sugar. (Sift icing sugar on the bottom of the biscuits first then on the top)

almondbb_cooked

almondbb_icing1

almondbb_icing2

almondbb_plate

White Chocolate Mud Cake

Tuesday, April 14th, 2009

whitechocmudcake
Ever since trying the first white chocolate hazelnut mud cake muffin as a potential for our wedding cake I have thought and thought about trying to get a great recipe.

First off, I decided to trial out a White Chocolate Mud cake without the hazelnuts (although I hope to add ground hazelnuts to the next one I try). I found this recipe on a website which gives great variations for the recipe, from dark chocolate to white chocolate, caramel and chocolate with hazelnut mud cakes.

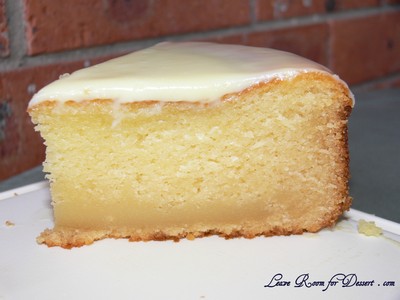
I decided to make this cake as a thank you to those at work for their lovely present and well-wishes for my Wedding (yes, a long-ish time ago now). The cake is lovely and moist, with beautiful subtle flavours. The combination of the glaze with the cake worked wonderfully.

wcmc

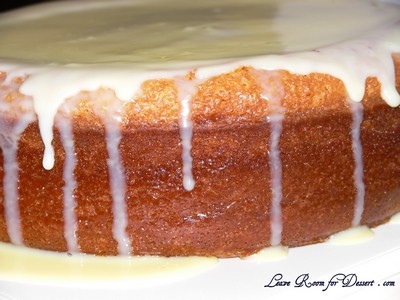
I had to cook the cake for a lot longer than the recipe stated and as I didn’t have a solid round tin, I had to use a springform tin instead, with a tray underneath to catch drips. The glaze didn’t turn out exactly how I had hoped, as it was a little too runny – I’m not sure if it’s because I didn’t let it cool enough. I had made slightly less glaze (due to a shortage of cream in the house) in case anyone was wondering why I didn’t have enough to fully cover the cake.

I hope you enjoy the recipe and I’ll try and keep you updated with my next trial/s. 🙂

White Chocolate Mud Cake
(Recipe by kel11 on HubPages)

350g white chocolate pieces
225g butter
600ml water
3 eggs
400g (almost 2 cups) castor sugar
400g (2 ¾ cups) self-raising flour

Chocolate Glaze
225g chocolate pieces
165ml double or whipping cream

Grease and line a 23cm/ 9” round cake tin (use a non-spring-tin as it will probably leak a little). Preheat oven to 170ºC, 150ºC fan forced.

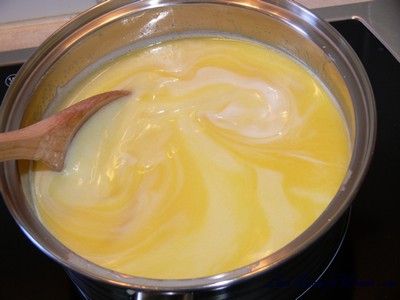
In a saucepan over low heat, heat chocolate, butter and water. Stir frequently until melted and smooth. Remove from the heat and cool slightly.

White chocolate, butter and water melted

White chocolate, butter and water melted

In a large bowl, lightly beat eggs. Gradually beat cooled chocolate mixture into eggs. Whisk sugar and flour into chocolate mixture, continue until smooth and well blended.

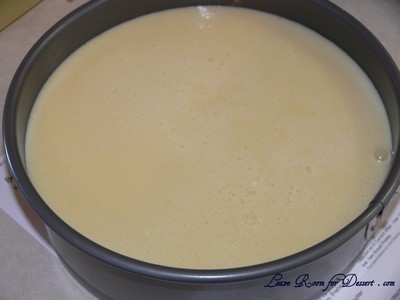
Pour mixture into cake tin. Cake for 45 minutes or until skewer inserted into centre of cake comes out clean.

wcmc_uncooked

Turn cake onto wire rack to cool.

wcmc_cooked

Chocolate Glaze
In a saucepan over low heat, heat chocolate and cream, stirring frequently until melted and smooth. Keep warm.

Once cake is cooled, you can cut the cake into layers and spread a truffle mixture through – see the original recipe.

Place the cake on wire rack and pour warm glaze over the top. With a palette knife spread glaze to cover top and size evenly.

wcmc_iced

Pumpkin Soup

Monday, April 6th, 2009

Now after all the baking and rich dinners that I cook, it’s only reasonable that once in a while we make something which doesn’t contain loads of carbs or sugar. Many of you may not think this is an appropriate recipe to add to my blog, but it’s more put up to remind people of easy, budget meals (especially in these times) that anyone can make any time. It fulfils a lot of requirements for dinner:

pumpkinsoup

Cheap – I was able to buy a 3.7kg Kent pumpkin @ $0.98/kg = $3.65 for the entire batch of soup– if this serves 8 people it’s 46c per serve – Bargain!
Not many ingredients required
Low in Kilojoules – If you’re on Weight Watchers it’s 0 points!! (as long as you don’t add cream or eat bread with it)
Easy and Fast
Able to freeze (Just thaw and reheat)

What more could you want?
You only really need two ingredients a pumpkin and some chicken or vegetable stock, or stock powder – for those who won’t use up the rest of container of stock.

You can refrigerate or freeze the leftovers and reheat in the microwave or on the stove (it may form crystals when frozen, but once mixed through it’s fine).

Pumpkin Soup
Serves: 8 or more

3.5kg Jap or Kent Pumpkin (any other pumpkin will do e.g. Butternut, etc)
1 teaspoon chicken or vegetable stock powder (or one cup stock)

pumpkin

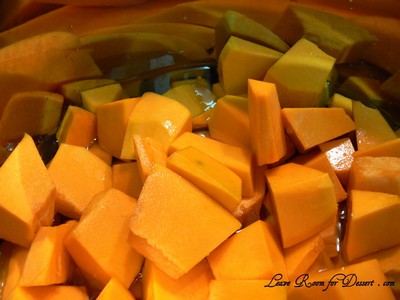
Peel and de-seed pumpkin. Cut in small pieces (4 x 4 x 1.5cm) and place in a large pot. Add enough water to almost cover (1-2cm below) the pumpkin pieces. This will make a thick soup, so you can add more water now or after blending if you prefer it thinner. Add the stock and heat over medium heat until the pumpkin is soft and a cake tester or sharp knife goes in and comes out easily.

Stir occasionally to make sure all pumpkin is cooked evenly

Stir occasionally to make sure all pumpkin is cooked evenly

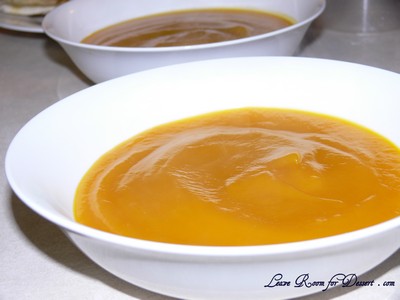
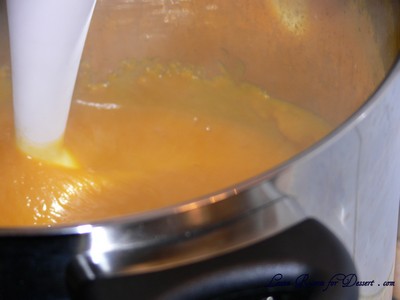
Use a hand blender to blend up the pumpkin.

Blend then serve

Blend then serve

See – I told you it was easy!
Now you can eat your cake or a lovely decadent dessert and not feel so guilty! 🙂

Variation:
You could always fry up one finely sliced onion before adding the pumpkin, a bit of cream after it’s blended to add some more taste and serve with tasty herb bread. Of course the bread and cream make this a bit less healthy, but it certainly tastes great!