Recipes

Gluten-Free Graham Wafers and Nanaimo Bars – Daring Bakers Challenge January 2010

Wednesday, January 27th, 2010

GrahamWafers&NanaimoBars12

The January 2010 Daring Bakers’ challenge was hosted by Lauren of Celiac Teen. Lauren chose Gluten-Free Graham Wafers and Nanaimo Bars as the challenge for the month. The sources she based her recipe on are 101 Cookbooks and www.nanaimo.ca.
GrahamWafers&NanaimoBars13

I always get excited seeing the new Daring Bakers challenge. I think I start most of my posts with something along those lines…
GrahamWafers&NanaimoBars18

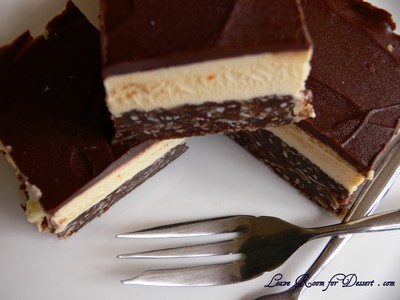
This was a different challenge for two reasons. It was gluten free and we were making a classic Canadian dessert – one which I had never heard of.
GrahamWafers&NanaimoBars23

I’ve always tried to convince myself to make more gluten free products, as I would like to have a few recipes that are suitable for any friends or family who may be celiac or have a gluten intolerance. This is why I was really looking forward to this recipe.
GrahamWafers&NanaimoBars16

Starting with the Graham Wafers – I found the dough was quite sticky, and very difficult to even get into plastic and into the fridge (it probably didn’t help with our humidity and heat). It rolled out very nicely, although I had to work quickly as it started melting very quickly. The aroma from the oven was just lovely, a combination of honey, vanilla and brown sugar. All in all the wafers/biscuits were ok, I probably wouldn’t make them again, unless to make the nanaimo bars.
GrahamWafers&NanaimoBars15

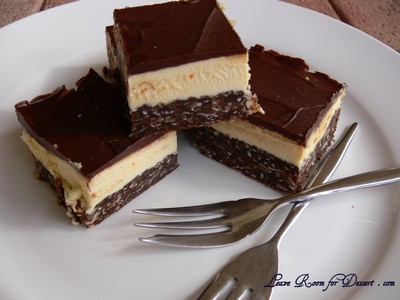
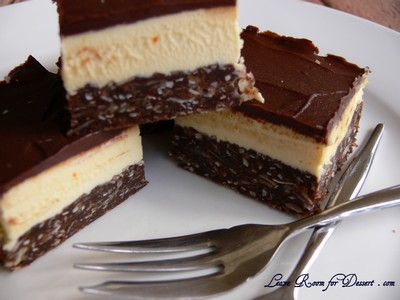
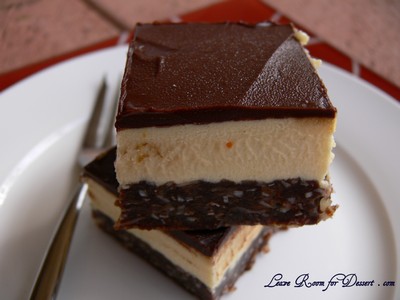
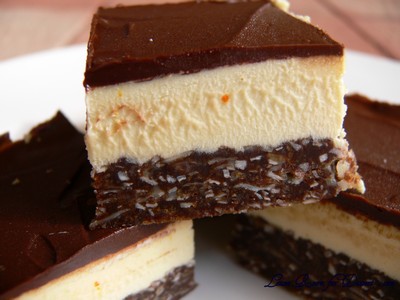
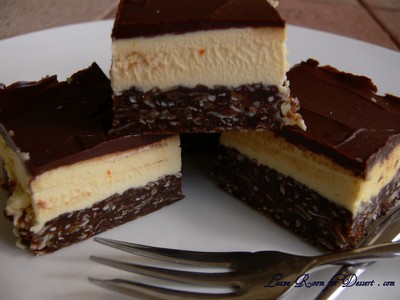
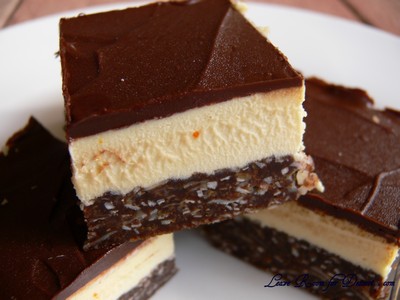
The Nanaimo bars are very nice and quite easy to make. I was expecting the middle layer to be a bit more custard-like, although the butter cream was very nice.
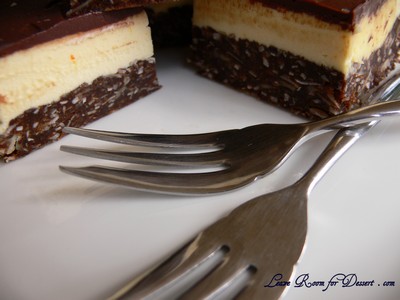
GrahamWafers&NanaimoBars17

Thanks again to Lauren for the great challenge. I’m glad I’ve made some more gluten free sweets and am looking forward to expanding my repertoire.

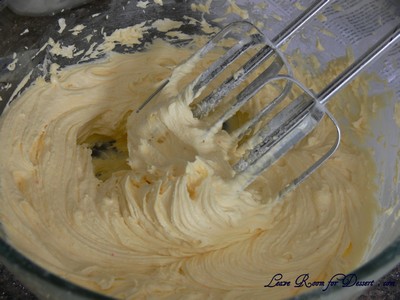
P.S. Those red/orange spots in the butter cream are from the custard powder.

Gluten-Free Graham Wafers

1 cup (138 g) (4.9 ounces) Sweet rice flour (also known as glutinous rice flour) (I found 138g was 1¼ – 1½ cups)
¾ cup (100 g) (3.5 ounces) Tapioca Starch/Flour (I found 100g was 1 cup)
½ cup (65 g) (2.3 ounces) Sorghum Flour (I used normal rice flour)
1 cup (200 g) (7.1 ounces) Dark Brown Sugar, Lightly packed
1 teaspoon (5 mL) Baking soda
¾ teaspoon (4 mL ) Kosher Salt
7 tablespoons (100 g) (3 ½ ounces) Unsalted Butter (Cut into 1-inch cubes and frozen)
1/3 cup (80 mL) Honey, Mild-flavoured such as clover.
5 tablespoons (75 mL) Whole Milk
2 tablespoons (30 mL) Pure Vanilla Extract

In the bowl of a food processor fitted with a steel blade, combine the flours, brown sugar, baking soda, and salt. Pulse on low to incorporate.
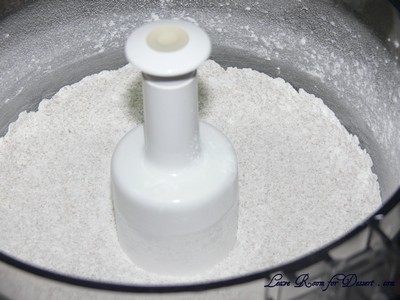
GrahamWafers&NanaimoBars25

Add the butter and pulse on and off, until the mixture is the consistency of a coarse meal. If making by hand, combine aforementioned dry ingredients with a whisk, then cut in butter until you have a coarse meal. No chunks of butter should be visible.
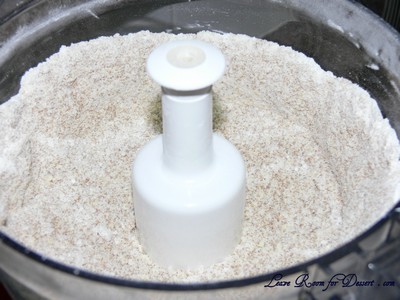
GrahamWafers&NanaimoBars26

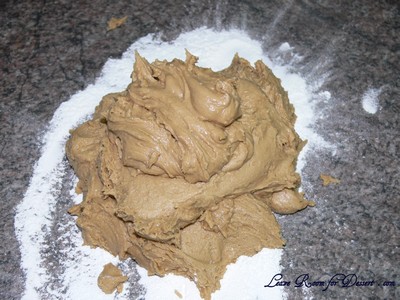
In a small bowl or liquid measuring cup, whisk together the honey, milk and vanilla. Add to the flour mixture until the dough barely comes together. It will be very soft and sticky.
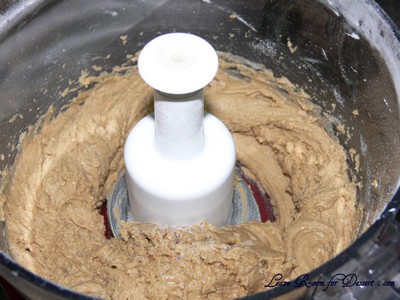
GrahamWafers&NanaimoBars27

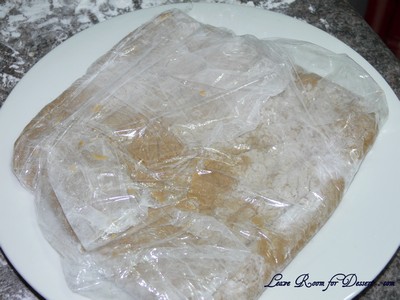
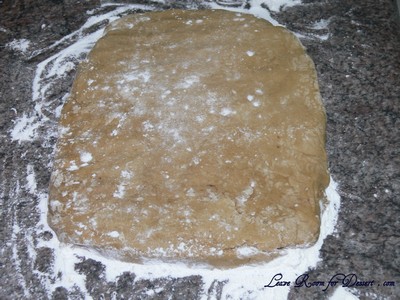
Turn the dough onto a surface well-floured with sweet rice flour and pat the dough into a rectangle about 1 inch thick. Wrap in plastic and chill until firm, about 2 hours, or overnight.
GrahamWafers&NanaimoBars28

GrahamWafers&NanaimoBars29

GrahamWafers&NanaimoBars01

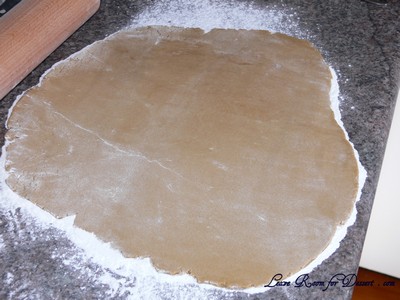
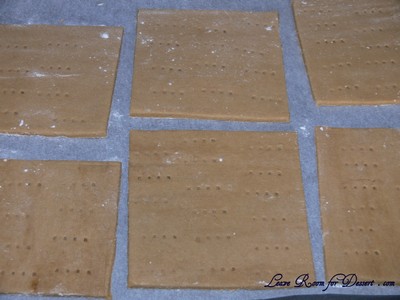
Divide the dough in half and return one half to the refrigerator. Sift an even layer of sweet rice flour onto the work surface and roll the dough into a long rectangle, about 1/8 inch thick. The dough will be quite sticky, so flour as necessary. Cut into 4 by 4 inch squares. Gather the scraps together and set aside. Place wafers on one or two parchment-lined baking sheets. Chill until firm, about 30 to 45 minutes. Repeat with the second batch of dough.
GrahamWafers&NanaimoBars02

GrahamWafers&NanaimoBars03

Adjust the rack to the upper and lower positions and preheat oven to 350 degrees Fahrenheit (180 degrees Celsius).

Gather the scraps together into a ball, chill until firm, and re-roll. Dust the surface with more sweet rice flour and roll out the dough to get a couple more wafers.

Prick the wafers with toothpick or fork, not all the way through, in two or more rows.

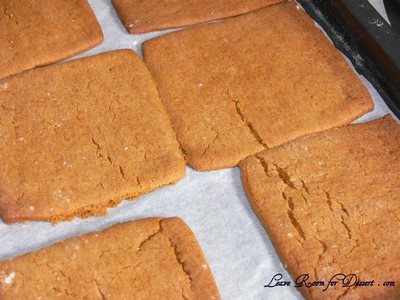
Bake for 25 minutes, until browned and slightly firm to the touch, rotating sheets halfway through to ensure even baking. Might take less, and the starting location of each sheet may determine its required time. The ones that started on the bottom browned faster.
GrahamWafers&NanaimoBars04

When cooled completely, place enough wafers in food processor to make 1¼ cups (300 mL/ 160g) of crumbs. Another way to do this is to place in a large ziplock bag, force all air out and smash with a rolling pin until wafers are crumbs.

Nanaimo Bars

For Nanaimo Bars — Bottom Layer
½ cup (115 g) (4 ounces) Unsalted Butter
¼ cup (50 g) (1.8 ounces) Granulated Sugar
5 tablespoons (75 mL) Unsweetened Cocoa
1 Large Egg, Beaten
1¼ cups (300 mL) (160 g) (5.6 ounces) Gluten Free Graham Wafer Crumbs (See recipe above)
½ cup (55 g) (1.9 ounces) Almonds (Any type, Finely chopped)
1 cup (130 g) (4.5 ounces) Coconut (Shredded, sweetened or unsweetened) (I found 1 cup weighed ~65g)
For Nanaimo Bars — Middle Layer
½ cup (115 g) (4 ounces) Unsalted Butter
2 tablespoons and 2 teaspoons (40 mL) Heavy Cream
2 tablespoons (30 mL) Vanilla Custard Powder (Such as Bird’s. Vanilla pudding mix may be substituted.)
2 cups (254 g) (8.9 ounces) Icing Sugar
For Nanaimo Bars — Top Layer
4 ounces (115 g) Semi-sweet chocolate
2 tablespoons (28 g) (1 ounce) Unsalted Butter

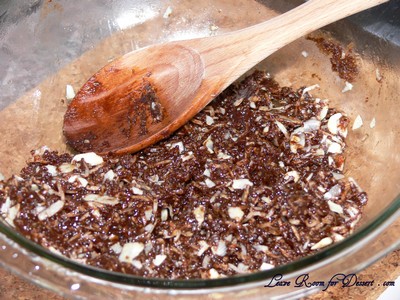
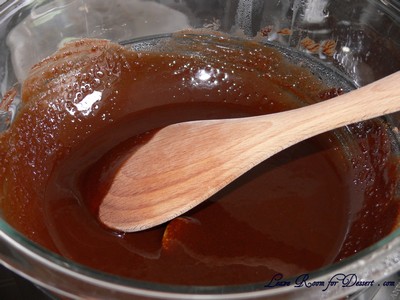
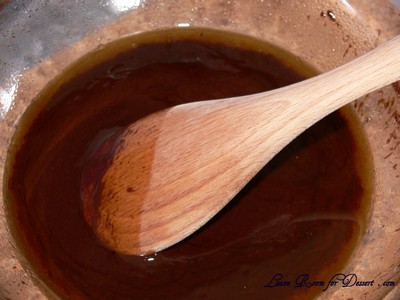
For bottom Layer: Melt unsalted butter, sugar and cocoa in top of a double boiler. Add egg and stir to cook and thicken. Remove from heat. Stir in crumbs, nuts and coconut. Press firmly into an ungreased 8 by 8 inch pan.
GrahamWafers&NanaimoBars05

GrahamWafers&NanaimoBars06

GrahamWafers&NanaimoBars07

For Middle Layer: Cream butter, cream, custard powder, and icing sugar together well. Beat until light in colour. Spread over bottom layer.
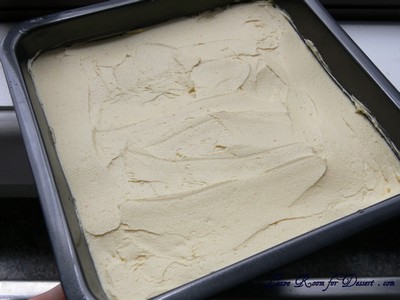
GrahamWafers&NanaimoBars08

GrahamWafers&NanaimoBars10

For Top Layer: Melt chocolate and unsalted butter over low heat. Cool. Once cool, pour over middle layer and chill.
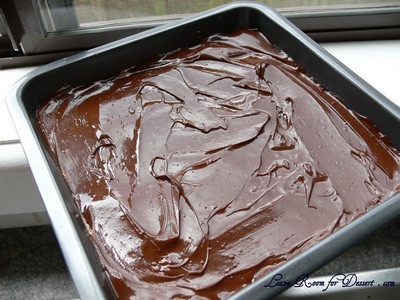
GrahamWafers&NanaimoBars11

Additional Information:
These bars freeze very well, so don’t be afraid to pop some into the freezer.
The graham wafers may be kept in an airtight container for up to 2 weeks. Mine lasted about that long.
If making the graham crackers with wheat, replace the gluten-free flours (tapioca starch, sweet rice flour, and sorghum flour) with 2 ½ cups plus 2 tbsp of all-purpose wheat flour, or wheat pastry flour. Watch the wheat-based graham wafers very closely in the oven, as they bake faster than the gluten-free ones, sometimes only 12 minutes.
For the Nanaimo Bars, if making with wheat, replace the gluten-free graham wafer crumbs with equal parts wheat graham wafer crumbs!
GrahamWafers&NanaimoBars14

Lamingtons

Tuesday, January 26th, 2010

Lamingtons 11

Happy Australia Day!
Lamingtons 09

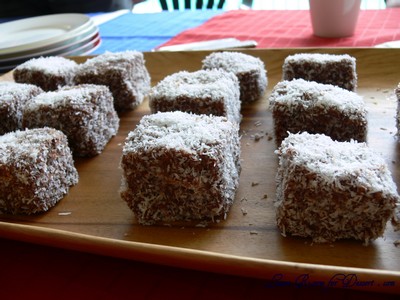
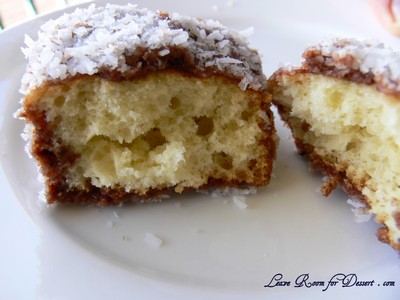
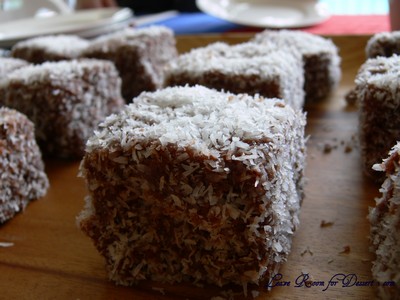
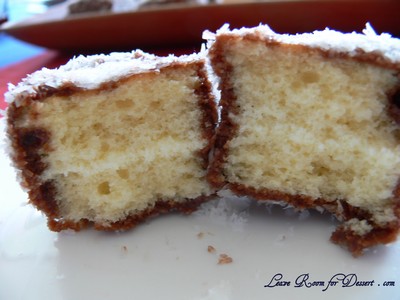
I thought I would celebrate by posting one of Australia’s favourite cakes – the Lamington. It is said to have originated in Queensland around the 1900’s, where Lord Lamington’s (the governor at the time) chef was given short notice to provide food for guests. He quickly dipped some old sponge in chocolate and coconut and the guests enjoyed it immensely.

Lamingtons 12

Lamingtons are a part of our history, present and future. Schools and other organisations often fund-raise by selling lamingtons in “lamington drives”.

Lamingtons 08

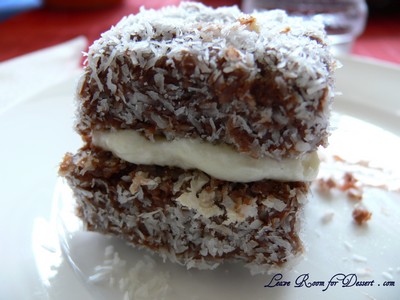
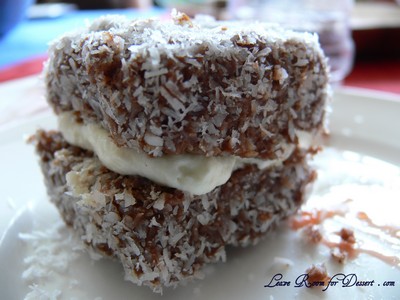
You can serve them plain or with a thin amount of jam and/or some lovely whipped cream in the middle of the sponge.

Time to go have our BBQ… (and I won’t be having shrimp or prawns on the BBQ – but I will be having lamb tonight).

Lamingtons 10

Lamingtons

(recipe adapted from the recipe that came with the Lamington tin I bought)

125g butter
2/3 cup sugar
2 eggs
2 cups self raising flour
½ teaspoon salt
¾ cup milk
½ teaspoon vanilla essence

Chocolate Icing
30g butter
½ cup boiled water
4 cups icing sugar or icing mixture
2/3 cup cocoa
½ teaspoon vanilla essence
3 cups desiccated coconut

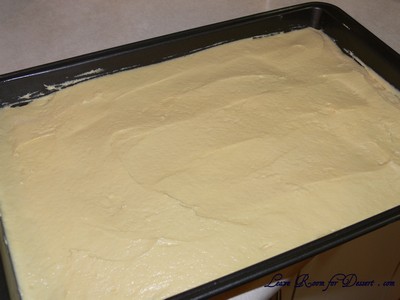
Cream butter and sugar until light and fluffy. Add eggs, one at a time, beating well between each addition. Sift flour and salt. Add alternately with milk to mixture. Add vanilla essence. Blend well but do not over beat. Add a little more or less milk if necessary to form a soft dropping consistency. Spread evenly into a lightly greased lamington tray.

Lamingtons 16

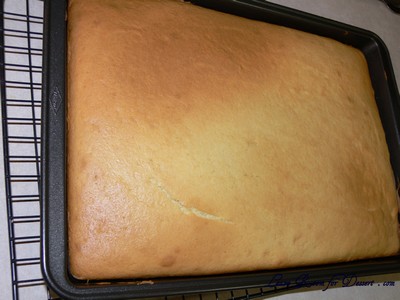
Bake in moderate oven 180˚C for 25-35 minutes or until cooked.
Turn out and cool on a cake rack. (You can use it straight away or leave it in an airtight container overnight).

Lamingtons 17

Cut into 32 squares.

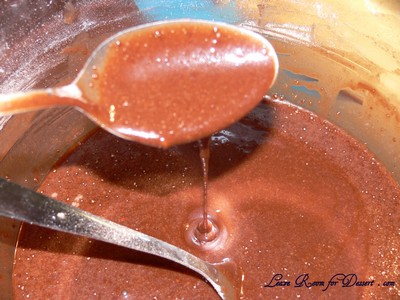
For chocolate icing – melt butter in ¼ cup boiling water. Sift icing sugar with cocoa. Add liquid, mixing well. Add vanilla essence. The icing must be thin so that squares of cake can be readily coated. Add sufficient boiling water to form this consistency.

Lamingtons 22

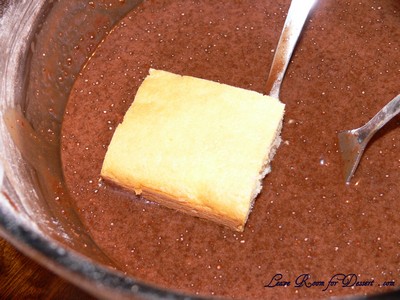
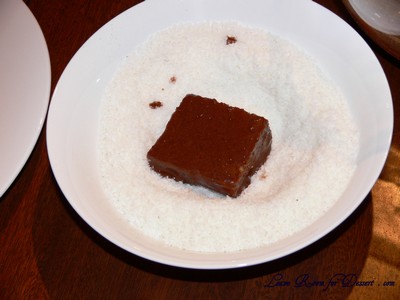
Dip and roll each square into the chocolate icing and let it soak for 15 sec or more and then roll in coconut. If you want to put strawberry jam and/or whipped cream in the cake, slice the sponge through the middle and spread over the cream. Dip carefully in the chocolate mix. Alternatively (if the sponge moves around too much), cut the sponge in half when already coated and then fill with cream.

Lamingtons 01

Lamingtons 23

Lamingtons 13

Ricotta Hotcakes with Honeycomb Butter by Bill Granger

Saturday, January 23rd, 2010

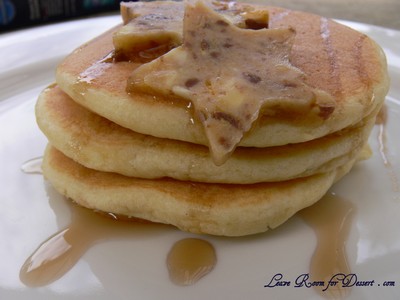
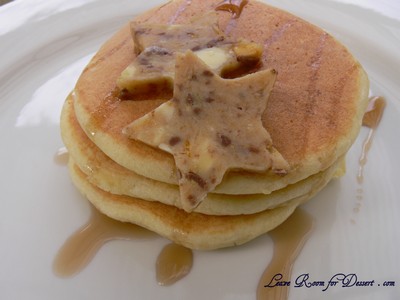
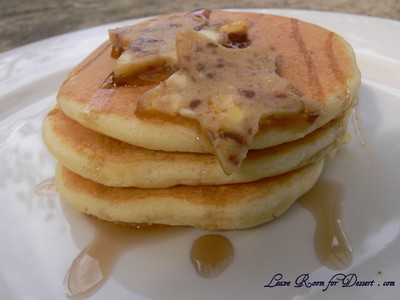
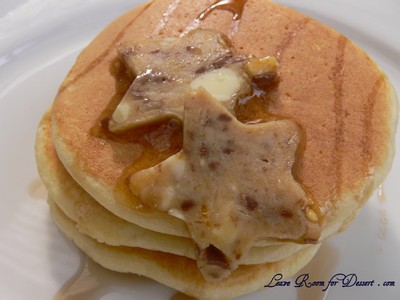
PancakeBillGranger09

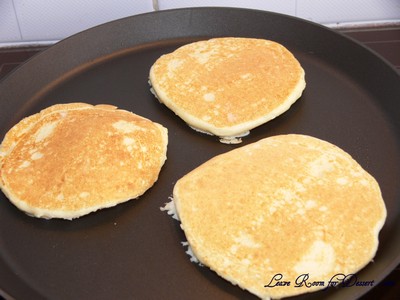
Everyone probably knows by now that I love pancakes.

PancakeBillGranger08

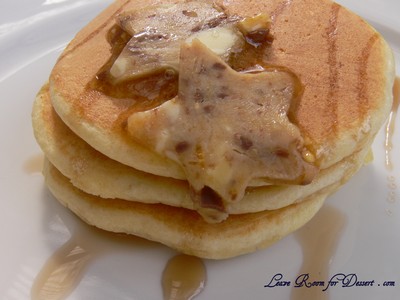
Many people have recommended I go and try Bill Granger’s pancakes/hotcakes at his restaurant (please disregard my use of the word pancake – it seems more natural for me to say pancake then hotcake). Bill’s pancakes are described as gorgeous fluffy soft ricotta pancakes with a beautiful honeycomb butter served with banana. I have been to Bill’s previously, although didn’t have enough room to fit in the pancakes after my meal. I’ll make sure I go back soon to try the pancakes.

PancakeBillGranger10

In the meantime, I decided to make some at home – good decision. These are absolutely wonderful pancakes, and the combination with the honeycomb butter and banana makes them one of the best ways to start the weekend. I’ve made them a number of times already, and continue to go back to the recipe.

PancakeBillGranger01

Ricotta Hotcakes with Honeycomb Butter by Bill Granger

Recipe from Bill Granger found on AWW Ninemsn

Serving size: Serves 6

1 1/3 cups (225g) ricotta
3/4 cup (170ml) milk
4 eggs, separated
1 cup (140g) plain flour
1 teaspoon baking powder
Pinch of salt
50g butter

banana
honeycomb butter, sliced (below)
icing sugar for dusting

Honeycomb Butter (You will need less than half of this)
250g unsalted butter, softened
100g sugar honeycomb, crushed with a rolling pin (I used a couple violet crumbles, chopped finely, which worked very well as you get bits of chocolate in the butter)
2 Tablespoons honey

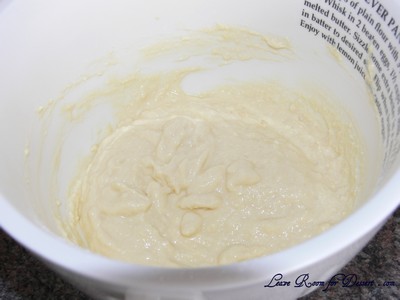
Place ricotta, milk and egg yolks in a mixing bowl and mix to combine. Sift the flour, baking powder and salt into a bowl. Add to the ricotta mixture and mix until just combined.

PancakeBillGranger03

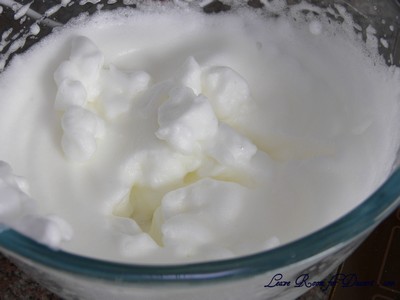
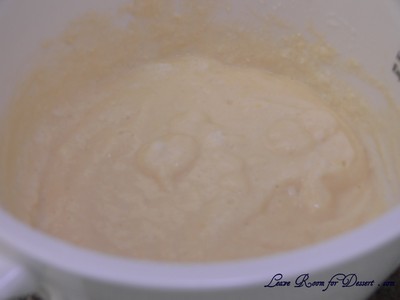
Place egg whites in a clean dry bowl and beat until stiff peaks form. Fold egg whites through batter in two batches, with a large metal spoon.

PancakeBillGranger04

PancakeBillGranger05

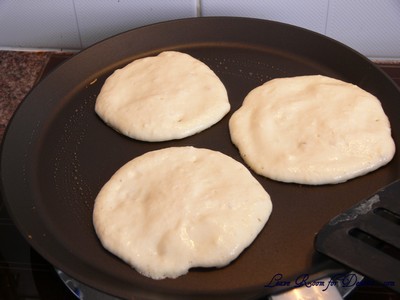
Lightly grease a large non-stick frying pan with a small portion of butter and drop 2 tablespoons of batter per hotcake into the pan (don’t cook more than 3 per batch).

PancakeBillGranger06

Cook over a low to medium heat for 2 minutes, or until hotcakes have golden undersides. Turn hotcakes and cook on the other side until golden and cooked through. Transfer to a plate and quickly assemble the other ingredients.

PancakeBillGranger07

Slice one banana lengthways onto a plate, stack three hotcakes on top with a slice of honeycomb butter. Dust with icing sugar.

Honeycomb butter
Place all ingredients in a food processor and blend until smooth. Shape into a log on plastic wrap, roll, seal and chill in a refrigerator for 2 hours.
Store any leftover honeycomb butter in the freezer, it’s great on toast.

PancakeBillGranger02

Pork and Fennel Sausage Pasta and Chocolate Fudge Cakes with Coffee Syrup – Cooking Class 13

Sunday, January 17th, 2010

PorkFennelPastaChocCake12

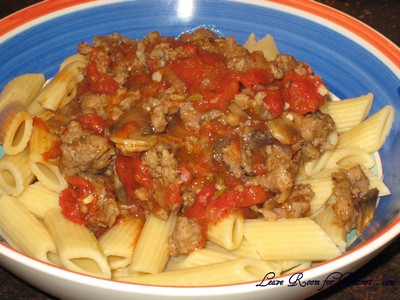
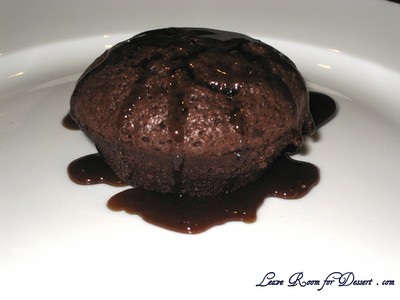
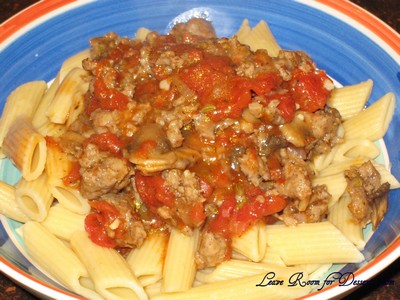
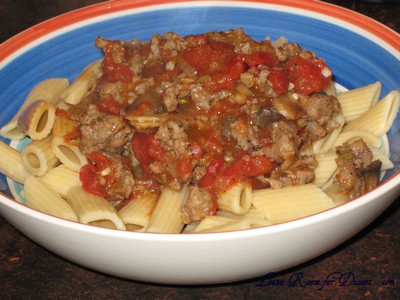
Trying new dishes is one of the best parts with our family cooking classes. I don’t think either of these recipes would have been at the very top of my list of dishes to make. Although after trying them I feel like making it again – and I will. (It’s been quite a while since this class – so I’m definitely craving the pasta right now…)

PorkFennelChocCake2

There wasn’t much hassle with either of these meals and both resulted in a great taste. I have been wondering if there is another way to get the same flavours, without having to buy so many pork and fennel sausages (as this gets a bit expensive if cooking for a large number of people).

PorkFennelPastaChocCake10

BTW – I’ve been very busy intently reading through the Twilight series. I’ve just started “eclipse” (the 3rd) and am enjoying them thoroughly. If you’ve read them – did you enjoy them? (obviously without giving away any info 🙂 )

Pasta with Pork and Fennel Sausages

Serves: 4

6 Italian pork and fennel sausages (about 550g/1 lb 4 oz)
1 tbsp olive oil
1 small red onion, finely chopped
2-3 garlic cloves, crushed
½ tsp chilli flakes
300g (10 ½ oz) field or button mushrooms, thinly sliced
800g (1lb 12 oz) tinned diced tomatoes
1 tbsp finely chopped thyme
500g (1lb 2 oz) penne rigate
grated parmesan cheese, to serve

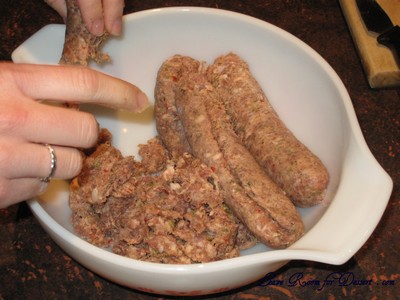
Split the sausages open, remove and crumble the filling and discard the skins.

PorkFennelPastaChocCake07

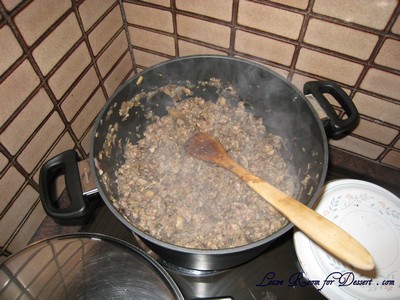
Heat the oil in a large saucepan over medium-high heat and cook the onion for 3-4 minutes, or until fragrant and transparent. Add the garlic, chilli flakes, mushrooms and crumbled sausage meat. Cook over high heat, stirring gently to mash the sausage meat, for 4-5 minutes, or until the meat is evenly browned. If necessary, use a tablespoon to remove any excess fat from the pan, leaving about a tablespoon of oil. Continue to cook, stirring once or twice, for 10 minutes.

PorkFennelPastaChocCake08

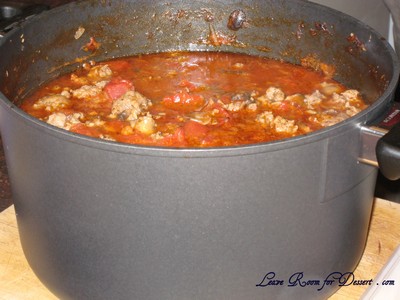
Stir in the tomato and thyme, then bring the sauce to the boil. Cover and cook over medium-low heat for 20 minutes, stirring occasionally.

PorkFennelPastaChocCake09

Meanwhile, cook the penne rigate in a large saucepan of rapidly boiling salted water until al dente. Drain well, then add to the sauce, stirring to combine. Serve with parmesan.

PorkFennelPastaChocCake11

Chocolate Fudge Cakes with Coffee Syrup

Makes: 12

½ cup of cocoa powder
1 cup firmly packed brown sugar
½ cup boiling water
85g dark cooking chocolate, finely chopped
2 egg yolks
¼ cup almond meal
1/3 cup wholemeal plain flour (we used plain flour)
4 egg whites

Pre-heat oven to 170°C, lightly grease 12-hole muffin pan (use 1/3 cup muffin pan).

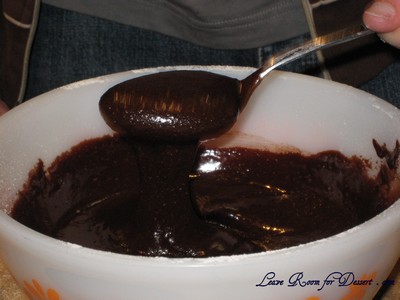
Combine sugar and sifted cocoa, blend in water, then chocolate, and stir until smooth. Stir in egg yolks, almond meal, and flour.

PorkFennelPastaChocCake13

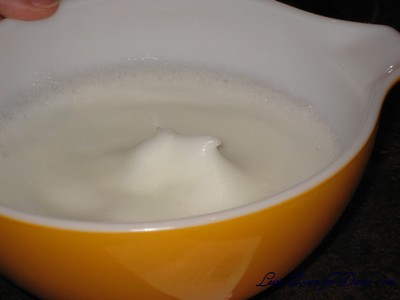
Beat egg-whites until soft peaks form.

PorkFennelPastaChocCake14

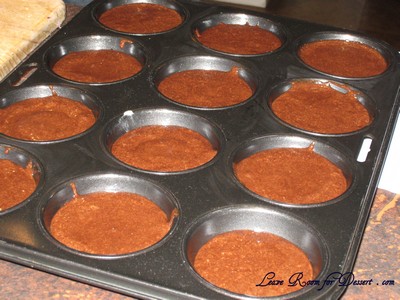
Fold into chocolate mixture in 2 batches. Divide mixture among pan-holes. Bake uncovered for 20 minutes. Make syrup.

PorkFennelPastaChocCake15

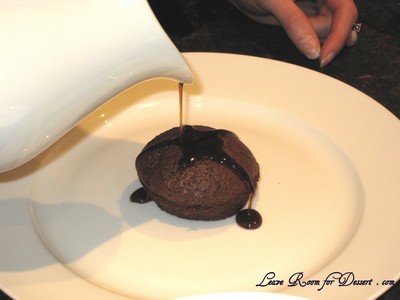
Stand cakes in pan for 5 minutes before serving with coffee syrup.

PorkFennelChocCake1

Coffee Syrup:
¾ cup firmly packed brown sugar
¾ cup water
1 tbsp coffee powder

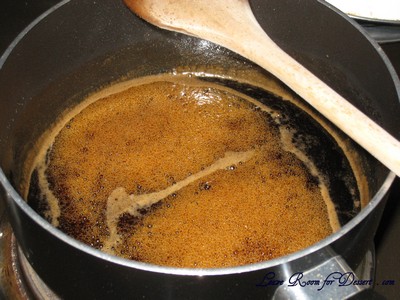
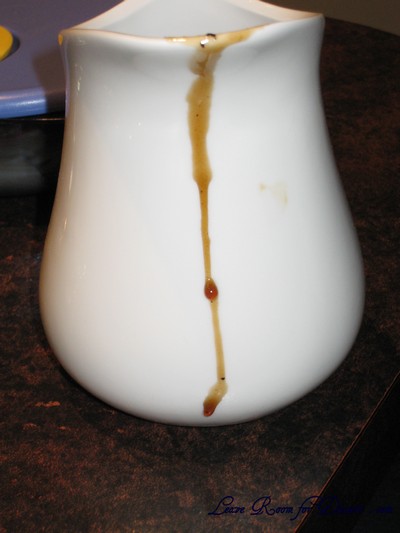
Stir sugar and water in small saucepan over low heat until sugar dissolves, then bring to the boil. Reduce heat and simmer uncovered without stirring for 15 minutes or until syrup thickens. Stir in coffee, strain into small heat-proof jug and serve.

PorkFennelPastaChocCake02

PorkFennelPastaChocCake06

Chicken Curry with Blueberries and Goji Berry Pilau

Wednesday, January 6th, 2010

ChickenBlueberryGoji13

I know a number of people will have started this new year with the aim to eat healthier, so I thought I should post this recipe early as it has claimed to be the “world’s healthiest meal” (by it’s creator – check out the link). Even though it may not be the lowest in fat (which many people will be trying to reduce), it is quite high in antioxidants which are very important in a healthy diet.

ChickenBlueberryGoji02

Everyone who I trialed this dish out on (including me) was very skeptical – blueberry and curry don’t sound like two words that really go together. I got even more skeptical when I tried the dried goji berries we had bought. I’m not a big fan of them dried and by themselves. Although I still thought we may as well give the dish a go.

ChickenBlueberryGoji11

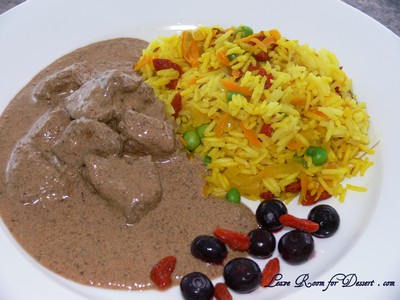
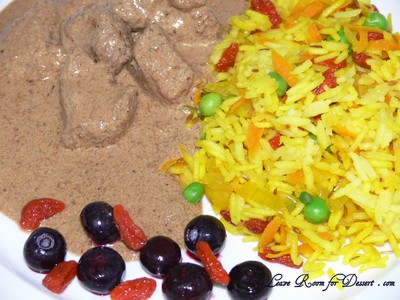
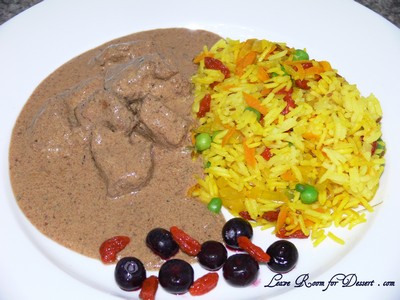
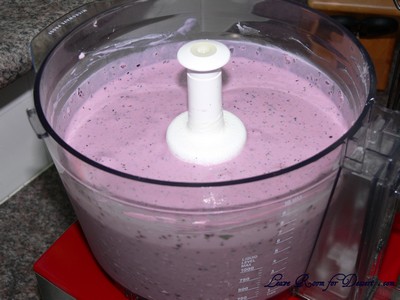
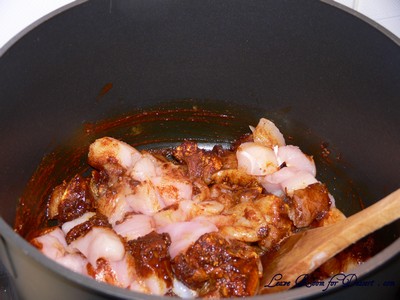
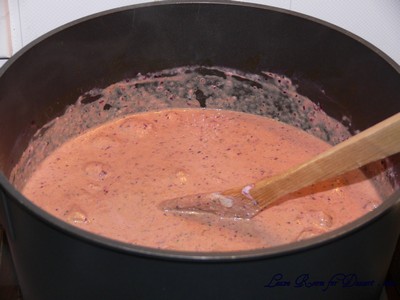
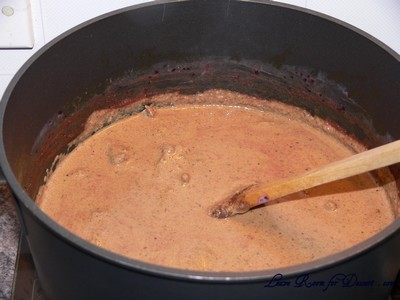
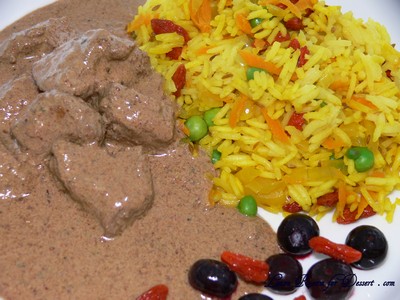
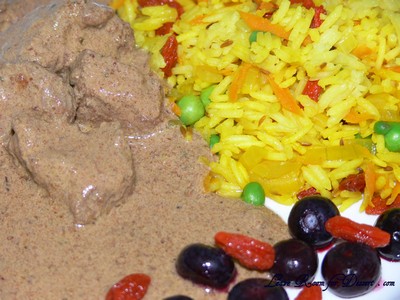
It was quite easy to cook and prepare. The blueberry and youghurt mix is a gorgeous bright purple and the dish remained like this for half the time it was cooking. Once it was finished cooking it looked like a normal beef curry – yes, just looking at it, it does look like beef. The flavours worked fabulously together and the goji berries plumped up a bit in the pilau. I even enjoyed a few thawed blueberries with the dish.

ChickenBlueberryGoji01

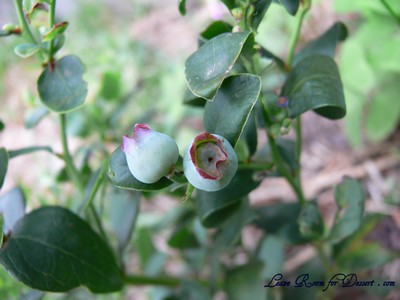
This may even be a good dish to try on someone who doesn’t eat enough fruit and vegetables (hahaha, my trick worked and my culprit ate all the sauce (pureed blueberries) and goji berries). We will be eating this again (time to go look out for some specials on blueberries, goji berries and spices). Perhaps in a few years I will be able to use some from my own blueberry bush:

ChickenBlueberryGoji04

Chicken Curry with Blueberries and Goji Berry Pilau

Recipe by Mr Bains

Serves: 4

20g coriander, chopped
200g fresh or frozen blueberries
2 tablespoons freshly grated ginger
3/4 teaspoon salt or to taste
500g low-fat Greek yoghurt
4 cloves of garlic finely chopped
3 tablespoons olive oil
1 teaspoon turmeric
2 tablespoons ground cinnamon
1 teaspoon chilli powder (I used 1/2 teaspoon medium chilli powder)
500g of chicken breast, cut into bite-sized chunks
1 teaspoon garam masala

For the Pilau Rice
2 teaspoons cumin seeds
2 tablespoons olive oil
1 small onion, sliced
1 teaspoon turmeric
1 grated carrot
1 cup Basmati rice
1 3/4 cups of boiling water
1/2 teaspoon salt or to taste
50g goji berries
Handful of peas (I poured boiling water over some frozen peas before using)

Blend the chopped coriander, blueberries, ginger and salt with 500g of low-fat Greek yoghurt, and set aside.

ChickenBlueberryGoji06

Place the chopped garlic into a saucepan with the olive oil and heat on a low-medium flame until the garlic starts to turn brown – this should take no longer than one or two minutes. Add the turmeric, mix well and heat through for 20 seconds. Mix in the ground cinnamon and chilli powder and cook for a further 20 seconds.

Add the chopped chicken breast, and seal, stirring frequently – this should take no more than five minutes. Now slowly pour the yoghurt mixture, mixing into the chicken, and bring to a simmer on a low heat. Simmer for 10 minutes uncovered, stirring from time to time. Mix through the garam masala and garnish with extra coriander.

ChickenBlueberryGoji07

ChickenBlueberryGoji08

ChickenBlueberryGoji10

To cook the pilau place the cumin seeds and olive oil into a saucepan and heat on a low-medium flame until the seeds begin to pop – about three minutes. Fry the onion and cook until soft. Then add the turmeric powder, stir and heat for 20 seconds and add one grated carrot. Cook for two minutes.

Place the onion mixture, basmati rice, pinch of salt and the 1 3/4 cups of boiling water into a large microwaveable bowl and mix with a fork. Cook uncovered in the microwave for 4 minutes (700W), 3 1/2 minutes (800W) or 3 minutes (900W). Mix and cook for a further 4 minutes (700W), 3 1/2 minutes(800W) or 3 minutes (900W). Finally cover and continue to cook for 4 minutes (700W), 3 1/2 minutes (800W) or 3 minutes (900W). (For the rice, I left the onion mix in the saucepan, added the rice, salt and boiling water and when it came to the boil, turned it down to really low. I cooked this for 10 minutes, then added the goji berries and peas, turned the heat off and left for another 10 minutes covered before serving)

To finish add the goji berries and peas and let stand covered for 10 minutes. Fluff the pilau with a fork, and serve.

ChickenBlueberryGoji14

2009 Roundup, 101st post and Win a Cupcake Cookbook

Thursday, December 31st, 2009

Here is a roundup of some of my favourite recipes for 2009, I hope you enjoyed them as much as I did. Plus – this is my 101st post.

I’m looking forward to what 2010 will hold for me, my cooking and for everyone else. Happy New Year everyone!

P.S. Look at the bottom of this page for your chance to win a cookbook!

Chocolate Swirl Croquembouche
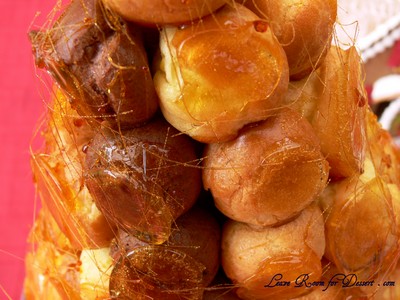
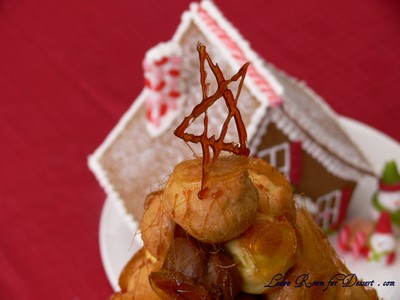
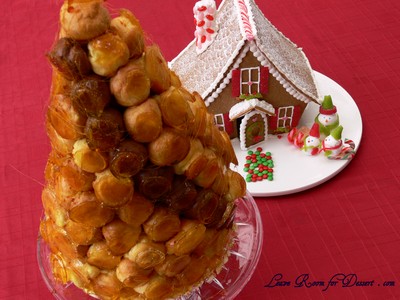
ChocSwirlCroquembouche13

Crouquembouche
croquembouche11

Strawberry and Cream with White Chocolate Sponge and Ice Cream
StrawberryCreamMasterChef08

Triple Chocolate Praline Tart
triplechocolatepralinetart05

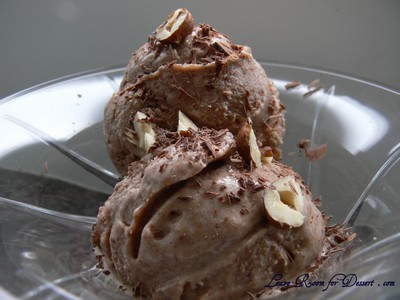
Baci Gelato
bacigelato05


Chocolate Delice

ChocolateDelice43

Gingerbread House
GingerbreadHouse31


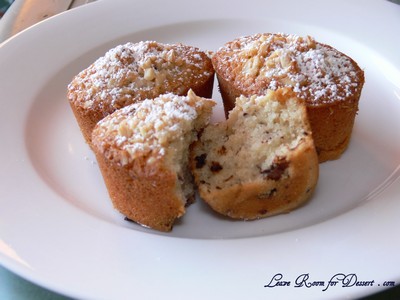
Choc Chip Friands with Cinnamon and Almonds

friands

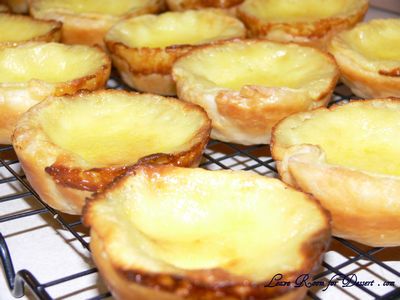
Portuguese Custard Tarts
Portuguese_Custard_Tarts

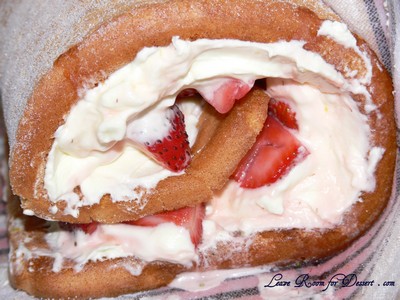
Strawberry Roulade with Lemon Cream
roulade1

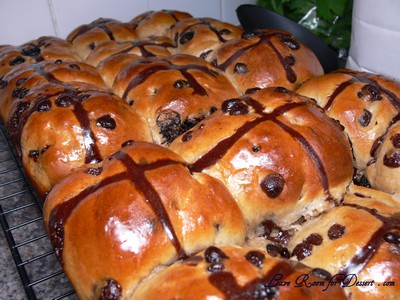
Choc Chip Hot Cross Buns
cchcb2

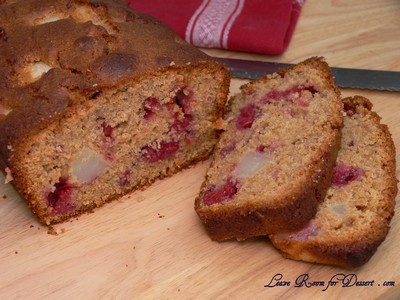
Pear and Raspberry Bread
pearraspberrybread2

White Chocolate and Hazelnut Mud Cake
WhiteChocHazelnut10

White Chocolate and Honeycomb Mud Cake
whitechochoneycomb08

Toblerone Cocktail
TobleroneCocktail13

Beef Wellington
beef_wellington

Beef Korma
beefkorma04

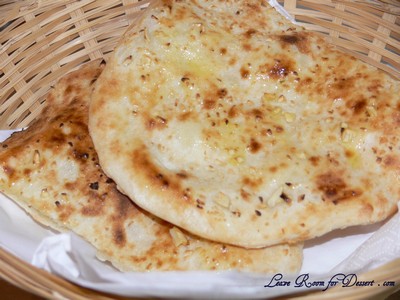
Naan Bread
naanbread031

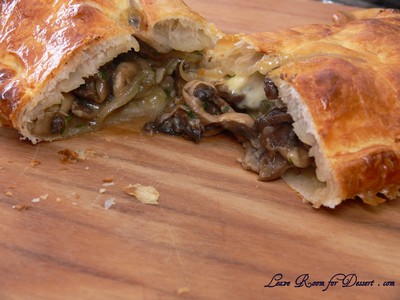
Mushroom and Cheese Strudel
mushroomcheesestrudel01

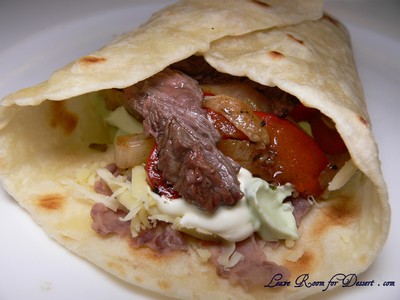
Fajitas and Tortilla’s
fajhitastortillas10

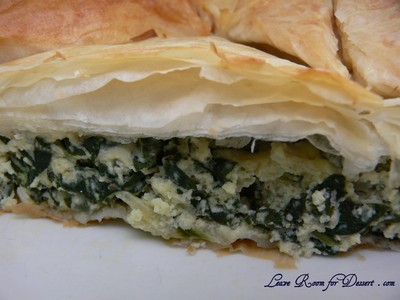
Spanakopita
Spanakopita08

Did you like them? There are many more, just go to my Recipes page to see what recipes are available.

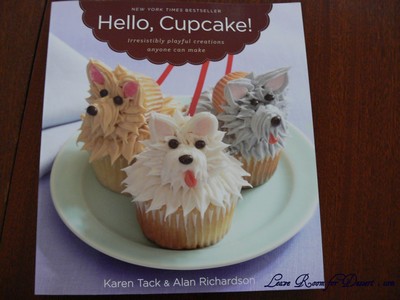
I decided I should offer a prize for my lovely readers in celebration of my 101st post. After receiving a copy of Hello, Cupcake! as a birthday present, and seeing what cute creations can be made to decorate cupcakes, I decided this would be a great prize for someone. (1 prize available)

cupcakecookbook3

All you need to do to win, is write a comment below (to this post) answering the following question:

If you were to hold a themed party, what theme would you choose and how would you decorate and/or flavour your cupcakes to match the theme?

You may enter once daily (as long as your answer is different), and the competition ends on January 27th 2010 at 5pm AEST, with the winner being announced 30th January 2010. (Please make sure you use a valid email address, as this is how I will contact you).

** Please note: This competition is now closed. The winner has now been chosen: Katherine Ryan with cocktail party inspired cupcakes – see below for her answer **

Please note: This is not a sponsored competition, I will be buying from an online book store that says it ships worldwide – so this competition is open for everyone! (So tell your family and friends).

Happy New Year again everyone!
Anita

Chocolate Swirl Croquembouche

Tuesday, December 29th, 2009

ChocSwirlCroquembouche13

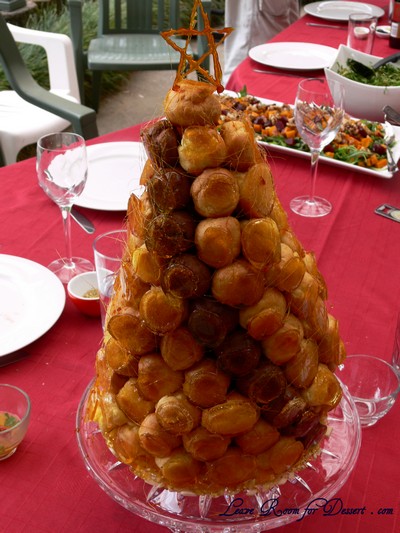
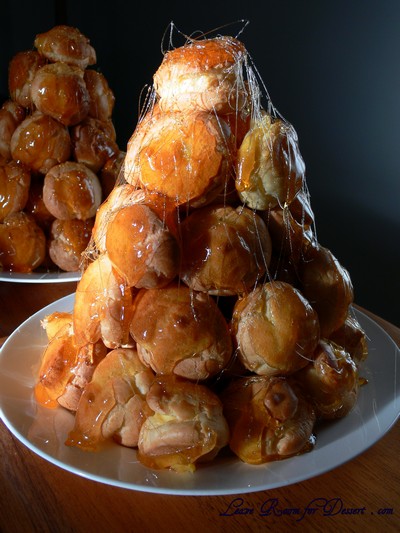
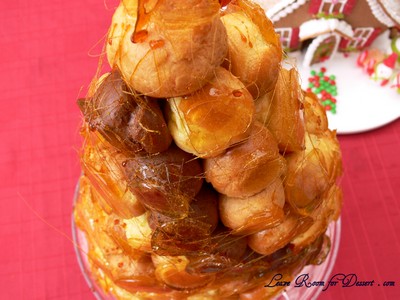
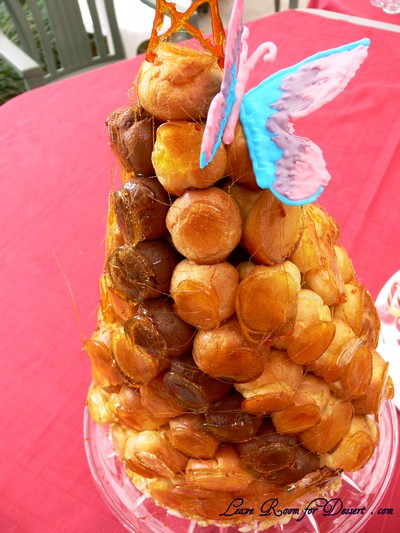
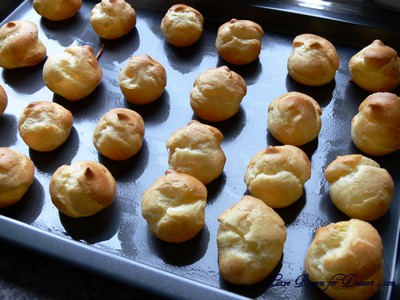
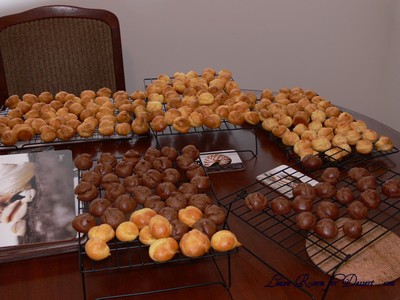
I started craving croquembouche again after the second last celebrity MasterChef. I was craving it so bad, that I didn’t think I could wait until Christmas (which is when I had planned to make my next croquembouche) to eat a custard or pastry cream filled profiterole with the lovely caramel or toffee crunch.

ChocSwirlCroquembouche15

The chocolate delice challenge was taking up my time and weekends were being filled so fast with dinners, outings and a gingerbread house, I didn’t know if I would get any Christmas shopping done (I didn’t get much done, lucky I have a wonderful mum and sisters who did most of it, and whom I thanked with this lovely croquembouche along with the rest of Christmas lunch).

ChocSwirlCroquembouche20

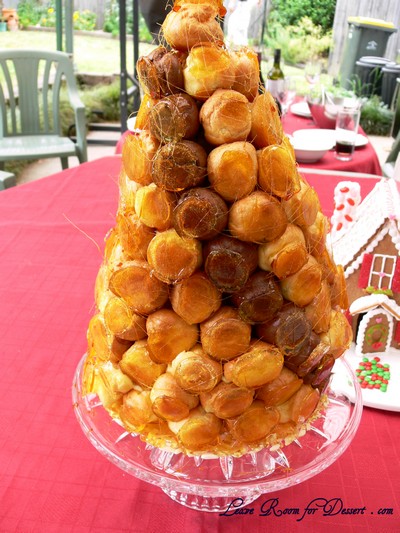
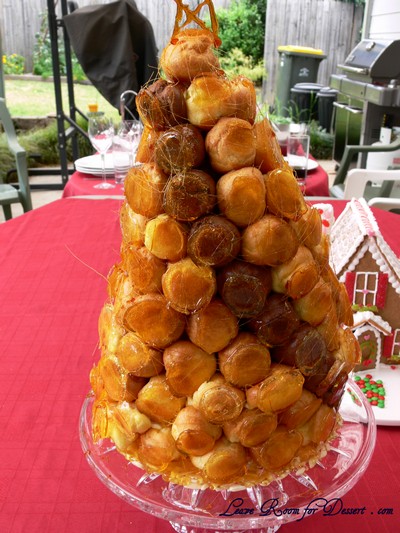
For Christmas I decided to make Adriano Zumbo’s chocolate swirl croquembouche, as I was intrigued by the chocolate profiteroles, but I still wanted the original gorgeous profiteroles too.

ChocSwirlCroquembouche17

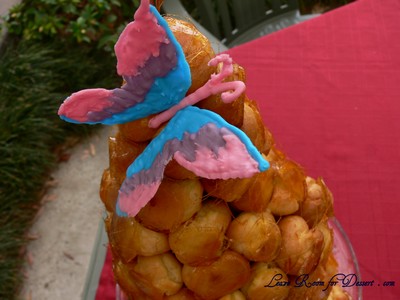
Others and myself looked around quite a bit to find isomalt and the white food white colouring, but were unable to find any in shops – a few places online look as though they sell it. So, instead I decided to make some royal icing butterflies to go on top (using the leftovers from my gingerbread house).

ChocSwirlCroquembouche22

After comparing these quantities to those from the first croquembouche, I decided to cook half the quantity of choux pastry (for the normal and chocolate ones) and a bit more than half the caramel (although I should have made the full quantity of caramel/toffee, as I was making the base and the extra was required for this). I think it’s better to have left over custard than profiterole cases and toffee.

ChocSwirlCroquembouche14

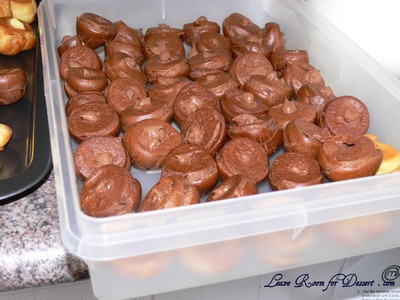
The half amount of choux pastry made almost the perfect number of profiteroles for the vanilla pastry cream. I ended up with a decent amount of chocolate pastry cream left over, but I’m not complaining – as both pastry creams are delicious.

ChocSwirlCroquembouche18

I ended up making quite a large filled croquembouche this time around, although probably wouldn’t recommend one quite as large, as mine only lasted long enough for the photos before crashing down. The next day all the caramel/toffee had dissolved into a large sticky puddle, even though the profiteroles were in an air tight container. We had a large amount of humidity on Christmas day.

ChocSwirlCroquembouche16

I’m really happy I tried the chocolate swirl croquembouche, although think I would stick to the normal one in future, and make the tower a bit smaller.

ChocSwirlCroquembouche21

Chocolate Swirl Croquembouche

Recipe slightly adapted from Adriano Zumbo’s recipe on Celebrity MasterChef 2009

Serves: 12 (I think it serves 20 or more)

Vanilla pastry cream
2 litres milk
500g egg yolks (from around 30 large or extra large eggs)
500g sugar
200g cornflour
200g butter
2 vanilla beans, split, seed scraped out

Chocolate pastry cream
750g of the vanilla pastry cream
375g cream
190g Cocoa Barry 72% Venezuela Chocolate (I used 100g 70% Lindt Chocolate + 90g dark cooking chocolate)

Choux pastry (this is half the quantity from the original recipe and made around 130 profiteroles)
212 ml water
265 ml milk
10g sugar
10g salt
200g butter
265 g plain flour
8 eggs

Chocolate choux pastry (this is half the quantity from the original recipe and made around 40 chocolate profiteroles)
80ml water
100ml milk
4g sugar
4g salt
75g butter
75g flour
25g Barry cocoa powder
3 eggs

Caramel
1kg sugar
300ml water
400g glucose
250g chopped almonds

Decorations (optional)
200g isomalt
20ml water
A few drops of food colouring
Selection of food colouring

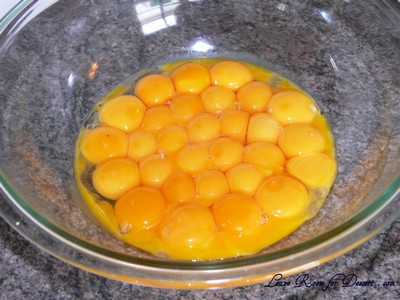
1. To make the pastry cream: place milk and vanilla beans into a large saucepan. Heat gently over medium heat until milk almost boils. Remove from heat, discard vanilla beans and set aside. Beat egg yolks, sugar and cornflour with electric beaters until thick and pale. Gradually whisk in the warm milk and return mixture to the same pan. Stir over medium heat until the custard boils. Remove from heat and pour onto flat tray, spread out to cool rapidly. Cover the surface of the custard closely with cling film, to prevent a skin from forming. Use a candy thermometer to check temperature of custard. When mixture has reached 55ºC, stir through butter and refrigerate, still covered, until completely cooled.

30 egg yolks - the most I've ever used

30 egg yolks - the most I've ever used

ChocSwirlCroquembouche26

The custard mixture was too much for the bowl I had. So I whisked in 1 litre of the milk mixture into the bowl with the egg yolks and sugar, before straining it all back into the remaining 1 litre of milk in the saucepan.

ChocSwirlCroquembouche27

2. To make the chocolate pastry cream: place 750g of cooled vanilla pastry cream, chocolate and cream in a saucepan and reboil. Pour onto a tray, cover with cling film and refrigerate until completely cooled.

3. To make the choux pastry: preheat the oven to 210ºC convection. Lightly grease 2-3 large oven trays and set aside. Combine the water, milk, sugar, salt and butter in a large heavy-based saucepan and bring to the boil. Remove from the heat and using a wooden spoon quickly beat in the flour. Return saucepan to the heat and continue beating until the mixture comes together and pulls away from the sides of the pan. Cook stirring over low heat for a further 1-2 minutes to cook out the flour. Remove from heat and allow to cool slightly.

ChocSwirlCroquembouche28

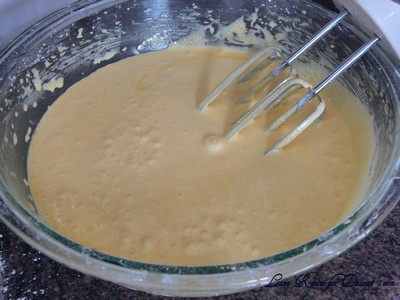
4. Using hand beaters, beat the mixture to release any more heat. (I used my KitchenAid to get rid of a lot of the heat before adding the eggs). Gradually add the eggs, one at a time. Beat well between each addition until all the eggs have been added and the mixture is thick and glossy (a spoon should be able to stand upright in it). Beat for several more minutes, or until thickened.

Half way through the eggs

Half way through the eggs

ChocSwirlCroquembouche32

5. To make the chocolate choux pastry: repeat step 3 & 4 to make chocolate choux pastry adding the cocoa powder with the flour.

6. Spoon the mixtures, in batches, into piping bags fitted with a 1.25-1.5cm nozzle. Cover remaining pastry with cling film. Pipe mixture onto trays about 2.5cm x 2cm high leaving room for spreading. Bake for 25-30 minutes, in batches, or until firm and hollow when tapped. Transfer puffs to wire racks.

ChocSwirlCroquembouche34

ChocSwirlCroquembouche01

ChocSwirlCroquembouche07

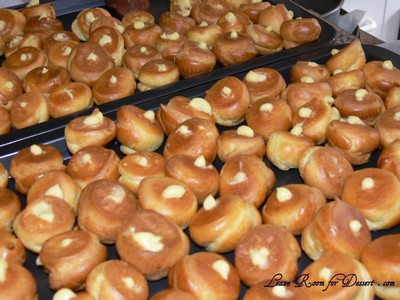
7. Spoon custards into separate piping bags with a nozzle less than 1cm. Poke a small hole in the base of each puff and fill choux pastry with vanilla pastry cream and chocolate choux with chocolate pastry cream. Set aside.

ChocSwirlCroquembouche08

ChocSwirlCroquembouche10

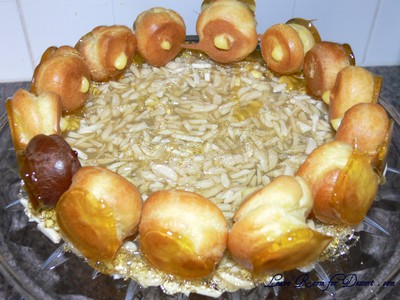
8. For the caramel: grease a cake ring with cooking spray. Combine water and sugar in a saucepan until it boils. Add glucose, and cook until syrup turns a caramel colour. Remove from the heat and dip the base of the pan in a bowl of cold water to cool slightly. Pour just enough caramel to cover almonds and mix well; pour almond caramel into ring to form a 5mm base. This is the base for the croquembouche.

9. Dip the puff bases (I dipped the tops of the profiteroles) in enough toffee to coat and place upside down on a tray lined with silicon paper or silpat mat. (I used baking paper, which worked reasonable well).

10. Combine isomalt and water in a medium saucepan and bring to the boil over high heat. Using a candy thermometer, bring mixture to 160ºC. Remove from heat and add white food colouring. Mix well; mixture will turn completely white. Slowly add drop by drop of colours and swirl pan to mix slightly. Pour into silpat moulds, reserving 1-2 tablespoons of mixture. Stand butterflies for 5 minutes or until hardened.

ChocSwirlCroquembouche05

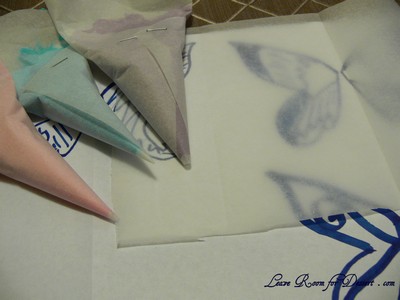
I improvised and made royal icing butterflies, by piping different coloured royal icing onto baking paper – be careful – they are fragile (two of my three fell apart.

ChocSwirlCroquembouche06

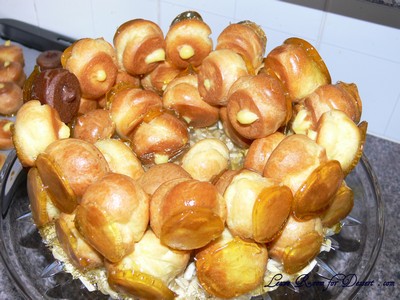
11. To assemble: oil the inside of the croquembouche cone. Dip the sides of the puff balls in the toffee one at a time and place around the inside of the cone in a single row. Place one chocolate ball in each row, to the bottom right of previous chocolate ball. Continue adding rows of vanilla balls and single chocolate balls until the cone is filled and the chocolate balls forms 2 spirals pattern. Place a small amount of caramel on the last balls inside the cone. Place base inside the cone, gently invert cone and slide off the metal cone. Using reserved isomalt mixture, dip butterflies into mixture and fix to top of croquembouche.

Note: I built my croquembouche from scratch, although it was too tall to stand by itself. I may have needed to use more toffee to hold it together. I would make a smaller one in the future.

ChocSwirlCroquembouche11

ChocSwirlCroquembouche12

ChocSwirlCroquembouche14

Gingerbread House – Daring Bakers Challenge December 2009

Sunday, December 27th, 2009

GingerbreadHouse31

GingerbreadHouse32

The December 2009 Daring Bakers’ challenge was brought to you by Anna of Very Small Anna and Y of Lemonpi. They chose to challenge Daring Bakers’ everywhere to bake and assemble a gingerbread house from scratch. They chose recipes from Good Housekeeping and from The Great Scandinavian Baking Book as the challenge recipes.

GingerbreadHouse18

I hadn’t planned on making a gingerbread house in December, for Christmas or for any other occasion. It just seemed like I already had enough on my plate around this time of year, without complicating it even further with making a gingerbread house.

GingerbreadHouse26

This didn’t stop my enthusiasm when I found out what we were making. I’d never made a gingerbread house before – not even plain gingerbread… So I went straight to the internet to get ideas (I even asked a friend from work about the structural plans her husband had used last year – as that was an awesome gingerbread house!)

GingerbreadHouse30

I decided to scale it down and not attempt the two storey magnificent house and found a cute (what I thought would be relatively easy and not too time consuming) gingerbread house with very cute decorations.

GingerbreadHouse20

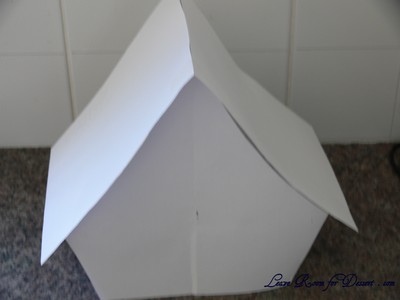
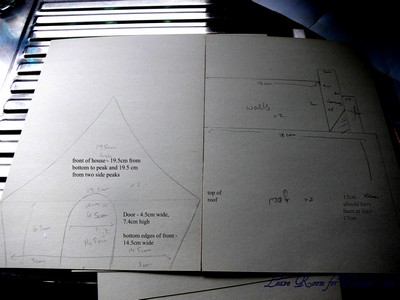
I’m not particularly good with my estimations, as everything seemed to take a lot longer than I had intended (everything except my plans for the house I drew up, along with a cardboard contraption to ensure the roof had a curve to it). The dough was very easy to make (except – I ran out of plain flour – who does that?) plus I think the conversion we were given may have been wrong, as it says 5 cups of flour was 875g not 625g, which is what other internet resources say.

GingerbreadHouse21

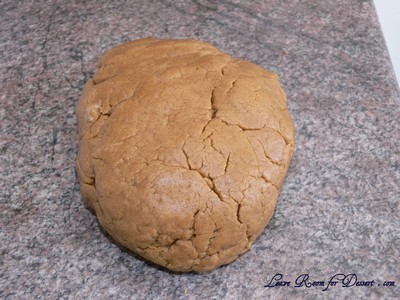
I left the dough in the fridge overnight, as I was having a busy weekend. The next morning it took ages (more than an hour) for the dough to come to a workable consistency – I had to bring in the big guns to roll it out for me.

GingerbreadHouse33

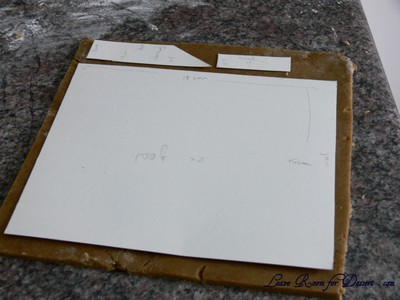
I had been given a hint, that you should cut out your gingerbread pieces once the gingerbread is baked and still warm – as it tends to shrink and warp while cooking, giving uneven walls etc. That was very useful in making sure I had the correct shapes. I just cut out the dough a bit bigger than my templates and cut out the templates from my cooked gingerbread while it was still warm – leaving the roof to set on my curved cardboard (a 24cm long piece of cardboard stuck to a piece of paper to measure 23.7cm on the paper.) I stabilised it with two rolled up overhead projector transparency sheets.

GingerbreadHouse22

Once it was all cooked and cooled, I had to find my decorations. Why is it that every time you’re looking for something in particular, you can never find it?? This happened with a few of my items, although in the end, I couldn’t really fit anything else on the large pavlova plate I was using.

GingerbreadHouse34

The royal icing was a first for me, and I found that 330g icing sugar seemed a bit too much for the amount of egg white (maybe I had to mix it more). I used some reasonably runny icing for the decorations, although it wasn’t great for holding up the walls of the house. So I added more icing sugar and eventually got quite a hard icing, which worked well for stabilising the walls and roof. All a part of learning, I guess.

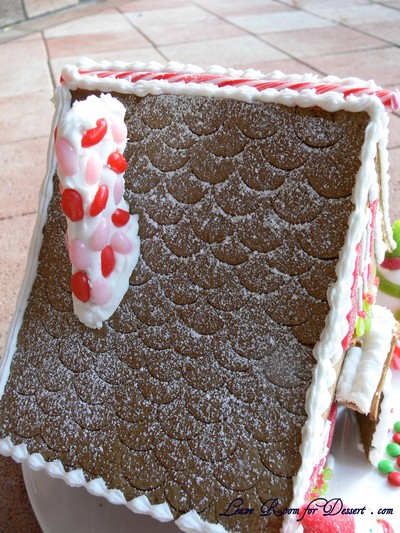
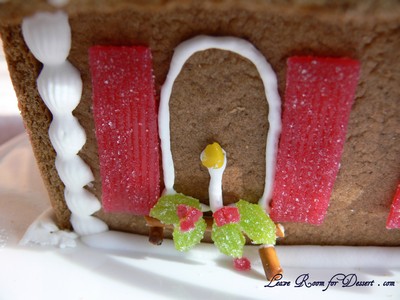
GingerbreadHouse05

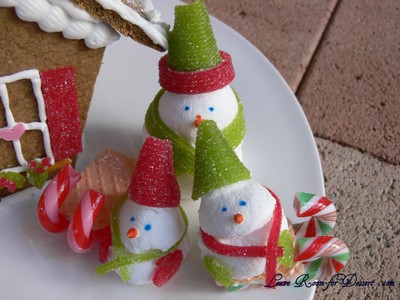
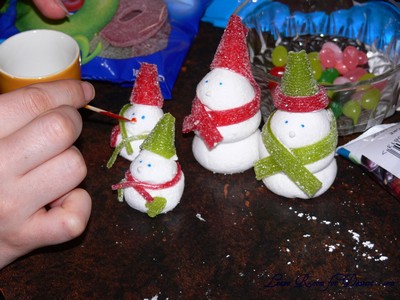
I had help with all the decorating and holding of pieces from my mum and sister (thanks ladies), with them making the very cute snow men out of marshmallows, royal icing and sour strips. (How cute are the scarves and gloves? 🙂 )

GingerbreadHouse19

Holding the leaning side walls, chimney and especially the large roof were a bit nerve racking, although with a bit of icing and patience, it held together.

GingerbreadHouse23

The gingerbread was quite flavoursome (with everyone eating the off cuts and lollies while working), although I think I would put less ground cloves in next time (most people loved the strong flavours, but it was a bit strong for me).

GingerbreadHouse24

Now…. To transfer it to my place for Christmas… why didn’t I do it at my home?

GingerbreadHouse25

Thanks again to both our hosts. I really enjoyed this challenge (even though I am unlikely to make a gingerbread house as elaborate again).

GingerbreadHouse29

I used Y’s chosen recipe:

Scandinavian Gingerbread (Pepparkakstuga)

from The Great Scandinavian Baking Book by Beatrice Ojakangas http://astore.amazon.com/thedarkit-20/detail/0816634963

1 cup butter, room temperature [226g]
1 cup brown sugar, well packed [220g]
2 tablespoons cinnamon
4 teaspoons ground ginger
3 teaspoons ground cloves
2 teaspoons baking soda
½ cup boiling water
5 cups all-purpose flour [875g] (I found this to be 625g)

In a large bowl, cream the butter and sugar until blended. Add the cinnamon, ginger and cloves. Mix the baking soda with the boiling water and add to the dough along with the flour.

GingerbreadHouse38

Mix to make a stiff dough. If necessary add more water, a tablespoon at a time. Chill 2 hours or overnight. (Mine went very hard after chilling overnight).

Cut patterns for the house, making patterns for the roof, front walls, gabled walls, chimney and door out of cardboard.

Update: Click my link for my template

GingerbreadHouse39

GingerbreadTemplate01

Roll the dough out on a large, ungreased baking sheet and place the patterns on the dough. Mark off the various pieces with a knife, but leave the pieces in place.

GingerbreadHouse45

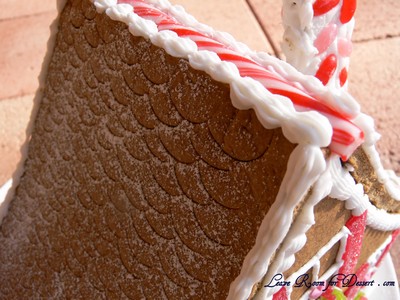
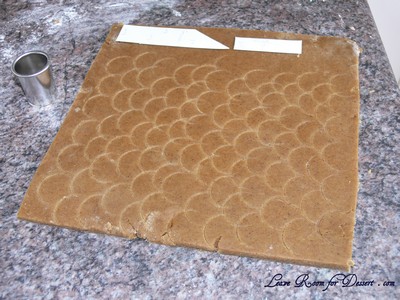
For the tiles on the roof - Use a small circle cutter to make semi circle indents in the dough before backing

For the tiles on the roof - Use a small circle cutter to make semi circle indents in the dough before baking

Y’s notes: [I rolled out the dough on a floured bench, roughly 1/8 inch thick (which allows for fact that the dough puffs a little when baked), cut required shapes and transferred these to the baking sheet. Any scraps I saved and rerolled at the end.]

Preheat the oven to 375’F (190’C). Bake for 12 to 15 minutes until the cookie dough feels firm. After baking, again place the pattern on top of the gingerbread and trim the shapes, cutting the edges with a straight-edged knife. Leave to cool on the baking sheet.

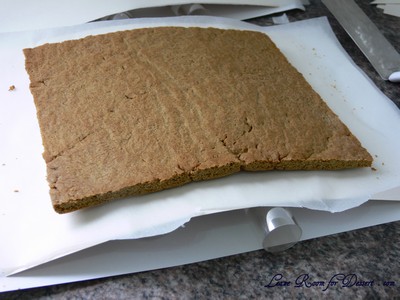
I quickly cut out the roof when the gingerbread was cooked and placed it on a curved piece of carboard to get the curve

For the roof I quickly cut out the roof when the gingerbread was cooked and placed it on a curved piece of carboard to get the curve for the roof

Royal Icing:

1 large egg white
3 cups (330g) powdered sugar (I used a little less)
1 teaspoon white vinegar
1 teaspoon almond extract

Beat all ingredients until smooth, adding the powdered sugar gradually to get the desired consistency. Pipe on pieces and allow to dry before assembling. If you aren’t using it all at once you can keep it in a small bowl, loosely covered with a damp towel for a few hours until ready to use. You may have to beat it slightly to get it an even consistency if the top sets up a bit. Piped on the house, this will set up hard over time.

Simple Syrup:(I didn’t use this, and assembled everything with the royal icing)
2 cups (400g) sugar

Place in a small saucepan and heat until just boiling and the sugar dissolves. Dredge or brush the edges of the pieces to glue them together. If the syrup crystallizes, remake it.

My photos of the assembly: (using lots of royal icing)

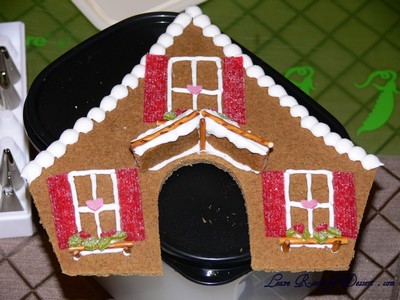
Place all decorations and piping on before assembling

Place all decorations and piping on before assembling

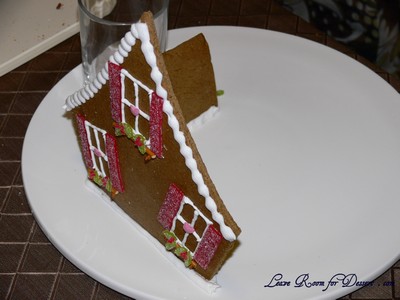
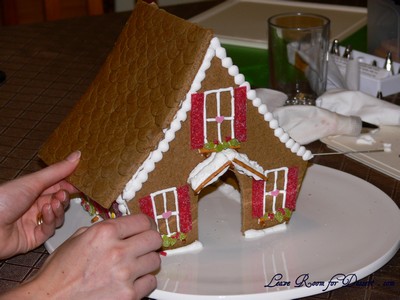
I did one wall first (held up by a glas as it is a leaning wall) then the back of the house.

I did one wall first (held up by a glass as it is a leaning wall) then the back of the house.

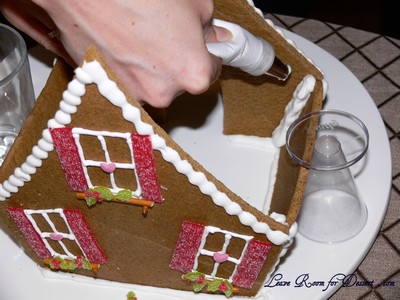
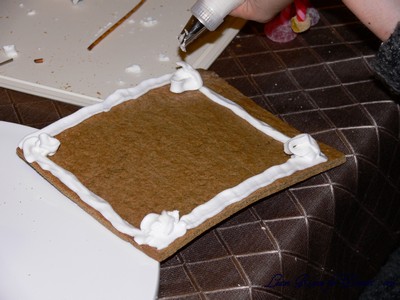
Pipe royal icing on the plate and the sides of the wall before placing walls in place. Pipe extra royal icing in the inside of the house. Make sure the walls are stable before attempting to put the roof on.

Pipe royal icing on the plate and the sides of the wall before placing walls in place. Pipe extra royal icing in the inside of the house. Make sure the walls are stable before attempting to put the roof on.

Pipe royal icing on all the edges the roof will attach to. Place roof on top and hold in place until stable.

Pipe royal icing on all the edges the roof will attach to. Place roof on top and hold in place until stable.

Pipe lots of royal icing on the remaining piece of roof, as you won't be able to pipe any more on the inside. Hold in place until stable.

Pipe lots of royal icing on the remaining piece of roof, as you won't be able to pipe any more on the inside. Hold in place until stable.

GingerbreadHouse28

Gammon

Wednesday, December 23rd, 2009

Gammon07

What is Gammon?

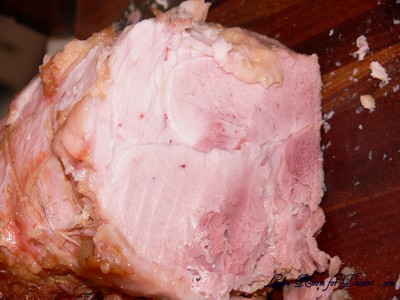
This is the first question asked by almost everyone when I mention we are cooking gammon (also called jambon). Gammon is a wet cured ham, rather than a dry salt-cured ham, this results in a less salty, sweet and subtle flavoured ham. Sounds good already.

Although the cooking of the gammon requires quite a bit of time, it is very, very easy. We just asked our butcher for a gammon and they gave us a 4.4kg gammon removed from the bone, rolled and netted. All that is involved is boiling and simmering then baking. (Make sure you ask for it to be not dry salt cured, otherwise you can’t enjoy the lovely flavours from the apple cider and glaze it’s cooked in).

Gammon09

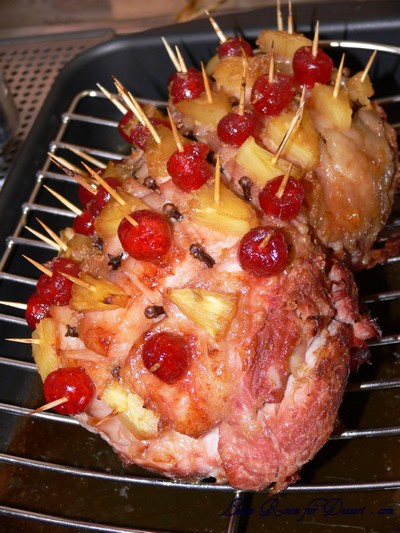
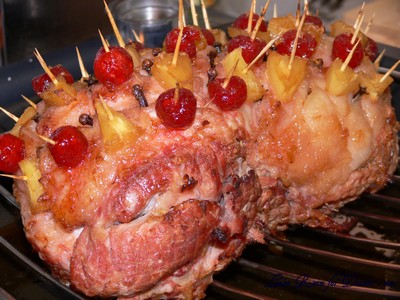
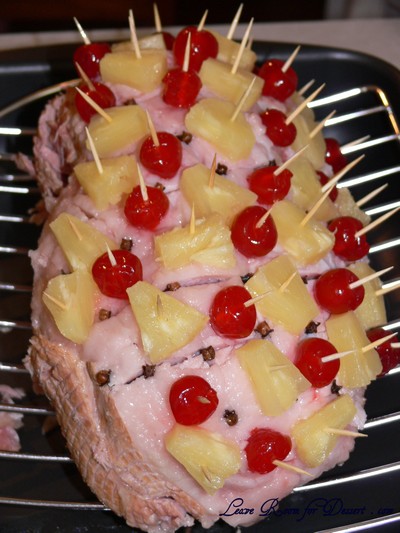
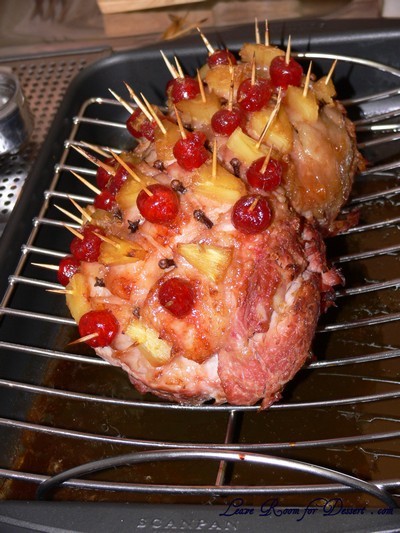
It tasted FANTASTIC! The bits that fell off after removal from the large pot were great. We have made it a few times and it is on our menu for Christmas this year, as it looks so festive with the lovely pineapple and glace cherries checked pattern with cloves. I would recommend giving it a try!

Gammon

1 gammon (uncooked ham, de-boned, rolled and netted) (appox 4.4kg)
2 x 700ml Apple Cider
1 onion, peeled and cut in half
2 carrots, peeled and cut in three
10 peppercorns
4 bay leaves
2 teaspoons mustard powder
2 tablespoons brown sugar

Whole cloves
1 packet (100g) glace cherries
400g sliced pineapple (in juice), cut into small wedges or pineapple pieces
Tooth picks

Glaze
4 tablespoons brown sugar
4 tablespoons mustard powder
4 tablespoons honey (optional)
1 tablespoon ginger, grated

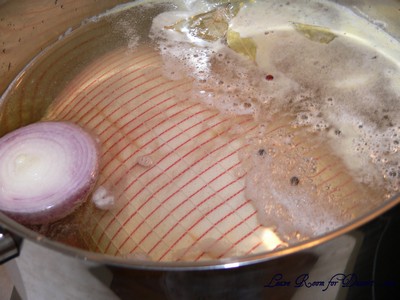
Place gammon in a very large saucepan. Add apple cider, onion, carrots, peppercorns, bay leaves, mustard powder. Add water until gammon is covered. Turn heat up to medium high and when it comes to the boil reduce to a simmer.

Gammon02

Cook for 4 – 4.5 hours (around 30 minutes per 500g). Preheat oven to 160°C towards the end of cooking.

To make glaze, mix all ingredients together.

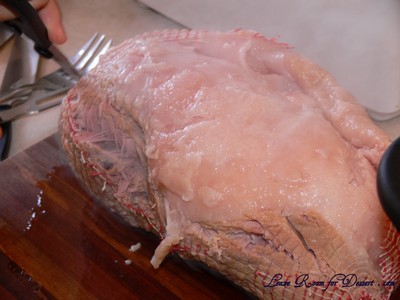
Remove from water and remove netting from gammon (the skin should come off with the netting). Remove any excess fat, but leave a layer on. Score the fat and top layer of gammon with a knife, and make a diamond pattern.

Gammon03

Stick whole cloves in the points of each diamond. Using toothpicks, stick pineapple and glace cherries alternatively in the middle of each diamond.

Gammon04

Spoon half the glaze over the gammon. Bake in preheated oven for 30-40 minutes. Spoon remaining glaze over the gammon once or twice during cooking.

Remove the gammon from the oven and remove cloves. Either leave the cherries and pineapple on the ham while you carve the meat, or serve beside cut gammon.

Gammon08

Gammon01

Lemon Tasting Plate and the MasterChef Cookbook

Wednesday, December 16th, 2009

LemonTastingPlate02

My family and friends know how much I loved watching MasterChef. Most of my readers have probably also picked up on this from the other recipes I’ve already made from MasterChef:
Strawberries and Cream Dessert
Sticky Date Pudding
Aria Chocolate Tart
Croquembouche
Chocolate Delice
Scones

LemonTastingPlate04

So why did I like it so much? While others were interested in watching drama unfold, I was waiting for the food. What will they cook with those secret ingredients, what would I cook? Which celebrity chef will be on? I wonder what they will make? (I really loved seeing the Chefs recipes, who wouldn’t?)

MasterChef07

That’s why I was so excited to be receiving a copy of the MasterChef Cookbook! (Thanks to Random House for sending me the book). I know that many of the recipes can be found on their website, but how can people resist having the recipes in their bookshelf – along with some of the recipes, tips and step-throughs not included on the website. (My love of cookbooks will probably see me getting some new ones as Christmas presents this year 🙂 ).

MasterChef03

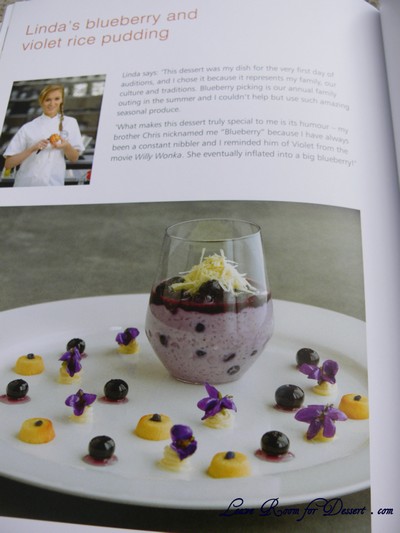
One of the recipes I was looking forward to was the ice cream recipe – I remember how much people loved the silky ice cream, and the method seemed easy enough. One recipe most people won’t remember, as it was made very early in the series, was Linda’s blueberry and violet rice pudding. I remember it being presented to the judges when contestants were trying to get past the first round. It’s just so pretty! It’s on my list, and I’m happy to have the recipe.

MasterChef01

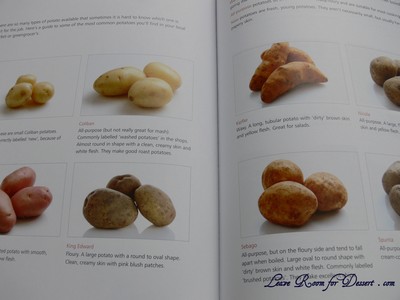
The book itself is around 260 pages and covers a lot of the basics for cooking. Some of the tips include how long dry, wet, fresh and frozen goods should be kept, knife skills, sauces and stocks, different types of potatoes and onions and their uses, as well as a few step-by-step instructions, where it’s needed. There are photos of all the contestants, reminding you who made the dish, photos of the action, the judges and the celebrity chefs.

MasterChef02

In front of many of the recipes are contestants views and thoughts of the dish, their inspiration or history behind it or just a reminder of where the recipe fitted into the competition. I love the large photos (almost one opposite each recipe) and I think this helps cooks make a quick decision as to whether they would be interested in making the dish, or at least how the dish should look once finished.

I would have liked to have seen a few other recipes in there, such as the chocolate and jaffa souffle which looked gorgeous, buttermilk hot cakes with candied apples and Julia’s baked ricotta (the recipe that got her through past the first round).

Overall, I think this book is presented in a great way and would appeal to both inexperienced and veteran cooks alike, and to anyone who likes a challenge!

MasterChef05

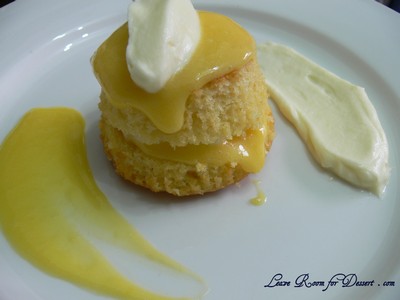
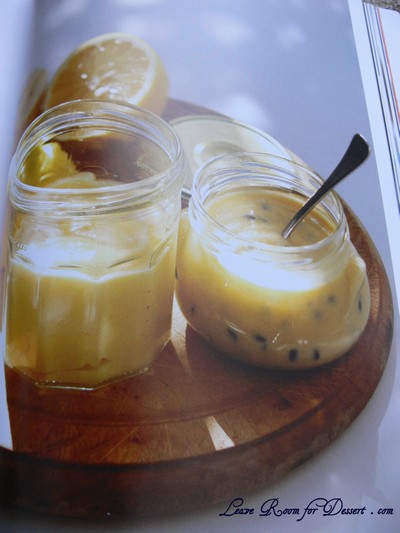
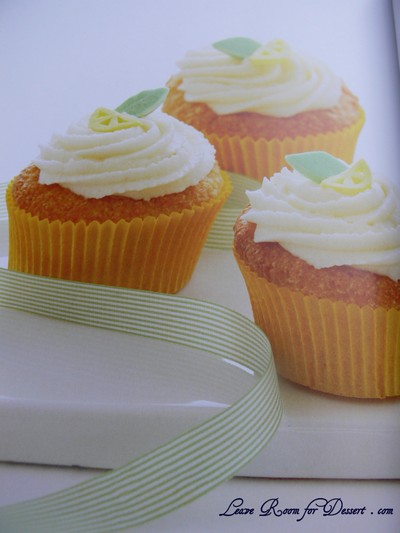
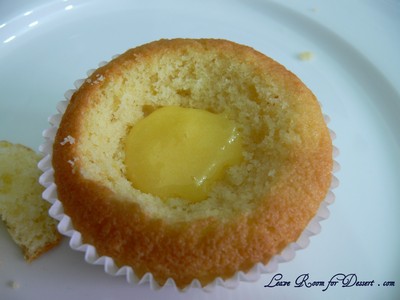
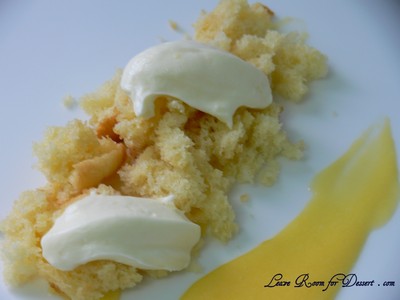
I decided I would finally have to make the lemon tasting plate seen on one of the Masterclasses on MasterChef. This included Julie’s Lemon Diva Cupcakes, lemon curd, lemon creme fraiche and lemon vanilla syrup. The book has recipes for both the lemon curd and lemon cupcakes, although I just made up my own lemon cream to go with it – the result, a gorgeous blend of lemon flavours. The lemon cupcakes were lovely and light (these would also be great as plain vanilla cupcakes) and worked well with the slight tang of the lemon curd and the sweetness of the lemon cream.

MasterChef06

Lemon Tasting Plate

Edited 18/12/09: Recipes removed due to request

My lemon tasting plate consists of Julie’s Lemon Diva Cupcakes and Lemon Curd from the MasterChef cookbook and my recipe of lemon cream

LemonTastingPlate10

LemonTastingPlate11

Lemon Cream

Recipe by me

250ml thickened cream
1/2 lemon, juice and zest
1/3 cup caster sugar

Beat all ingredients together in a medium sized bowl, until cream becomes thick and whipped.

To serve:
Cut a shallow hole out of the top of the cupcakes (cut this piece in half). Place a teaspoon of lemon curd in the bottom of the well and then top with some lemon cream. Place the cut out halves into cream, with the curved sides facing one another to look like butterflies.

LemonTastingPlate17

LemonTastingPlate19

or

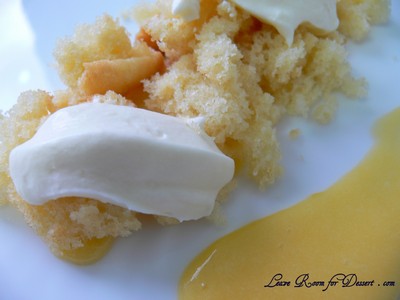
Smear some lemon curd onto a plate. Crumble over a lemon cupcake and quenelle the lemon cream and place on top.

LemonTastingPlate08