Cakes, Slices and Biscuits

Lemon Marshmallow and Lemon Sherbet

Friday, August 7th, 2009

lemonmarshmallow06

I had wanted to make marshmallows for a while, and then just when I was getting the time to make it, the July Daring Bakers Challenge came and I got to make some lovely Mallows (Chocolate covered marshmallows on biscuits). The marshmallow for that recipe went surprisingly well and inspired me to finally make a recipe I had book marked a while ago.

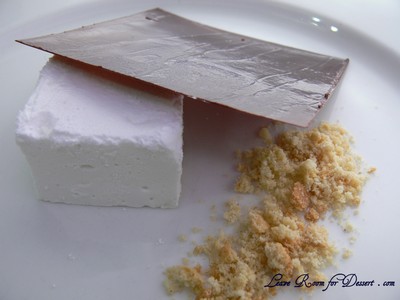
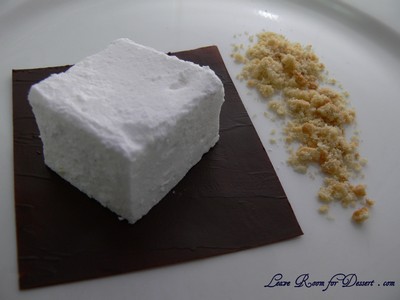
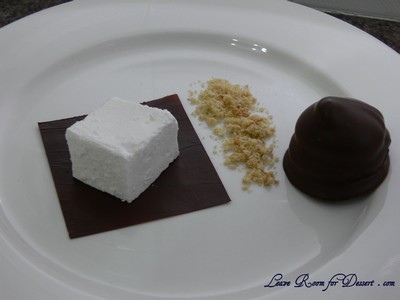
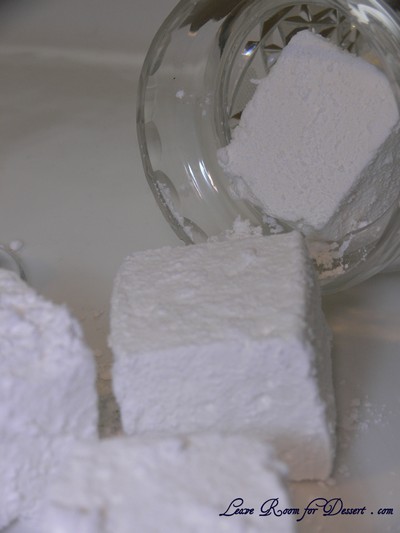
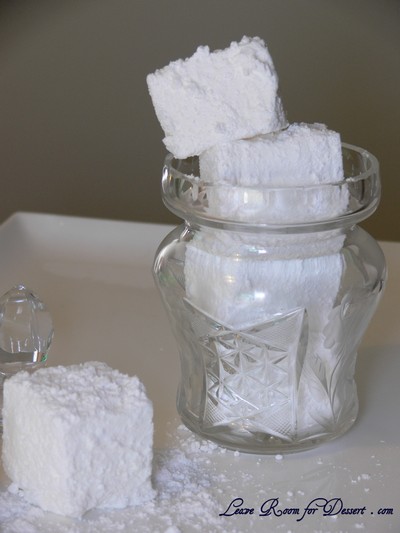
This lemon marshmallow is lovely and strongly flavoured with sweet lemon. Making the marshmallow proved a lot easier than cutting the marshmallow (which involved cleaning the knife after each cut and sprinkling icing mixture or icing sugar in the cuts to stop it sticking back to itself).
lemonmarshmallow04

To go with the marshmallow, I decided I had to make the sherbet as well. I made a third of the quantity of the original recipe and after trying ¼ teaspoon, my mouth almost started foaming and turning inside out. So after adding another 2 x icing sugar, the craziness of the mixture was finally toned down. (I’m just glad I didn’t use the 75g citric acid they recommended, otherwise I would have had an extremely large excess of sherbet.)

The marshmallow and sherbet work very well together, although the sherbet does tend to overpower the marshmallow, so I would suggest serving these separately or sparingly with the sherbet.
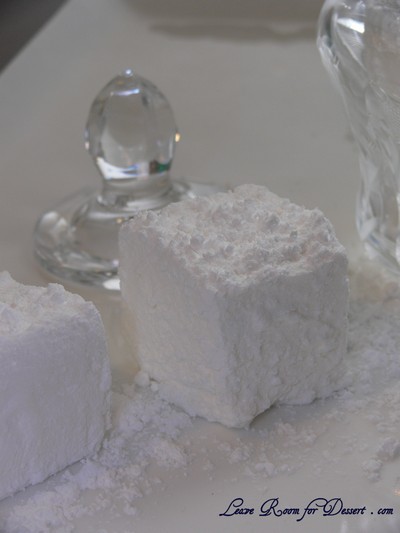
lemonmarshmallow05

Lemon Marshmallows with Lemon Sherbet
Recipe from Gourmet Traveller.com.au (Sherbet recipe slighty adapted)

Makes about 25

25g powdered gelatine
185ml (¾ cup) lemon juice
½ lemon, finely grated rind only
500g caster sugar
1 tablespoon liquid glucose
2 eggwhites
For dusting: snow sugar (see note) (I used icing mixture, it went a bit hard after a few days, but worked well enough)

Lemon sherbet
25g citric acid (see note)
95g pure icing sugar (or icing mixture if that’s what you have)
1/3 tablespoon bicarbonate of soda, finely sieved
1/3 lemon, finely grated rind only

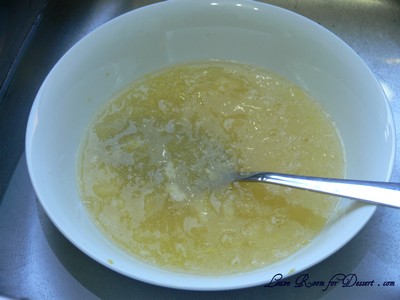
Combine gelatine, lemon juice and rind in a small bowl and stand until lemon juice is absorbed (1-2 minutes). Fill a bowl with boiling water and place bowl of gelatine mixture on top and stand until gelatine has dissolved (1-2 minutes). Keep warm.
lemonmarshmallow02

Combine sugar, glucose and 200ml water in a saucepan. Bring to the boil, stirring to dissolve sugar, then brush down sides of pan using a wet, clean pastry brush and cook over medium heat until syrup reaches 125C on a sugar thermometer (5-10 minutes).

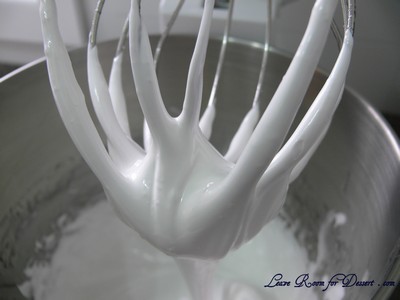
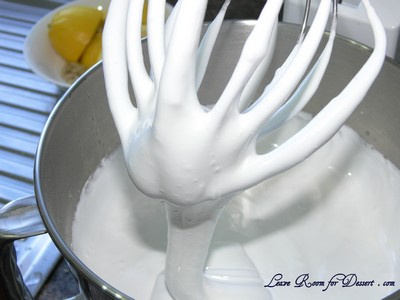
Meanwhile, whisk eggwhites using an electric mixer on medium speed until soft peaks form. Increase speed to high and whisk to firm peaks. With motor running and mixer speed on medium, slowly and simultaneously add syrup and gelatine mixture in a thin stream. Whisk until mixture cools to blood temperature.
lemonmarshmallow03

Spoon into a baking paper-lined 20cm-square cake tin, smooth top using a wet palette knife and refrigerate until firm (1-2 hours). Cut into cubes, roll in snow sugar and refrigerate until required.

For lemon sherbet, sift ingredients through a fine sieve into a dry bowl (sherbet must remain dry to retain fizz effect). It will keep refrigerated in a dry airtight container for 1 week.

Serve marshmallows dusted heavily in lemon sherbet and eat immediately. (I used the sherbet sparingly over the marshmallows).
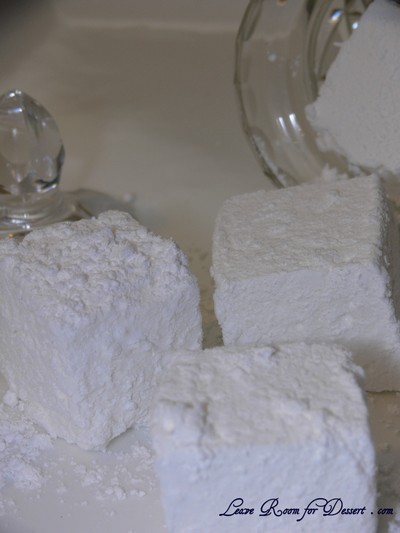
lemonmarshmallow01

Note: Snow sugar is a mixture of icing sugar and vegetable fats, resulting in an icing sugar that can be used to dust slightly moist cakes without dissolving as quickly as ordinary icing sugar. It is available from select delicatessens. Substitute with icing sugar. Citric acid is available from the baking section of major supermarkets. Make sure all ingredients for lemon sherbet stay completely dry otherwise you will lose the fizz effect.
Sticky Date Pudding with Butterscotch Sauce and Almond Praline

Saturday, August 1st, 2009

stickydatepudding06

There are many dishes that I have on my list of yummy things to make after watching the MasterChef Australia 2009 series – and this was one of them. You may have already seen my first MasterChef challenge – the Crouquembouche, which I will be making again (not necessarily in a cone shape – perhaps just profiteroles filled with gorgeous custard, placed on baking paper and toffee poured over them, thereby reducing any injury due to placing fingers in hot toffee).

stickydatepudding08

The judges absolutely loved the contestants’ sticky date puddings for this pressure test, with none of them being eliminated as they had all done so well. A friend at work had also made this dish – at least 3 times, so I figured it must be good.

stickydatepudding07

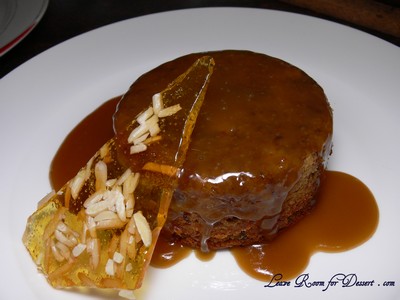
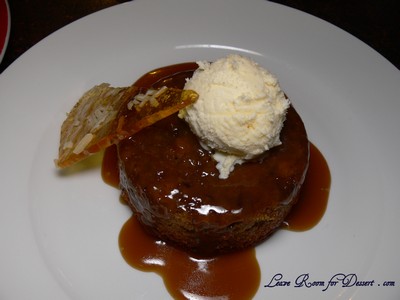
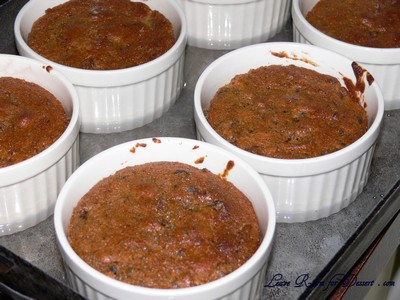
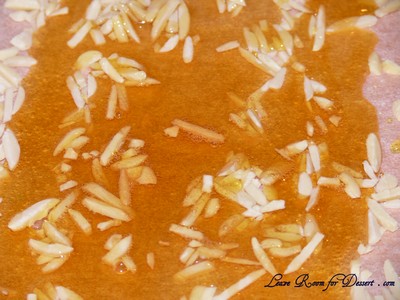
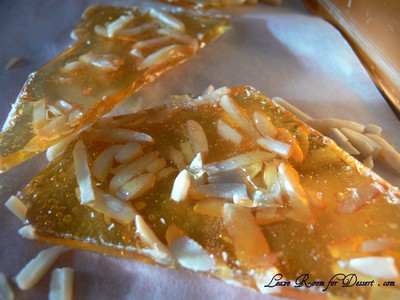
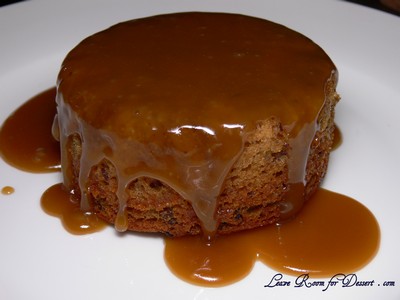
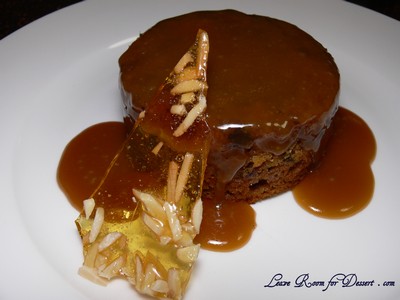
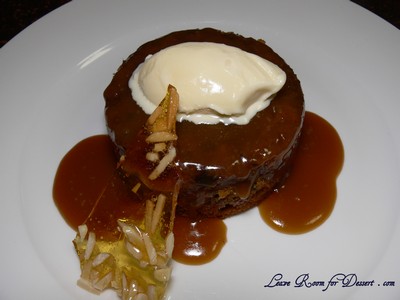
I thought the dish was very lovely, although I think my expectations on taste had been lifted so high from the Crouquembouche that it didn’t live up to that recipe. The butterscotch sauce was easy and beautiful (I love butterscotch flavoured desserts) and the praline was quite nice too (although when I poured it over my almond slivers, it tended to push them away rather than flow over the top – not sure what I did wrong). The sticky date pudding itself was very tasty, even though I don’t normally like sticky date puddings out at restaurants.

stickydatepudding09

Sticky Date Pudding with Butterscotch Sauce and Almond Praline
Recipe from MasterChef Australia 2009

Makes: 6-8

180g dates, pitted and roughly chopped
11/4 cups (310ml) water
1/2 teaspoon bicarbonate of soda
3/4 cup (165g) firmly packed brown sugar
60g butter, softened chopped
2 eggs
1 cup (150g) self-raising flour

Almond praline
1/2 cup (110g) caster sugar
1/4 cup (35g) slivered almonds

Butterscotch sauce
50g butter
1 cup (220g) brown sugar
1 cup (250ml) cream
1 tsp vanilla extract

Preheat oven to 180°C (160°C fan-forced). Lightly grease 8 (1/2 cup capacity) metal dariole moulds. (I used 6 ramekins)

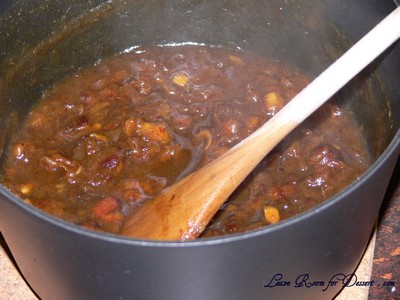
Place dates and water in a saucepan and bring to the boil over a high heat. Remove from the heat. Add
bicarbonate of soda, stir until dates start to break down, set aside to cool, stirring occasionally.

stickydatepudding14

Beat butter and sugar in a bowl using a hand beater, gradually add eggs one at a time, beat until light and fluffy.

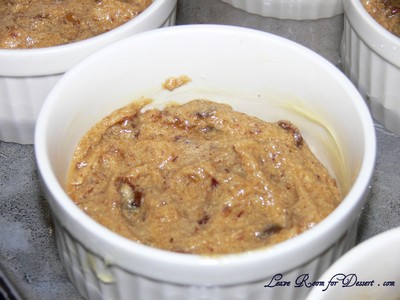
Add date mixture, stir to combine. Carefully fold through sifted flour, divide mixture evenly between the eight moulds (I used 6 ramekins), until 2/3 full.

stickydatepudding02

Place moulds in a baking tray, carefully pour water in tray until it comes up 1/3 of the side of the moulds. Bake in oven for 40 minutes or until golden and skewer comes out clean.

stickydatepudding03

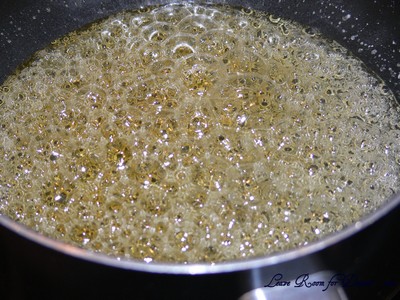
Meanwhile, for the almond praline, combine sugar and 2 tablespoons water in a saucepan over medium heat and cook caramel without stirring, swirling pan, until deep golden. Scatter almonds onto a baking paper-lined oven tray, pour over caramel and cool until set. Break praline into pieces.

stickydatepudding12

stickydatepudding13

stickydatepudding01

For the butterscotch sauce, combine butter, sugar, cream and vanilla in small saucepan over low heat until butter melts and sugar dissolves. Bring sauce to the boil, reduce heat and cook for 5-6 minutes or until sauce thickens slightly.

To serve, invert the hot pudding onto a serving plate, top with butterscotch sauce and shards of praline.

stickydatepudding04

stickydatepudding08

Mallows and Milan Cookies – Daring Bakers July 2009

Monday, July 27th, 2009

mallowsandmilan02

The July Daring Bakers’ challenge was hosted by Nicole at Sweet Tooth. She chose Chocolate Covered Marshmallow Cookies and Milan Cookies from pastry chef Gale Gand of the Food Network.

My artistic version of the mallows :)

My artistic version of the mallows 🙂

I was very excited when reading this month’s Daring Bakers challenge for two reasons. The first was seeing the Choc Mallows, which I’ve loved eating (called Royals by one company here in Australia) but never thought about making, and was very excited to finally make marshmallow. The second was the Milan Cookies, which I’ve never tasted before, but was very glad they used so many eggwhites. (This may seem a little weird, as many people were asking what they should make with their left over egg yolks, although I already had 18 egg whites left over from making a Crouquembouche – with the most fantastic custard). I froze the egg whites in lots of 6, and this was the perfect amount for one batch of Milan Cookies.

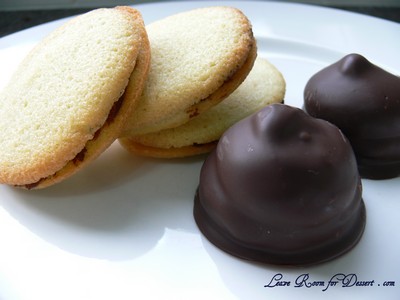
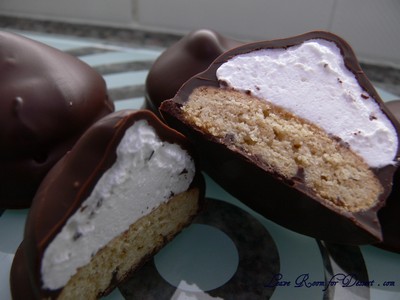
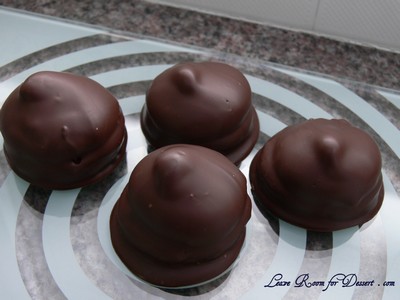
I was extremely happy with how the Mallows turned out – the combination of biscuit and marshmallow covered in dark chocolate was just fantastic and very much similar to those from the shops. I didn’t think the biscuits tasted that great without the other two components and unfortunately the recipe made around double than necessary for the marshmallow and chocolate – so if I were to make it again, I would make half the biscuits.

mallowsandmilan01

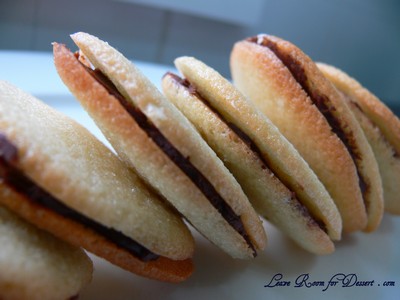
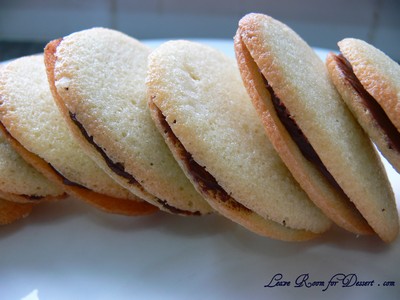
The Milan biscuits tasted lovely, especially (almost) straight out of the oven. Unfortunately I had no lemon essence or orange and therefore had vanilla cookies with a chocolate ganache filling.

mallowsandmilan15

Thanks to Nicole for the great idea and introducing me to two new biscuits and great recipes. I enjoyed the challenge and was very happy with how they both turned out.

mallowsandmilan10

Mallows (Chocolate Covered Marshmallow Cookies)
Recipe courtesy Gale Gand, from Food Network website

Chocolate Covered Marshmallow Cookies
Prep Time: 10 min
Inactive Prep Time: 5 min
Cook Time: 10 min
Serves: about 2 dozen cookies

• 3 cups (375grams/13.23oz) all purpose flour
• 1/2 cup (112.5grams/3.97oz) white sugar
• 1/2 teaspoon salt
• 3/4 teaspoon baking powder
• 3/8 teaspoon baking soda
• 1/2 teaspoon ground cinnamon
• 12 tablespoons (170grams/ 6 oz) unsalted butter
• 3 eggs, whisked together
• Homemade marshmallows, recipe follows
• Chocolate glaze, recipe follows

1. In a mixer with the paddle attachment, blend the dry ingredients.
2. On low speed, add the butter and mix until sandy.
3. Add the eggs and mix until combine.
4. Form the dough into a disk, wrap with clingfilm or parchment and refrigerate at least 1 hour and up to 3 days.
5. When ready to bake, grease a cookie sheet or line it with parchment paper or a silicon mat.
6. Preheat the oven to 375 degrees F (180C)
7. Roll out the dough to 1/8-inch thickness, on a lightly floured surface. Use a 1 to 1 1/2 inches cookie cutter to cut out small rounds of dough.
8. Transfer to the prepared pan and bake for 10 minutes or until light golden brown. Let cool to room temperature.
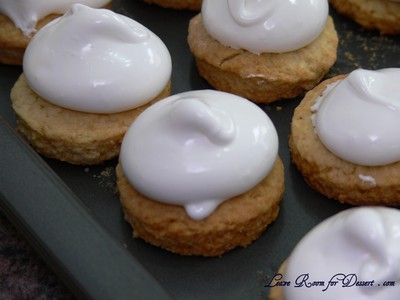
9. Pipe a “kiss” of marshmallow onto each cookie. Let set at room temperature for 2 hours.

mallowsandmilan07

10. Line a cookie sheet with parchment or silicon mat.
11. One at a time, gently drop the marshmallow-topped cookies into the hot chocolate glaze.
12. Lift out with a fork and let excess chocolate drip back into the bowl.
13. Place on the prepared pan and let set at room temperature until the coating is firm, about 1 to 2 hours.

mallowsandmilan14

Note: if you don’t want to make your own marshmallows, you can cut a large marshmallow in half and place on the cookie base. Heat in a preheated 350-degree oven to slump the marshmallow slightly, it will expand and brown a little. Let cool, then proceed with the chocolate dipping.

Homemade marshmallows:
• 1/4 cup water
• 1/4 cup light corn syrup
• 3/4 cup (168.76 grams/5.95oz) sugar
• 1 tablespoon powdered gelatin
• 2 tablespoons cold water
• 2 egg whites , room temperature
• 1/4 teaspoon pure vanilla extract

1. In a saucepan, combine the water, corn syrup, and sugar, bring to a boil until “soft-ball” stage, or 235 degrees on a candy thermometer.
2. Sprinkle the gelatin over the cold water and let dissolve.
3. Remove the syrup from the heat, add the gelatin, and mix.
4. Whip the whites until soft peaks form and pour the syrup into the whites.
5. Add the vanilla and continue whipping until stiff.
6. Transfer to a pastry bag.

mallowsandmilan06

Chocolate glaze:
• 12 ounces semisweet chocolate
• 2 ounces cocoa butter or vegetable oil

1. Melt the 2 ingredients together in the top of a double boiler or a bowl set over barely simmering water.

mallowsandmilan12

Milan Cookies
Recipe courtesy Gale Gand, from Food Network website

Milan Cookies
Prep Time: 20 min
Inactive Prep Time: 0 min
Cook Time: 1 hr 0 min
Serves: about 3 dozen cookies

• 12 tablespoons (170grams/ 6 oz) unsalted butter, softened
• 2 1/2 cups (312.5 grams/ 11.02 oz) powdered sugar
• 7/8 cup egg whites (from about 6 eggs)
• 2 tablespoons vanilla extract
• 2 tablespoons lemon extract
• 1 1/2 cups (187.5grams/ 6.61 oz) all purpose flour
• Cookie filling, recipe follows

Cookie filling:
• 1/2 cup heavy cream
• 8 ounces semisweet chocolate, chopped
• 1 orange, zested

1. In a mixer with paddle attachment cream the butter and the sugar.
2. Add the egg whites gradually and then mix in the vanilla and lemon extracts.
3. Add the flour and mix until just well mixed.
4. With a small (1/4-inch) plain tip, pipe 1-inch sections of batter onto a parchment-lined sheet pan, spacing them 2 inches apart as they spread.
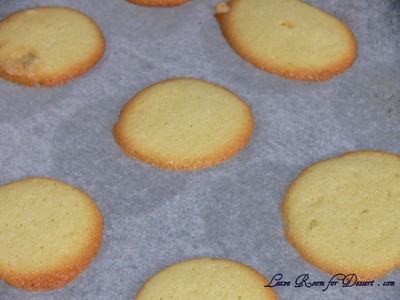
5. Bake in a preheated 350 degree (180C) oven for 10 minutes or until light golden brown around the edges. Let cool on the pan.

mallowsandmilan17

6. While waiting for the cookies to cool, in a small saucepan over medium flame, scald cream.
7. Pour hot cream over chocolate in a bowl, whisk to melt chocolate, add zest and blend well.
8. Set aside to cool (the mixture will thicken as it cools).
9. Spread a thin amount of the filling onto the flat side of a cookie while the filling is still soft and press the flat side of a second cookie on top.
10. Repeat with the remainder of the cookies.

mallowsandmilan18

Coconut and Cardamon Burfi

Friday, July 24th, 2009

burfi03

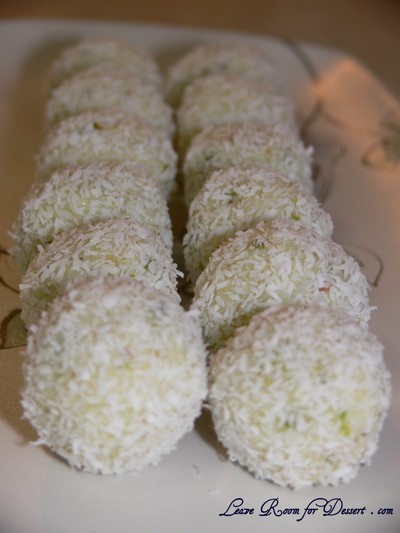
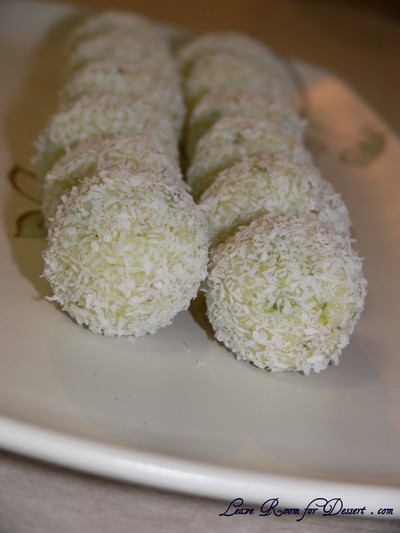
If you’re still not full after that entire banquet, perhaps you should make a few more naan breads, as this Indian sweet won’t fill you up, but it will end the meal very nicely.

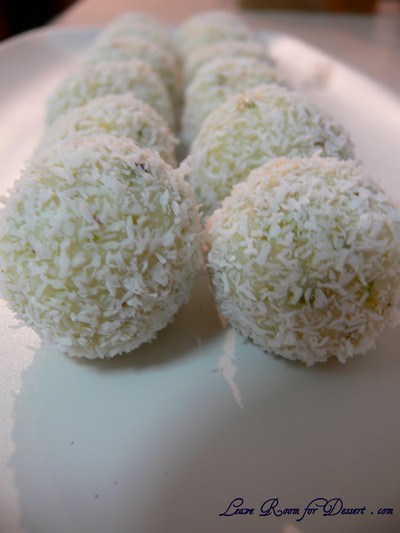
It is lovely and sweet with beautiful coconut and cardamom flavours with little chunks of pistachio. The sweetened condensed milk joins them all together and they are best eaten at room temperature, as they loose a bit of flavour straight from the fridge.

burfi08

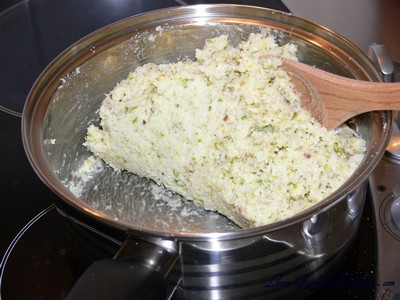
This recipe is from Food Safari, which I turned to for advice on desserts or sweets to make. I didn’t really see a huge difference in the mixture from mixing to heating for 10 minutes, but perhaps it did combine and roll a bit easier.

Coconut and Cardamon Burfi
Recipe from Food Safari

250g desiccated coconut
395g can sweetened condensed milk
10 cardamom pods – grind/crush seeds into a powder
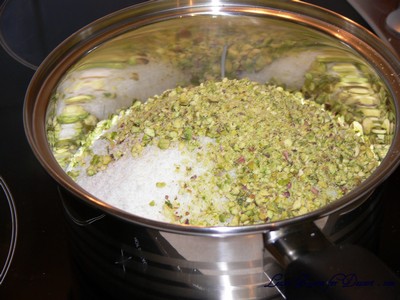
Handful of pistachio nuts, roughly crushed

Mix 200g of the coconut and the remaining ingredients in a bowl.

burfi04

Heat a non-stick pan on low heat and add mixture to the pan. Stir over low heat until the mixture starts to dry and rolls easily into a ball. Remove from the heat. Cool for 5 to 10 minutes until cool enough to handle.

burfi06

Place the remaining coconut onto a plate. Using damp hands, roll the mixture into balls and then roll in coconut to coat. The coconut balls can be refrigerated for up to a week.

burfi02

Croquembouche

Thursday, July 2nd, 2009

croquembouche11

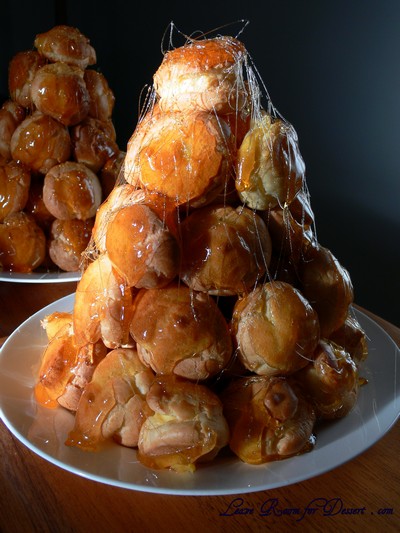
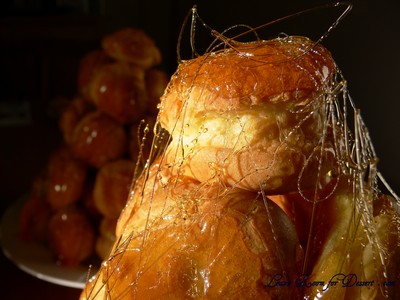
I was so inspired while watching MasterChef when Adriano Zumbo brought out a massive Croquembouche (a custard filled profiterole stack covered in toffee/caramel).

Hearing the crispy crunch as the contestants bite through the toffee covering layer, then seeing the thick custard and lovely fresh choux pastry… I just melted. I wished badly that I could be there trying one. (Maybe not competing – it seemed very stressful, with contestants burning their hands left, right and centre.)

croquembouche18

After such a good recommendation (of stress and burnings) – why wouldn’t I give it a go? 😛 Well I hoped that doing it at home without as much stress would allow the experience to be a good one.

I just needed a reason to make one, and what better than a “Welcome Home” dinner? (You would want to leave and come back every week if this was your reward for returning… or at least I would).

croquembouche14

Can I just say… this is truly the BEST, most FANTASTIC custard ever!!!! (sorry I didn’t get a photo that did it justice) The whole combination of choux pastry, custard and toffee was just amazing! I will definitely make this again, but next time I will be a bit more careful with the toffee…

croquembouche03

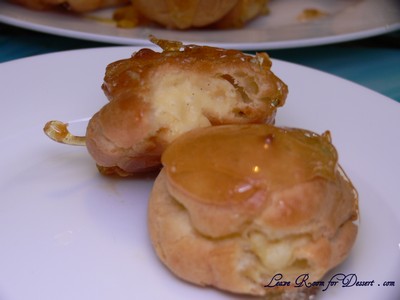
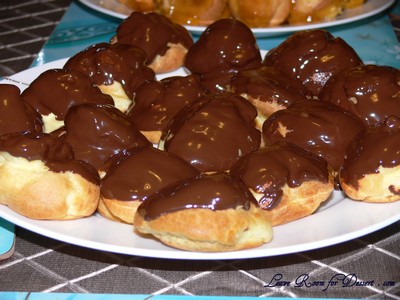
I made the quantities given on the MasterChef website (check out their video), and it ended up making around 180 profiteroles (8 trays worth) and enough custard to fill half of them, with enough toffee to coat those with custard. As we had so many pastry shells left over, we filled half of the remaining profiteroles with vanilla whipped cream and dipped the top in melted dark chocolate. For this reason I would suggest making half the quantity of profiteroles (or if you only want one small Croquembouche, make a quarter of the profiteroles and half of each the custard and toffee). Due to the excess in cooking, I ended up taking a small tower and some chocolate ones to work… those poor people 😛

croquembouche02

I found the toffee didn’t last very well for the next day, I’m not sure of the best way to store this overnight if you make it in advance, but I’m sure the custard could be made the day before, I’ve also heard the profiteroles can be made in advance… I’ll try and get back to you on what works….

croquembouche15

Croquembouche
Recipe from Adriano Zumbo on MasterChef Australia

Choux pastry:
425g Water
530g Milk
20g Sugar
20g Salt
400g Butter
530g Flour
16 Eggs

Pastry cream:
1300ml Milk
330g Eggs Yolks (around 18)
330g Sugar
130g Cornflour
130g Butter
2 Vanilla beans

Caramel:
660g Sugar
200g Water
260g Glucose

To make the pastry cream, place milk and vanilla bean in a saucepan. Heat gently until the milk almost boils. Remove from the heat, whisk the yolks, sugar and cornflour in a bowl until thick and pale. Gradually whisk in the warm milk. Return mixture to same saucepan and stir over medium heat until the custard boils. Spread over a tray to cool rapidly. Cover the surface of the custard closely with plastic wrap to prevent a skin forming, at 55°C transfer to a bowl and stir through butter and refrigerate to cool completely.

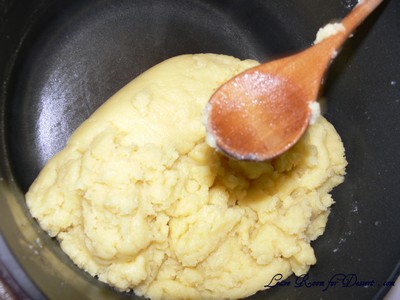
Preheat the oven to 210 degrees celsius convection. Lightly grease 4 oven trays and set aside. Combine the butter with water, sugar, milk & salt in a large heavy-based saucepan and bring to the boil. Remove from the heat and using a wooden spoon quickly beat in the flour. Return to the heat and continue beating until the mixture comes together and leaves the side of the pan. Cook, beating over low heat for 1-2 minutes to cook flour. Remove from heat and allow to cool slightly.

croquembouche04

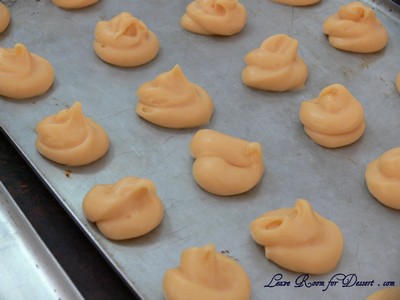
Transfer to a large bowl. Using a hand mixer, beat the mixture to release any more heat. Gradually add the eggs, one at a time. Beat well between each addition until all the eggs have been added and the mixture is thick and glossy. Beat for a few more minutes, or until thickened.

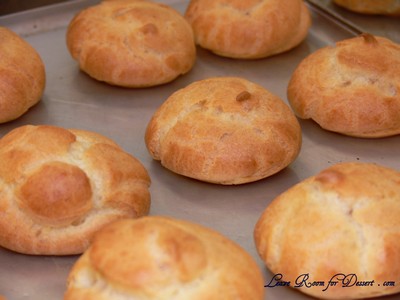
Spoon the mixture, in batches, into a piping bag fitted with a 1.25-1.5cm nozzle. Cover remaining pastry with cling film. Pipe mixture onto trays about 3cm x 2cm high leaving room for spreading. Bake for 25-30 minutes, in batches, or until firm and hollow when tapped. Transfer puffs to wire racks.

croquembouche05

croquembouche07

Put custard into a piping bag with a nozzle less than 1cm. Poke a small hole in the base of each puff and fill with custard.

For the caramel, combine water and sugar in a saucepan until it boils add glucose, and cook until caramel in colour. Remove from the heat and dip the base of the pan in a bowl of water to cool slightly. Grease a cake ring and place ring mould on a baking paper lined tray, pour enough caramel to coat the base 5mm. This is the base for the croquembouche. (I didn’t make this base)
Dip the puff bases in enough toffee to coat and place upside down on a tray lined with baking paper.

(I just put a bit of toffee on the base of the profiteroles in a line so I could still hold the edges of the base. I then dipped the top in the toffee and stacked the profiteroles making a cone shape, sticking them together with extra toffee if needed)

To assemble, oil the croquembouche cone. Dip the sides of the puff balls in the toffee one at a time and place around the base of the cone. Continue adding balls until the cone is covered.
Transfer the base for the croquembouche to a serving plate. Place a small amount of caramel on the base. Grasp croquembouche gently and lift from the cone and place on the caramel base.

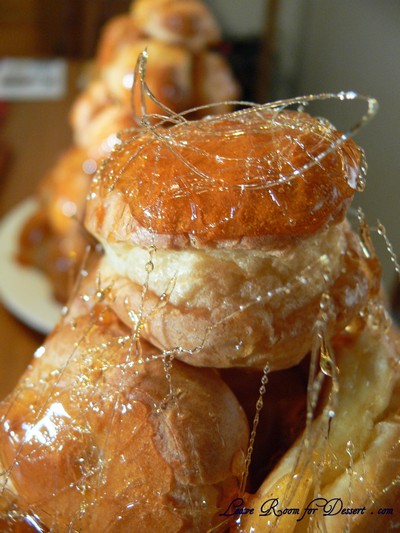
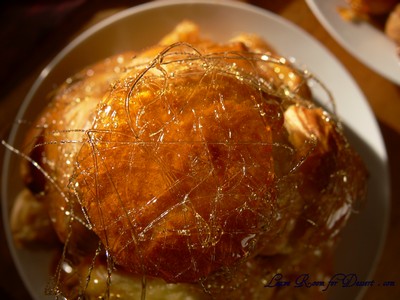
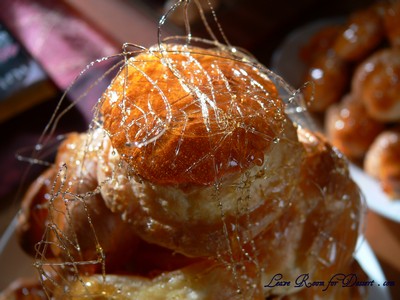
Re-heat the remaining toffee then dip two forks back to back in it. Spin toffee around the Croquembouche. Decorate with violets.

croquembouche13

Bakewell Tart… er… Pudding – Daring Bakers Challenge June 2009

Saturday, June 27th, 2009

bakewelltart04

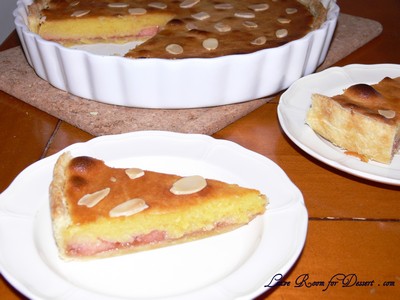
My First Daring Bakers Challenge!! I was so excited to find out what my first challenge would be with the Daring Bakers, and was a little scared when I heard about the different components needed for this tart… er… pudding (as the hosts like to put it). And a Big THANK YOU to the hosts for this month and to the founders and everyone at The Daring Kitchen for all their hard work.

group_w200x150

The June Daring Bakers’ challenge was hosted by Jasmine of Confessions of a Cardamom Addict and Annemarie of Ambrosia and Nectar. They chose a Traditional (UK) Bakewell Tart… er… pudding that was inspired by a rich baking history dating back to the 1800’s in England.

bakewelltart08

Bakewell tarts…er…puddings combine a number of dessert elements but still let you show off your area’s seasonal fruits.

Like many regional dishes there’s no “one way” to make a Bakewell Tart…er…Pudding, but most of today’s versions fall within one of two types. The first is the “pudding” where a layer of jam is covered by an almondy pastry cream and baked in puff pastry. The second is the “tart” where a rich shortcrust pastry holds jam and an almondy sponge cake-like filling.

The version we’re daring you to make is a combination of the two: a sweet almond-flavoured shortcrust pastry, frangipane and jam.

bakewelltart06

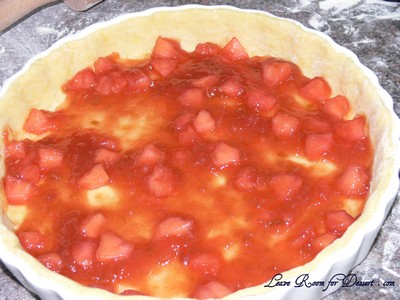
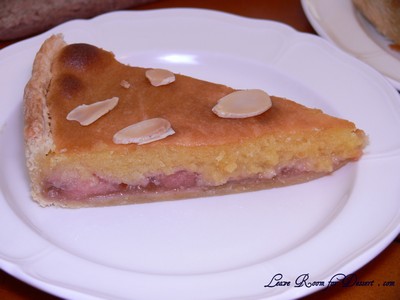
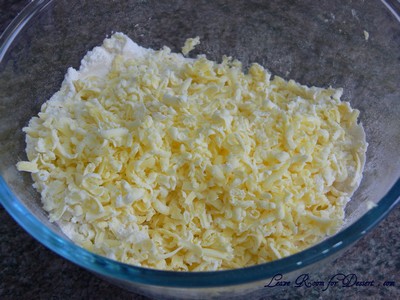
Going by the suggestions given by the lovely hosts, I made the shortcrust pastry by hand (grating chilled butter into flour) and the jam also from scratch using fruits in season – Pink Lady Apple , Rhubarb and Cinnamon Jam. I’m glad I made the effort to make everything from scratch and would certainly make jam again, but would use a food processor for the pastry (Since making this tart, I have made pastry again and the food processor makes a nicer consistency with the pastry compared with what I was able to do by hand).

bakewelltart12

Bakewell Tart…er…pudding

Makes one 23cm (9” tart)
Prep time: less than 10 minutes (plus time for the individual elements)
Resting time: 15 minutes
Baking time: 30 minutes
Equipment needed: 23cm (9”) tart pan or pie tin (preferably with ridged edges) (I used a quiche dish as this is all I had), rolling pin

One quantity sweet shortcrust pastry (recipe follows)
Bench flour
250ml (1cup (8 US fl. oz)) jam or curd, warmed for spreadability
One quantity frangipane (recipe follows)
One handful blanched, flaked almonds

Assembling the tart
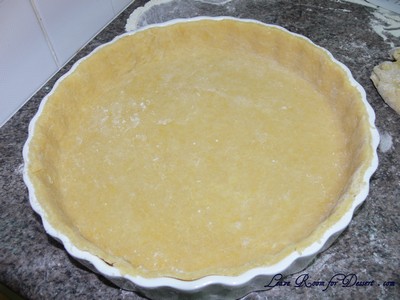
Place the chilled dough disc on a lightly floured surface. If it’s overly cold, you will need to let it become acclimatised for about 15 minutes before you roll it out. Flour the rolling pin and roll the pastry to 5mm (1/4”) thickness, by rolling in one direction only (start from the centre and roll away from you), and turning the disc a quarter turn after each roll. When the pastry is to the desired size and thickness, transfer it to the tart pan, press in and trim the excess dough. Patch any holes, fissures or tears with trimmed bits. Chill in the freezer for 15 minutes.

bakewelltart16

Preheat oven to 200C/400F.

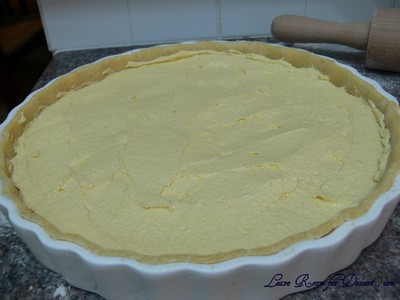
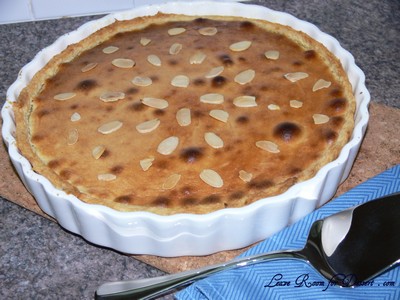
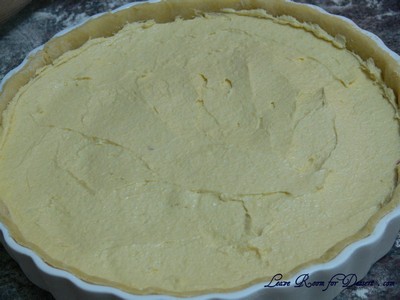
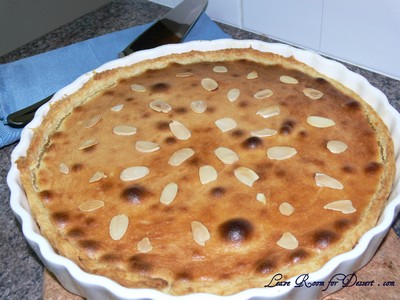
Remove shell from freezer, spread as even a layer as you can of jam onto the pastry base. Top with frangipane, spreading to cover the entire surface of the tart. Smooth the top and pop into the oven for 30 minutes. Five minutes before the tart is done, the top will be poofy and brownish. Remove from oven and strew flaked almonds on top and return to the heat for the last five minutes of baking.

bakewelltart22

bakewelltart02

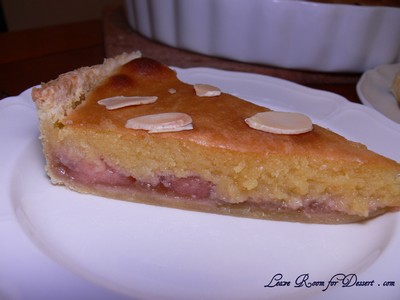
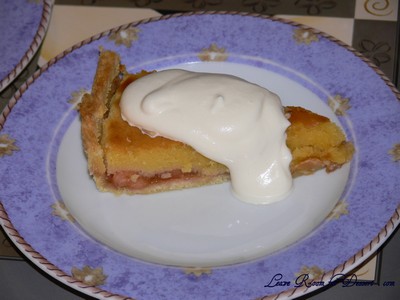
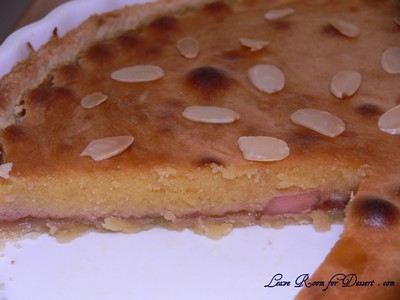
The finished tart will have a golden crust and the frangipane will be tanned, poofy and a bit spongy-looking. Remove from the oven and cool on the counter. Serve warm, with crème fraîche, whipped cream or custard sauce if you wish.

bakewelltart03

When you slice into the tart, the almond paste will be firm, but slightly squidgy and the crust should be crisp but not tough.

bakewelltart11

Jasmine’s notes:
• If you cannot have nuts, you can try substituting Victoria sponge for the frangipane. It’s a pretty popular cake, so you shouldn’t have any troubles finding one in one of your cookbooks or through a Google search. That said, our dear Natalie at Gluten a Go Go has sourced some recipes and linked to them in the related alt.db thread.
• You can use whichever jam you wish, but if you choose something with a lot of seeds, such as raspberry or blackberry, you should sieve them out.
• The jam quantity can be anywhere from 60ml (1/4 cup) to 250ml (1cup), depending upon how “damp” and strongly flavoured your preserves are. I made it with the lesser quantity of home made strawberry jam, while Annemarie made it with the greater quantity of cherry jam; we both had fabulous results. If in doubt, just split the difference and spread 150ml (2/3cup) on the crust.

Annemarie’s notes:
• The excess shortcrust can be rolled out and cut into cookie-shapes (heck, it’s pretty darned close to a shortbread dough).

Sweet shortcrust pastry

Prep time: 15-20 minutes
Resting time: 30 minutes (minimum)
Equipment needed: bowls, box grater, cling film

225g (8oz) all purpose flour
30g (1oz) sugar
2.5ml (½ tsp) salt
110g (4oz) unsalted butter, cold (frozen is better)
2 (2) egg yolks
2.5ml (½ tsp) almond extract (optional – I used vanilla extract instead, like the notes said)
15-30ml (1-2 Tbsp) cold water

Sift together flour, sugar and salt. Grate butter into the flour mixture, using the large hole-side of a box grater. Using your finger tips only, and working very quickly, rub the fat into the flour until the mixture resembles bread crumbs. Set aside.

bakewelltart13

Lightly beat the egg yolks with the almond extract (if using) and quickly mix into the flour mixture. Keep mixing while dribbling in the water, only adding enough to form a cohesive and slightly sticky dough.

Form the dough into a disc, wrap in cling and refrigerate for at least 30 minutes

Jasmine’s notes:
• I make this using vanilla salt and vanilla sugar.
• If you wish, you can substitute the seeds of one vanilla bean, one teaspoon of vanilla paste or one teaspoon of vanilla extract for the almond extract

Frangipane

Prep time: 10-15 minutes
Equipment needed: bowls, hand mixer, rubber spatula

125g (4.5oz) unsalted butter, softened
125g (4.5oz) icing sugar
3 (3) eggs
2.5ml (½ tsp) almond extract
125g (4.5oz) ground almonds
30g (1oz) all purpose flour

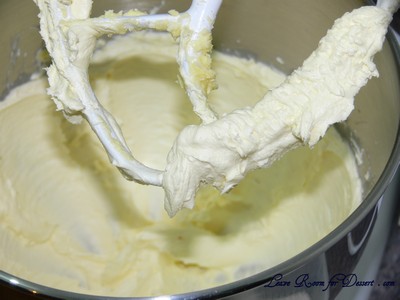
Cream butter and sugar together for about a minute or until the mixture is primrose in colour and very fluffy.

bakewelltart18

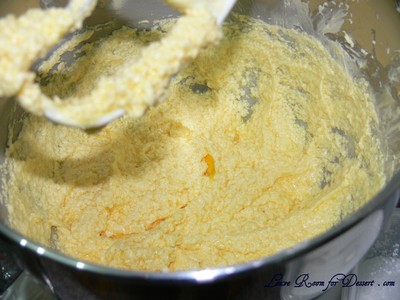
Scrape down the side of the bowl and add the eggs, one at a time, beating well after each addition. The batter may appear to curdle. In the words of Douglas Adams: Don’t panic. Really. It’ll be fine. After all three are in, pour in the almond extract and mix for about another 30 seconds and scrape down the sides again.

bakewelltart21

With the beaters on, spoon in the ground nuts and the flour. Mix well. The mixture will be soft, keep its slightly curdled look (mostly from the almonds) and retain its pallid yellow colour.

bakewelltart01

Annemarie’s notes:
• Add another five minutes or more if you’re grinding your own almonds or if you’re mixing by hand (Heaven help you).

bakewelltart10

Banana Bread

Sunday, June 7th, 2009

bananabread-15

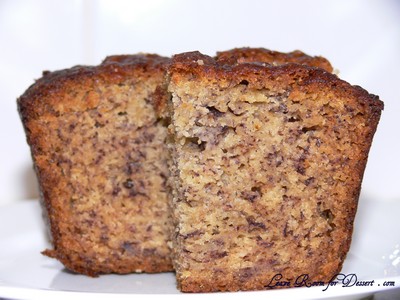
I don’t like wasting food. I try to eat all fruit and veggies before they start turning bad, but sometimes other things come up and I forget about them. Luckily, with bananas, even if I do forget about them for a short or long amount of time, they will still be perfect for banana bread.

bananabread-20

I often hear people say – I thought it was too ripe or too far-gone for banana bread. But I think it’s almost never too far-gone. I use bananas that have started ripening a lot, to ones that have turned completely black. And don’t worry if it’s a little or a lot squishy or becoming a little translucent – this just makes it easier to mash and gives a stronger banana flavour. If you don’t have enough time or bananas for banana bread, just peel the bananas, place in a plastic bag and freeze until ready, then thaw over a few hours and mash like normal.

bananabread-21

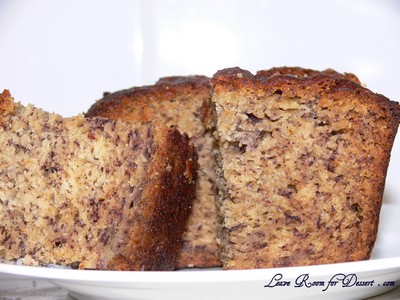
Now although this isn’t a “bread” as such, it’s still able to be toasted under a grill or sandwich press and served with a little butter. Any left over slices can be frozen and thawed for a snack – you may want to toast it up to make it a little fresher. I hope you enjoy the recipe!

Banana Bread

125g butter
¾ cup white sugar
4 medium bananas
1 teaspoon bi-carb-soda
2 eggs
2 tablespoons milk
2 cups self-raising flour
pinch salt

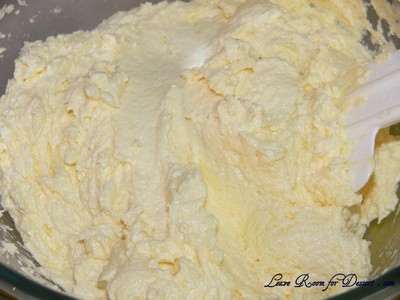
Cream together the butter and sugar until light and fluffy, add eggs, mix well.

bananabread-10

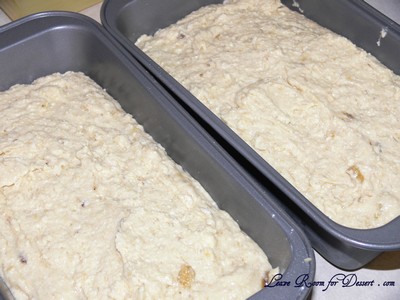
Peel and mash bananas, fold into butter mixture, add soda dissolved in milk, then fold in sifted flour and salt.

bananabread-11

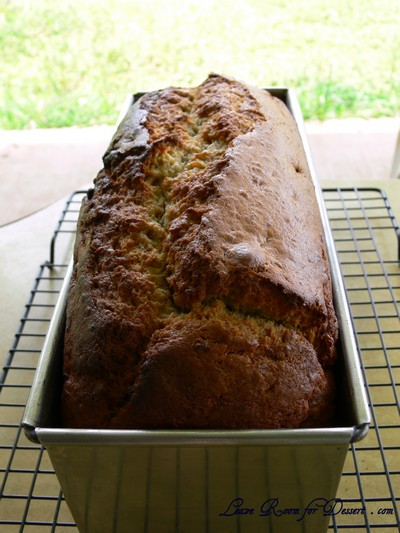
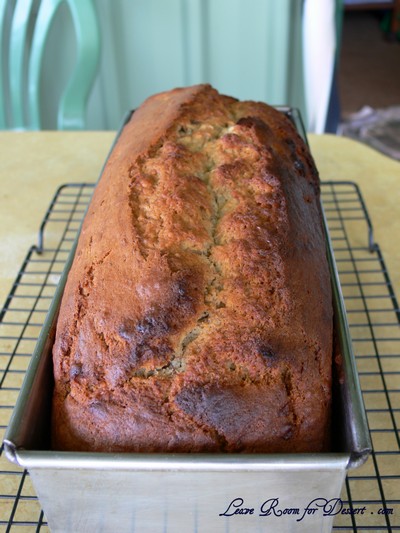
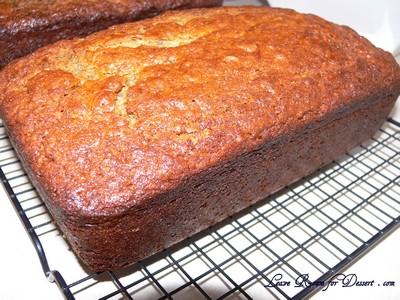
Turn into greased 9”x5” loaf tin. Bake in at 180ºC for 50 minutes or until cooked through. Cool on cake cooler. Serve warm or cold sliced with butter.

bananabread-14

bananabread-16

Melomakarona – Walnut Syrup Biscuits

Thursday, May 28th, 2009

melomakarona-04

Since being introduced to Greek food, with the main focus on Greek sweets, I just can’t seem to stop trying new biscuits and baklava. A batch of biscuits made with a cup of oil seemed a bit concerning to me… I find it easier to justify when I use that much butter, as somehow it doesn’t seem as scary to me. I’m game to try out new foods though and if that includes using a cup of oil, who am I to criticise?

melomakarona-02

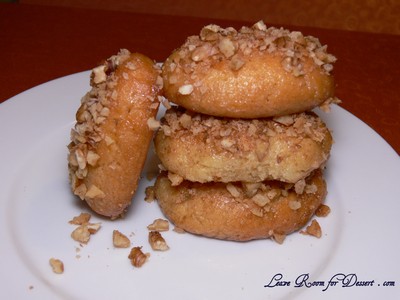
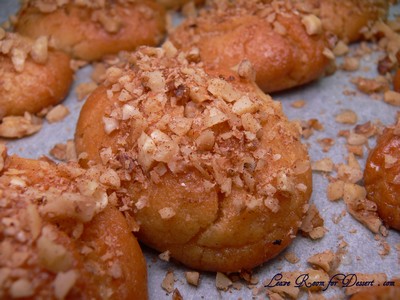
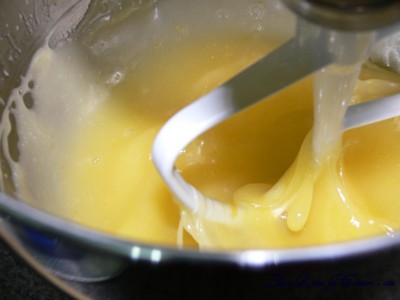
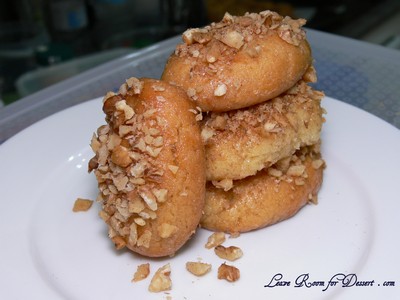
Using my KitchenAid, the oil beat up a lot quicker than the suggested time and I wasn’t sure whether I should have used a whisk attachment instead. Although once rolled and cooked, I was happy with the result and it seemed those who tried them also enjoyed them. There was a beautiful melt-in-your-mouth feel to the biscuits, with a lovely subtly spiced sweet syrup with a hint of walnuts – Very nice indeed 😛

Melomakarona (walnut syrup biscuits)

(Recipe from Super Food Ideas and Taste.com.au)

Makes: 32

1 cup vegetable oil
½ cup white sugar
2 oranges, juiced
½ lemon, juiced
1 egg yolk
1 tablespoon ouzo liqueur (optional – I left this out)
3 cups self-raising flour
¾ teaspoon ground cinnamon
1 1/3 cups walnuts, finely chopped

Syrup
1 cup white sugar
½ cup honey
½ cup boiling water
1 cinnamon stick
4 cloves
½ lemon, juiced

Preheat oven to 180°C. Line 2 flat baking trays with baking paper. Using an electric mixer, beat oil, sugar, 1/2 cup orange juice and 2 tablespoons lemon juice on high speed for 10 minutes or until thick and creamy (start electric mixer on low speed and increase speed as mixture thickens).

melomakarona-05

melomakarona-06

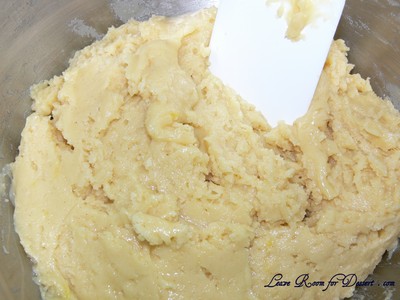
Add egg yolk and ouzo. Beat for 5 minutes. Sift flour and 1/4 teaspoon cinnamon over oil mixture. Fold gently to combine (mixture should be a light, doughy texture).

melomakarona-07

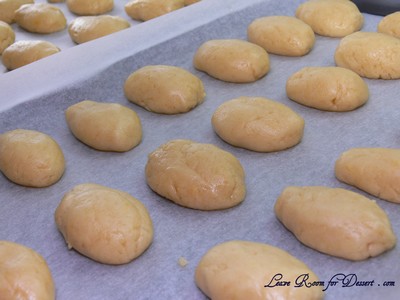
Using hands, roll tablespoons mixture into oval shapes. Place on prepared trays. Bake for 25 minutes or until firm to touch. Allow to cool on trays.

melomakarona-09

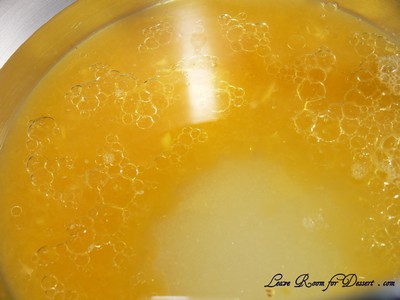
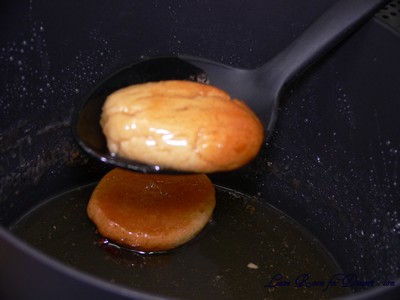
To make the syrup, combine ingredients in a saucepan over medium-high heat. Cook, stirring, for 5 minutes or until sugar has dissolved. Bring to the boil. Reduce heat to medium-low. Simmer for 4 minutes or until syrup thickens slightly.

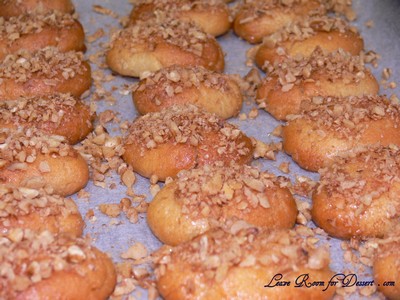
Using a slotted spoon, dip cooled biscuits, 1 at a time (I put 4-5 in at a time), into hot syrup for about 30 seconds, turning over often until well coated. Return to trays. Combine walnuts and remaining ground cinnamon. Sprinkle over biscuits. Allow to cool. Serve.

melomakarona-12

melomakarona-01

melomakarona-03

Flourless Chocolate and Almond Cake

Thursday, May 21st, 2009

flourlesschoccake02

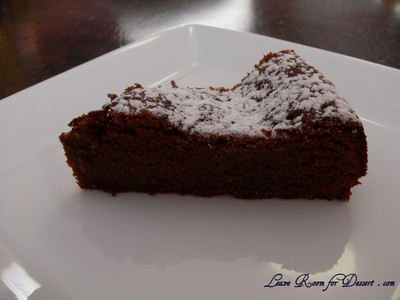
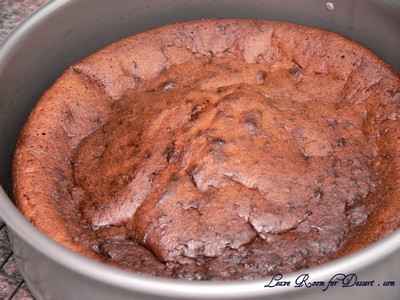
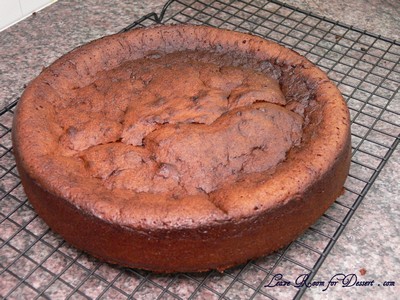
There aren’t a whole heap of cakes that I’ve made that don’t contain flour… maybe some friands and macarons. I’ve tried a lovely chocolate flourless cake at a bakery near my work and wanted to try making one similar to this and for anyone who is unable to eat foods containing flour.

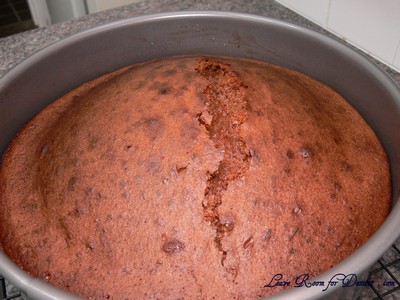
I wanted to make sure this was moist and between the consistency of brownie and a cake, so icing wasn’t needed. Therefore I took the cake out of the oven a little earlier than I would a normal cake. The middle had risen and started to crack – two things I didn’t really want to happen. So I took it out of the oven when there was slightly wet cake mix sticking to the skewer and let it cool in the tin, where it finished cooking and the middle sunk down.

flourlesschoccake01

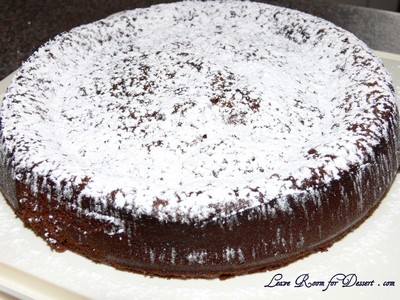
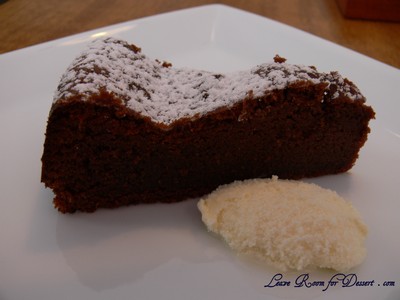
The result: a very lovely moist chocolate cake, I know many people enjoyed it on Mothers Day and I hope more people try it and enjoy it.

Flourless Chocolate and Almond Cake

200g dark chocolate, chopped
150g butter, chopped
150g caster sugar
2 tablespoons Kahlua (optional – I didn’t notice any taste from the Kahlua)
5 eggs, separated
100g almond meal

Preheat oven to 180°C. Lightly grease and line a 20 or 22cm round tin (I used a spring-form tin).

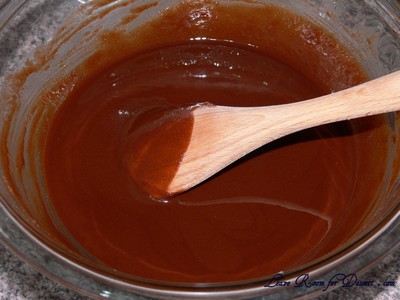
Place chocolate, butter, sugar and Kahlua in a bowl over simmering water (make sure the water is not touching the bowl. Stir until just combined and remove from on top of saucepan and allow to cool slightly.

flourlesschoccake05

Add egg yolks and beat in one at a time. Fold in almond meal.

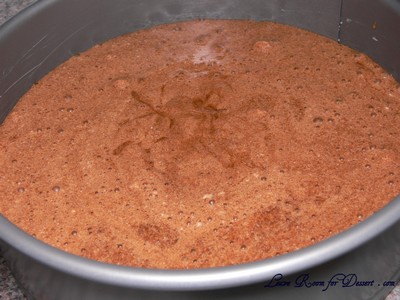
Beat egg whites until stiff peaks form. Mix a few large spoonfuls into the chocolate mix to lighten the mixture. Fold the remaining egg white through the chocolate mix and pour into prepared tin. Bake for 40 minutes (more if you want it more cake like, less if you want it more fudgey).

flourlesschoccake06

Enjoy with thickened cream or ice cream.

flourlesschoccake07

flourlesschoccake10

flourlesschoccake11

flourlesschoccake12

flourlesschoccake03

White Chocolate and Honeycomb Mud Cake

Tuesday, May 19th, 2009

whitechochoneycomb07

I know I said that I would be trying a white chocolate and hazelnut mud cake after making my first white chocolate mud cake, although I saw this recipe and thought it sounded so fun and would be perfect for my turn baking for our work meeting.

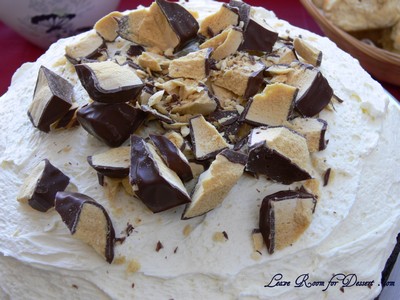
I love anything honeycomb and chocolate so combining this into a cake sounded great and the ganache on top looked lovely and fluffy, even though it doesn’t contain any icing sugar. Due to time restrictions I had to make the cake two nights before the meeting, the ganache the night before and I chopped up the remaining violet crumble just before the meeting so it didn’t soften or go sticky due to moisture.

whitechochoneycomb09

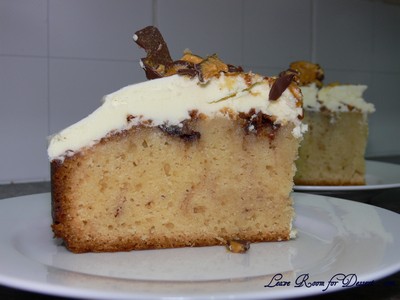
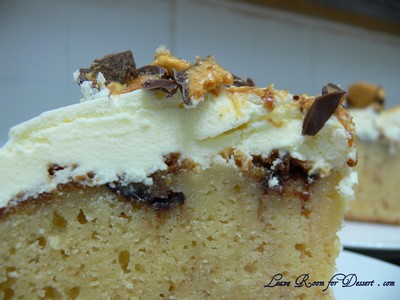
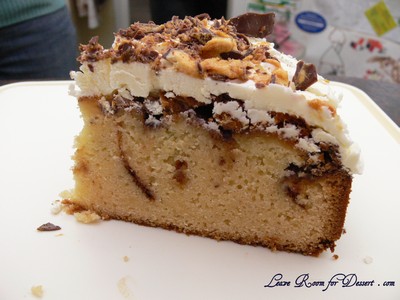
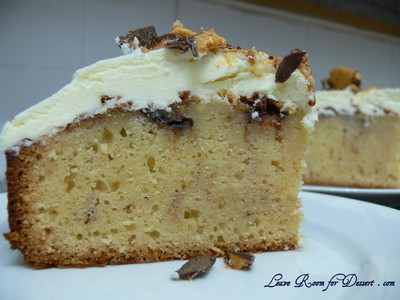
Unfortunately I only have photos of the two remaining slices that I had to hide away so Nick could try the cake (as he had been tempted by it during the baking as it smelled gorgeous and the ganache was beautiful and looked like ivory silk – although stiffened up slightly with time), This means the Violet Crumble was a little sticky and melted. The Violet crumble throughout the cake was not very evident, although the pieces which were at the top of the cake while cooking formed a lovely caramelised tasty top to the cake. I would definitely make this again (and already have), I’ve even added a little more Violet Crumble in the cake mixture… 😛

We had to tweak the ganache slightly as I tried to whisk gently the cooled chocolate and cream mixture and it did nothing. It was still very runny. After adding 2-3 tablespoons cold thickened cream (or letting it cool for a lot longer than the recommended time) and beating the mix with a hand mixer, scraping the sides a few times (I found this rest helped it thickened faster) it changed to a light and fluffy ganache.

whitechochoneycomb10

White Chocolate and Honeycomb Mud Cake
(Recipe adapted from super food ideas May 2009)

180g white chocolate, chopped
250g butter, chopped
1 cup milk
1¾ cup caster sugar
2 teaspoons vanilla essence/extract
1¾ cup plain flour, sifted
½ cup self raising flour, sifted
2 eggs, lightly beaten
1-2 x 50g Violet Crumble bars

White Chocolate Ganache
180g white chocolate
1/3 cup thickened cream
+ 2-3 tablespoons cold cream extra
1 x 50g Violet Crumble bars, chopped just before serving

Stir white chocolate, butter, milk, sugar and vanilla essence in a saucepan over low-medium heat until melted and smooth.

Pour into a large bowl and leave to cool for 25 minutes. Preheat oven to 160C or 140C fan forced. Grease and line a 20-22cm round tin with baking paper.

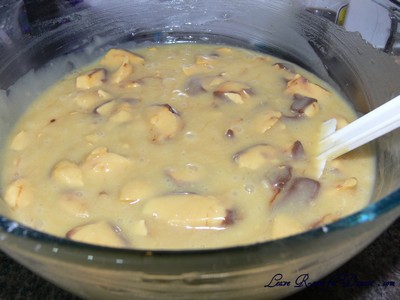
Add eggs and sifted flours and whisk to combine. Fold through Violet Crumble. Pour into prepared tin and cook for 1½ -2 hours or until skewer combs out with clean or with a few crumbs. If the cake starts to brown too much, cover loosely with a piece of foil.

whitechochoneycomb02

Remove from oven when cooked and rest in tin for 10 minutes. Allow to finish cooling on cooling rack.

whitechochoneycomb03

To make the ganache, put the white chocolate and cream in a bowl and microwave on high for 1 minutes, stirring half way through. Stir until smooth. Allow to cool for 15 minutes.

whitechochoneycomb04

Using an electric beater, beat the white chocolate mix for 2-3 minutes. Add extra cream to help cool down the mix and help it thicken easier. Beat on high for 2 minutes at a time, scrapping and observing the texture. Once it is nice and thick cover the cooled cake with the ganache.

whitechochoneycomb05

whitechochoneycomb06

Just before serving, chop up the remaining Violet Crumble and scatter over cake. Serve.

whitechochoneycomb01

whitechochoneycomb08