Appetizers

Tomato and Basil Bruschetta

Wednesday, June 3rd, 2009

I’m not the best person at remembering to send someone a recipe they’ve asked for. Unless I get reminded or leave an email in my inbox marked as “unread”, it’s unlikely I’ll get around to it, especially if I haven’t had a chance to type it out. So I felt a bit bad when a friend of mine asked for a Bruschetta recipe and I still haven’t emailed it to her.

bruschetta01

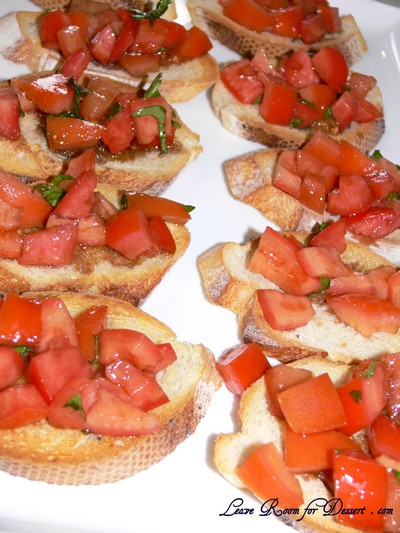
Well here is the Bruschetta recipe I use. It’s nice and quick, with lovely flavours… even for someone who doesn’t like eating raw tomatoes… now who could that be? 😉 De-seeding the tomatoes reduces extra liquid which will cause the bread to soften and go soggy, so make sure you serve very soon after spooning the tomato mix onto the bread.

Tomato and Basil Bruschetta

(Recipe from Super Food Ideas)
Serves: 4

1 loaf day old sourdough bread
2 garlic cloves
¼ cup good-quality extra-virgin olive oil
2 large tomatoes, quartered, deseeded
4 basil leaves, shredded
2 tablespoons olive oil
3 teaspoons balsamic vinegar
salt and pepper to taste

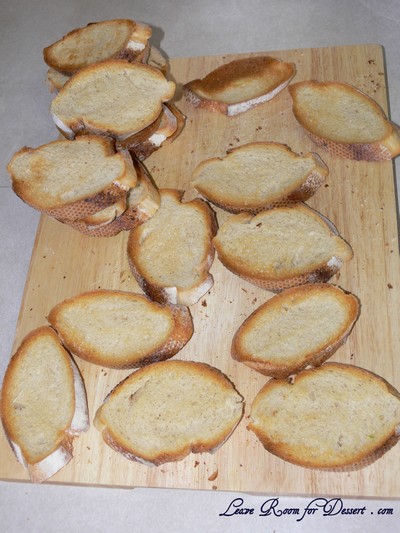
Slice bread into eight, 1cm thick slices (traditionally straight across the bread, not diagonally). Lightly toast (under grill) both sides bread until crisp on outside but soft on side. Cut garlic cloves in half lengthways. Rub cut side of garlic over 1 side of hot bread.

bruschetta03

Drizzle 1½ teaspoons oil over garlic side of bread, Season with salt.

Cut tomato quarters in half again and dice. Place in a bowl. Add basil, oil, vinegar and salt and pepper. Stir gently to combine. Spoon onto toasted bread and serve.

Variation: Replace the fresh tomatoes by combining 1 cup chopped semi-dried tomatoes and ½ cup chopped feta-stuffed olives with the basil.

bruschetta02

Dukkah

Wednesday, May 6th, 2009

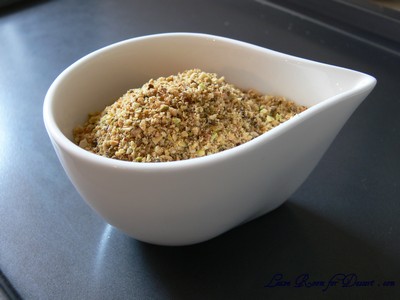
dukkah05

I am becoming quite adventurous when it comes to trying new foods, although a few years ago I wasn’t the most adventurous eater. Nick and I were out for a lovely dinner out on Sydney Harbour. At the beginning of the menu, for either sides or starters was dukkah served with oil olive and bread. I couldn’t pronounce the name of the dish on the menu and just read the description, which was something like an Egyptian nut and spice mix.

So, taking the plunge I decided, lets order that! Nick, with a surprised look on his face due to my decision at trying something quite ‘random’ at the time, was a little hesitant to order it in case I didn’t like it – but I continued to express my interest in it, so we ordered it.

dukkah12

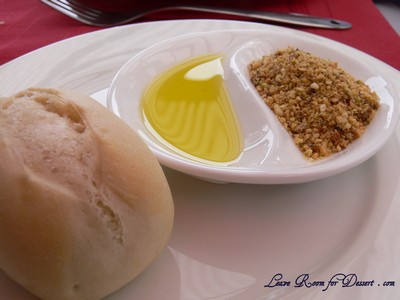
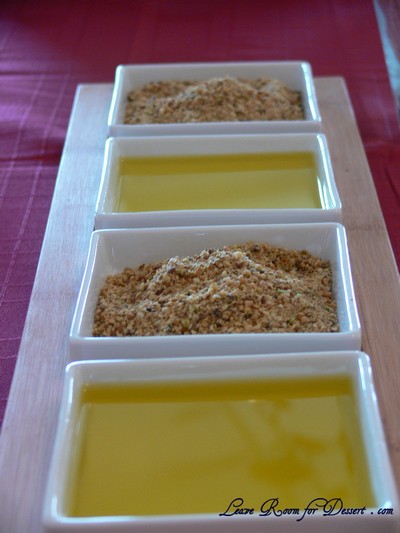
… and what a great decision. Once we had dunked a bit of bread into the oil and then into the dukkah, the taste was amazing. We couldn’t stop eating the relatively small helping we were served. Although as we ate, we tried (and when I say we, I mainly mean Nick, as he is better at distinguishing tastes) to determine what flavours, nuts and spices were included in this mix – as this was a definite dish to try at home.

I searched the internet quite soon after (probably the next day) to try and find a recipe that matched closely to the flavours we detected. We found a fantastic recipe and then a few months to a year later saw dukkah becoming increasingly more popular and sold at all supermarkets, although mind you, at supermarkets it is quite overpriced.

I still have yet to try the many different flavours you’re able to use while making dukkah, so hopefully in the near future I can trial out a few more recipes. (I just find it difficult to move away from a recipe that I already know I love).

dukkah01

Dukkah
Recipe from Recipezaar

1 cup of shelled pistachio nuts
1 cup blanched almonds
1 tablespoon whole coriander seeds
1 tablespoon whole cumin seeds
½ teaspoon dried thyme
¼ cup sesame seeds
¼ teaspoon salt

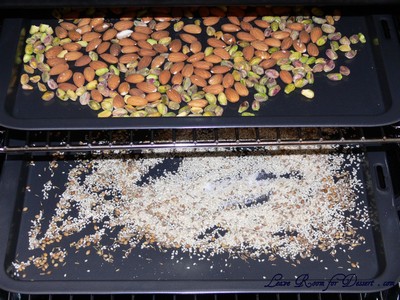
Toast the pistachio nuts and almonds in a hot oven for about 15 minutes, stirring frequently to prevent burning. Toast the spice seeds and sesame seeds separately in the same way.

dukkah06

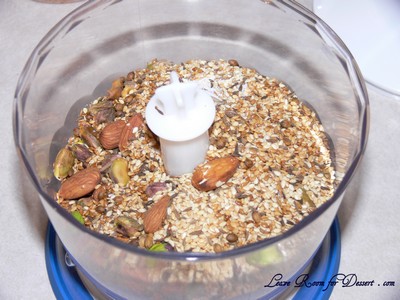
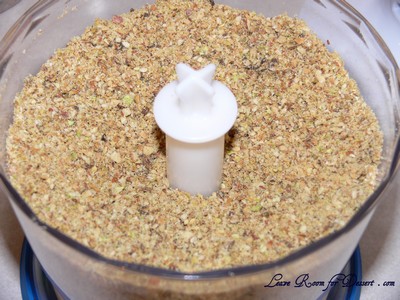
Cool and combine with the remaining ingredients in a food processor. Grind the mixture until it resembles small breadcrumbs. The mixture should be very dry and crumbly, not a paste.

dukkah09

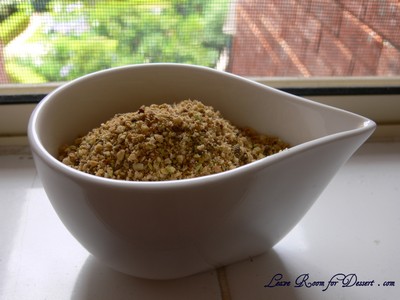
Be careful as over processing can release the oil from the nuts making the mixture moist, which you don’t want.

dukkah10

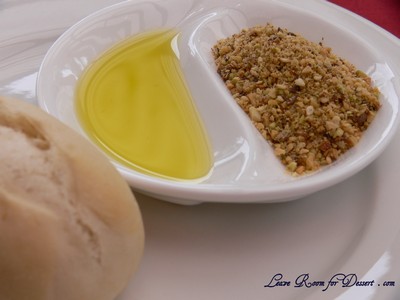
This can be made a few days in advance and stored in an airtight container. Serve with hot bread rolls and olive oil.

dukkah13

dukkah03

Honey Chicken and Baked Spring Rolls – Cooking Class 1

Tuesday, March 10th, 2009

My sisters and I have wanted to join a cooking class to learn some new cooking techniques and recipes as well as meeting a few new people and having a great time. Although with all the moving that’s going to be happening with my family, we don’t have much extra time or flexibility with a course.

SpringRolls

So K. came up with a great idea, we each choose a dish we’ve never made before and would like to make, buy the food, then everyone comes around and helps make it together. This way we each get to help make something new and try a whole range of new foods as well as have a bit of fun!

K. was first up and chose a Chinese-themed night: Baked Spring Rolls and Honey Chicken with stir-fry vegetables. We were each allocated a separate job with preparing the vegetables for the spring rolls, cooking the filling and rolling them, as well as cutting the chicken, making the batter and sauce and cooking it in hot oil.
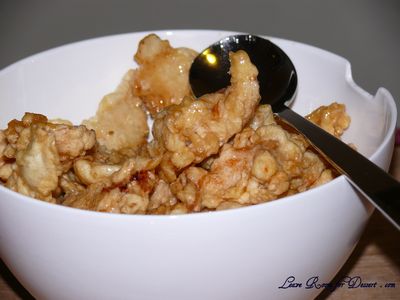
HoneyChicken

The recipe for the honey chicken was a bit lacking in some quantities, leaving some trouble-shooting for the batter, which included at least 10 minutes of people jamming a fork into the non-Newtonian fluid (where the fluid behaves like a solid rather than a liquid) we made from the cornflour and water (check out a video of people running on pool filled with it here:
http://www.youtube.com/watch?v=f2XQ97XHjVw).
After more water was added the mixture started acting a bit more like batter is supposed to. Although once cooked, the crispy chicken was coated in a lovely honey syrup and tasted great!

With all that oil, batter and honey, we were lucky that my sister had chosen baked spring roll recipe rather than another deep-fried recipe. These spring rolls are extra tasty and I’m sure they’d be quite healthy too and can certainly be adapted to make Vegetarian spring rolls by omitting the chicken and ham.

Oven Baked Spring Rolls
Recipe from Nutrition Australia website

Makes 20

1 teaspoon oil for trays
2 teaspoons oil
1 medium onion, diced
½ teaspoon finely chopped ginger or ½ teaspoon ground ginger
1 clove garlic, finely chopped
1 stick celery, finely chopped
5 mushrooms, finely diced
½ capsicum, finely diced
2 cups finely chopped cabbage
½ – 1 cup finely diced cooked lean ham or chicken
½ cup bean sprouts, e.g. mung beans
1 tablespoon cornflour
1 teaspoon sweet chilli sauce
1 tablespoon salt-reduced soy sauce
2 tablespoons chopped fresh herbs (choose one or a combination of: parsley, coriander, basil)
250g packet frozen spring roll pastry, thawed

Preheat oven to 200 C. Brush an oven tray with oil/ or lightly spray with oil.
Heat the oil in a wok or frying pan over medium to high heat. Add the onion, ginger and garlic stir-fry for 1 minute.

Add celery, mushrooms, capsicum and cabbage and stir-fry for about 3 minutes. Add ham/ chicken and sprouts. Put on the lid and let vegetables cook for another minute.
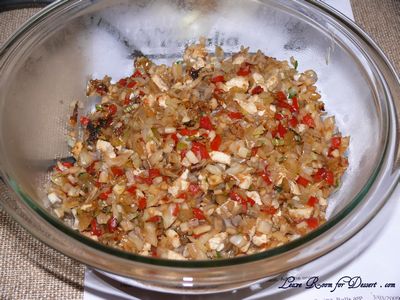
Spring Roll Filling

Spring Roll Filling

Meanwhile combine the cornflour, sweet chilli sauce, soy, and herbs. Add the mixed sauces to the spring roll filling, heat until mixture boils and thickens. Remove saucepan from the heat and allow mixture to cool.
Place 1-2 tablespoons of the mixture on the bottom corner of one spring roll sheet. Fold edges of sheet in and roll up. Continue until all the mixture is used.
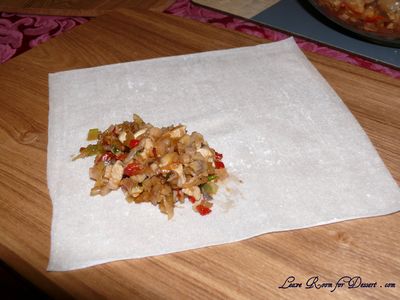
Place Filling on Spring Roll Sheet
Place Filling on Spring Roll Sheet

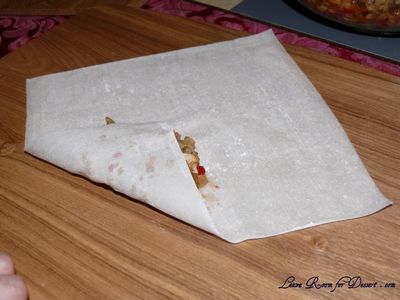
Fold base pf sheet up over filling
Fold base pf sheet up over filling

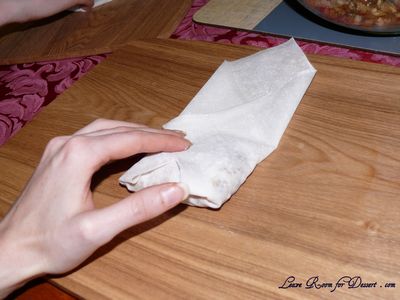
Fold sides of sheet to the middle then continue to roll up to make the spring roll
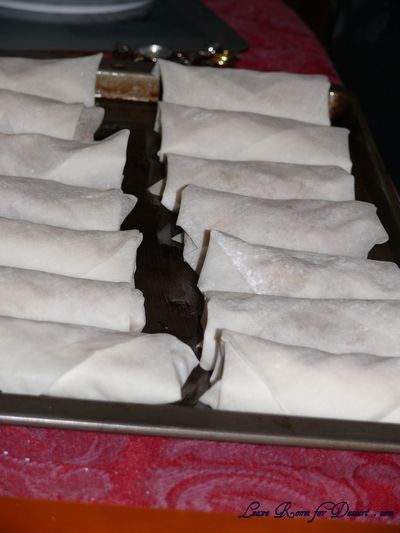
Fold sides of sheet to the middle then continue to roll up to make the spring roll

Ready to bake

Ready to bake

Bake in a hot oven for 15-20 minutes or until the spring rolls are golden brown. Serve with a dipping sauce as a snack or with rice for a main meal.
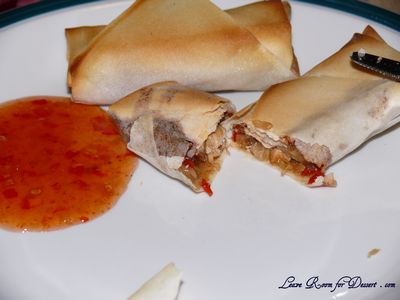
Serve with sweet chilli sauce

Serve with sweet chilli sauce


Chinese Honey Chicken

Recipe from Geocities

Serves: 4-6

500g skinless chicken breast
¾ cup honey
1 cup cornflour
½ teaspoon baking powder
2 egg whites
cold water (we used around ½ cup)
oil for deep-frying
extra cornflour (for dusting chicken)
1½ teaspoons sweet chilli sauce
garnish: spring onion (chopped) or sesame seeds

Cut chicken breasts into bite-sized pieces.

Make the batter: mix together cornflour, baking powder, beaten egg whites and cold water.
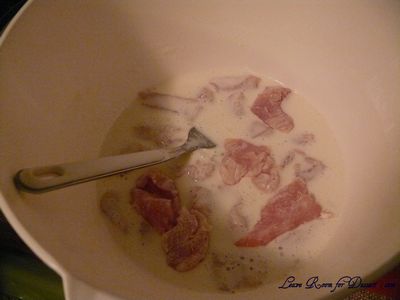
Coat the chicken in the batter

Coat the chicken in the batter

Dust chicken with cornflour then dip it into the batter. Deep-fry chicken pieces for 1 min or till crisp on the outside and cooked through.
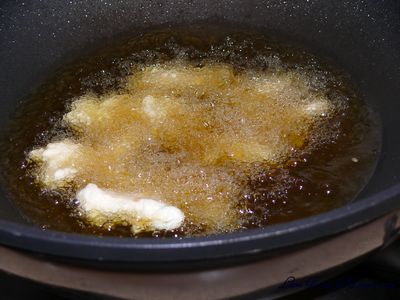
Deep fry the battered chicken in hot oil

Deep fry the battered chicken in hot oil

In another pan, add honey and chilli sauce and heat over medium heat. Pour hot sauce over chicken. Garnish with chopped spring onions and serve immediately.
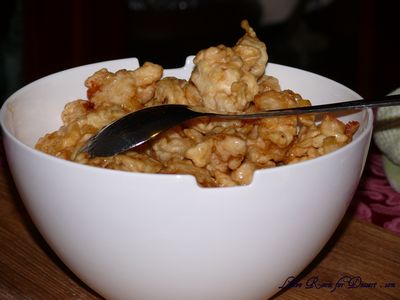
Add honey sauce over crispy chicken and serve

Add honey sauce over crispy chicken and serve

The first cooking class is finished, next is Nick’s turn…